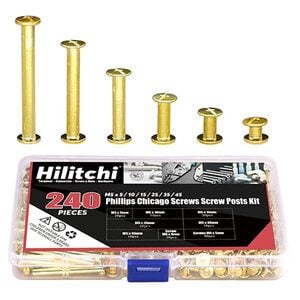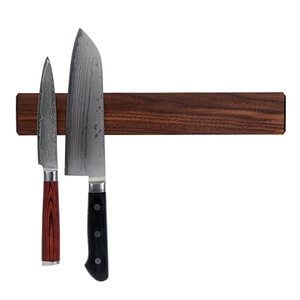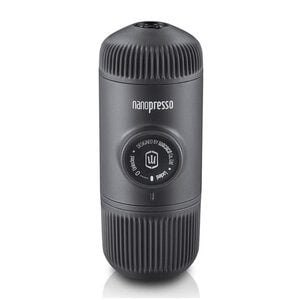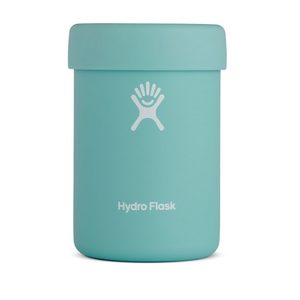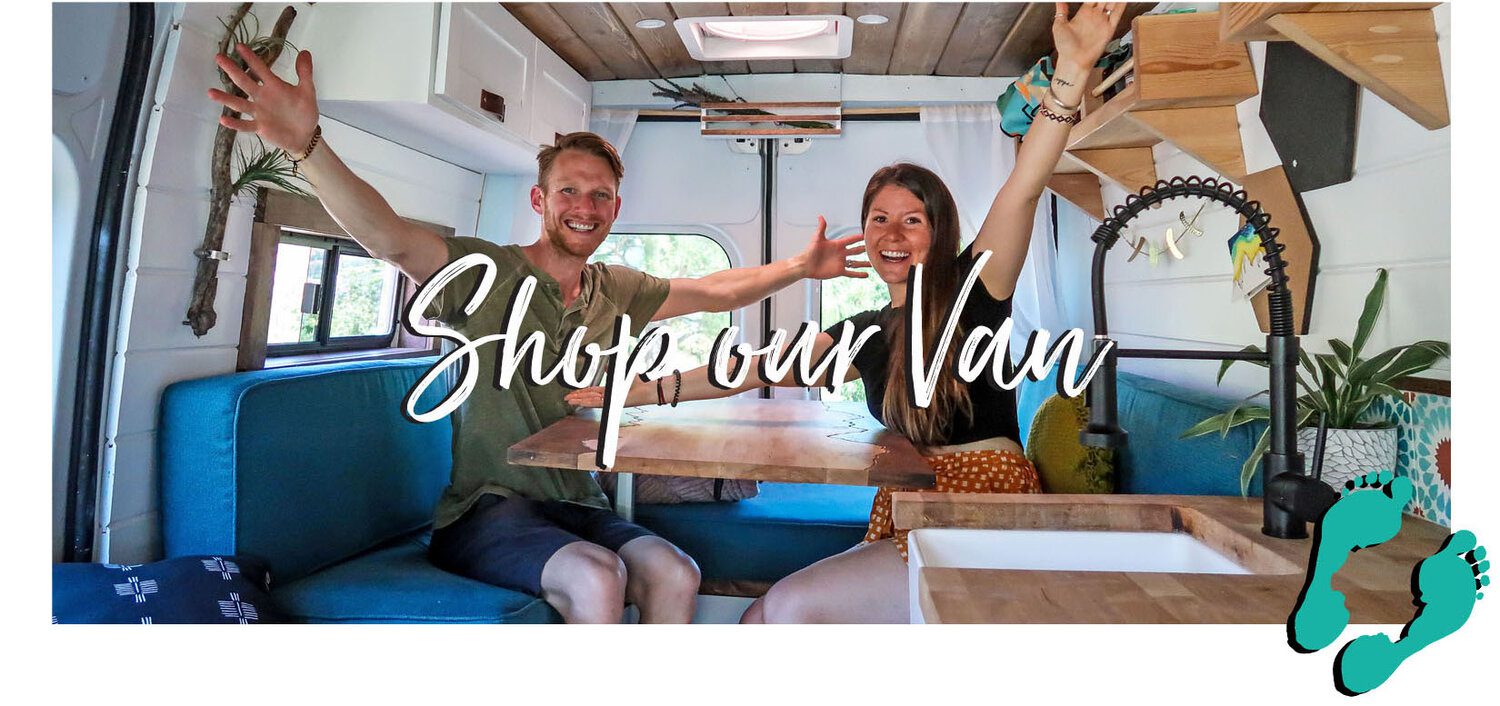
You may have caught on that we are a bit campervan obsessed. We built out first van on a shoestring budget in less than one week! Our second campervan was a much bigger undertaking as we planned and prepared for months, took our time learning everything we could find on the Internet about campervan builds and recorded our entire process to share with our readers.
Here is where you will find all of the camper van supplies we used to build out every part of our van. We’ve organized this page by the different stages of our build. If you know which stage you’re looking for, click the link to jump down to that section, or just keep browsing…
Get on the road faster!
After building two campervans completely from scratch, we decided to create the resources we wish we would’ve had along the way. We spent the better part of a year creating Van Conversion Academy.
No more headaches or hours of research… Click below to learn more about Van Conversion Academy and get on the road faster!
Electric System
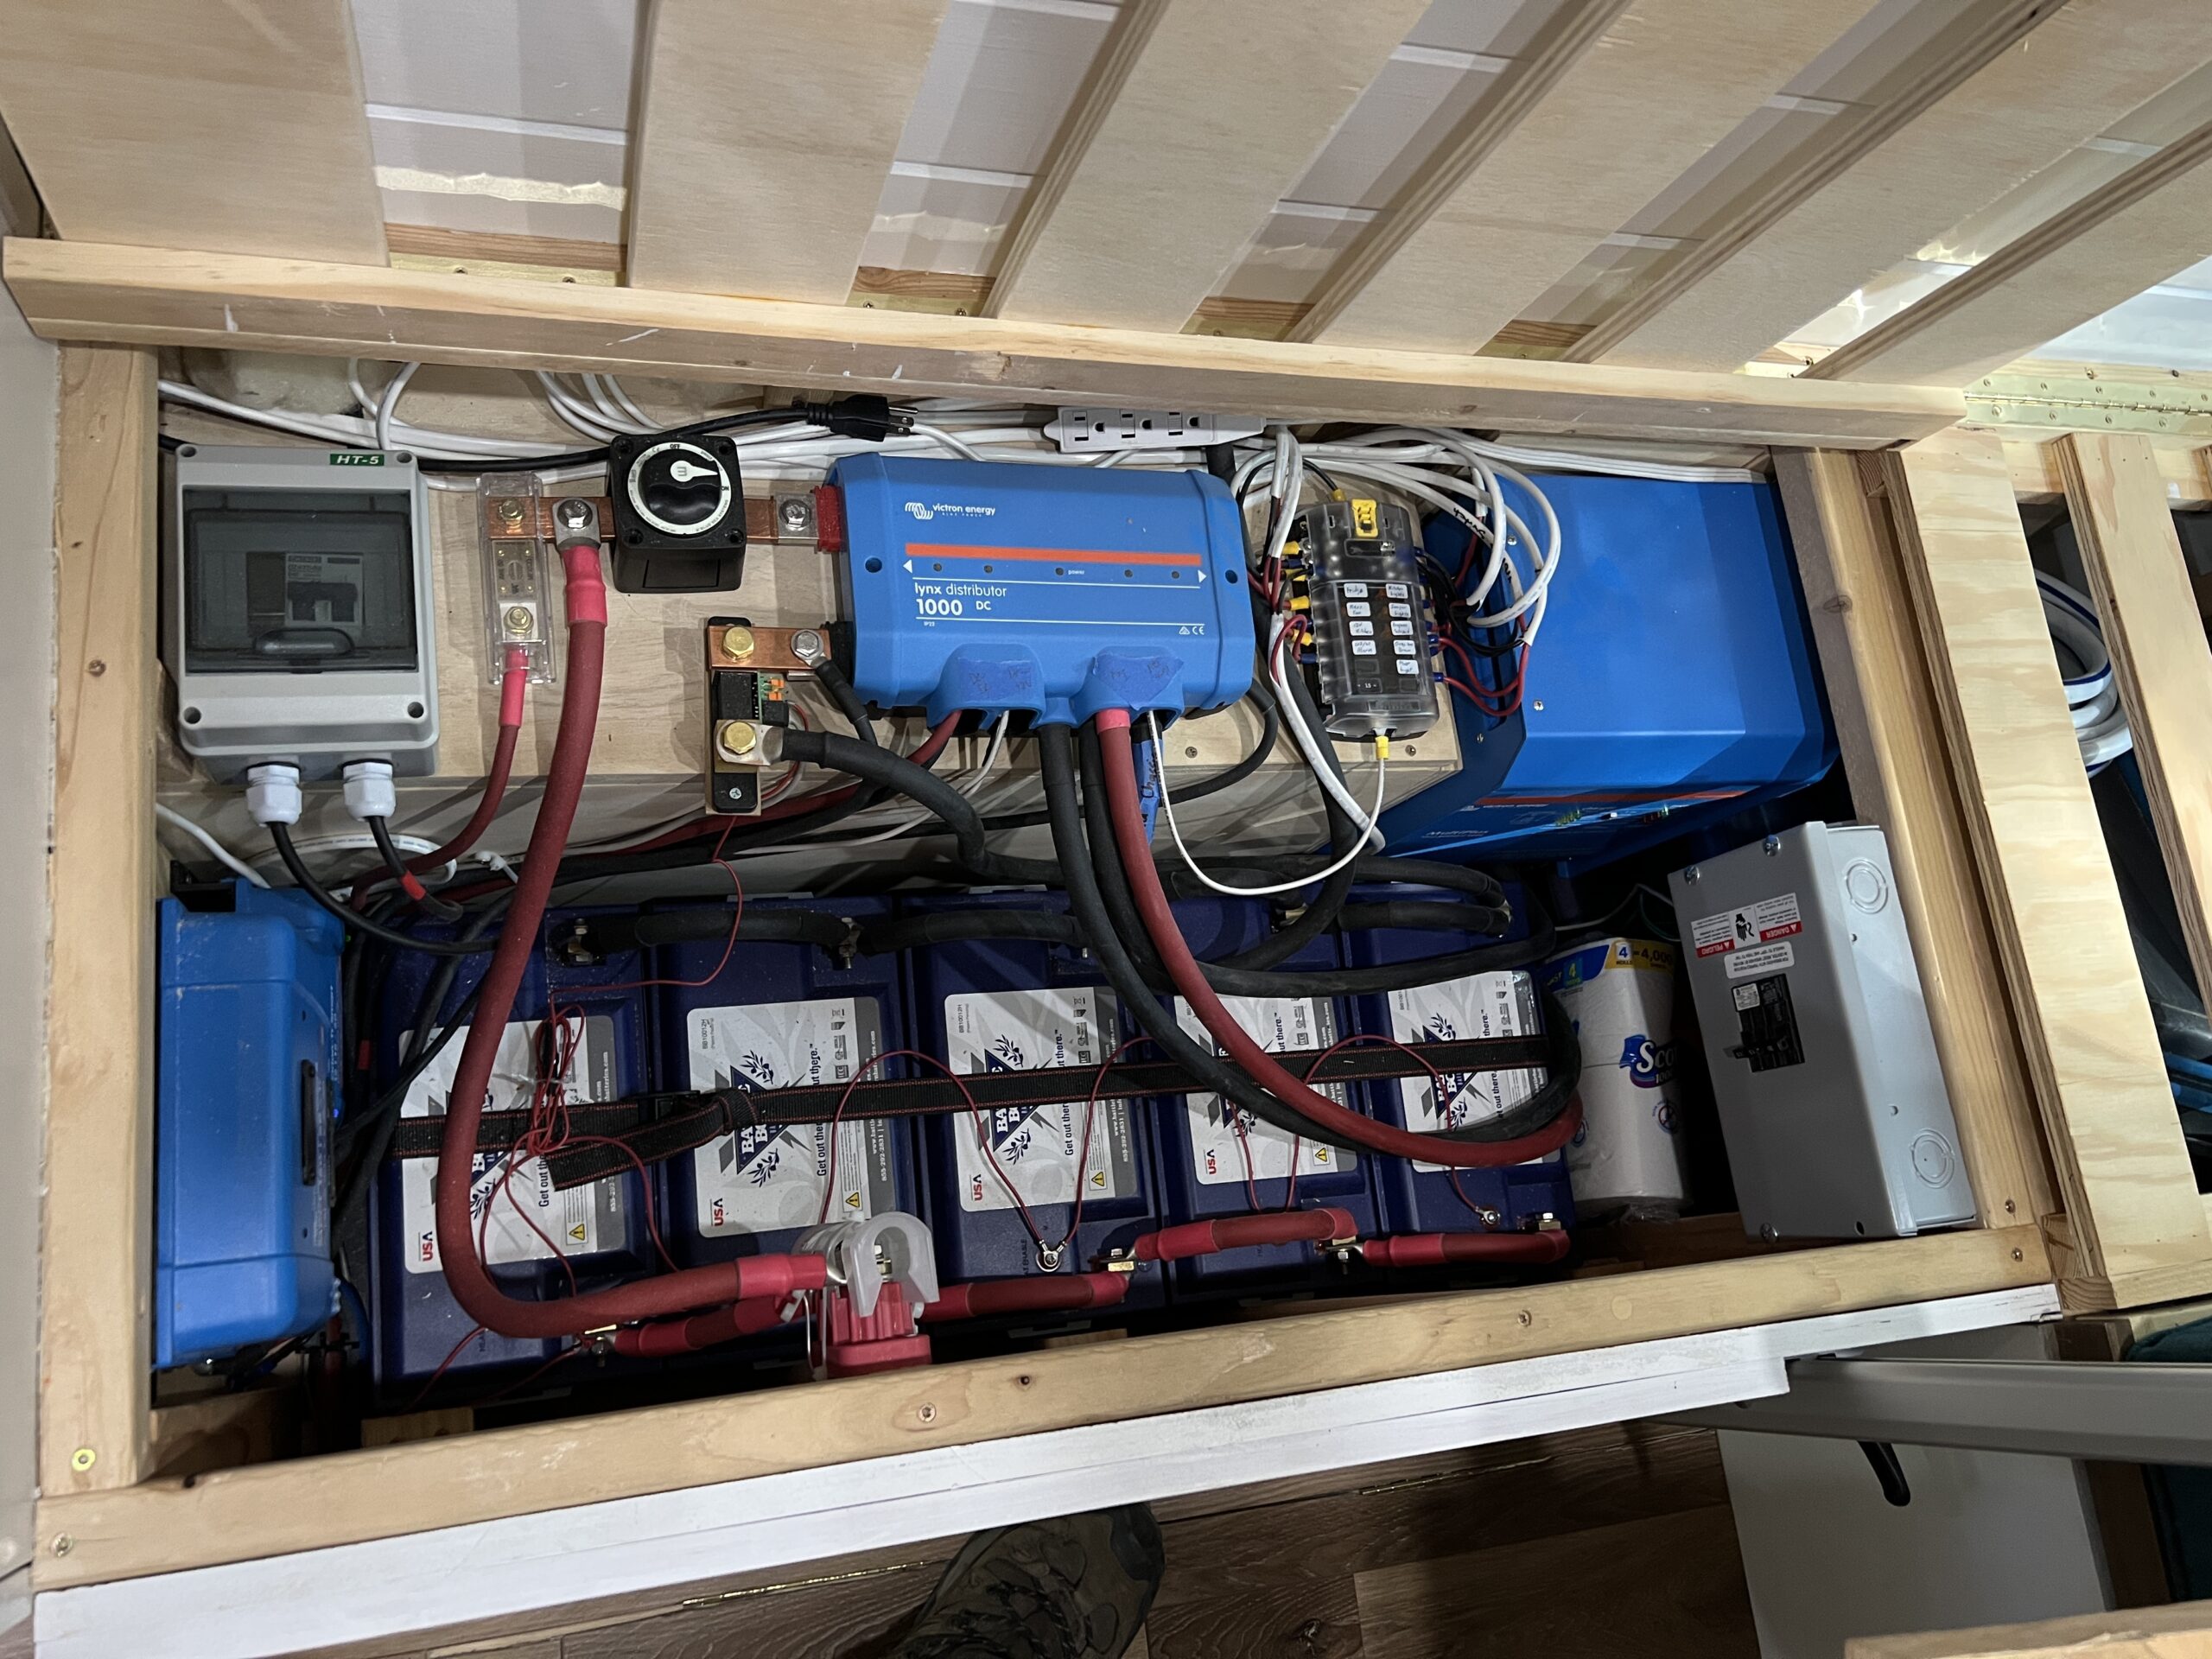
We love being able to charge our computers, phones and all our other travel gear using the electrical system in our van. Having LED lights, a water pump for our sink and an electric fridge really make our van a comfortable living space. This was one of the more complex portions of our build, so be sure to plan accordingly.
Note: This information below is for reference only. I am not a certified electrician and I’d recommend getting your electrical set up checked over by a electrician before you hook everything up. If your electrical is set up incorrectly, it can lead to dangerous situation.
I got my system looked over by a electrician and that gave me peace of mind knowing that my van is safe from electrical problems.
Below are the major components that are in our electrical system:
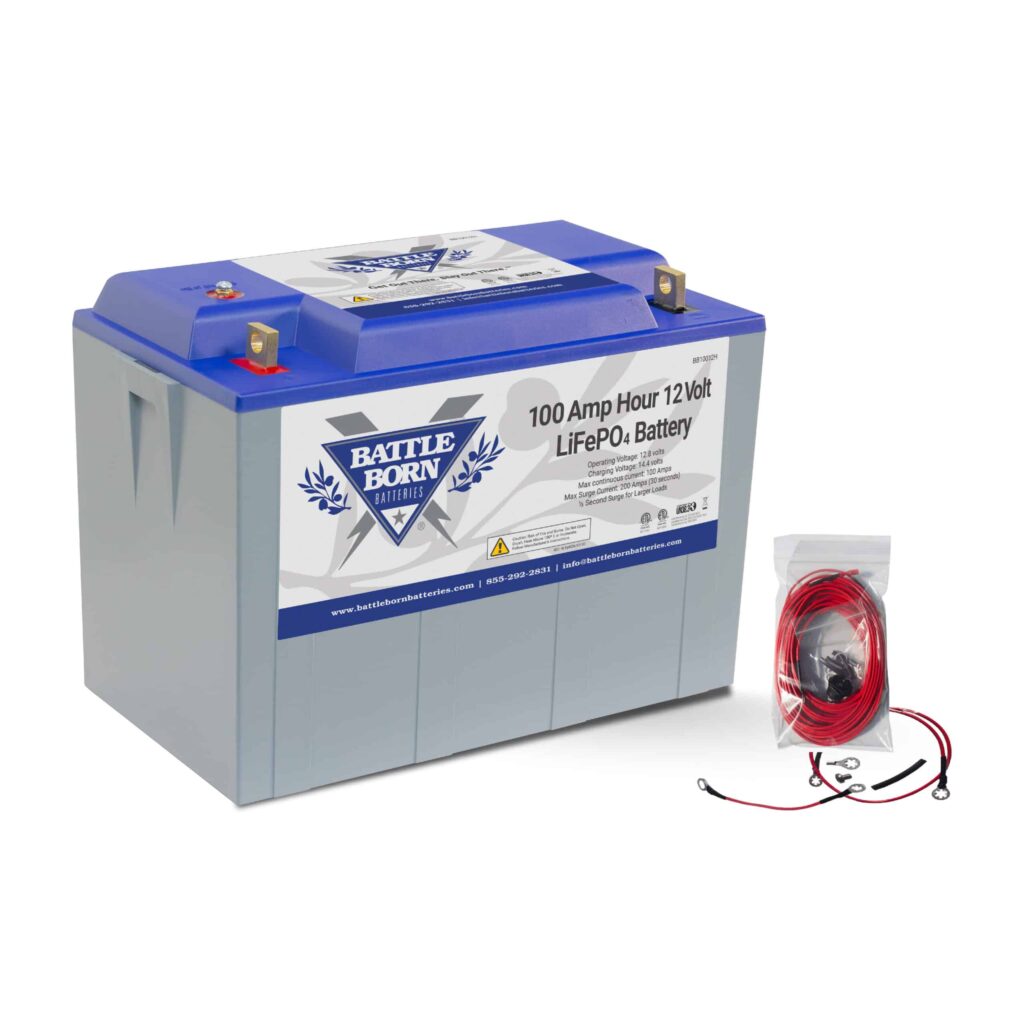
- Battle Born Lithium Ion Heated Batteries
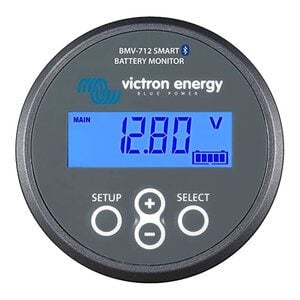
- Victron Battery Monitor with Bluetooth
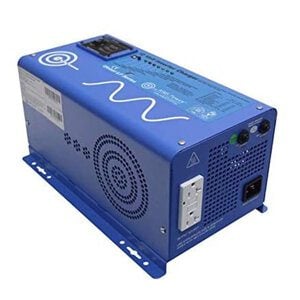
- 12V Inverter/Charger
- Inverter Display/switch
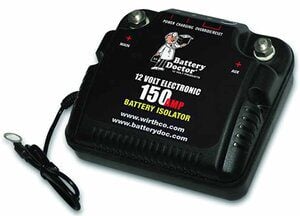
- Battery Isolator (Battery Doctor)
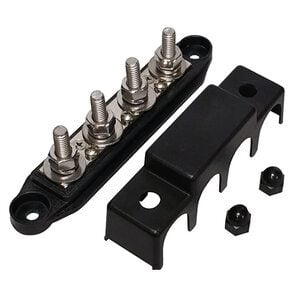
- Bus Bars
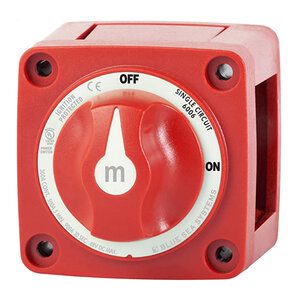
- On/Off Switch
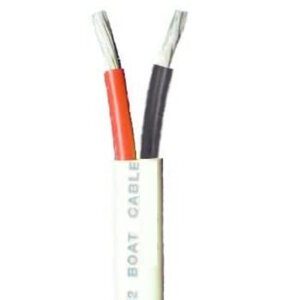
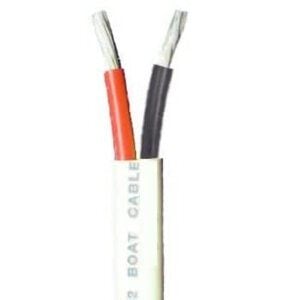
- Wires (100 ft Spools)
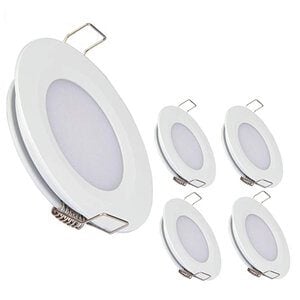
- Puck Lights
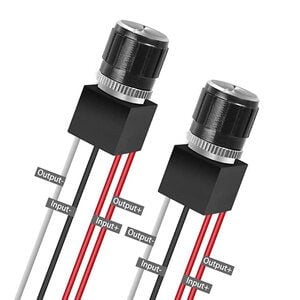
- Dimmer switches
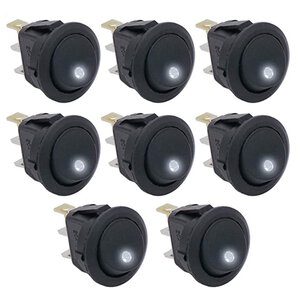
- Toggle Switches
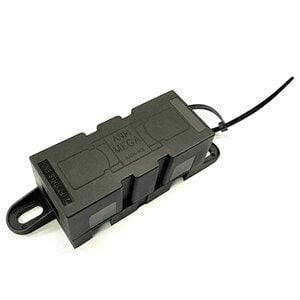
- 12V Fuse Blocks
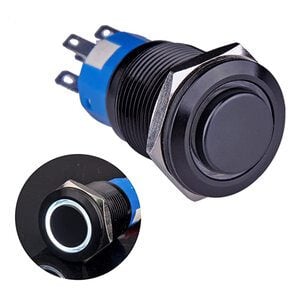
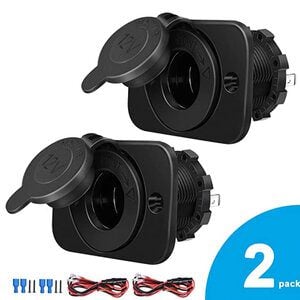
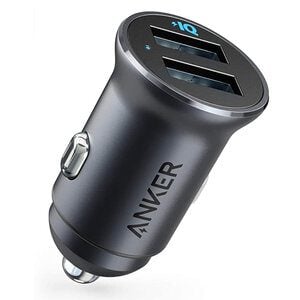
- 12V Outlets/Cigarette lighters ports
Want to learn exactly how to build and install your solar-powered campervan electric system?
Installing electricity in your campervan can seem like an overwhelming task, especially if you have no prior experience working with batteries, wires and solar panels.
Save yourself the headaches and hours of research we went through with step-by-step instructions, video tutorials, tools & materials lists and blueprints you can actually copy so you can get electricity anywhere!
Click below to learn more about our Electrical System Workshop.
Solar System
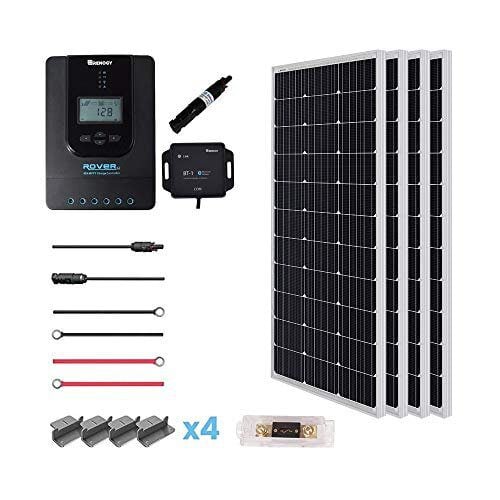
Renogy 400 Watt 12 Volt Off Grid Solar Premium Kit
Adding solar panels to our van really took Pearl (yes, our van has a name 🙂 to the next level! Renogy is a great brand for vanlifers who want quality solar products, but are still on a budget. We bought this kit with a solar charge controller, four 100W panels, mounting brackets and a Bluetooth module.
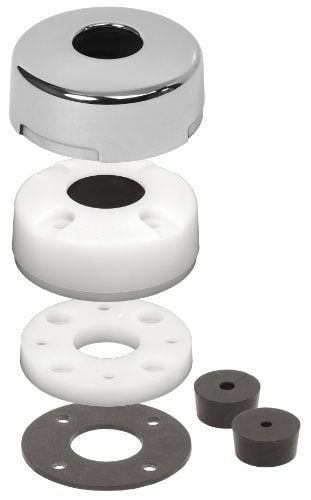
We used these Cable Clams to route the wires from our solar panels through the ceiling of our van. This makes a leak proof seal to safely bring the wires inside.
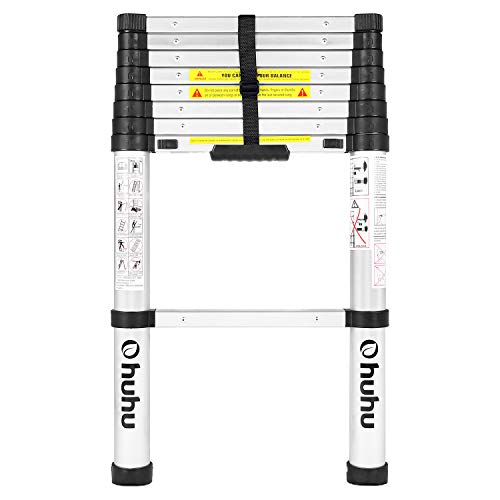
Ohuhu 8.5 FT Aluminum Telescoping Ladder
A collapsible ladder is so much more practical than an expensive permanent exterior ladder. Tucks away nicely in storage and is basically 1/10th of the cost!
Insulation & Temperature Control
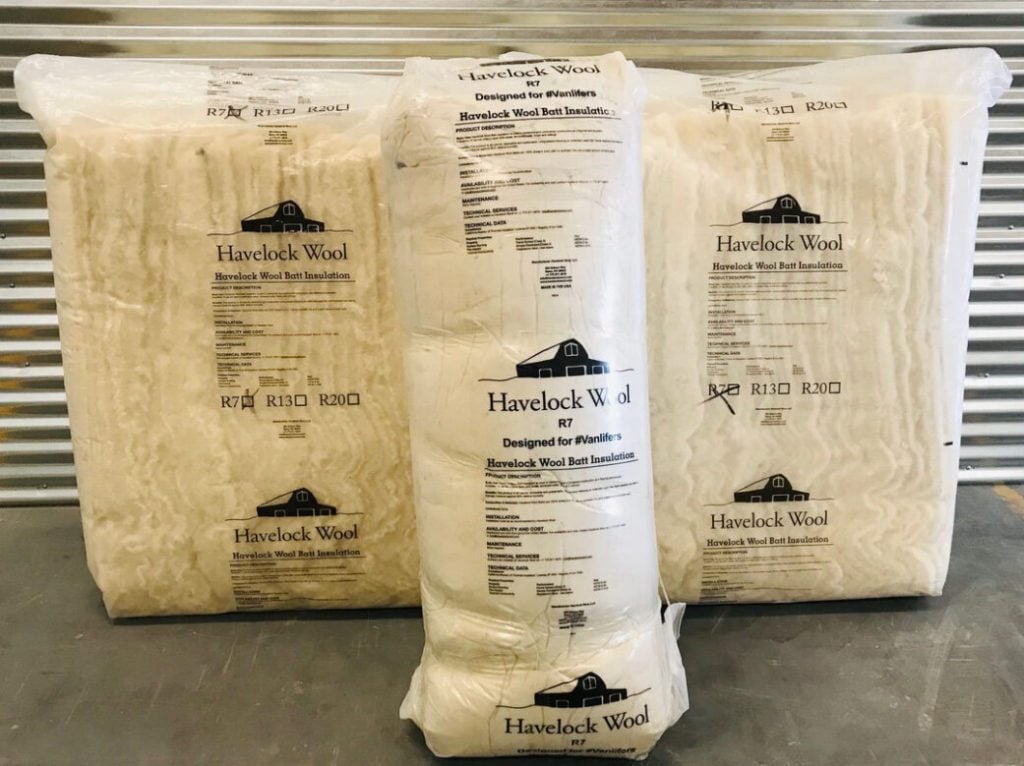
Putting up insulation was one of the first steps we took when building out our campervan. When choosing insulation, you’ll want to think about moisture control, temperature control, sound dampening, and the quality of the product you will be putting in such a small space. We chose Havelock Wool for insulation, and we could not be more happy.
Other products we used in our van at this stage included:
Condensation is inevitable in a van and wool is able to absorb the moisture and release it back into the air. Wool also has great insulating properties which aid in regulating the temperature of your van (R-value of 3.6 per-inch) and sound dampening. Havelock Wool is safe to breathe and chemical free, which is a huge plus in such a small space. Plus it’s eco-friendly! It is a renewable, naturally grown resource.
Kilmat 50 mil 50 sqft Car Sound Deadening Mat
We didn’t necessarily need sound deadening materials because we have wool insulation. But we decided to install it because we wouldn’t be able to put it in after the walls are up. Happy to report: our van is very, very quiet.
Maxxair 7000K MaxxFan Deluxe Fan with Remote
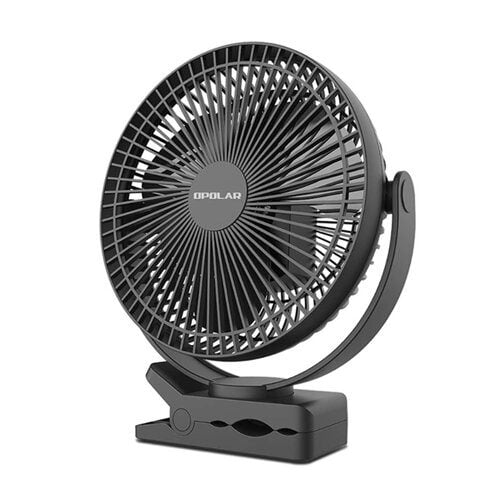
Fans are a must in a campervan to remove moisture and to get a breeze going through the van. We love the Maxxair Deluxe because it was easy to install and has a remote!
Kitchen
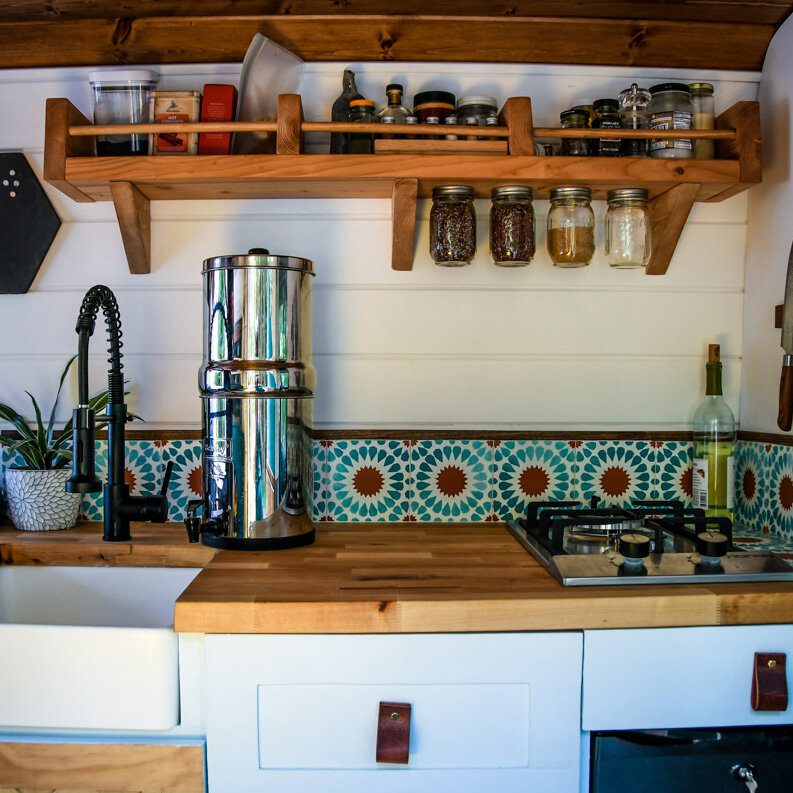
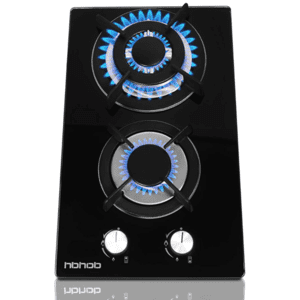
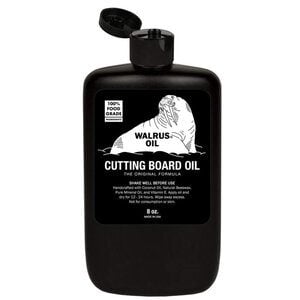
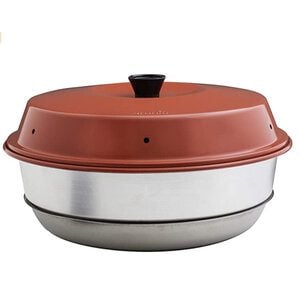
We could not be more happy with our small campervan kitchen. We designed it to have plenty of storage and extendable countertop space. The butcher block countertop looks really nice, but it does require a little maintenance with oil and wax once in a while. We also love cooking in our van, and our two burner gas stove is the perfect size.
Camper van supplies for our kitchen:
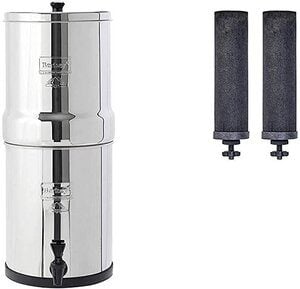
Our Big Berkey is such a nice addition to our campervan kitchen.
Often, the water at fill up stations tastes like metallic well water or other chemicals, which certainly isn’t the best for drinking. The Big Berkey water filter removes all those toxins and chemicals and allows us to drink fresh purified water while on the road. We have the Travel Size Berkey (1.5 gallons), so it doesn’t take up much countertop space (clutch in a van!).
Bed & Benches
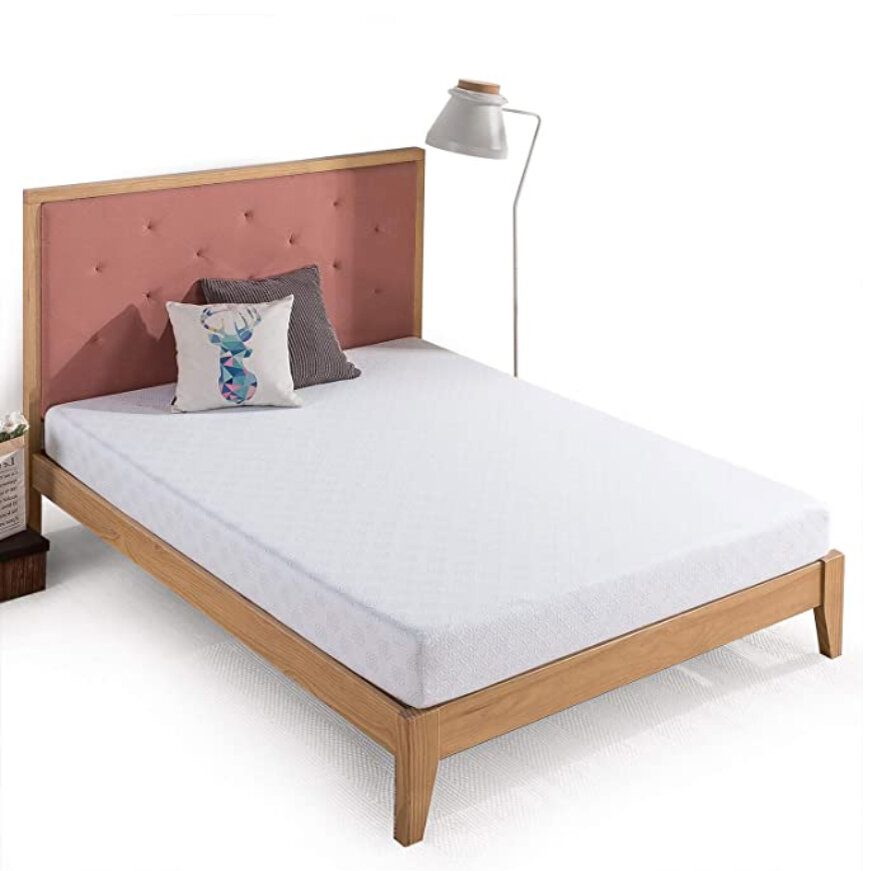
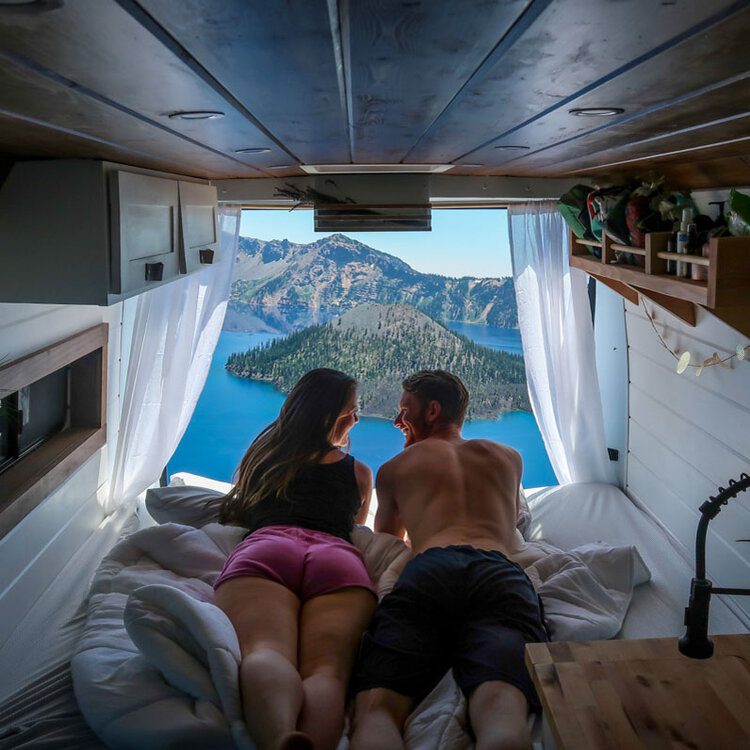
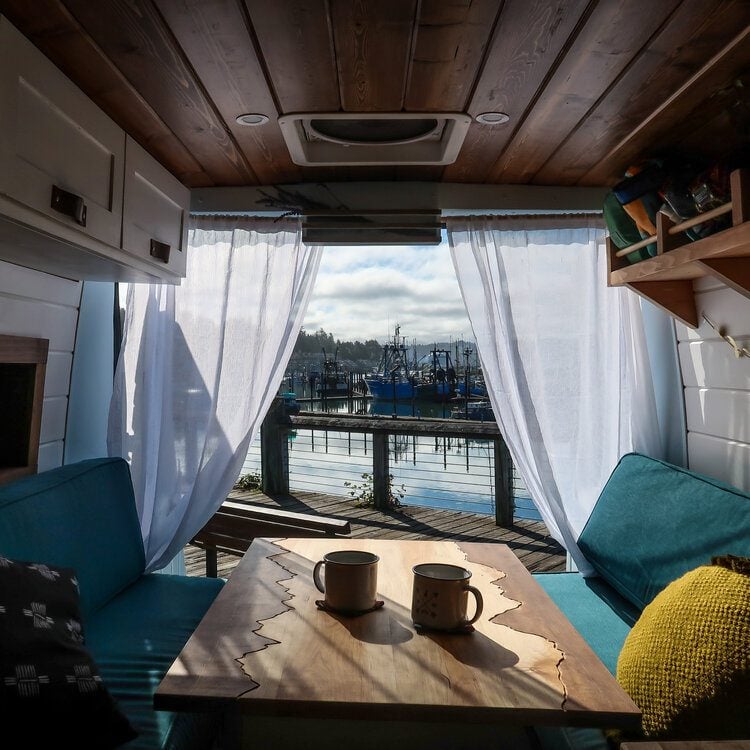
We designed our van so that the table drops down and the bench cushions slide into place to create our (nearly) queen sized bed. The benches/bed were made out of a 6-inch Zinus Memory Foam Mattress that we cut into sections.
Camper van supplies for our bed/benches setup:
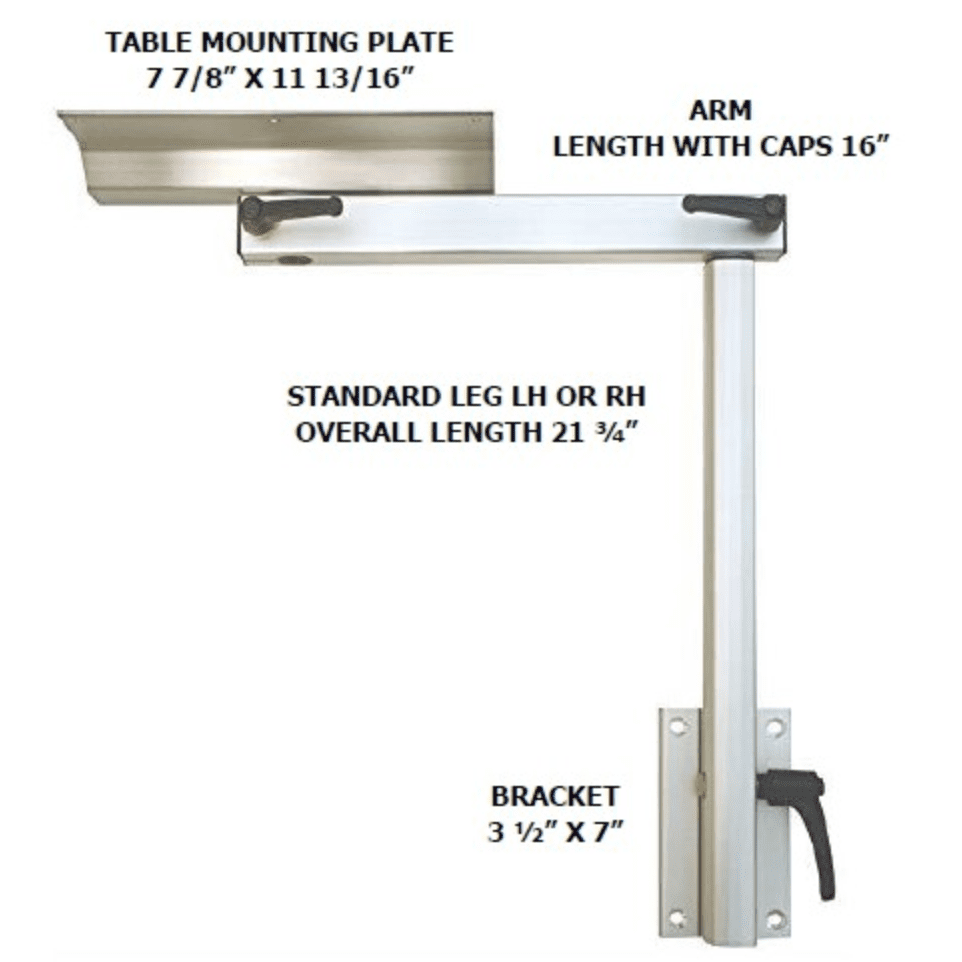
The Lagun Table Leg makes adjusting the table height so easy. It also allows the table to swivel out of the way when we need it to.
Toilet
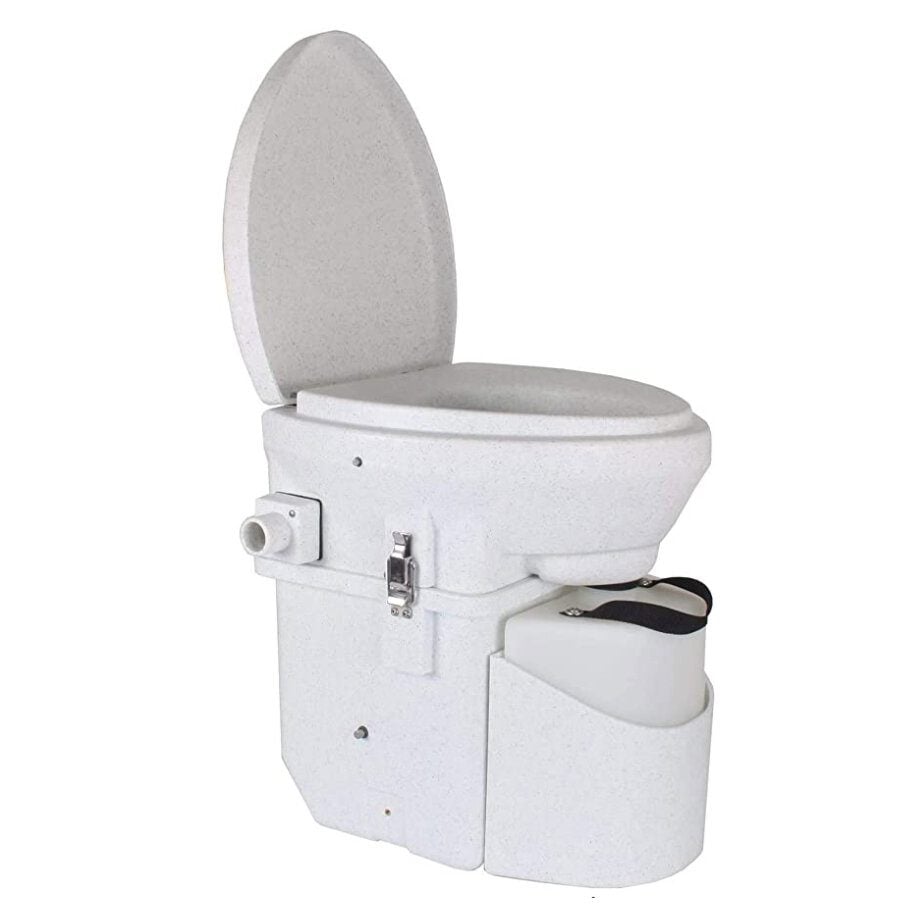
Adding a composting toilet was one of the biggest improvements from our previous van build. We no longer have to park near a trailhead or public park to use the bathroom. Deciding which kind of toilet to put in your campervan can seem like a challenging endeavor as there are lots of options out there. But for us, the Nature’s Head was a no-brainer. I wouldn’t choose any other toilet for a campervan.
Nature’s Head Self Contained Composting Toilet
The best part of the Nature’s Head composting toilet is that it does not smell at all… and I mean AT. ALL. The toilet is designed to separate liquid and solid waste. There is a little fan that circulates the air in the solid container and vents outside the van.
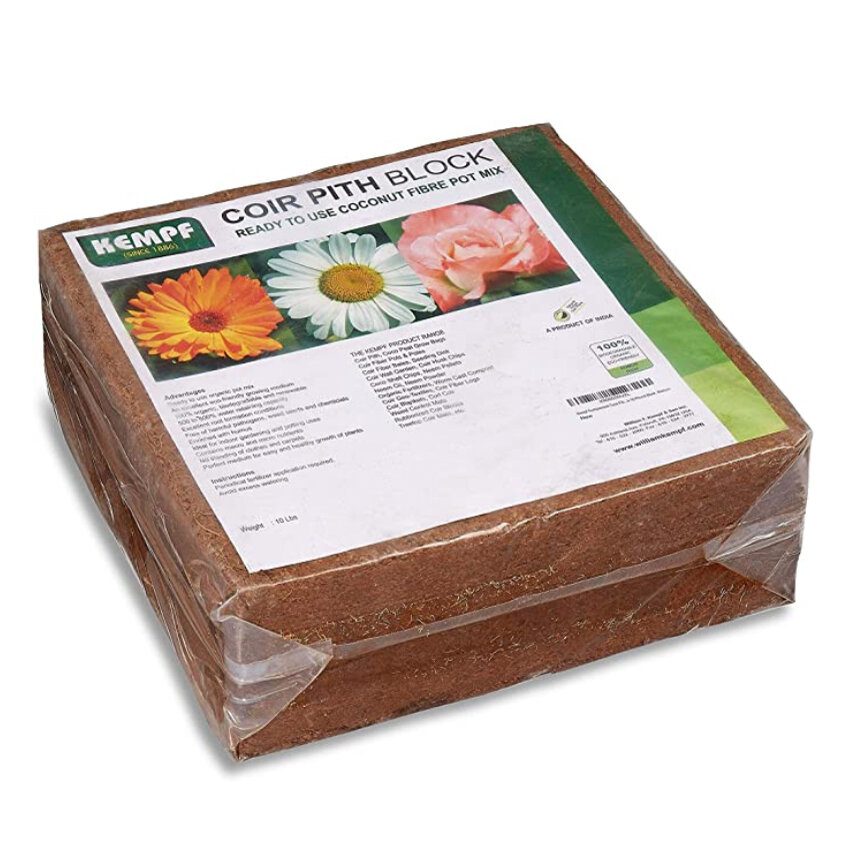
We put the compressed coco fiber in the solid’s container to help with the composing process.
Water System
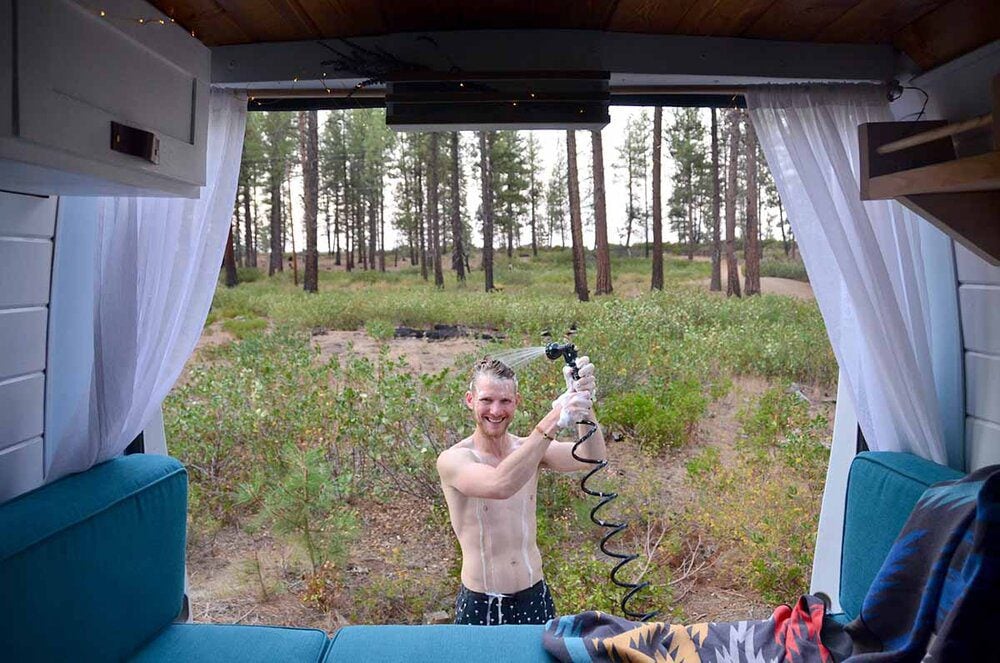
Having running water in our van is such a convenient luxury! And it’s surprisingly easy to install.
With our 16-gallon fresh water tank, we typically can go about 4 days between fill ups.
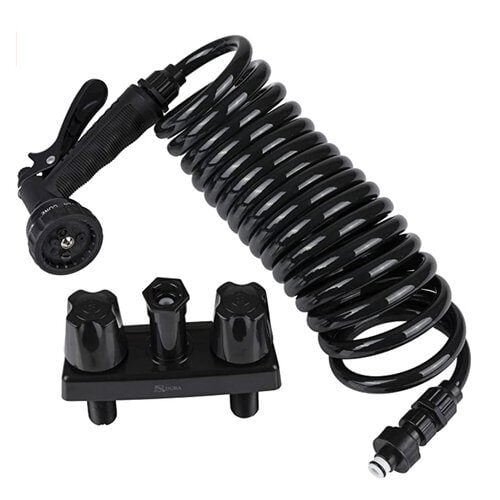
Having a shower hookup out the back of our van is a nice addition when you’re deep in the woods and need to get clean!
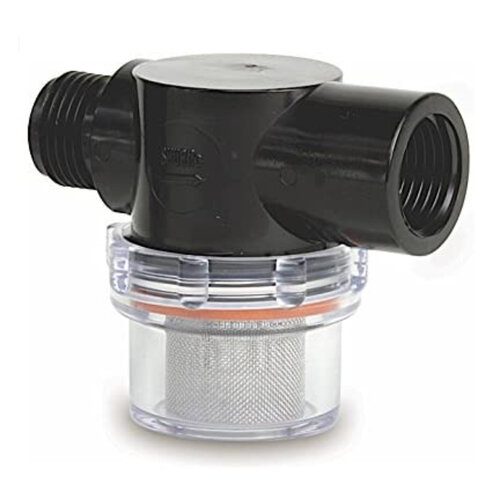
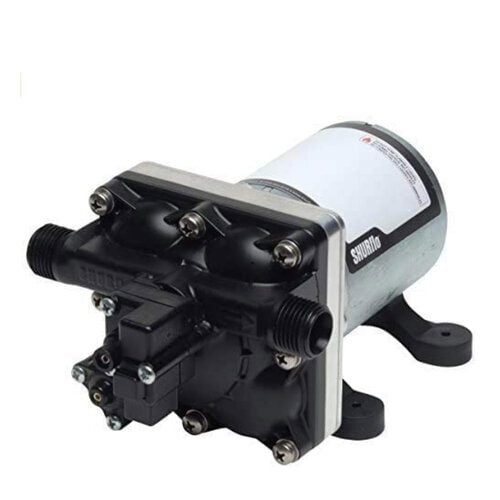
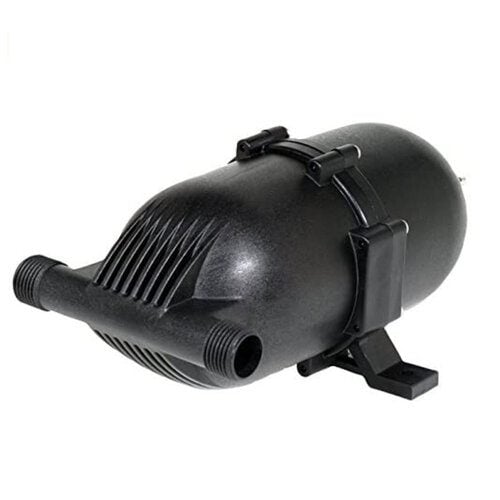
These are the components of our water system:
-
Grey Water Tank (okay, it’s actually Blue 😉
Propane System
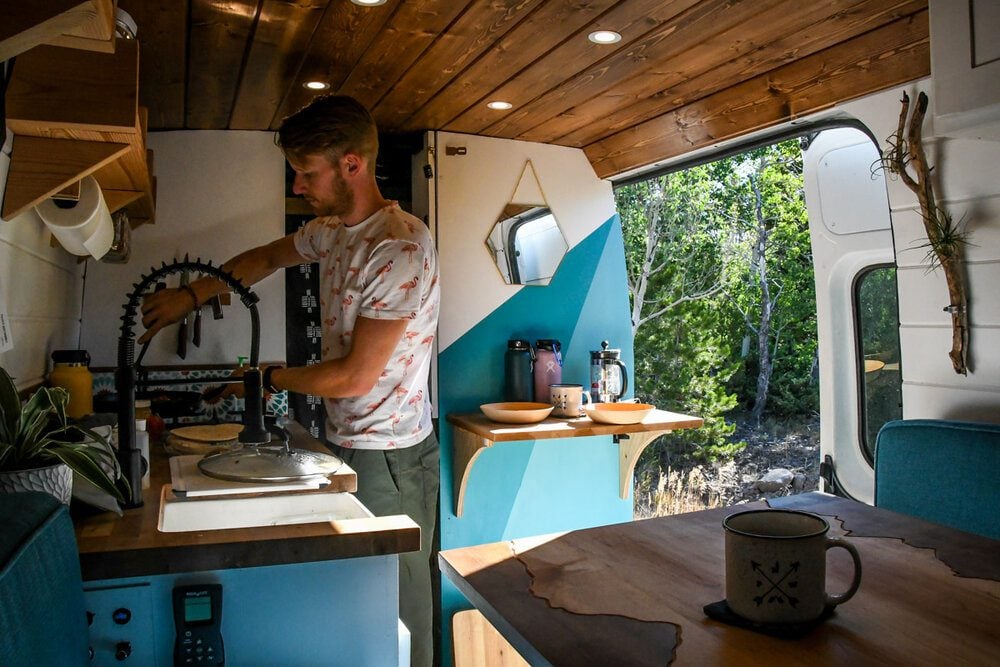
Cooking with propane is nice because we can control the flame, and it doesn’t drain our batteries like an induction cooker would.
However there are many safety precautions you need to consider before installing a propane system inside your van. These are the components of our propane system.
Windows
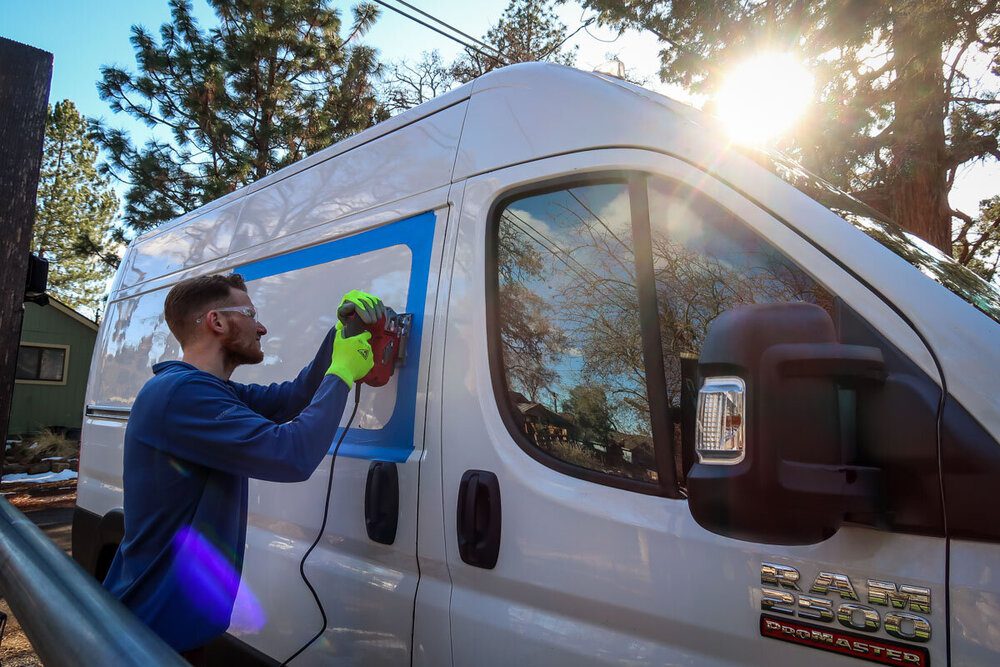
Our van didn’t come with windows on the sides so we had to install them ourselves. We purchased our windows from VanWindowsDirect.com and followed the instructions on their website. The first cut through your van’s wall is the scariest, but it is totally doable. And it makes the second window a breeze!
Here is everything we used:
This is all a lot, where should I start?
We understand just how overwhelming it can be to start this process so we poured all of our personal experience and advice into a resource just for you.
Enter your email when you click below to immediately receive our Vanlife Jumpstart Toolkit, your FREE mega guide to jump-starting your #vanlife dreams!
Van Decor
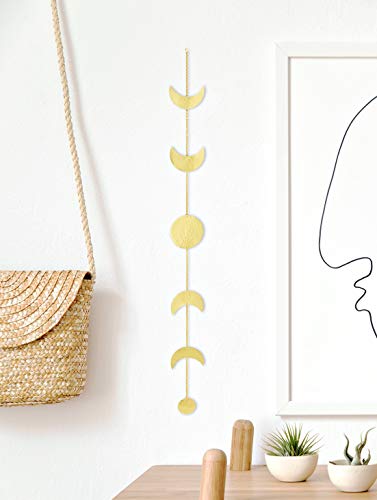
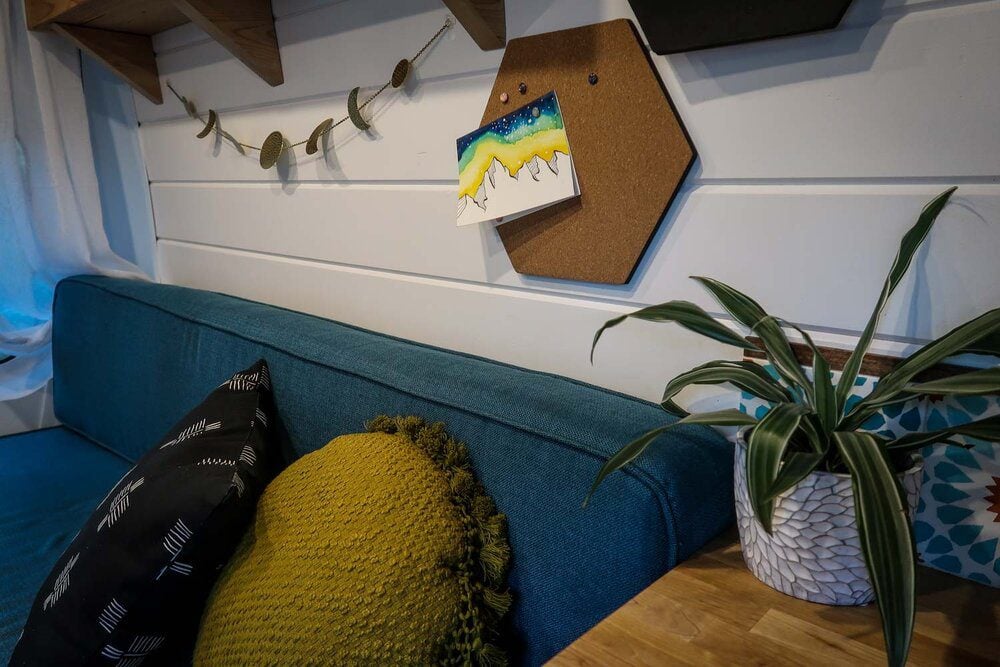
Style up your van and make it your own! We’ve added a few things here and there to make our van feel more like home. Here is a short list to give you more inspiration:
Extras
These items just really didn’t fit into another category… so they are here 🙂
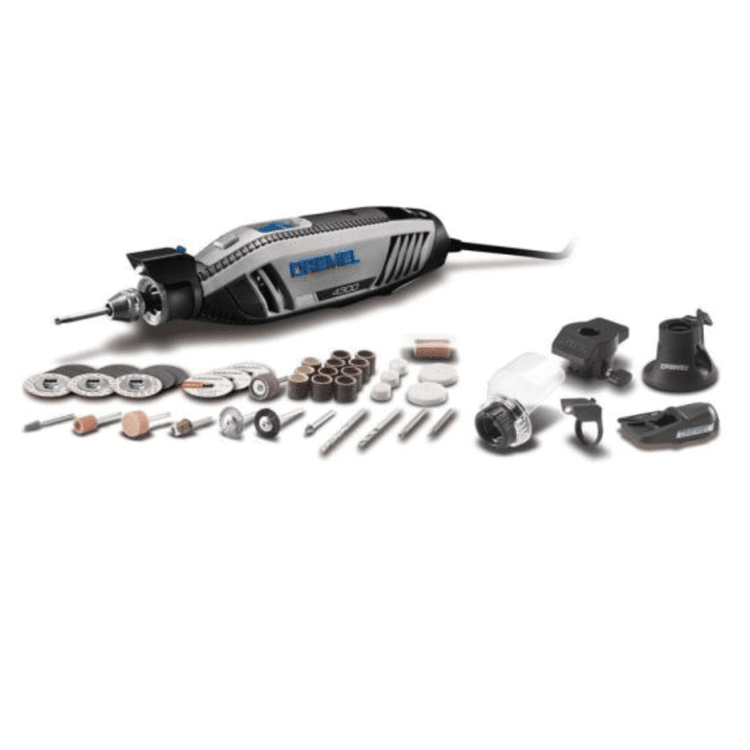
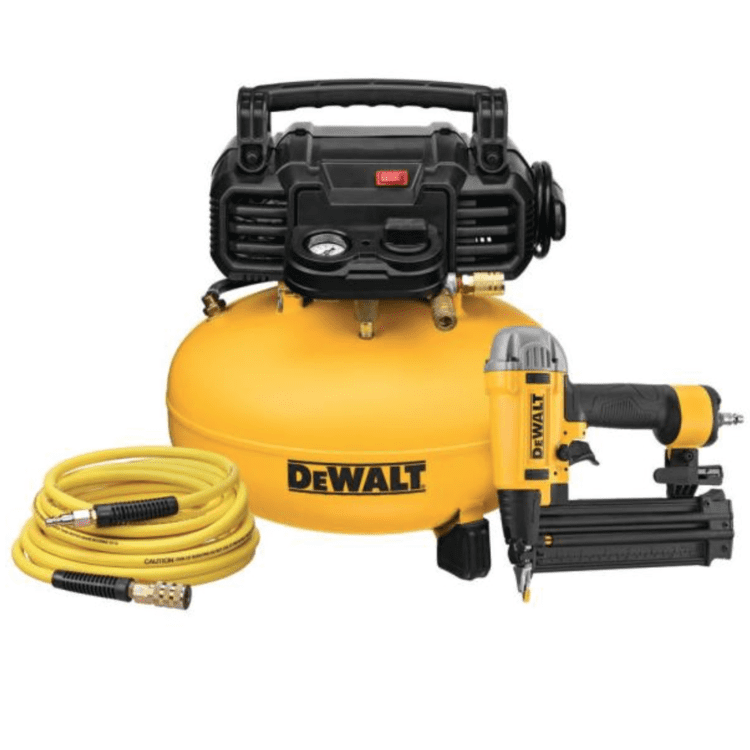
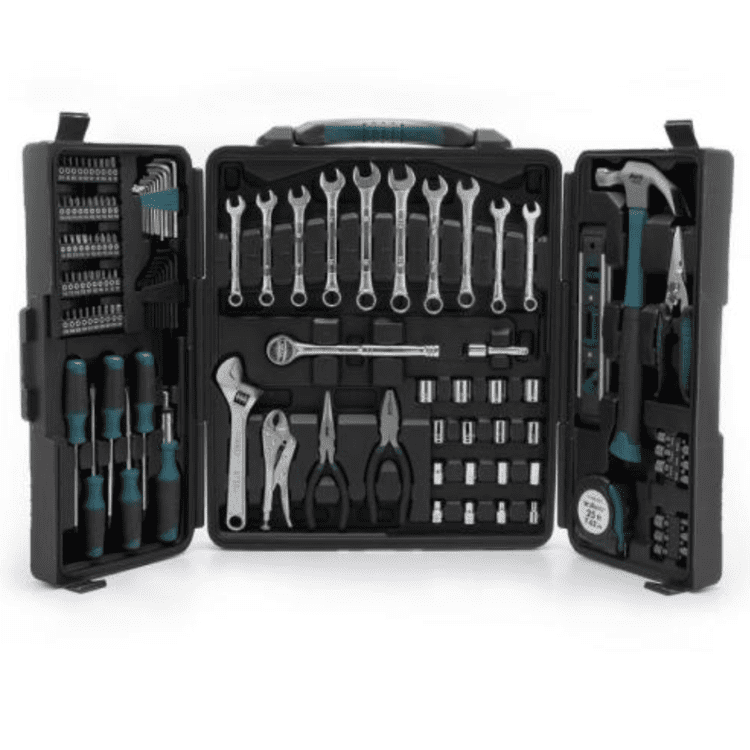
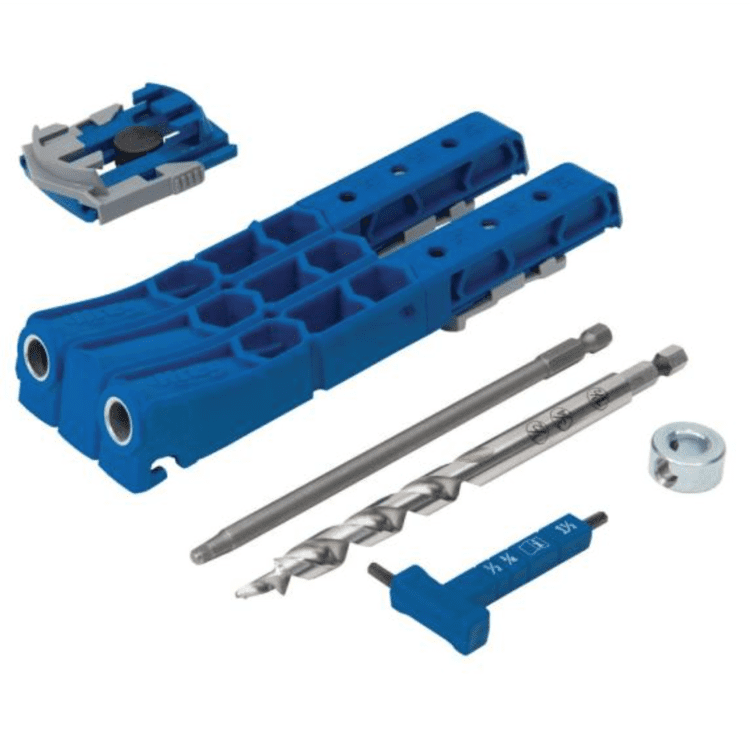
Tools Needed

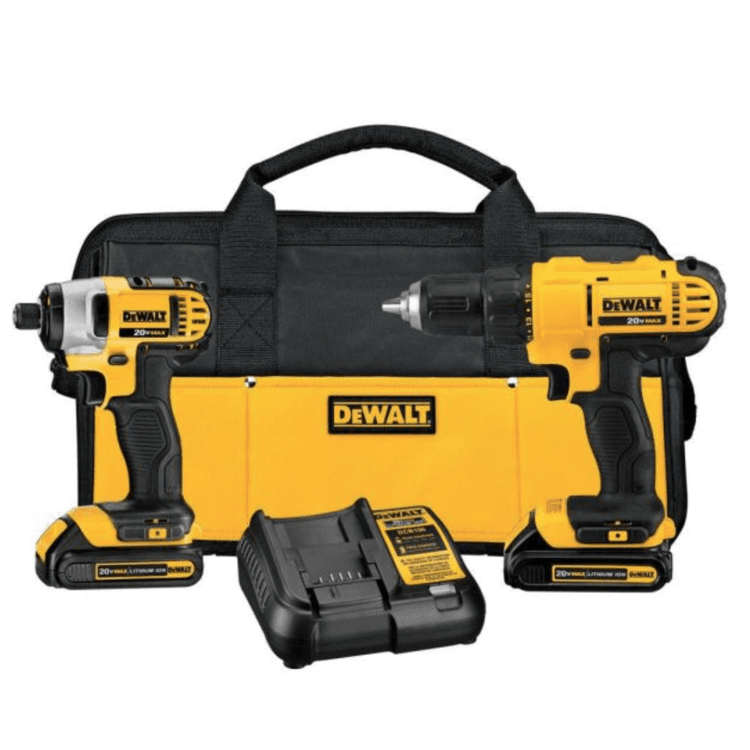
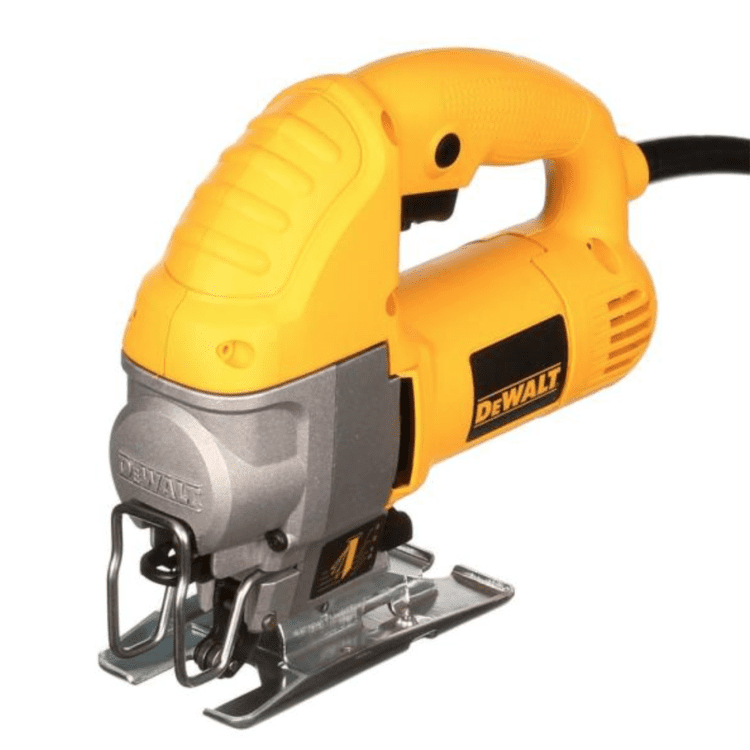
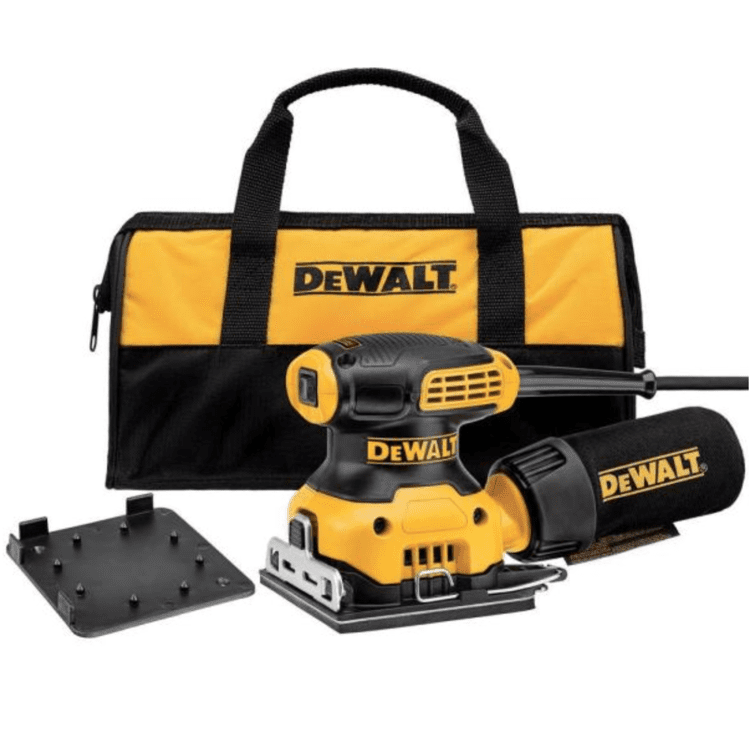
These are the major tools we used for our build.
While this is not the most exhaustive list of all the tools we used, this will get you started. Of course you could have more tools and machines for your build, but these are the main tools we used.


