This is the ultimate Havasupai packing list that has been curated for this specific backpacking trip. We’ve included all the essentials to bring, what to leave at home, the lowdown on food at Havasupai, as well as insider packing tips.
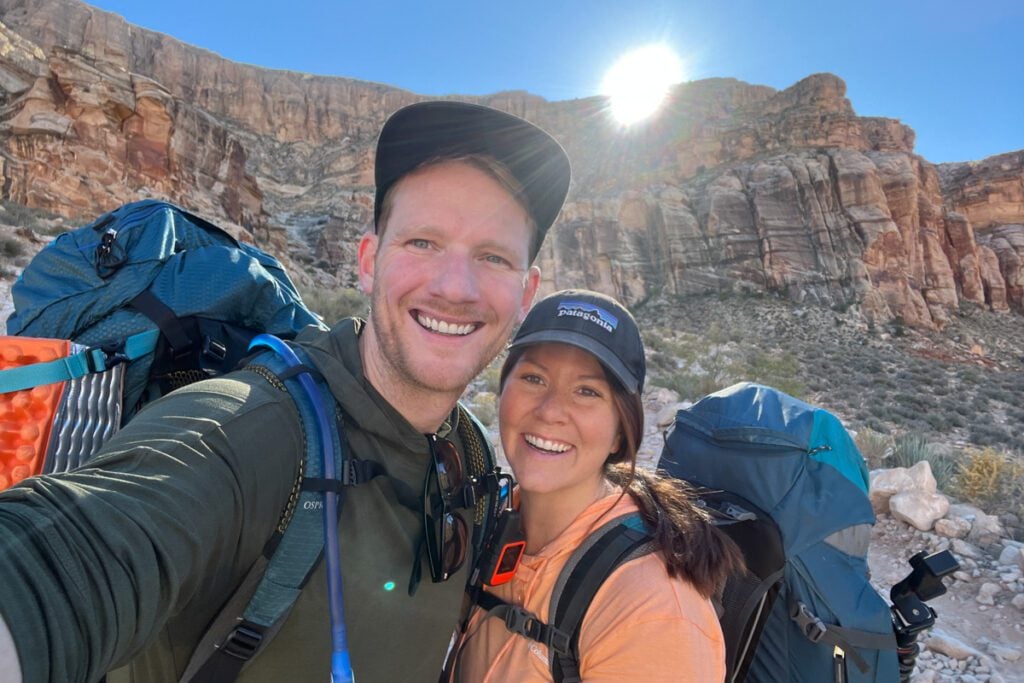
Congrats – you’ve secured your permit to Havasupai and you’re ready to embark on the adventure of a lifetime! Now it’s time to start thinking about what to pack for a Havasupai backpacking trip.
Whether you’re a backpacking newbie (yay, you’re in for a treat!) or you’re a total pro, this packing list will come in handy because it has been curated specifically for Havasupai.
That means that we’ve put thought into what to wear in this climate, what hiking gear is essential and what you can leave at home, what food to bring, and even some fun items that’ll make your trip extra special.
Save this Havasupai packing list so you don’t forget anything!
Havasupai Packing List
- Packing tips
- Essential gear
- What to wear
- Food & water
- Optional (fun) items
- What NOT to bring
- Our experience
More resources:
- Havasu Falls Hike: What to expect + Insider Tips
- Best Time to Visit Havasu Falls: Our Top Pick + When to AVOID
- How to Get a Havasu Falls Permit: Instructions & Tips
- Havasupai Campground: How to Find the Best Campsite
The ultimate Havasupai packing list
If you’re planning a trip to Havasupai, we have the ultimate resource for you!
This FREE PDF download includes everything you’re going to want to pack for your Havasu Falls hike, including what NOT to bring, plus tons of insider tips!
Sign up for our ultimate Havasupai packing list now and get a copy sent straight to your inbox.
Havasupai packing tips
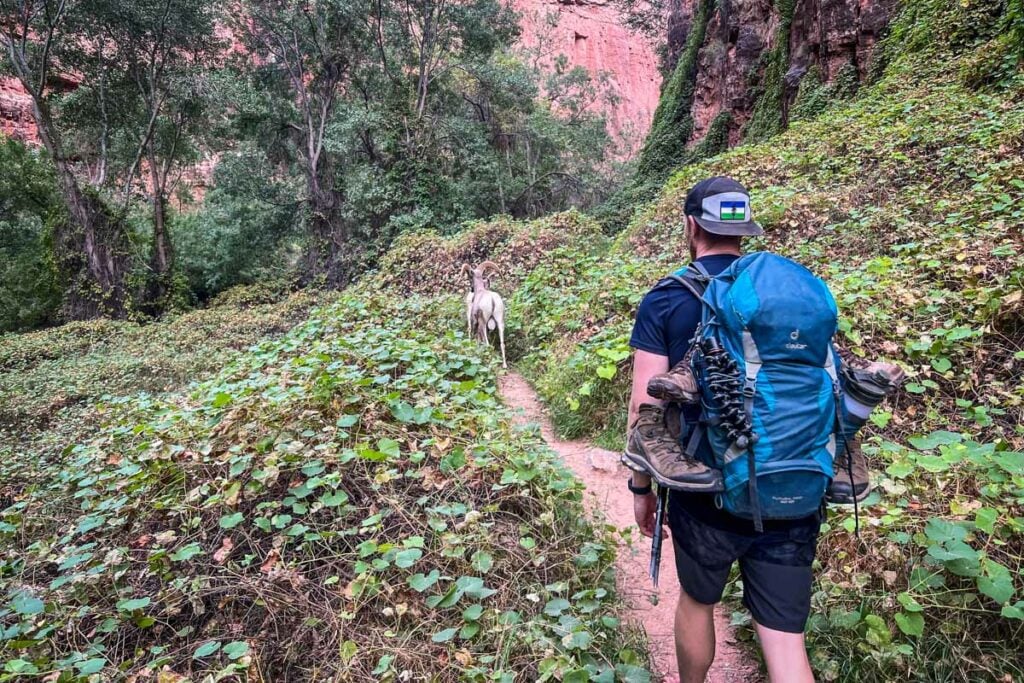
- We’d recommend trying to pack as light as possible while also bringing the items that will give you comfort on the trail. The items on this Havasupai packing list are all the things to think about. However, you may not personally need every single item listed.
- Don’t forget to print out your permit.
- Do a test run. Fully pack your bag (with water) and try doing a short hike so you have a sense of how heavy it is. If you think it’ll be too uncomfortable, try shedding some weight.
- If you are coming from outside of Arizona, you’ll also need to put some thought into flying (or driving) with your gear.
- If you’re flying, be sure to pick up a lighter and propane canister once you arrive (as you can’t fly with them).
- Be sure you wear in your hiking shoes a bit before you hit the trails. And don’t forget to pack blister care!
- Have some sort of waterproof bag for items you’ll be bringing near the waterfalls (phone, wallet, etc.).
- Use packing cubes or stuff sacks to keep things compressed and organized.
- Be sure you pack everything out you brought in.
- Read up on all the things to know before your trip to Havasupai so you’re fully prepared.
- Leave a jug of water and some snacks in your car. Once you finish the hike, you’ll be hungry and thirsty, and there isn’t any access to food or water nearby.
- Be sure you have travel insurance and understand all of the fine print.
- Don’t forget to carry some cash for purchasing food or emergency supplies.
Backpacking gear
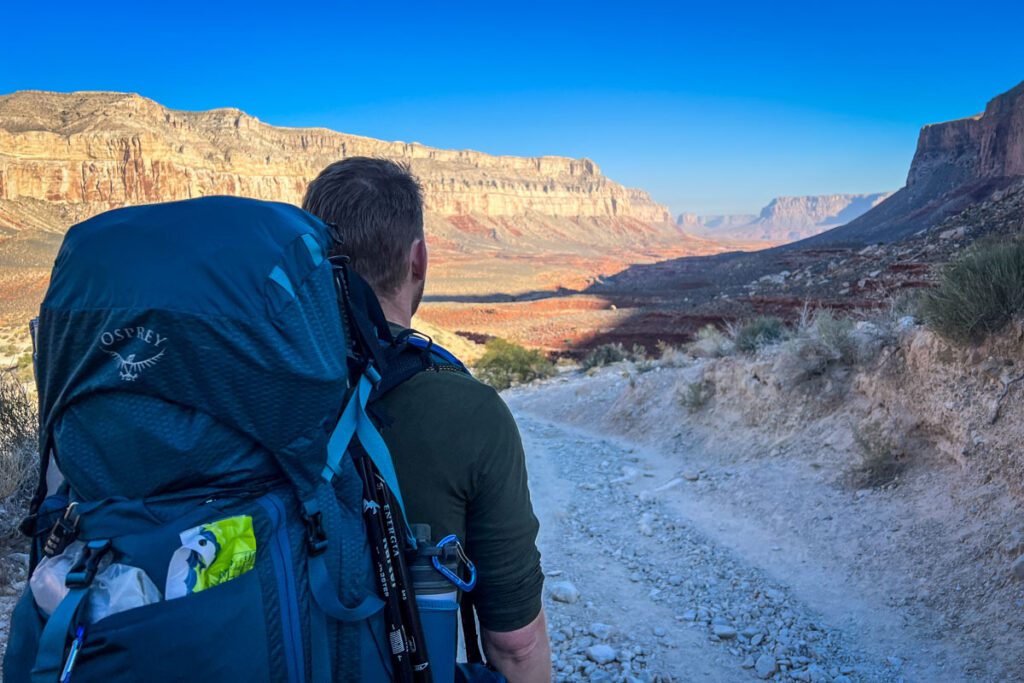
This section goes over all the necessities you’ll need for hiking and camping in Havasupai.
Essentials
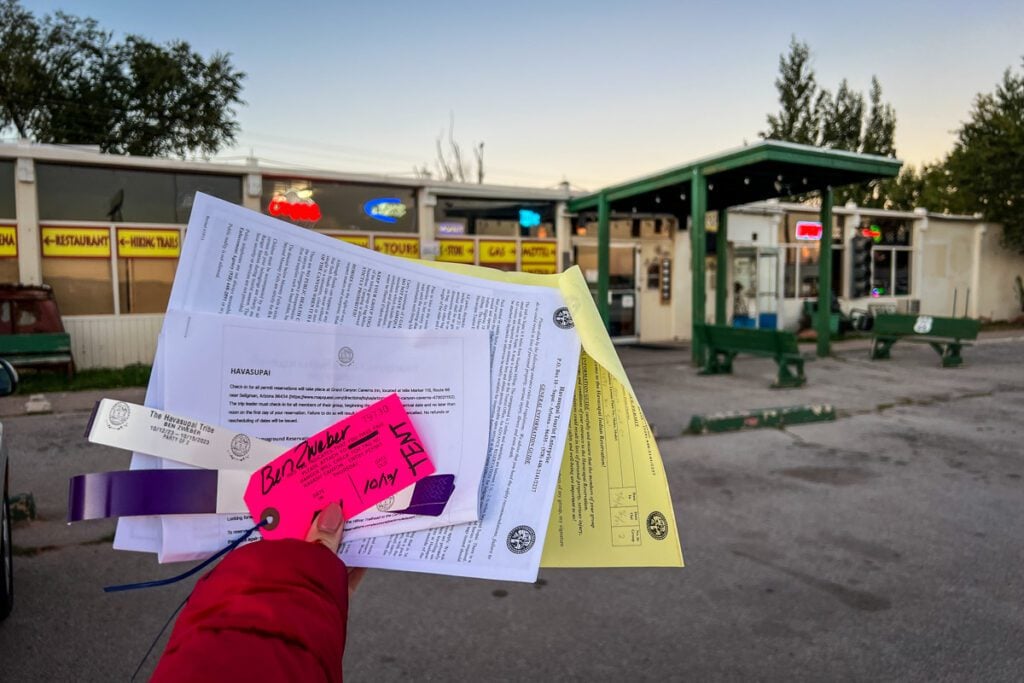
- Printed out permit
- Here are the exact steps to securing a Havasu Falls permit
- Photo ID
- When checking in at the Grand Canyon Cavern Inn, trip leaders must present their photo ID along with their printed permit.
- Cash
- You’ll need cash if you want to eat at the Indian fry bread stand at Havasu Falls or the cafe in town. It’s also a good idea to have on you in case of emergency.
- Navigation (physical map or AllTrails loaded on phone)
- Portable battery charger (this is our favorite one that can hold 5 charges)
- Duct tape
- First aid kit (make sure you have blister prevention, like moleskin!)
- Before your hike, be sure it is well-stocked and replace any necessary items.
- Garmin InReach Mini
- We hiked for many years without this, but now that we have it, we think it’s an essential – especially when we’re in an area with zero cell service and potentially very hazardous conditions.
- Travel insurance: read the fine print so you fully understand your coverage
Psst! If you are a newbie to backpacking and not sure where to start, we have a guide to backpacking for beginners on our sister site that has everything you need to know to feel comfortable hitting the trails!
Camping gear
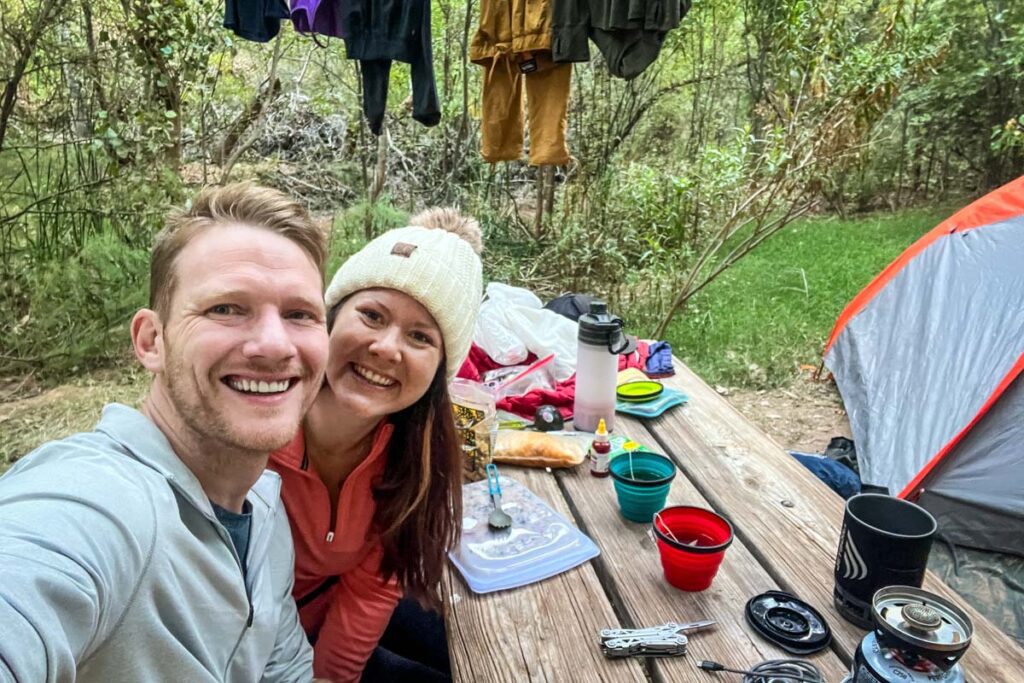
- Hiking backpack
- a rain cover is recommended too, especially if you’re hiking during monsoon season
- Packing cubes or stuff sacks to keep items compressed and organized
- Lightweight tent (this is similar to the one we have)
- Sleeping bag
- Check out the average temperatures in Havasupai during the month you’ll be visiting to make sure your sleeping bag is sufficient
- Ultralight inflatable sleeping pad (this is the one we use)
- Foam pad: We discovered that when we layer a foam mat plus an inflatable sleeping pad, the combination is super comfortable and we sleep amazingly.
- Camping hack: We personally have this foam mat, and we cut it in half. Each of us uses one half under the top portion of our bodies (from our shoulders to mid-thigh). It’s not necessary under your legs, so this hack allows us to save quite a bit of space.
- You can also use a foam mat to make sitting on the ground or picnic bench more comfortable.
- Camping pillow (optional)
- We have this one, but if you want to save space, you can ball up your warmer layers to use as pillows.
- Dry bag, ziplock baggie, or waterproof phone case (for keeping valuables completely dry when swimming or hanging out by the waterfalls)
- Microfiber towel or sarong
- Headlamp one with a red light function can be really nice since you’ll be using it to hike through camp at night and you want to avoid blinding people
- Hiking poles (optional): We personally brought them and didn’t find them necessary on this trail, however they could come in handy if you get injured
Toiletries
- Toilet kit: lightweight poo shovel, toilet paper, ziplock bag for storing, second ziplock bag for used TP, Kula cloth
- Hand sanitizer (my all-time favorite hand sani!)
- Chapstick
- Body wipes
- Toothbrush, toothpaste, & floss
- Deodorant
- Dry shampoo powder (opional)
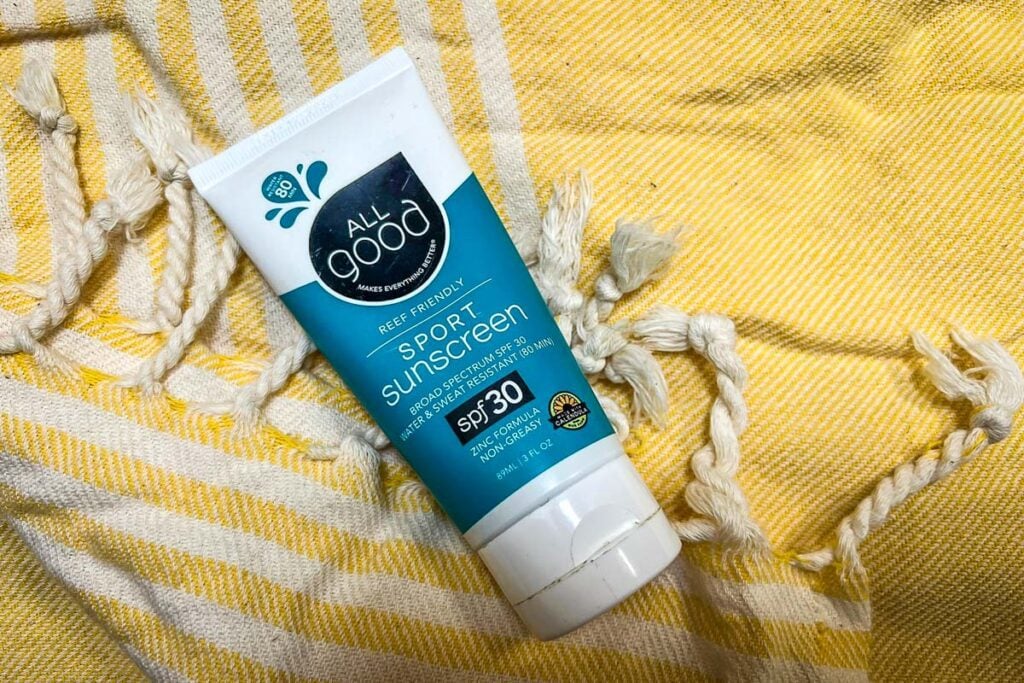
- Reef safe sunscreen (we like this one)
- Bug repellant (especially if you’re visiting Havasupai from May – September)
- Peppermint oil (apply to the back of your neck on a really hot day, trust me!)
- Any medication you normally take
Food & water
- Hydration bladder &/or water bottles
- Make sure you fill this with water before driving to the trailhead as there is no water fill there.
- We highly recommend bringing a bladder as it makes it so much easier to carry large amounts of water and to hydrate while hiking (without needing to stop)
- Water filtering system (we brought Grayl water bottles & used them to fill our bladders)
- We’ve got lots of tips for choosing a water filtering system
- Dehydrated meals
- These are our go-to tips for backpacking food
- Read more about food options in Havasupai
- Snacks
- These are our favorite hiking snacks
- Electrolyte tablets (we like these)
- Tea bags for at night (optional)
- Aeropress, coffee grounds, and collapsible cups (optional)
- Backpacking stove (like a Jetboil)
- Propane
- FYI: you can’t fly with this
- Lighter and/or matches
- Utensils
- Multitool (if you’re flying, remember to put this in checked luggage, not your carry on)
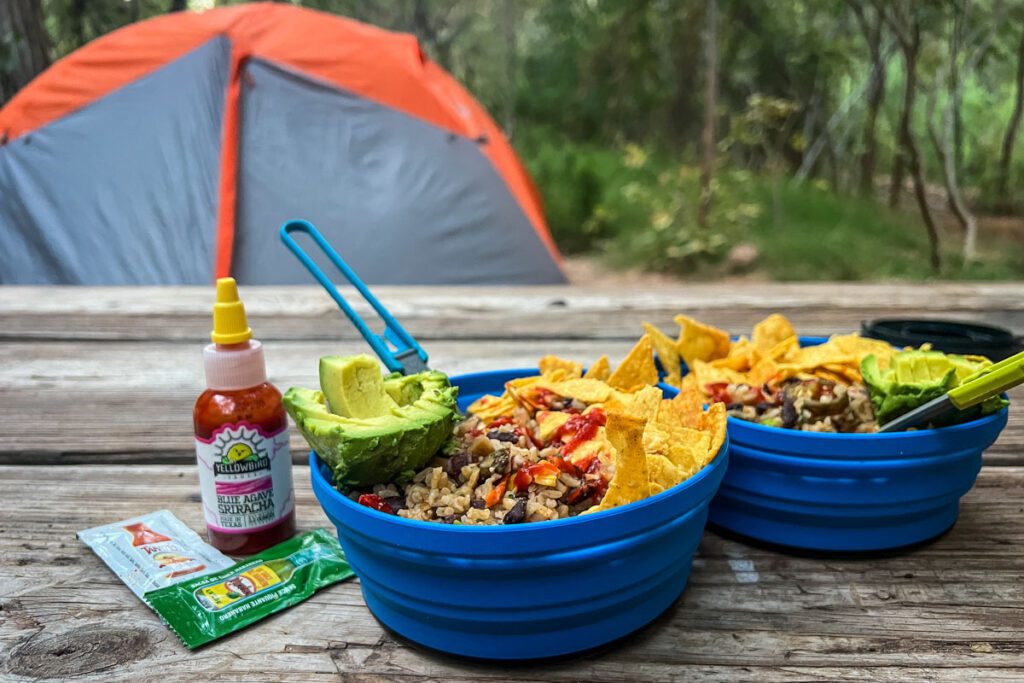
- Collapsible bowls
- Cookware if necessary
- We’d recommend just boiling water in a Jetboil or something similar instead of cooking in a pot. You can simply add boiling water to your dehydrated meal pouch, eliminating the need to do lots of dishes.
- Trash bag
- You should plan to pack everything you brought out with you (including trash)
- Small bottle of Dr. Bronner’s (or similar biodegradable soap) for washing bowls & utensils
- Small microfiber towel for drying dishes and other gear
- Bear canister or food storage bag (we use this one that is designed to keep critters out)
- Read this for more information on how to properly store your food at Havasupai campground
Important: Be sure you arrive at the trailhead with all the water you will need for the hike there. There are no opportunities to fill up until the village of Supai, which is 8 miles in. The tribe recommends each person hikes with 1 gallon of water. We hiked during a cooler month (October), and each Brough 3 liters of water, which was sufficient for us.
Food packing tips
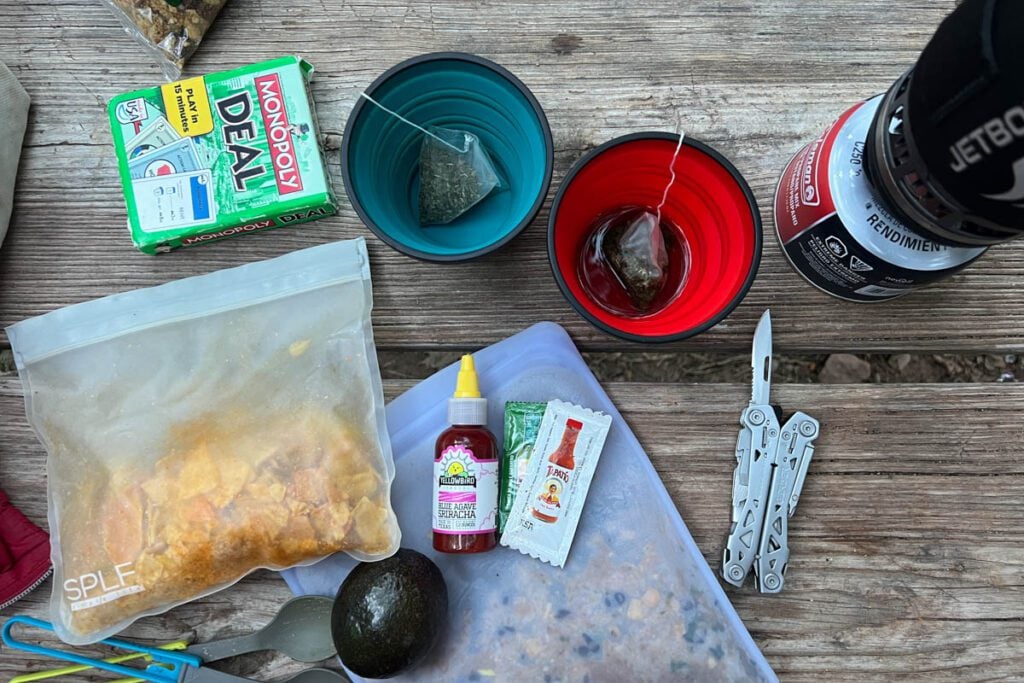
If you’re new to backpacking, you may be wondering how much food and what exactly to bring.
Lucky for you, food is one of our favorite things to talk about and we have some suggestions:
Snacks
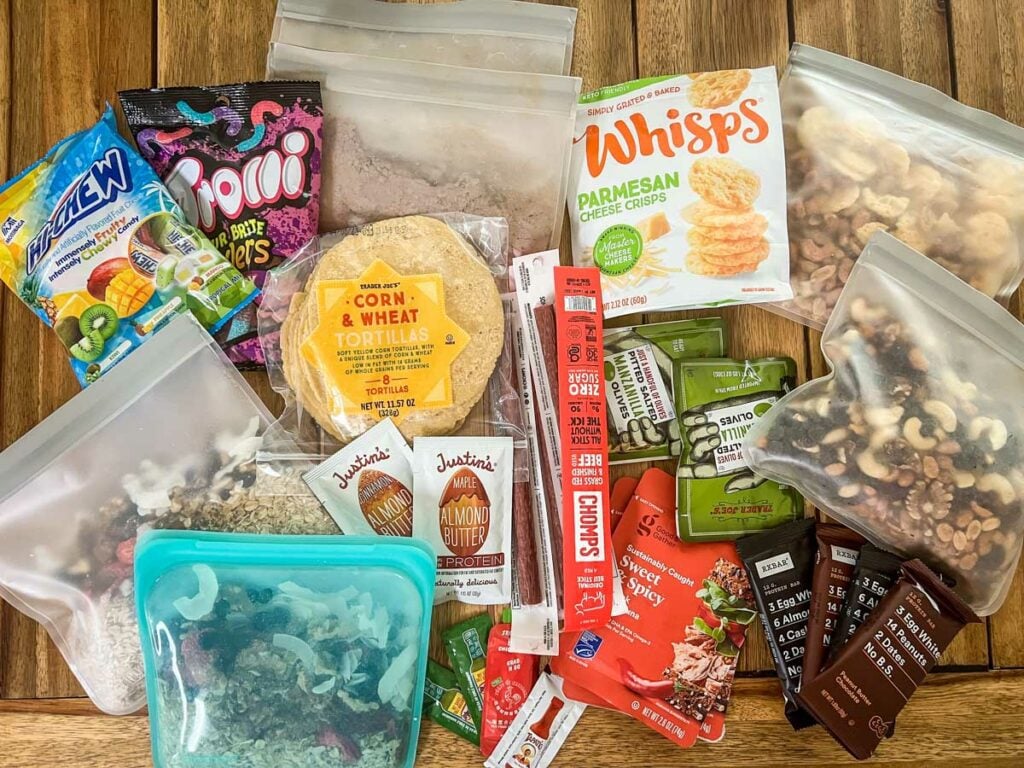
You’re going to want lots of snacking options for the moments when you need to fuel up but don’t have time to sit down for a full-blown meal.
Think of things that are calorie-dense and travel well.
Here are some of our favorites:
- Beef jerky (we like Chomps)
- Granola bars or protein bars
- Trail mix (we like to make one sweet mix and one savory)
- Whisps cheese crisps
- Dried mangoes
- Gummy worms & Hi Chews
Here are more of our favorite hiking snacks.
Dehydrated meals
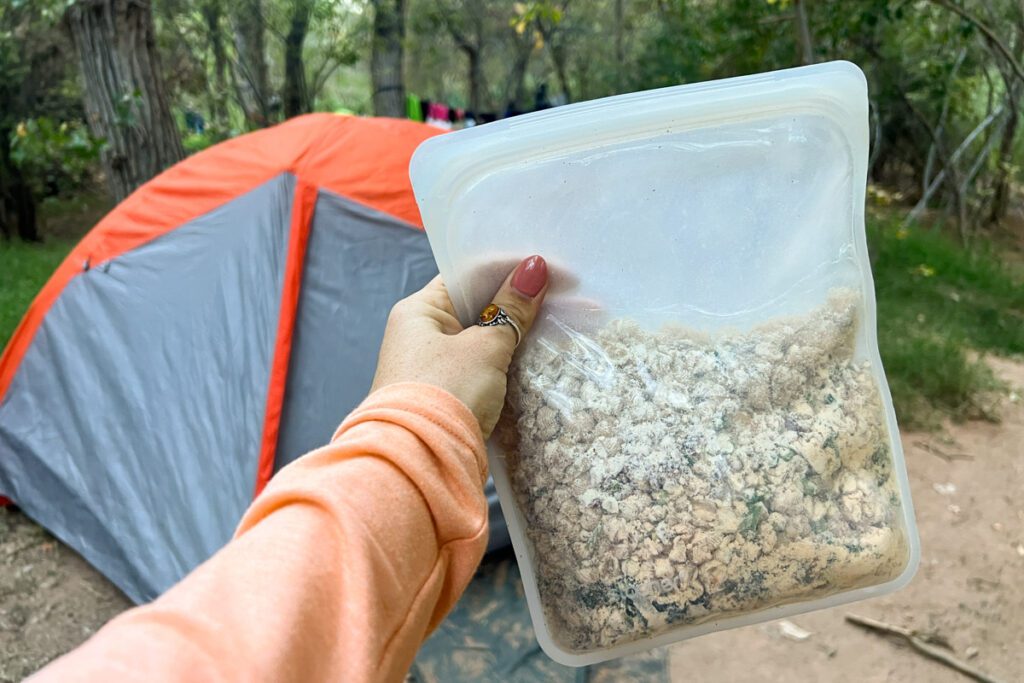
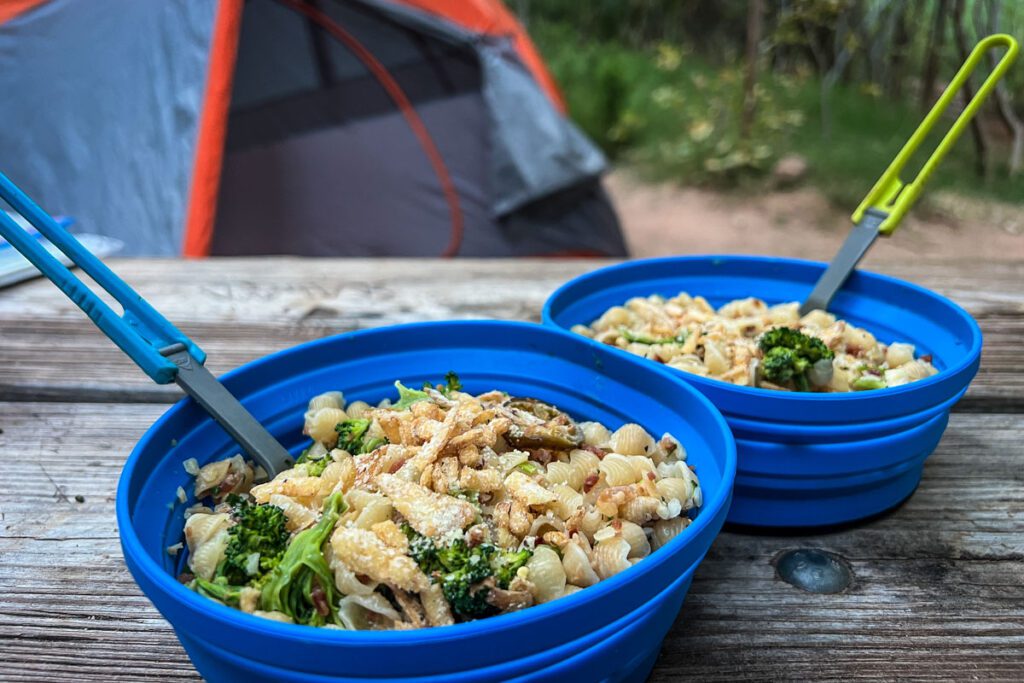
We always opt for meals that simply require boiling water rather than those that must be cooked in a pot over a flame. Not only do they cook much faster, but this means you won’t have to pack a pot and you’ll have fewer dishes to do.
Like to cook? While there are all sorts of brands out there, we started dehydrating our own backpacking meals in recent years and will never go back! It’s easy, saves lots of money, and you can make meals that are way more delicious (and nutritious) than what you’ll find in the stores.
These are our go-to tips for backpacking food.
What to wear
- Hiking boots
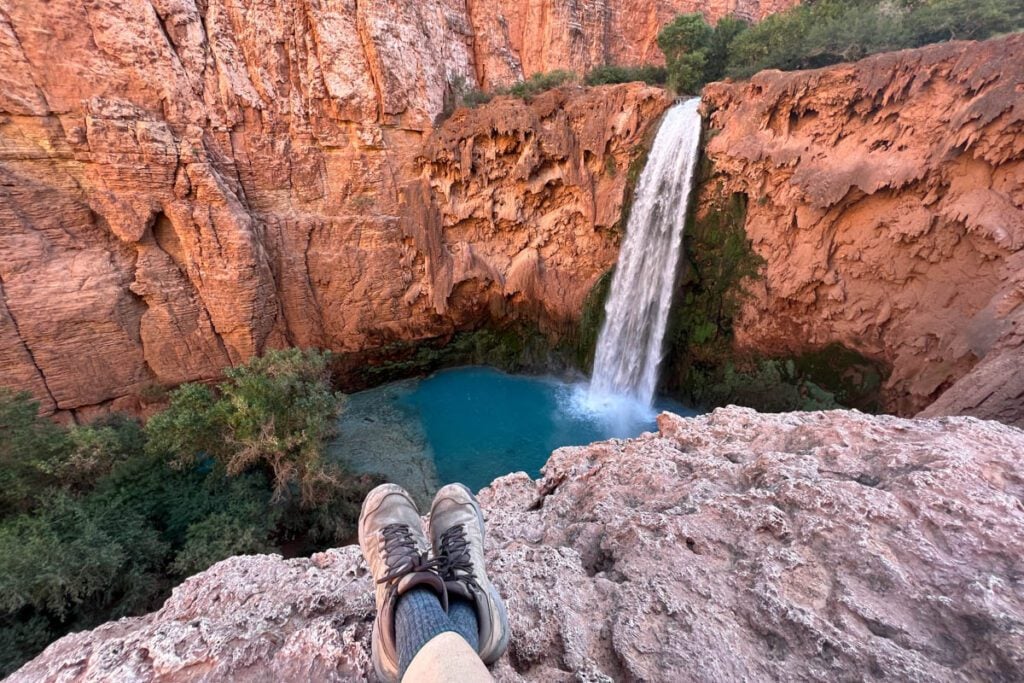
- I personally love Oboz or Danner, and Ben loves Salomon
- Water shoes (like Chacos): these are great for swimming, day hikes, and wearing at camp
- Wool socks
- Hiking clothes (*see our tip below):
- UV shirt for sun protection
- athletic tank tops or t-shirts
- sports bra
- Underwear
- leggings/joggers/hiking pants
- athletic shorts
- warmer layer(s) for at night
- Swim suit
- Puffy jacket (for at night)
- Hat
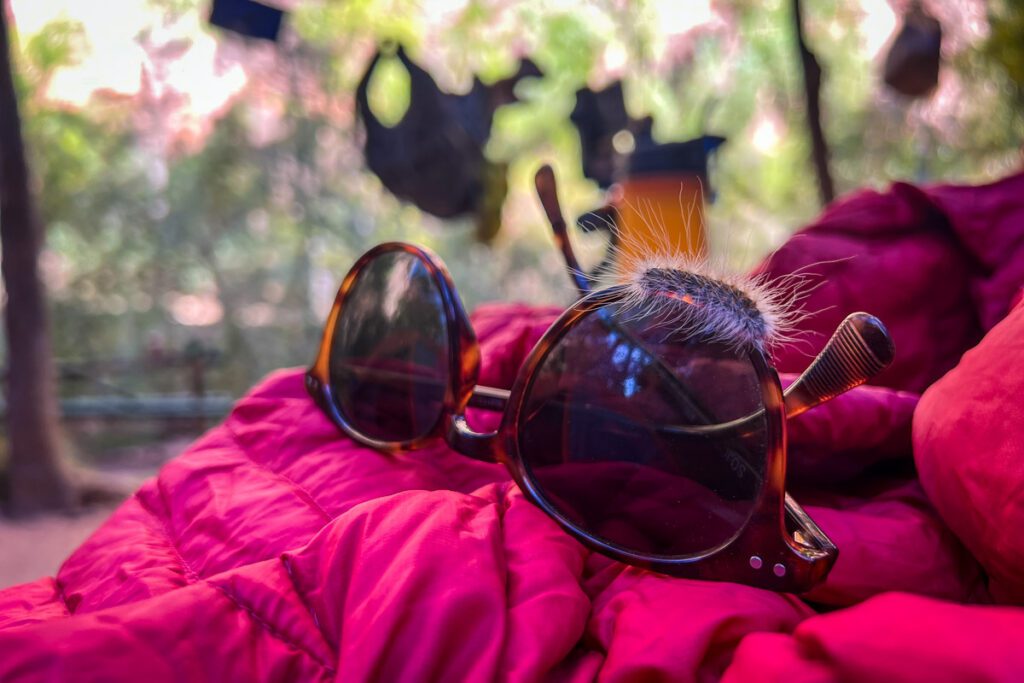
- Sunglasses: this is the pair I have and love!
- Fanny pack (optional): I like to wear one when hiking for easy access to things like my phone, chapstick, sunscreen, snacks, etc.
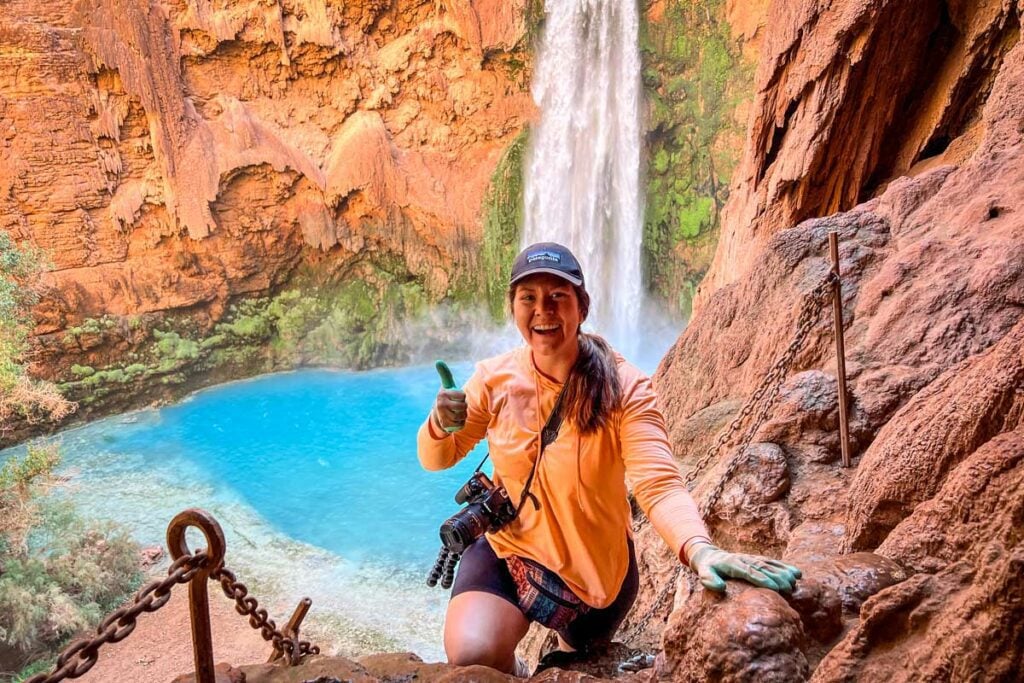
- Gardening gloves (optional): This might sound like a strange thing to pack, but having a pair of grippy gloves will be super helpful on the ladder section at Mooney Falls.
- If you forget this, there is usually a pile of gloves at the top of the waterfall and a place to leave them at the bottom.
*Insider Tip: We personally like to keep one clean outfit set aside for camp (we wear the same one each night). On our last hiking day, we wear that outfit as we hike out. For this 4-day trip, we each packed 2 hiking outfits that we alternated between, and one “camp” outfit that we hiked out in.
If you’re hiking during cooler months (February – April, October – November):
- Beanie & gloves (it can get cold at night)
If you’re hiking in monsoon season (July & August):
- Waterproof rain jacket (pick a lightweight one as it will still be hot)
- Be sure it is waterproof, not just water resistant
Psst! Want to know what temperatures and weather conditions to expect? We’ve got a month-by-month breakdown of the weather at Havasupai to help you prepare and pack accordingly.
Optional (fun) items
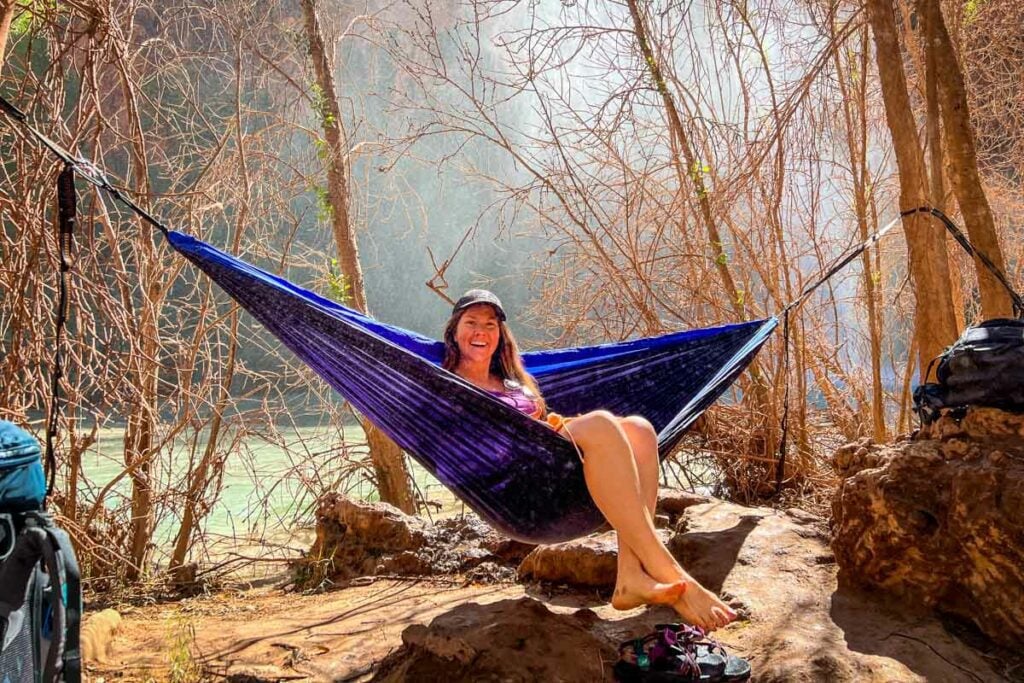
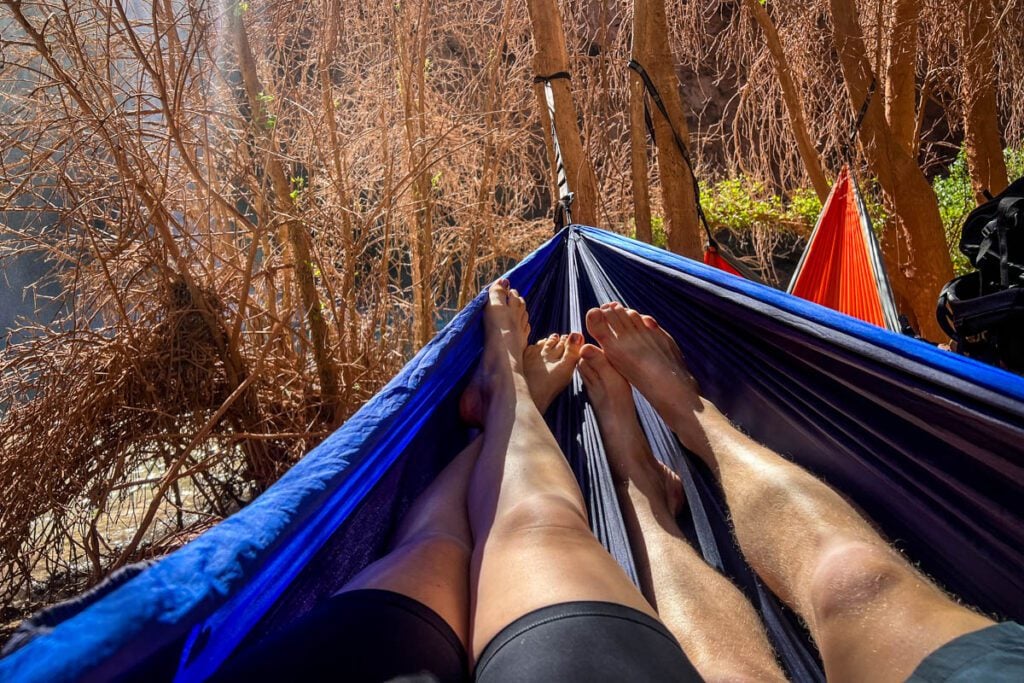
- Hammock
- Inflatable solar lantern
- Solar powered string lights: these are just so fun and make your camp look magical
- Lightweight tarp to sit on at camp
- Ultralight chair
- Cards – we brought this game
- Collapsible day pack
- Use this to bring essentials with you on detours or day hikes so you can leave your big pack behind
- Book or fully-charged Kindle
- Photography equipment
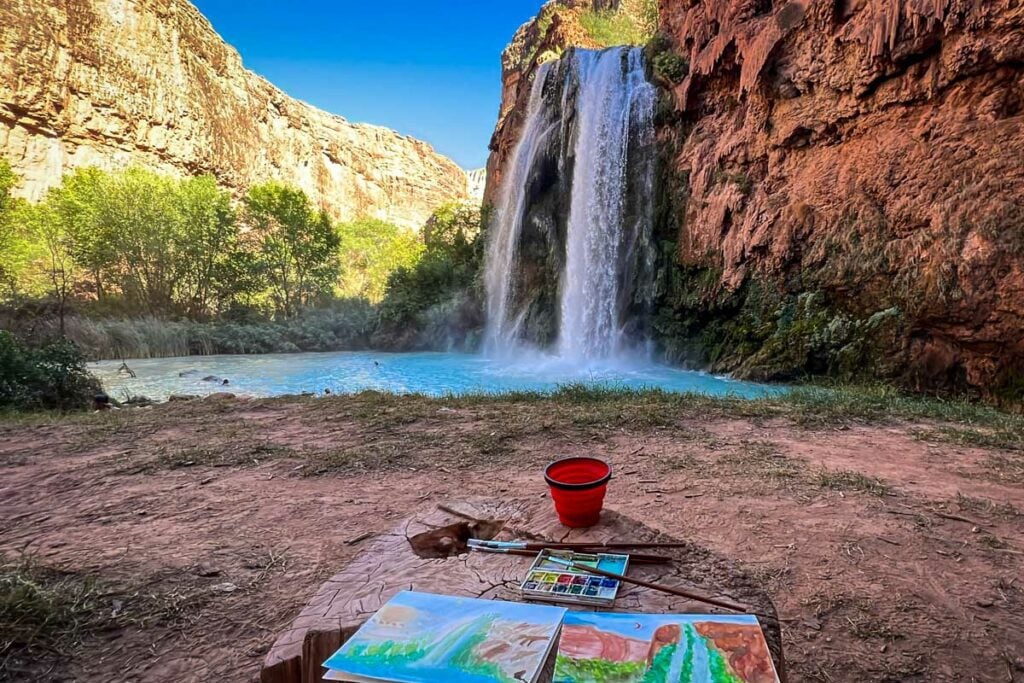
- Small watercolor set
- Bluetooth headphones
- Amplified music is banned, so if you want to listen to music, pack your headphones
- These are really inexpensive, so they’d be a good option to bring hiking
Food in Supai and the campground
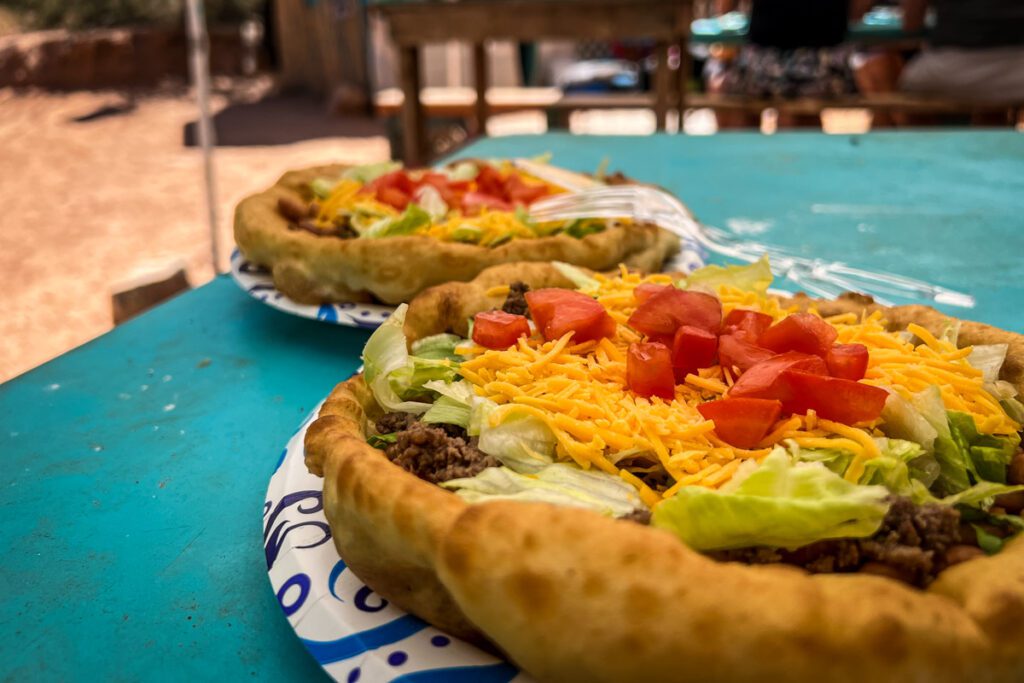
There is a cafe and shop in the village of Supai as well as an Indian fry bread stand just above Havasu Falls, so you may be wondering: Do I even need to pack food if I can get it there?
Spoiler alert: Yes, you should still plan on packing food for every meal.
Supai Store & Cafe
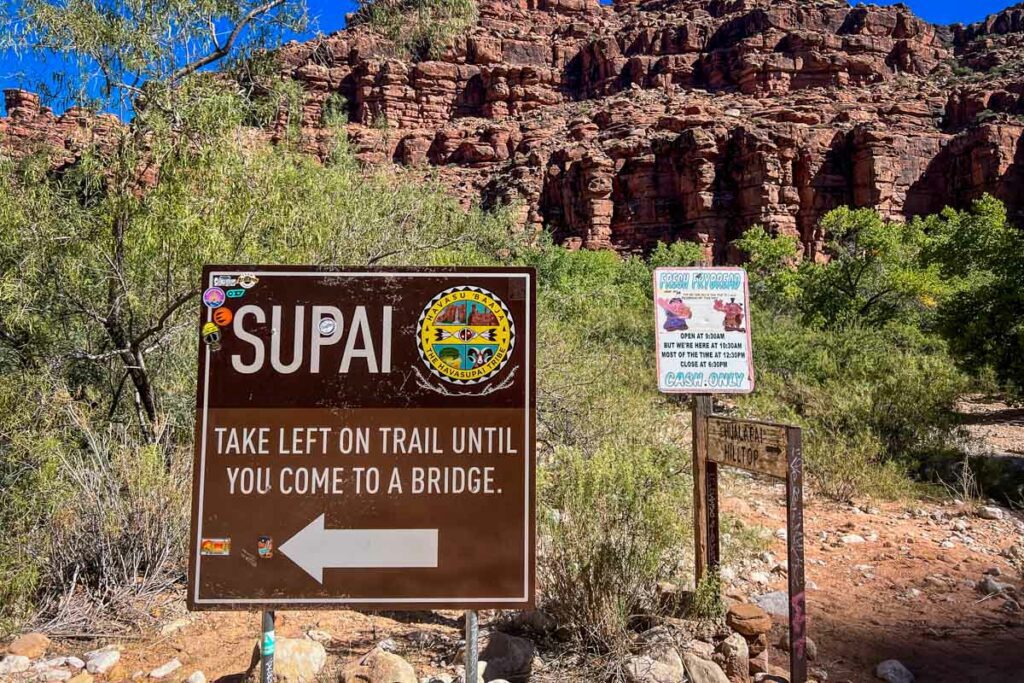
We highly encourage you to pack all the food you need from home and not to rely on getting food in Supai for a handful of reasons:
- The options are very limited. You can see what is offered on the Havasupai official website.
- Things may or may not be in stock.
- Food is pretty expensive here for what it is. Due to the remote location and all that goes into transporting food to the reservation, it’s easy to understand why the food is priced higher than average. It can be good in an emergency, but to buy all of your food here would be quite expensive.
- Supai village is a 2-mile hike from the campground (aka 4 miles round trip). This means it just won’t be feasible to hike here for every meal, so you shouldn’t plan on it.
Fry Bread hut
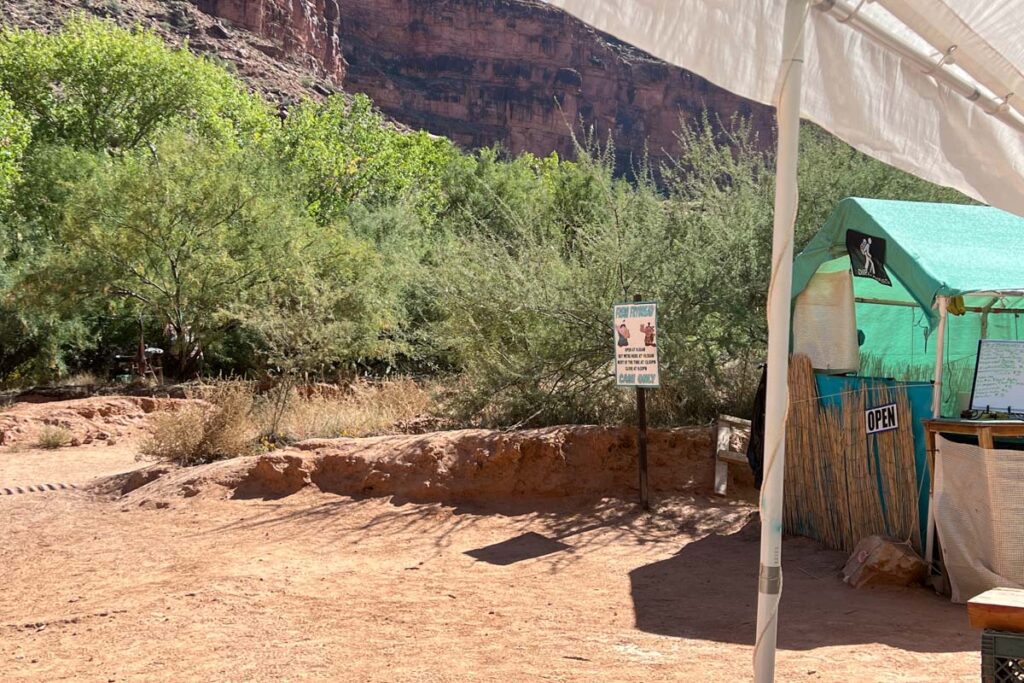
Located at the top of the hill, just behind Havasu Falls, there is a small stand that serves up fry bread (aka deep-fried dough served with a variety of toppings, both sweet and savory).
We’d recommend planning to come here once during your trip!
Here’s what to know:
- They are a cash only shop.
- Their official hours say 10 a.m. – 5 p.m., however, I will add a caveat that some people have said it is closed even when they’re “supposed” to be open. For this reason, we’d still recommend packing enough snacks and food to cover every single meal during your trip. If you can get here, it’s a bonus!
- They can run out of ingredients during the day, so we’d recommend going for lunch (instead of dinner) for the best selection.
- Prices can change due to availability. (We saw the prices of the “Indian taco” jump by $2 from one day to the next.)
- The frozen lemonade pouch is great and hits the spot on a hot day. I’d highly recommend getting one!
Here were the prices during our trip in 2023:
- Indian taco with beef: $15
- Taco without beef: $14
- Bean & cheese: $12
- Nutella & banana: $12
- Sweet topping: $10 (you’ll be served fry bread, and you can add toppings like chocolate sauce, nutella, and peanut butter yourself)
- Lemonade pouch (frozen): $5
- Soda: $2
- Water: $3
- Powerade: $5
Good to know: Again, prices can fluctuate, but hopefully this gives you an idea of how much cash to bring.
Water treatment methods
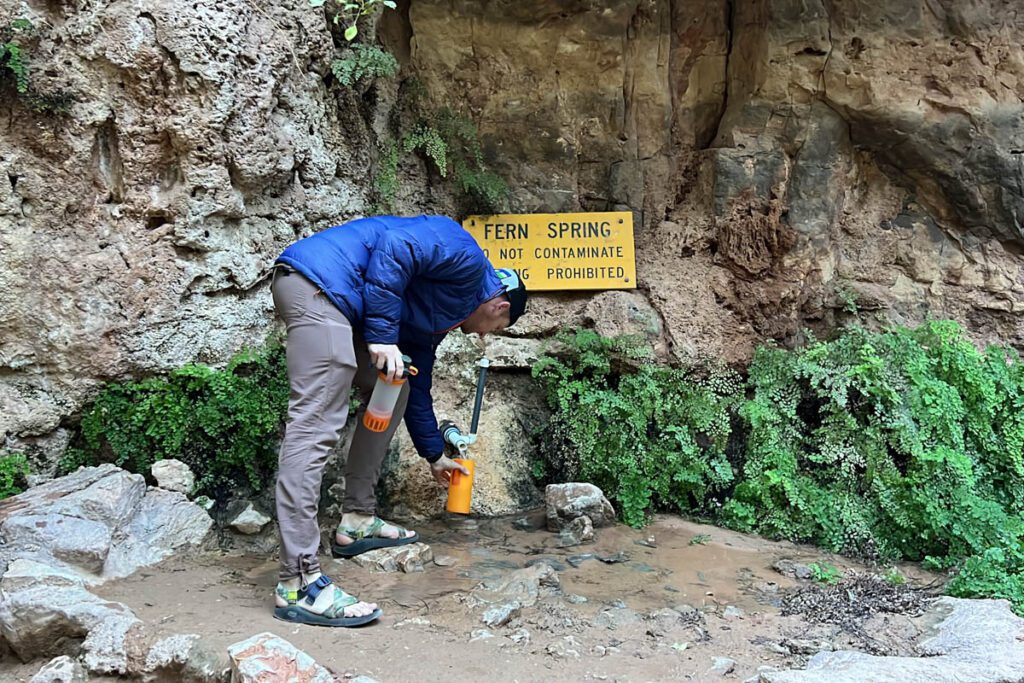
While it’s said that you don’t need to filter the water from the spring at the campground, we still think it’s a good idea to pack a water treatment system. (This is an essential on any backpacking trip.)
This is important especially if you end up filling up anywhere besides the spring, which you might end up having to do without planning on it.
Our experience: We treated the water from the spring almost every time we filled up, just because we wanted to be safe. (We did drink from it without filtering too and didn’t have any issues.)
There are a variety of treatment methods that’ll kill all the bad stuff! The best water treatment method really comes down to personal preference.
Filtration bottle (our personal favorite!)
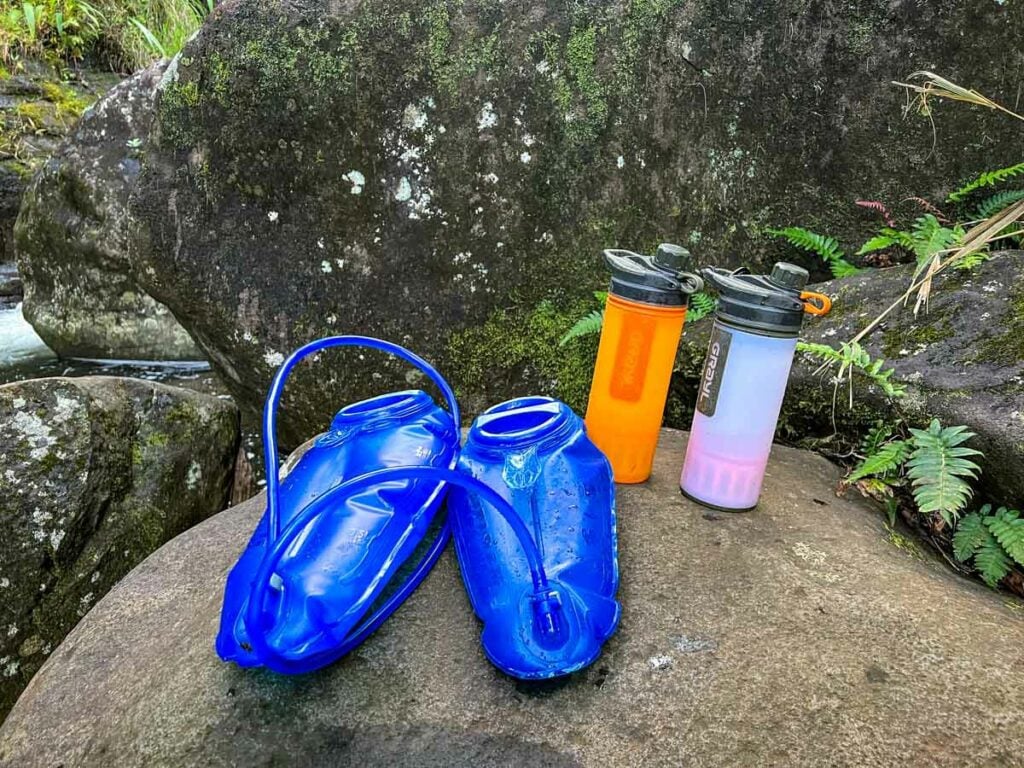
Grayl water bottles have a plunger system, similar to how you use a French press. Push down and a carbon filter purifies water and removes debris This is personally what we did at Havasupai.
- Pro: It is quick and you can drink the water immediately.
- Con: You’ll have to plunge several bottles worth of water to fill your hydration bladder.
Tip: We use the Grayl to filter water, then pour it into our 2-liter hydration bladder. Once we’re done filling our bladder, we fill the bottle one more time. This method gives us each 3 liters of treated water in just a few minutes. FYI: We each hike with one bladder and one Grayl bottle.
Gravity-fed filter system
Hang up this filtration system (for example, on a tree) and it will use gravity to drip water through the filter. This is probably the most popular method of sterilization.
- Pro: Set it and forget it system.
- Con: You need to be at camp or a place where you can hang your system and wait for it to sterilize your water.
UV Sterilizing pen
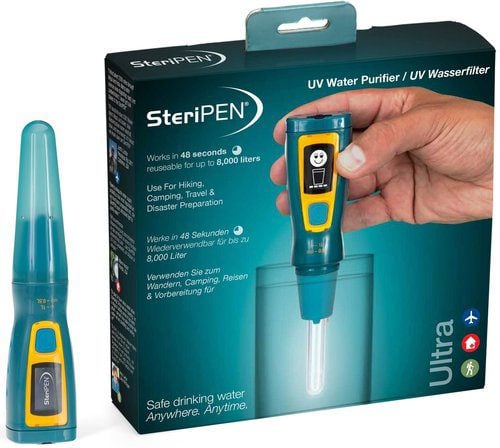
A UV light sterilizes water in 90 seconds. This used to be our favorite system, and we still use it when we travel internationally to places where the water is untreated. But for backpacking, we like our Grayl bottles since they filter out impurities.
- Pro: Lightweight and fast.
- Con: It doesn’t filter out debris, and it has to be charged in order to work.
Treatment tablets
We’re not huge fans of these because it can change the taste of water, but it is one of the most trusted sterilization systems.
- Pro: Lightweight and won’t fail or break.
- Con: Can change the flavor of the water.
Insider Tip: While we’re on the topic of water, you may want to consider packing electrolyte tablets (like these) to keep you hydrated and energized.
What NOT to bring
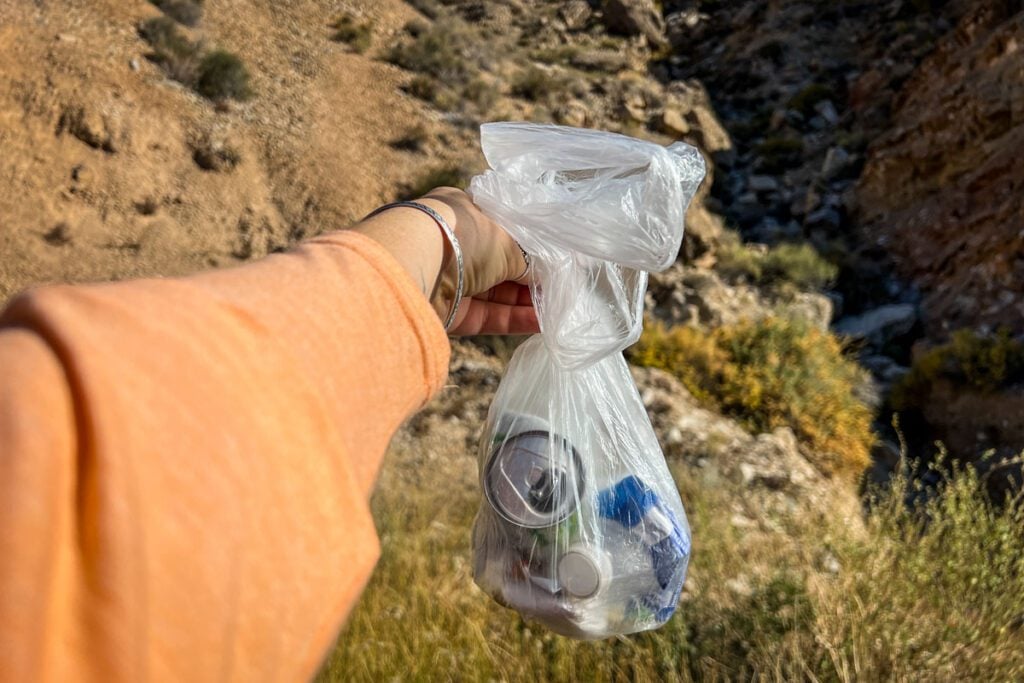
There are a handful of things that you should definitely leave at home.
Some of these are items that are banned by the Havasupai tribe, and others are things that we personally don’t think are worth the weight.
- Water floaties: After too many hikers abandoned their tubes and floaties, creating an abundance of waste that had to be transported out of the reservation, floatation devices are no longer allowed in Havasupai.
- Drone: The Havasupai Reservation is strictly a no drone zone. Don’t pack it. Drones will be confiscated and you can get a fine.
- Speakers: Amplified music is banned at Havasupai. If you want to listen to music, bring headphones.
- Alcohol/drugs: Both alcohol and drugs of any kind are strictly banned and carry a hefty fine and even jail time. Don’t even think about bringing them.
- Anything you don’t think you can carry back out: As with any hike, you should always practice Leave No Trace and carry everything (including your trash) out with you. This is why it’s important to think about how much weight you can actually carry and leave behind anything that feels unnecessary.
Come along on our Havasupai adventure!
Wanna see what our Havasupai backpacking trip was like up close and in-person? Watch this video to see exactly what our experience was like (and hopefully get you pumped up for your own trip!).
Plan the perfect Havasupai backpacking trip
Now that you know exactly what to pack (and what to leave at home!), here are some other articles to check out. We’ve got tons of guides filled with essential information and secret tips that’ll ensure you have the adventure of a lifetime!
- How to get a permit to hike Havasu Falls
- Best time of year to visit Havasu Falls
- Havasupai hiking guide + map
- Havasu Falls Camping Guide
- Havasupai Waterfalls
- Havasupai Confluence Hike: Is it worth it? + Essential Tips
- Everything you need to know before your Havasupai trip
Don’t forget to download our complete packing list for hiking Havasupai! It’s packed with good suggestions and insider tips to help plan your Havasu Falls hike. And it’s completely FREE, so why not!?
Save this article on Pinterest for later!
We want to hear from you!
Are you planning a trip to hike to Havasupai? Do you have more questions about what to pack? Comment below and we’ll do our best to get back to you!

