We put together this 3 day Rocky Mountain National Park itinerary to help you plan an epic trip through the very best of this stunning Colorado park. You’ll explore highlights like Trail Ridge Road and Emerald Lake, as well as have some time at lesser-known gems.
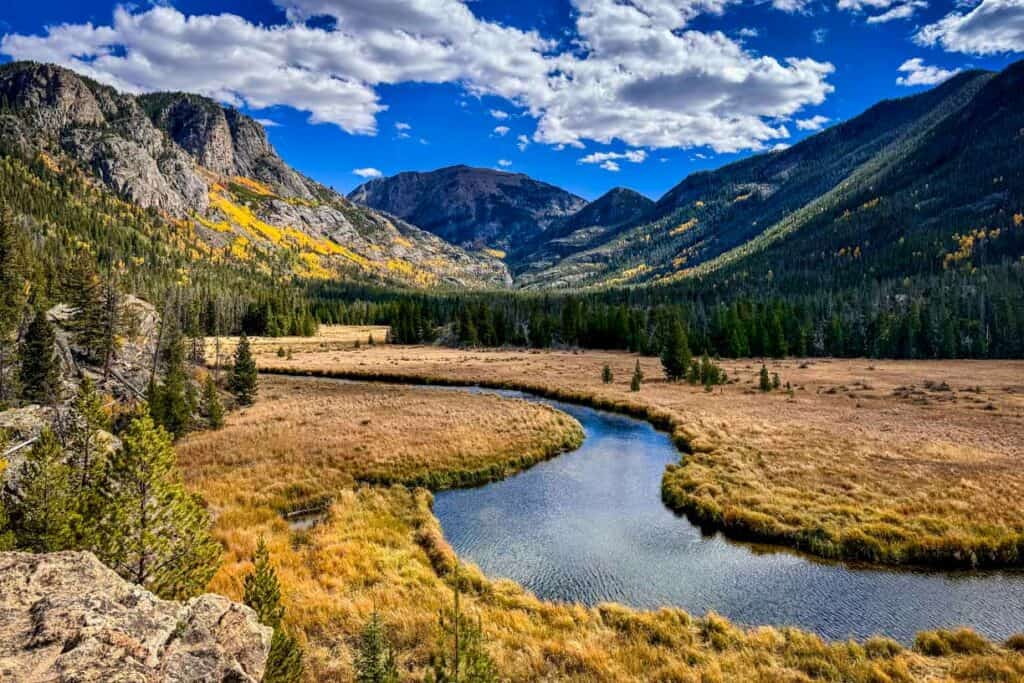
From super rewarding hikes to emerald alpine lakes to leisurely strolls, a scenic drive through the alpine tundra, and wildlife around every corner, Rocky Mountain National Park really does have something for every type of visitor.
The best part? You can thoroughly explore this iconic park’s vast, varied beauty in a long weekend.
I lived in Colorado for years and always took for granted the national park that was right in my backyard. So this year I planned an epic trip with my family, and was reminded all over again just how incredible the Rocky Mountain Range is.
This 3 day Rocky Mountain National Park itinerary doesn’t just check off the top must-sees (although it does include them!), it lets you take your time and very literally stop to take in the scenery!
Rocky Mountain National Park Itinerary Guide
- Park overview
- Timed-entry permits
- Itinerary overview
- How many days
- When to go
- Where to stay
- What to pack
Rocky Mountain National Park overview
- Open: Year-round, but much of the park is closed in winter and spring due to snowfall. Shuttles, campgrounds, and Trail Ridge Road are all shut down during this time
- Entrance Fee: $30/vehicle, $25/motorcycle, $15/hiking & biking, or free with your America the Beautiful Pass
- Established: January 26, 1915
- Area: 265,807 acres
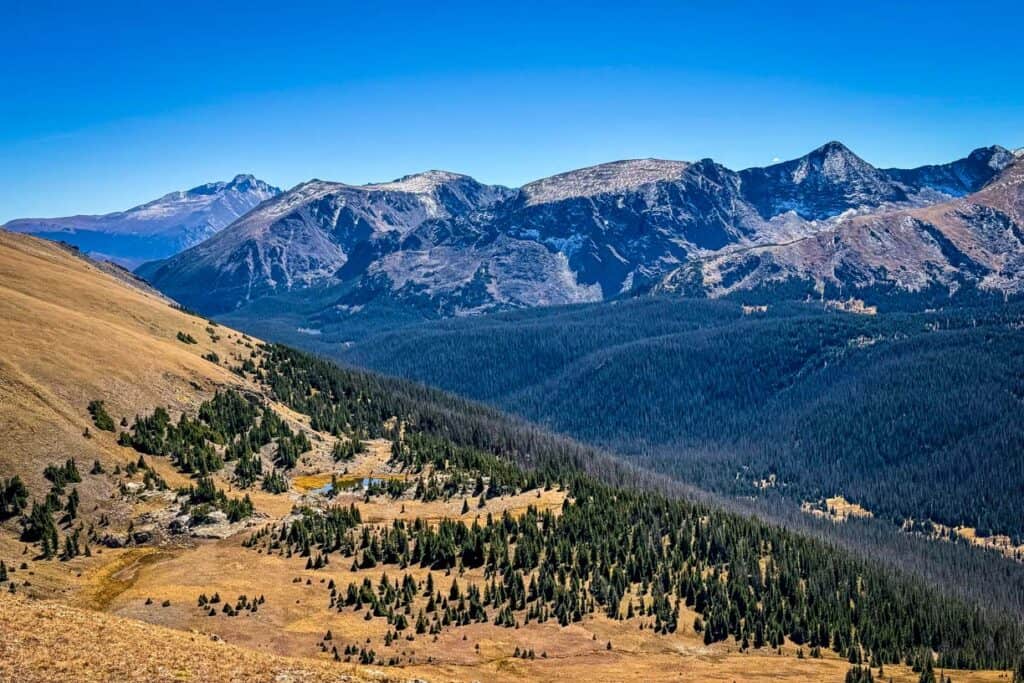
One of the most unique things about Rocky Mountain National Park is its impressive elevation—much of the park ranges from about 7,500 to over 12,000 feet.
Understandably, visitors are eager to explore all the different landscapes that thrive at high altitude, but it’s important to be mindful of altitude sickness, which can affect anyone who isn’t used to higher elevation.
We designed this itinerary for Rocky Mountain National Park to help you gradually acclimate to the altitude, before tackling a BIG hike on your last day.
Tip: We’d also recommend spending a day or two in Denver to acclimate before headed up to the park.
America the Beautiful annual park pass
If you’re planning to visit more than one of the US National Parks, we’d highly encourage you to look into getting an annual park pass. At $30+ per vehicle upon entry, visiting the national parks in the U.S. can get expensive.

For just $80 per year, you can purchase the America the Beautiful park pass. This pass grants you free access to all of the national parks. Plus it also covers your entrance to over 2,000 natural, historical, and recreational sites across the United States.
→ If you still need convincing, check out our article: National Park Annual Pass: Is it Worthwhile? + How to Buy
Timed entry permits for Rocky Mountain National Park
As one of the most popular and accessible national parks, it’s no surprise that Rocky Mountain National Park has implemented a timed entry permit system.
These permits are meant to help prevent overcrowding in the park and are required for entry from the end of May through mid-October (exact dates change each year). Even if you have an annual park pass, you will still need a timed-entry permit.
Outside of busy season, you do not need a timed entry permit to enter the park, just pay the normal entrance fee.
The permits are inexpensive (in 2024, I paid just $2 for my Timed Entry + permit) and can be purchased online at Recreation.gov.
The permit system is a bit confusing, so read carefully…
There are two different timed entry permits available: Timed Entry and Timed Entry + Bear Lake Road (sometimes just referred to as “Timed Entry +”).
Timed Entry
- Required to access Rocky Mountain National Park during busy season between the hours of 9 a.m. to 2 p.m.
- Outside of these hours, you do not need a timed entry ticket, and you can stay as long as you’d like.
- Access includes: Trail Ridge Road, Alpine Visitor Center, Old Fall River Road, the west side of RMNP, Wild Basin and any area of the park located outside of the Bear Lake Road Corridor.
- Must access the park within the designated 2 hour window on your permit. You can stay as long as you want after entrance, and re-entry is allowed with a valid reservation.
- Included with a valid camping reservation at Aspenglen, Glacier Basin, or Timber Creek Campgrounds. Entrance to the park begins at 1 p.m. on the first day of your camping reservation.
Timed Entry + Bear Lake Road
- Required to access Rocky Mountain National Park during busy season between the hours of 5 a.m. to 6 p.m.
- Outside of these hours, you do not need a timed entry ticket, and you can stay as long as you’d like.
- Access includes: The entire national park, including Bear Lake Road Corridor, which encompasses Bear Lake, Emerald & Dream Lakes, Sprague Lake, Moraine Park, Glacier Gorge and more.
- Must access the park within the designated 2 hour window on your permit. You can stay as long as you want after entrance, and re-entry is only allowed after 2 p.m. with a valid reservation.
- Included with a valid camping reservation at only Aspenglen and Glacier Basin Campgrounds. Entrance to the park begins at 1 p.m. on the first day of your camping reservation.
- If you have a camping reservation at Timber Creek Campground and want to access the Bear Lake Road Corridor, you’ll have to purchase a separate Timed Entry + permit for the day(s) you are visiting.
For more information about the timed entry permit system and FAQs, check the NPS page.
And now with all that info out of the way, let’s get into the fun part!
Rocky Mountain National Park itinerary overview
- Day 1: Drive Trail Ridge Road, Alpine Visitors Center, stops along the way
- Day 2*: Lake Haiyaha hike, Bear Lake Corridor, Emerald Lake hike for sunset
- Day 3: Chasm Lake Hike or Sky Pond via Glacier Gorge hike*
*To get the most out of this 3 day itinerary for Rocky Mountain National Park, you will need a Timed Entry + permit on Day 2 and maybe Day 3 (see more details below). Regular Timed Entry permits, or camping reservations will suffice for the other days.
Day 1: Trail Ridge Road
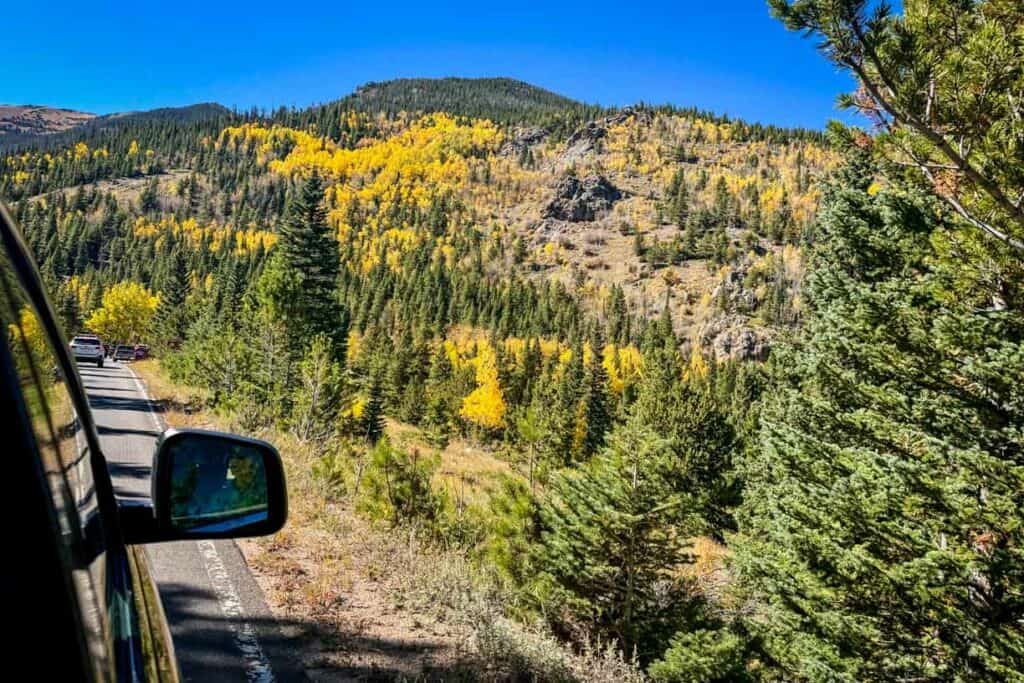
Get acclimated to the altitude on your first day in Rocky Mountain National Park with a scenic drive that’ll give you a nice lay of the land.
Plan on 4-6 hours of driving, which includes several stops and a few short hikes. Along the way, take in the incredible, very different views from these overlooks, listed in order from east to west.
Afterwards explore Estes Park, the Colorado mountain town just east of Rocky Mountain National Park.
Good to know: The combination of exposure and elevation makes Trail Ridge Road as a whole extremely windy. It’s also typically 20-30 degrees colder than Estes Park and Grand Lake, but the sun also has more intensity. Wear sunscreen and pack a hat and windbreaker!
Stops along Trail Ridge Road
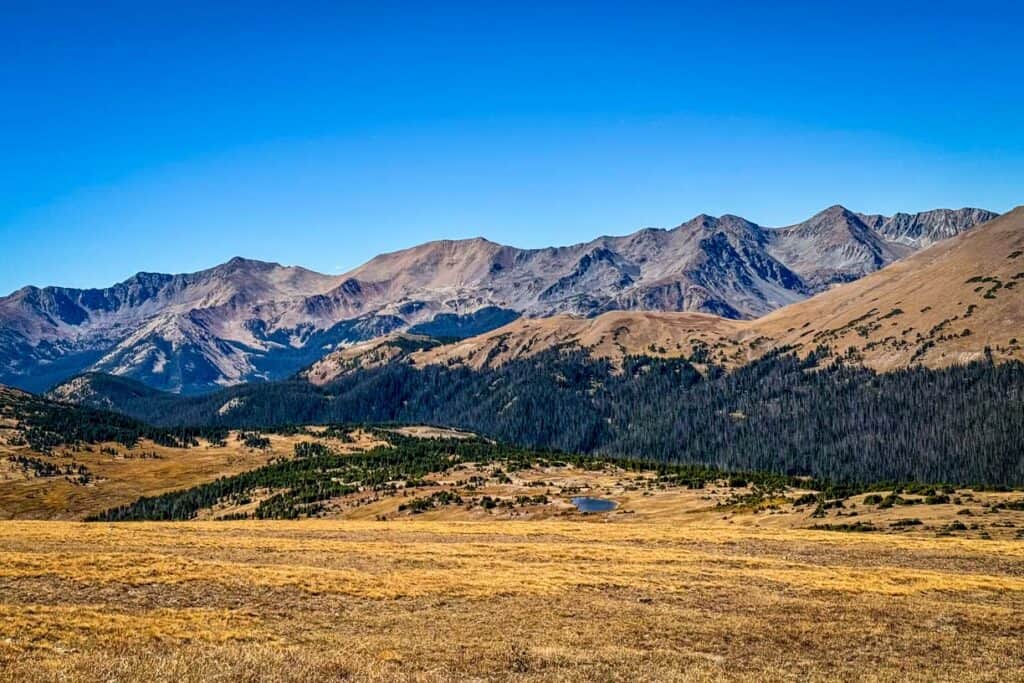
Listed in order from West to East
- Hidden Valley: This beautiful trailhead makes a great place to stop for a picnic (with lots of picnic tables available).
- Many Parks Curve Overlook: After parking in the lot, you’ll have to cross the road to get to this viewpoint, which offers panoramic views of some of Colorado’s parks such as Estes, Moraine and Beaver Meadows.
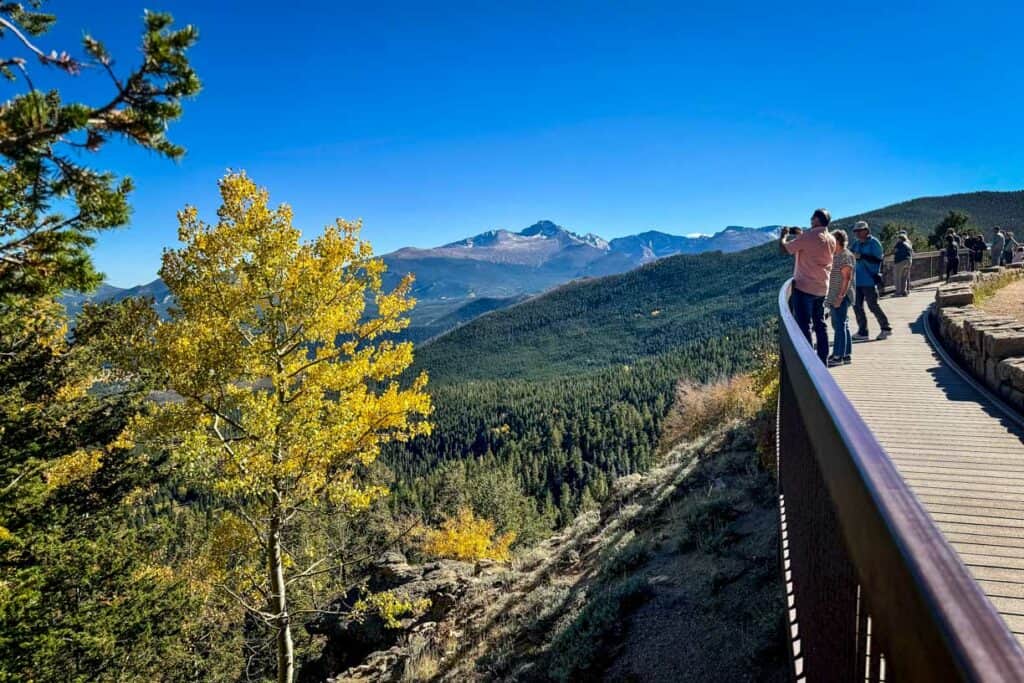
- Rainbow Curve Overlook: Sitting right at treeline, enjoy some of the most diverse views along Trail Ridge Road, including Horseshoe Park and the Alluvial Fan.
- Forest Canyon Overlook: Somehow, the Rockies appear even taller here, viewing them at nearly 12,000 feet from across the deep, glacially-carved Forest Canyon.
- Rock Cut Overlook / Tundra Communities Trail: Experience the true alpine tundra near the road’s high point. It’s a fantastic place to spot elk or bighorns, but the giant rocks you drive right through are also a highlight.
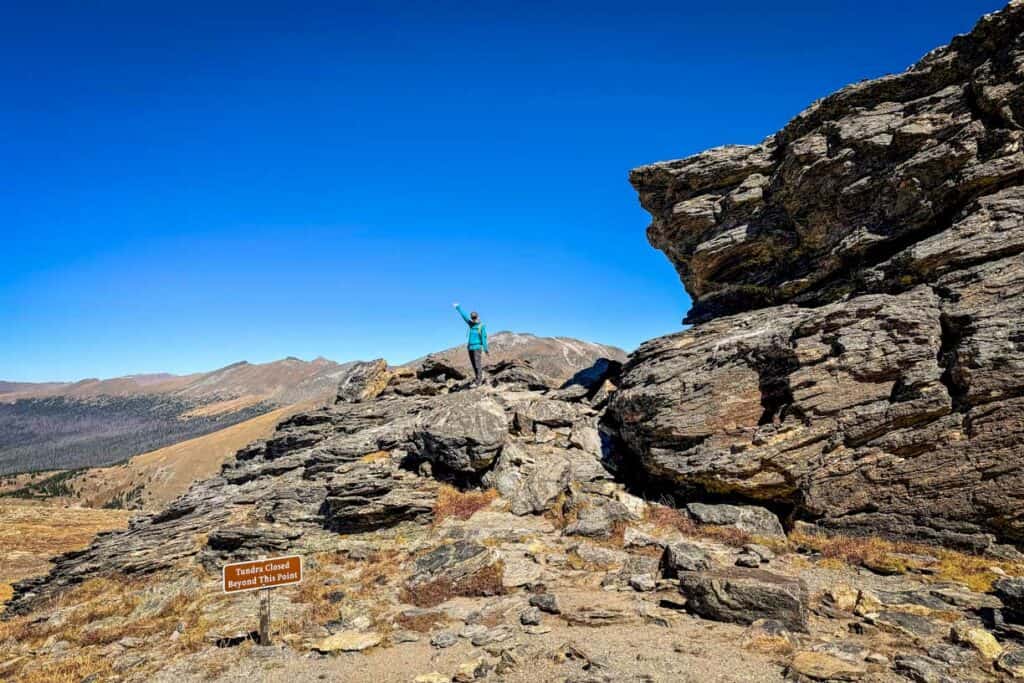
- Lava Cliffs overlook: Possibly one of the more unique sights on your Rocky Mountain National Park itinerary, the cliffs here are the result of both volcanic glacial activity.
- Gore Range Overlook: Admire the impressive Gore Range and volcanic Never Summer Mountains to the west, home to RMNP’s highest peaks.
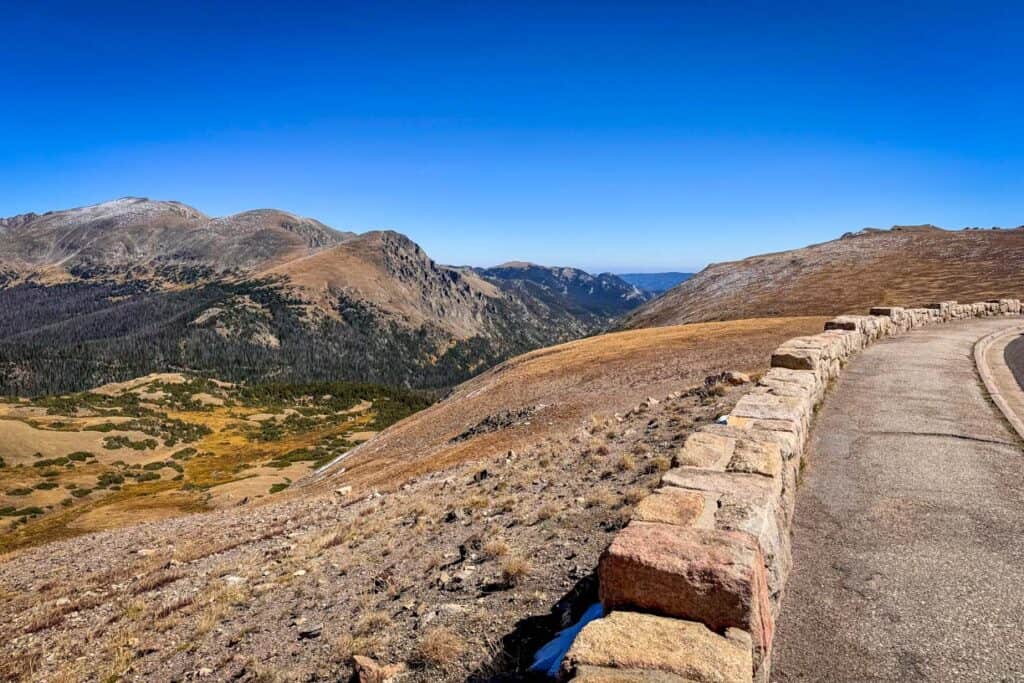
- Alpine Visitors Center / Alpine Ridge Trail: The highest-elevation visitor center in the entire National Park System! Take in the views, pick up some souvenirs or snacks, and hike the short but tough Alpine Ridge Trail.
- Poudre Lake/Milner Pass: Milner Pass crosses the Continental Divide, separating drainage that flows west to the Pacific and east to the Atlantic. Poudre Lake, the headwaters of the Cache La Poudre River, is also here (and flows east!).
Hidden Valley Nature Trail
- Distance: 0.4mile loop
- Elevation gain: 62 ft
- Difficulty rating: Easy
- Trail notes on Alltrails
This super easy loop trail is on a paved walkway and only takes about 15 minutes to complete. It makes an excellent stop to get out and stretch your legs, plus there are lots of picnic tables at the trailhead parking lot so you can stop and have a nice picnic surrounded by forest.
Tundra Communities Trail
- Distance: 1.17 miles, out and back
- Elevation gain: 157 ft
- Difficulty rating: Easy
- Trail notes on Alltrails
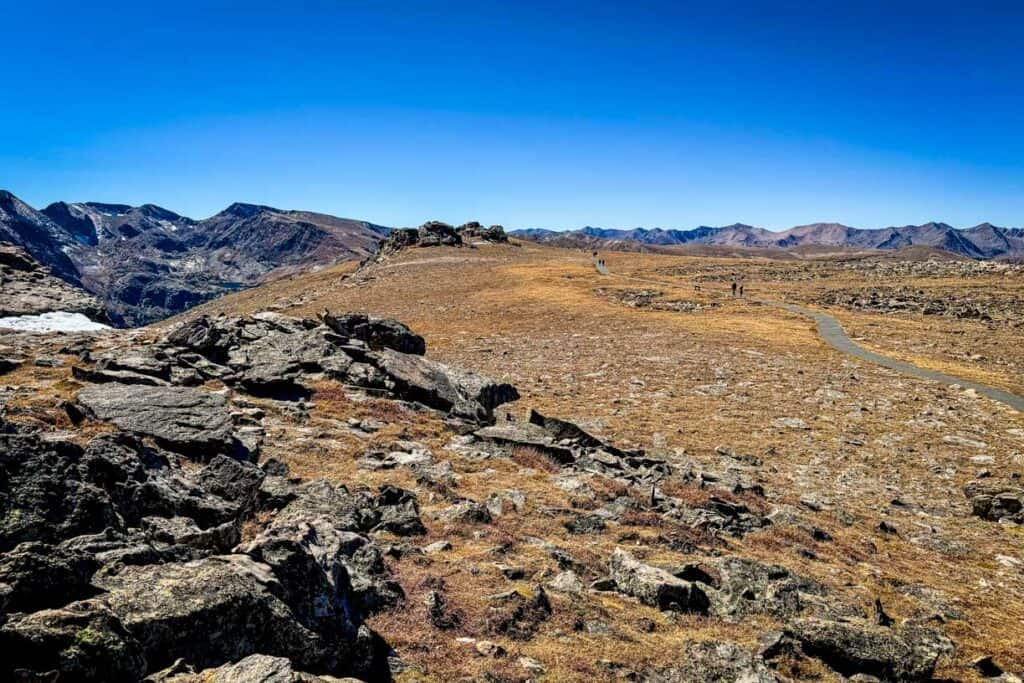
Also referred to as Tundra Nature Trail and Toll Memorial Trail, this 1.17-mile (round trip) paved trail offers excellent views of Longs Peak and takes you by unique mushroom rocks. Posted signs along the trail teach you about the unique ecosystem and communities that inhabit the alpine tundra.
Alpine Ridge Trail Hike
- Distance: 0.06 miles, out and back
- Elevation gain: 134 ft
- Difficulty rating: Moderate
- Trail notes on Alltrails
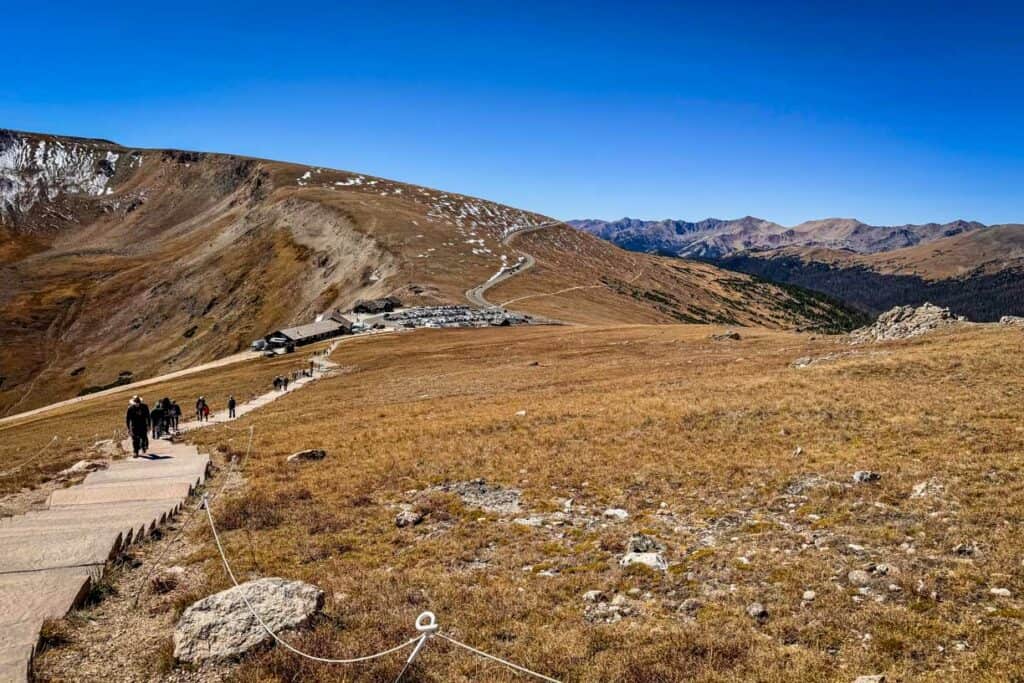
From the Alpine Visitor Center parking lot, hike the 0.6-mile round-trip Alpine Ridge Trail. The distance doesn’t sound like much, but hiking at nearly 12,000 feet in elevation makes it fairly challenging.
Not much of a typical “hike” at all, it’s more of a steady stair climb to the top at just over 12,000 feet. Luckily, several interpretive signs give you chances to rest and catch your breath.
Estes Park
Situated east of Rocky Mountain National Park (from both the Fall River and Beaver Meadows entrances), Estes Park is a popular mountain town with lots of entertainment and things to check out.
Many guided tour services call the town “home”, as do countless restaurants and bars. Local cuisine can satisfy almost any craving, and microbreweries dot the town for those looking to indulge in Colorado’s famous craft beer scene.
The town hosts live music and other events throughout the year, especially during the national park’s busy summer season.
After a drive through Trail Ridge Road, consider popping into Estes for dinner or some evening entertainment (that is if you’re not already staying here for your Rocky Mountain National Park itinerary).
- Grab a bite at a local eatery. Lumpy Ridge Brewery is especially unique as it has been transformed from an old gas station! Another favorite is Bird & Jim which is a local favorite.
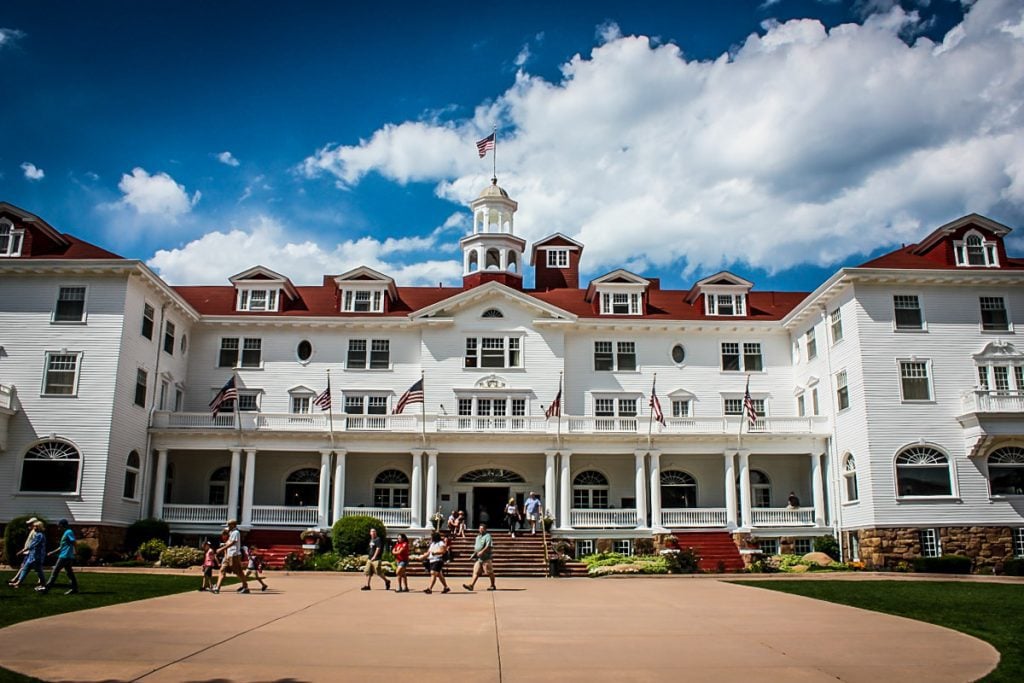
- Visit the Stanley Hotel, the spooky hotel that helped inspire The Shining
- Ride the Estes Park Aerial Tramway
- Walk along the Big Thompson River
Day 2: Bear Lake Road Corridor
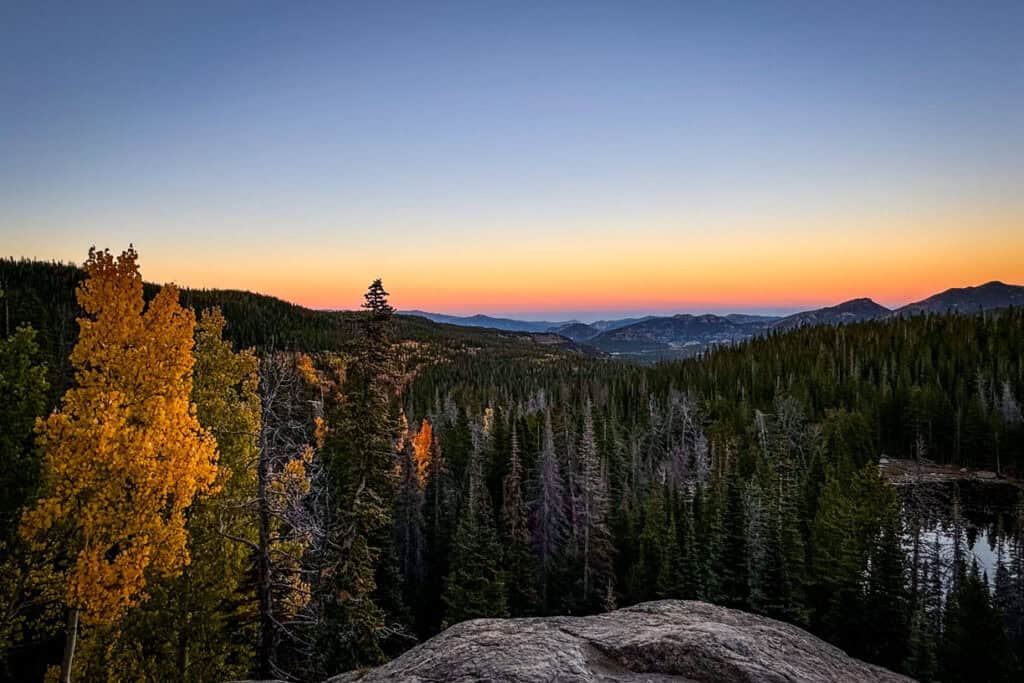
Day two of your Rocky Mountain National Park itinerary explores one of the most popular areas.
Remember, to access Bear Lake from May and October, you’ll need a Timed Entry + Permit (not the ‘regular’ Timed Entry!). Unless you plan to enter the park before 5:00 a.m., be sure to secure that in advance.
Today’s adventures take you to several alpine lakes with stunning mountain views, ending with an unforgettable sunset.
After starting with the Sprague Lake hike, continue on Bear Lake Road to the Bear Lake Parking Lot. This is where you’ll park for all of the rest of the hikes on this day. The rest of the hikes are actually from the same trailhead and can be woven into one long jaunt.
Sprague Lake Trail
- Distance: 0.8-mile loop
- Elevation gain: 36 feet
- Difficulty rating: easy
- Trail notes on Alltrails
Start your day with a hike to Sprague Lake. The easy, flat, path around the lake is accessible for wheelchairs and strollers, offering great views of the Continental Divide and iconic Hallett Peak.
It’s a popular stop on an itinerary for Rocky Mountain National Park, especially because it’s one of the few places you can access in the winter.
Bear Lake Trail
- Distance: 0.7-mile loop
- Elevation gain: 49 feet
- Difficulty rating: easy
- Trail notes on Alltrails
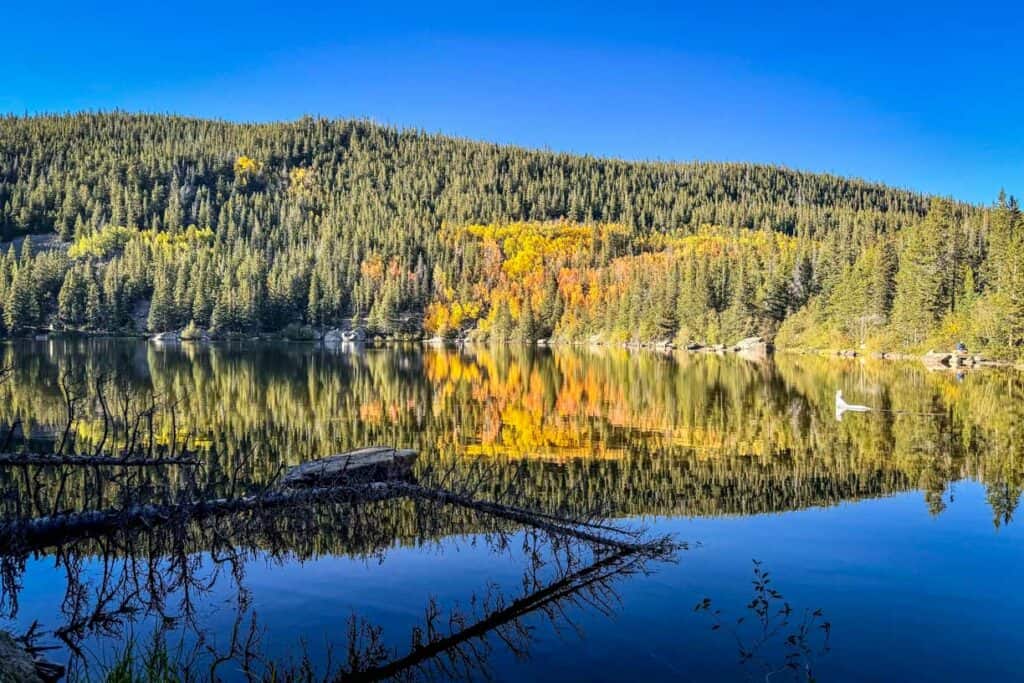
Start out by hiking around Bear Lake, another quick, easy walk around one of the park’s most iconic spots. The loop is short and mostly flat, making it a great place to relax before your final hike of the day.
If you prefer, you can add the walk around Bear Lake first as a warmup, or leave it until the end of your day.
Nymph, Dream, Emerald and Haiyaha Lakes Trail
- Distance: 5 miles, out and back
- Elevation gain: 1,085 feet
- Difficulty rating: moderate
- Trail notes on Alltrails
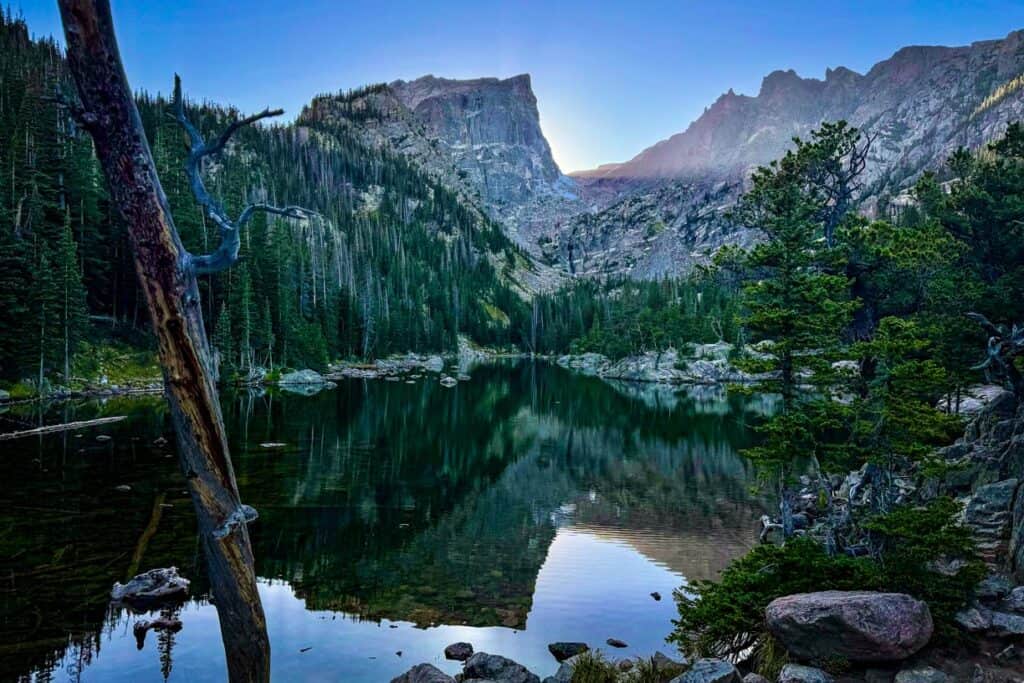
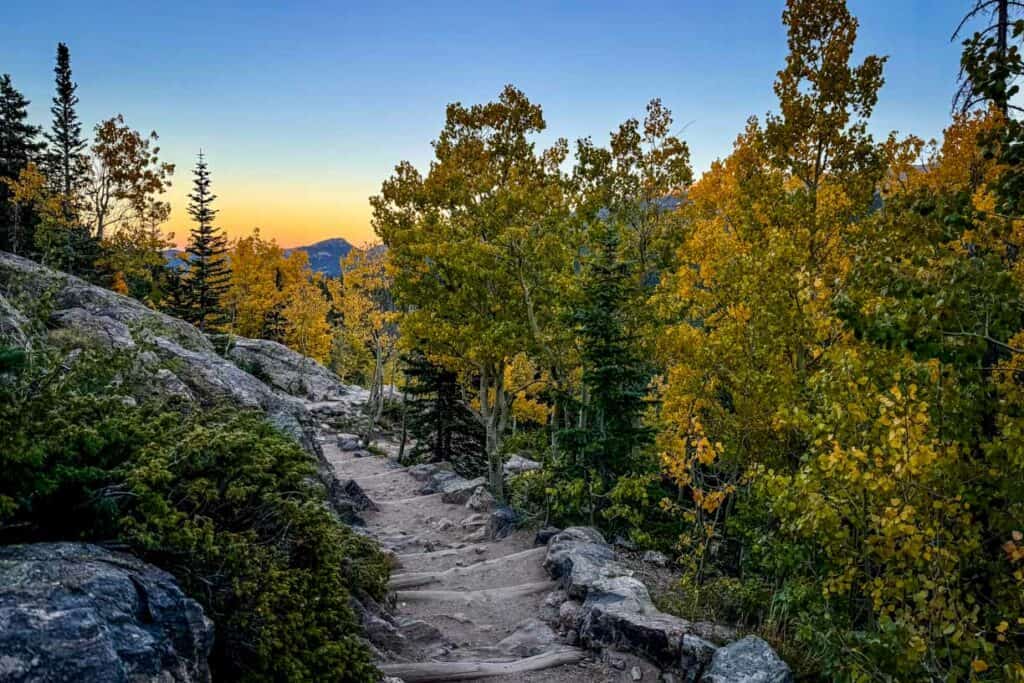
This trail combines several picturesque lakes in the Bear Lake Corridor into one hike, culminating in the most iconic: Emerald Lake.
You’ll follow the moderate trail from the Bear Lake Trailhead past Nymph Lake and split off just before you reach Dream Lake to hike to Lake Haiyaha. Then double back the way you came towards Dream Lake. Walk along the entire northern bank of Dream Lake, then head up to Emerald Lake.
My experience: Emerald Lake can be especially beautiful at sunset (just look at the amazing sunset shot Katie got of Ben at the lake in our Emerald Lake trail guide!), but it can be hard to time because the sun will go behind the mountains long before the true sunset hour. I learned this the hard way on my hike, showing up at Emerald Lake a full hour before sunset time, only to find the sun had already dipped behind the mountains and the lake’s colors didn’t quite pop the way I was hoping for.
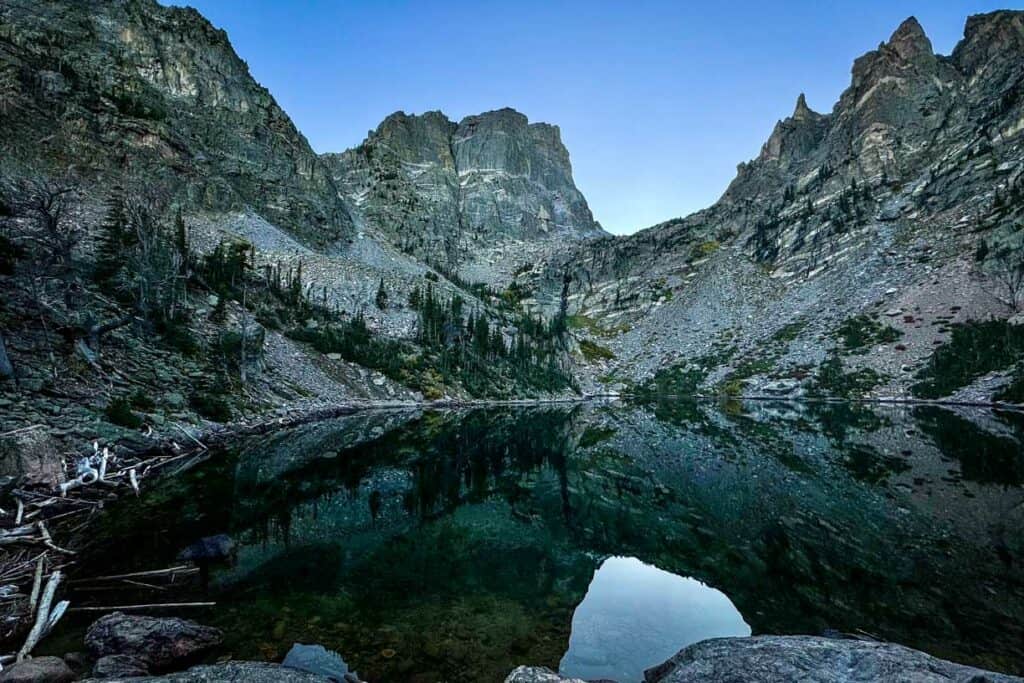
For this reason I wouldn’t suggest trying to make this a sunset hike. Instead, just start this trail in the afternoon whenever you’re ready and aim to get to Emerald Lake when the sun is shining over it and the emerald colors of the lake really pop!
Day 3: Choose your own adventure
On your last day in Rocky Mountain National Park, we’re giving you a few options. You can either choose to take it easy on a leisurely, but incredibly scenic hike, and then check out the town of Grand Lake, or tackle one of the park’s tougher hikes.
All three options offer jaw-dropping scenery. Options 2 and 3 (both the tougher hikes) have similar distances, all-day commitments, and difficulty levels, but the trail you pick depends on your personal preferences and if you are able to snag a second Timed Entry + permit for this day.
Option 1: Hike part of East Inlet Trail & Grand Lake (no Timed Entry +)
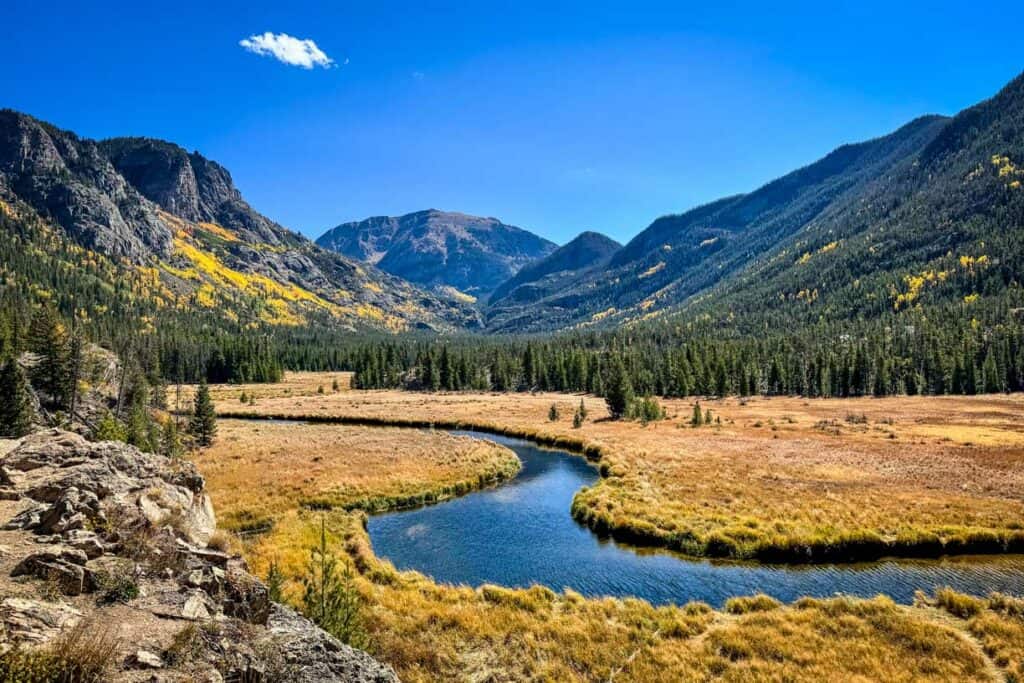
The East Inlet Trail is an 18-mile out and back trail that loosely follows the East Inlet River to a string of sparkling lakes. Don’t let that 18-miles scare you away! We are actually suggesting you hike just a part of the trail—the first 2 miles (4 miles in total!).
Of course if you have an extra day to add to your Rocky Mountain National Park itinerary, and want to do some backcountry camping, this trail would make an excellent option!
However, if you want to take it easy, the first 2 miles on this leisurely trail are incredibly scenic with little elevation gain, making it a pretty easy endeavor for a big payout!
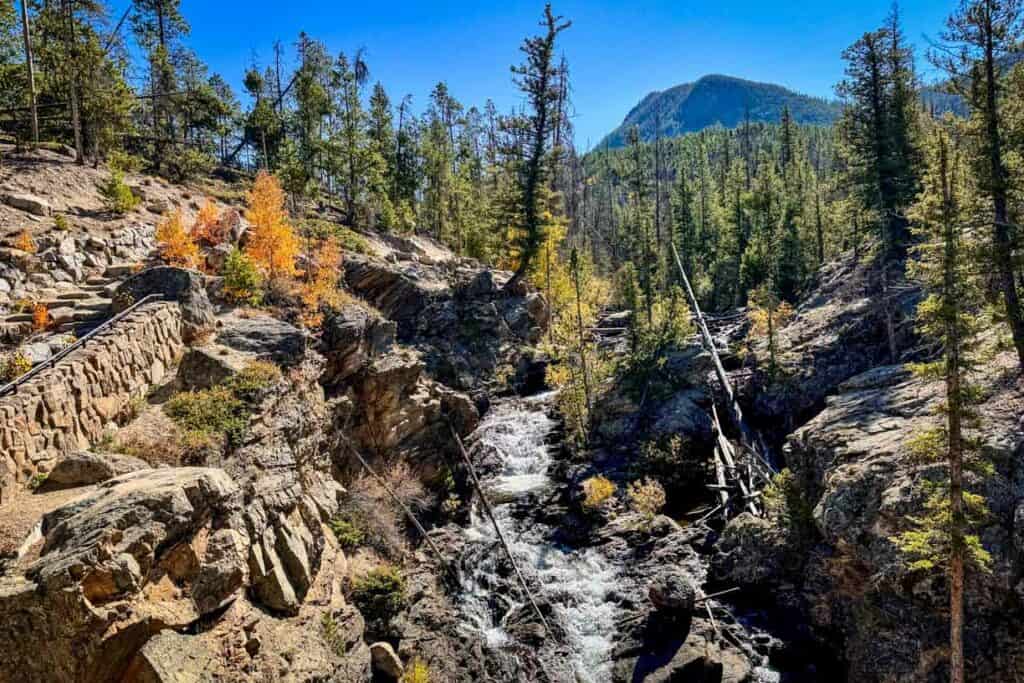
The first stop is Adams Falls, which is only about 10 minutes from the trailhead. Beyond the falls you’ll continue through patches of exposed and shaded trail alongside a beautiful meadow with scenic mountain vistas the entire way!
Your turn-around point (if you should choose) is another smaller waterfall, right at about the 2-mile mark on the trail.
After you’ve completed as much as you feel like hiking, head back into Grand Lake for a bit to eat and to explore the town a bit.
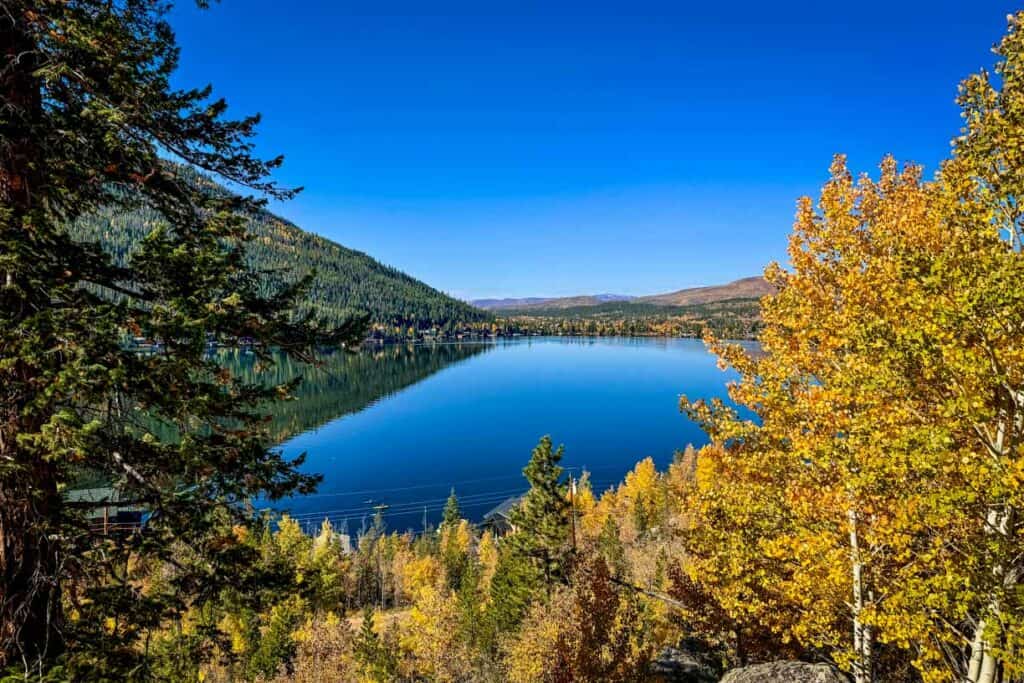
- One Love Rum Kitchen: our recommendation for a casual meal featuring Caribbean flavors and yummy cocktails.
- I had the fried fish tacos (10/10 recommend) and the jalapeño margarita (also delicious, but much spicier than they let on!).
- The Rapids Restaurant: They do outdoor seating right on the creek for lunch with beautiful views.
- Harriton House Tavern at Grand Lake Lodge: Not cheap, but they serve fresh local fare for brunch, lunch and dinner.
Option 2: Chasm Lake Trail (no Timed Entry +)
- Distance: 8 miles, out-and-back
- Elevation gain: 2,542 feet
- Difficulty rating: challenging
- Trail notes on Alltrails
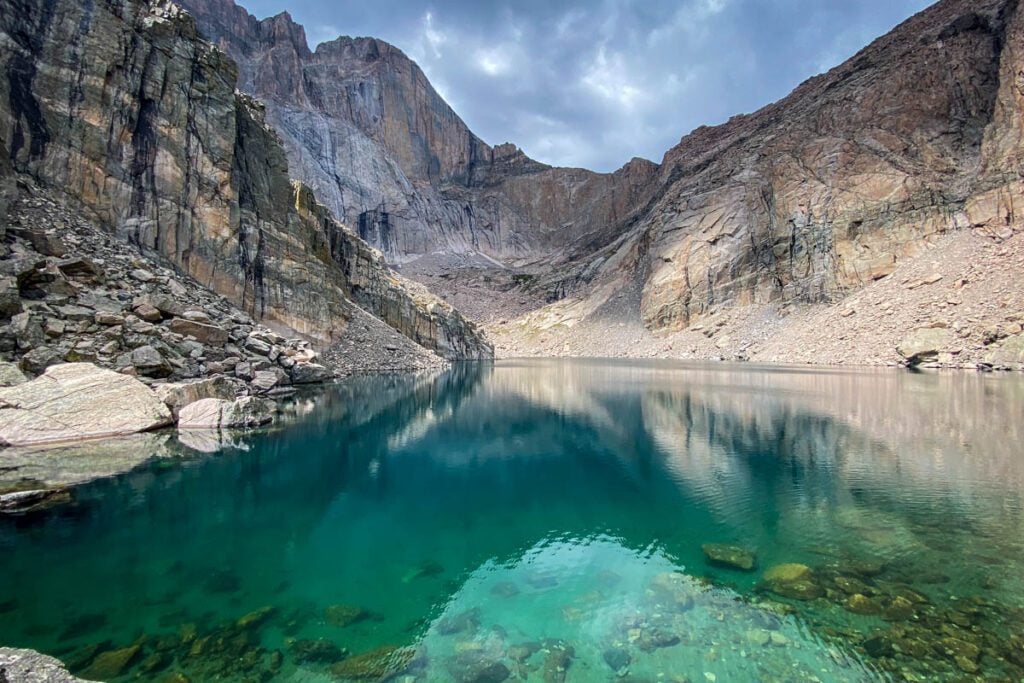
If you’re up for a major challenge but don’t necessarily want to tackle a 14er, Chasm Lake is ideal for your Rocky Mountain National Park itinerary.
Starting at the popular Longs Peak Trailhead, the trail takes you up, up, way up through a mix of forest and high-alpine terrain before ending at stunning Chasm Lake. The lake sits in a cirque at the base of Longs Peak, the park’s only 14er.
This hike is difficult from start to finish, but especially the last stretch, where you’ll have to do some route finding and rock scrambling. Budget at least 4-6 hours for this hike, and maybe a bit longer if you’re not used to the altitude.
Parking at Longs Peak trailhead is very limited, and unlike the Bear Lake area, turnover isn’t high at all. When people park here, they’re gone for several hours, if not overnight, so it can be hard to find a spot.
Also, exposure at this high elevation means summer afternoon storms are extremely common, and conditions often change without warning. Between the parking challenges and to beat any incoming weather, it’s important to arrive VERY early! Aim for an ‘alpine start’ (3-5:00 a.m.).
Option 2: Sky Pond via Glacier Gorge (need Timed Entry +)
- Distance: 9.4 miles, out-and-back
- Elevation gain: 1,774 feet
- Difficulty rating: challenging
- Trail notes on Alltrails
An equally stunning but very different alternative is the hike to Sky Pond via Glacier Gorge. Like Chasm Lake, factor in about 4-6 hours.
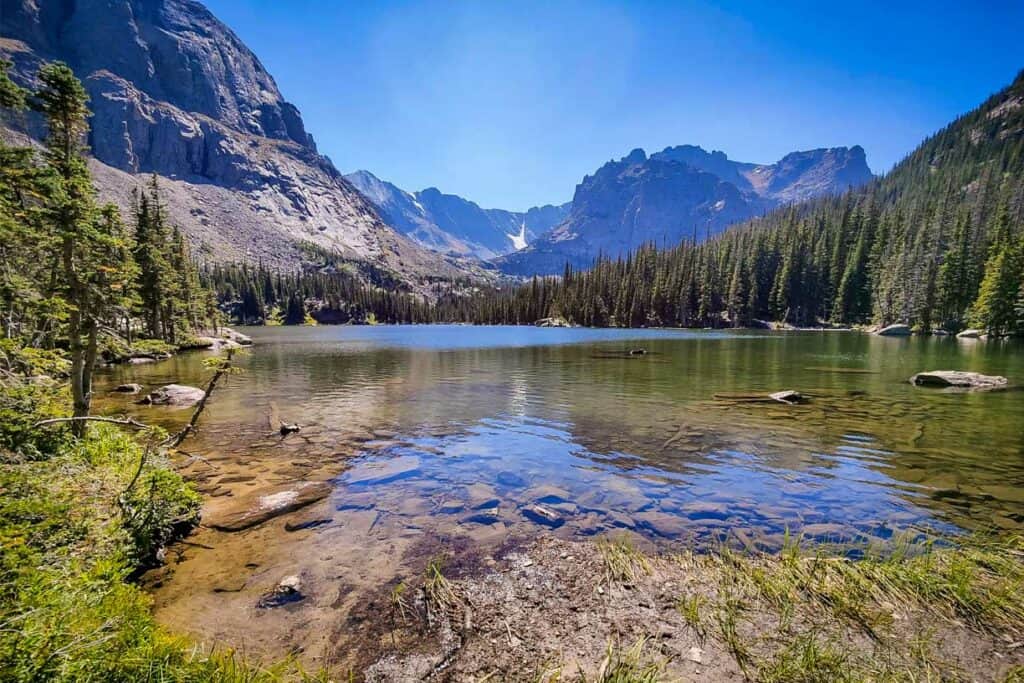
Starting from the Glacier Gorge Junction Trailhead, you’ll pass beautiful Alberta Falls before continuing on to The Loch (technically named Loch Vale), a serene alpine lake.
Beyond The Loch, the trail gets far steeper and more difficult, with lots of switchbacks. At Timberline Falls, the trail gets really interesting—you actually have to climb and rock-hop up a short section of the waterfall!
You’ll also pass gorgeous Lake of Glass before reaching Sky Pond, surrounded by jagged peaks.
Tip: If you don’t find parking in the small lot at Glacier Gorge, you can park in the humongous Park n’ Ride lot and take the shuttle to the trailhead.
Bonus!
Have more time in the park? Why not do all three and make this an epic 5 day Rocky Mountain National Park itinerary!
How much time do I need in Rocky Mountain National Park?
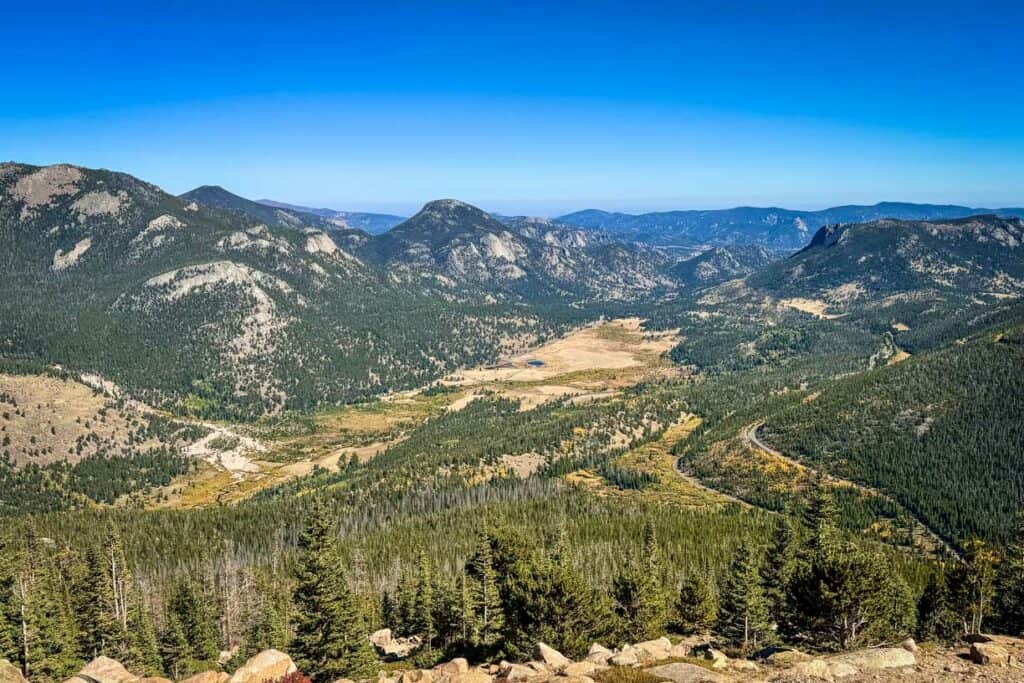
Three days in Rocky Mountain National Park makes for an ideal itinerary, giving you ample time to explore all the highlights without feeling rushed or having to skip anything.
However, Rocky Mountain is actually one of those parks you can get a taste of with just one day since it’s so accessible from Denver. You could really pick and choose any of the days we lined up in this itinerary and make it a day trip, or lengthen your itinerary with all of the options on day 3.
Best time to visit Rocky Mountain National Park
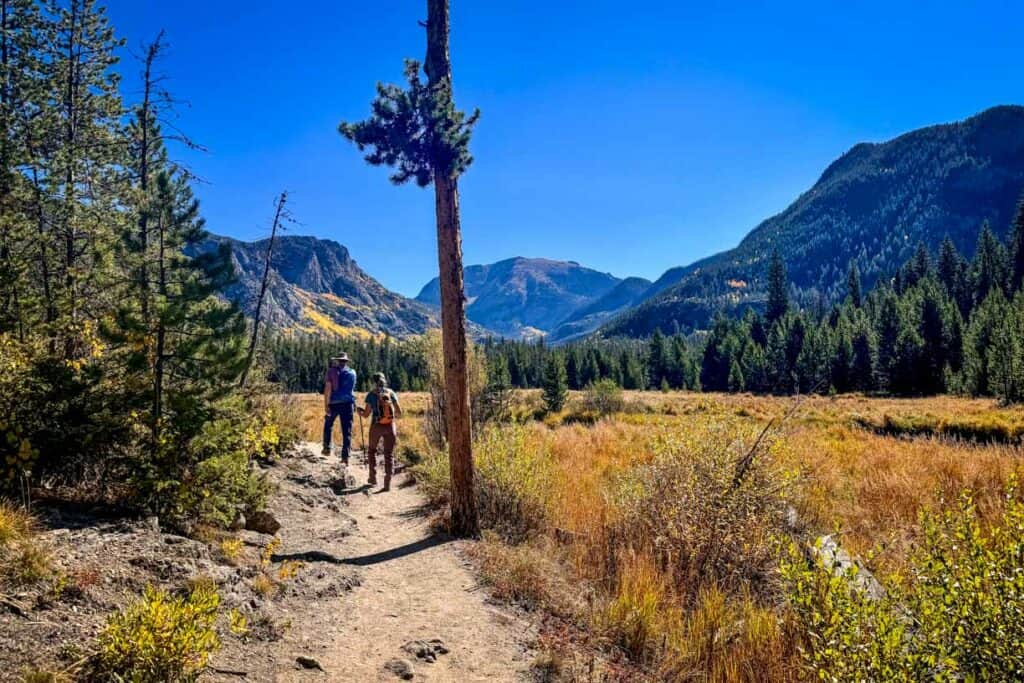
Summer is by far the most popular time to visit RMNP, so our personal pick is early fall (mid-September through mid-October), once schools are back in session and the fall foliage is at its peak.
While the park is still busy, especially on weekends during peak leaf-peeping season, it’s a bit quieter in the fall and cooler temperatures make perfect hiking weather. Plus, Rocky Mountain has stunning autumn scenery throughout the season.
Where to stay at/near Rocky Mountain National Park
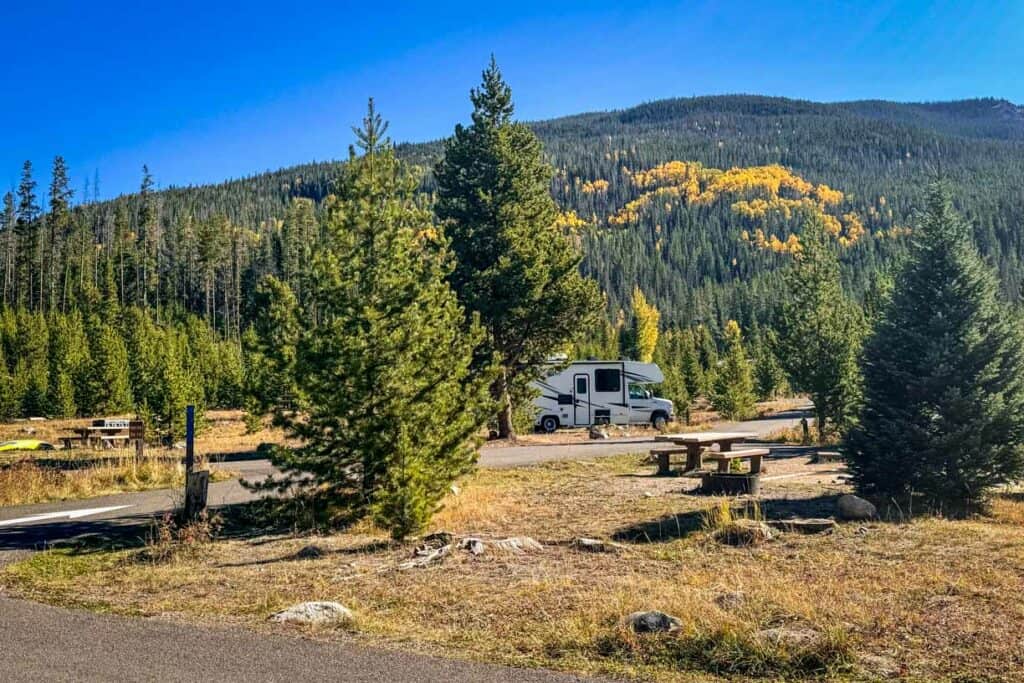
Within Rocky Mountain National Park, there are four campsites available to book. Nearly all accommodate tents and RVs, though they vary significantly in amenities. (Keep in mind Aspenglen Campground is the only campground open through the winter.)
Advance reservations are required for all campgrounds and include entrance into the park (no Timed Entry permits necessary with campground reservations – unless you want to go to the Bear Lake Road Corridor).
Important Note: If you choose to stay at Timber Creek Campground, note that you will be nearest to the Grand Lake Entrance, and you’ll have to drive an hour + on Trail Ridge Road over the pass to get to most of the stuff in the park (including Bear Lake Road Corridor – which is 1.5 hours from Timber Creek Campground).
For more information on camping in Rocky Mountain National Park, reference the NPS site for the latest information on site availability and pricing. If sites are all booked up, try using the popular camping app The Dyrt to find additional camping sites near Yellowstone National Park.
If you want to stay outside the park, the closest accommodation options will be in Estes Park, Colorado (east entrances – Beaver Meadows and Fall River) or Grand Lake, Colorado (Grand Lake Entrance).
What to pack for your Rocky Mountain National Park itinerary
- National Parks Annual Pass
- Navigation: we recommend using Alltrails+ to download the offline trail map
- Get your first week of using Alltrails+ for FREE when you sign up using our link!
- Timed Entry permits*
- Hiking daypack
- Refillable water bottle and/or Camelbak bladder
- Bug repellant
- Sun protection: sunscreen, hat, sun glasses
- Headlamp
- Camera/tripod (this one’s our favorite for hiking)
- Hiking layers (here is a great resource if you’re wondering what to wear hiking)
- Rain jacket (Rocky Mountain National Park is prone to afternoon thunderstorms all summer long!)
- Comfortable hiking boots or shoes
- Hiking poles (optional)
- Bear spray (just in case)
- Plenty of snacks: check out our favorite hiking snacks here!
- Camping gear – if you are staying at one of the park’s campsites
*Don’t forget to screenshot your Timed Entry and Timed Entry + permits for each day of this itinerary!!
You may also like…
- Best Things to Do in Rocky Mountain National Park (Ultimate Guide)
- How to Plan a Road Trip (+ biggest mistakes to avoid!)
- Ultimate Road Trip Packing List
Love exploring USA National Parks?
Us too—in fact, we’re kind of obsessed with them!
We have tons of articles, guides, and itineraries for just about every national park we’ve visited. Browse our USA National Parks homepage or click on one of our national park guides below.
- Acadia National Park, ME
- Arches National Park, UT
- Bryce Canyon National Park, UT
- Canyonlands National Park, UT
- Capitol Reef National Park, UT
- Death Valley National Park, CA & NV
- Glacier National Park, MT
- Grand Teton National Park, WY
- Joshua Tree National Park, CA
- North Cascades National Park, WA
- Olympic National Park, WA
- Yellowstone National Park, WY, MT, ID
- Yosemite National Park, CA
- Zion National Park, UT
Save this article on Pinterest for later!
We want to hear from you!
What did you think of our Rocky Mountain National Park itinerary? Are you planning a trip to Rocky Mountain and still have questions? Leave us a comment below and we’ll do our best to get back to you!

Amanda Pointer is the Director of Content at Two Wandering Soles, keeping all travel stories on track from idea to publish. A journalist with a photojournalism background and years in digital content, marketing, and SEO, she makes sure every piece is clear, useful, and relatable. Since 2019, she’s been the behind-the-scenes force turning big travel ideas into stories that help readers plan their dream trip.
