
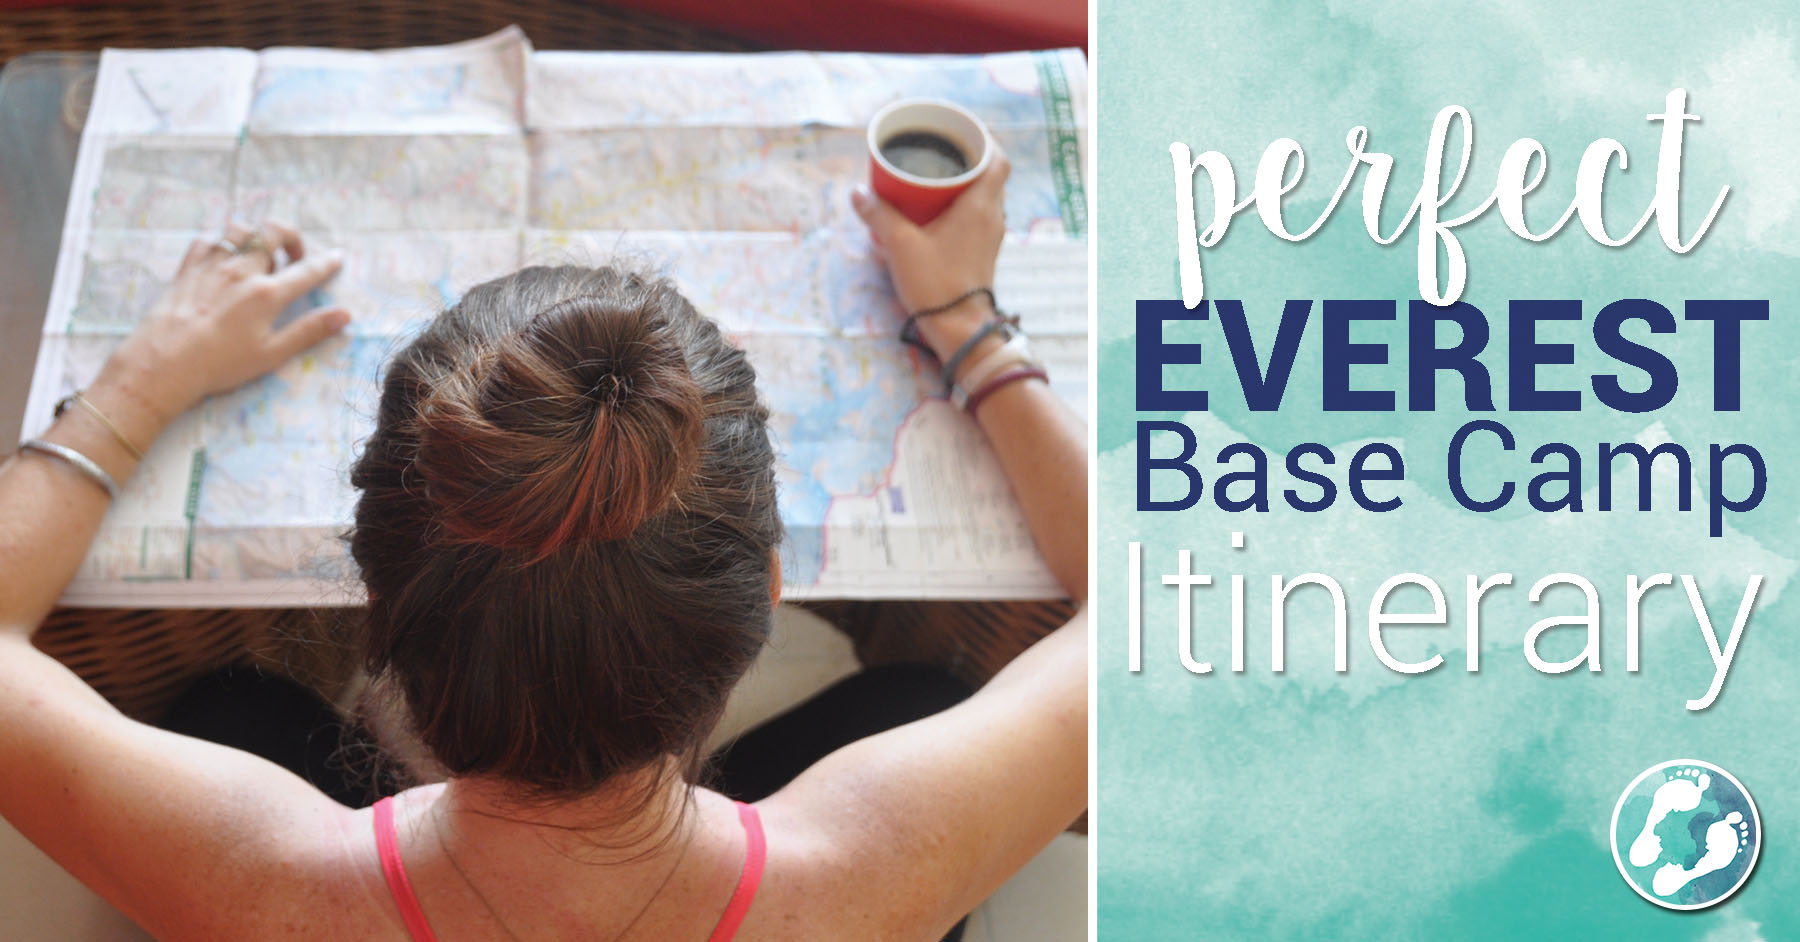
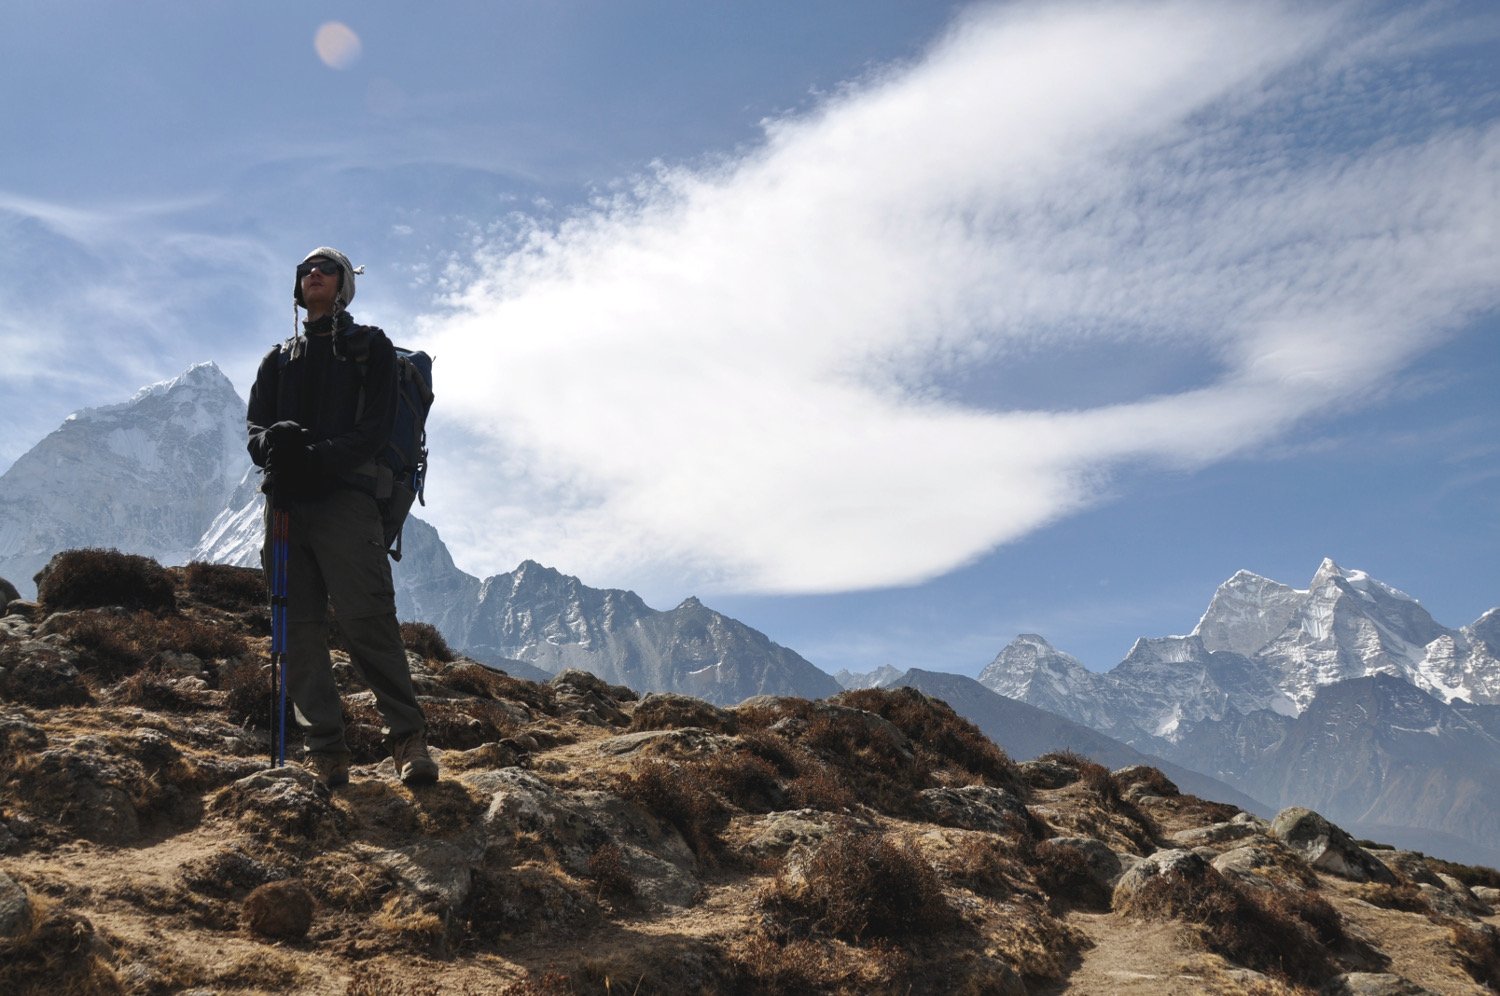
The Everest Base Camp trek can be dangerous, even fatal, if you don’t plan it out correctly. Before we laced up our hiking boots and began our hike to Everest Base Camp, we did some planning. A lot of planning.
We read blogs, compared itineraries, and looked at maps. We downloaded the Lonely Planet’s Trekking in the Nepal Himalaya travel guide and memorized their suggested route. We scoured TripAdvisor forums and read long-winded explanations of the best villages to stay in along the way. And after all that research, we narrowed our findings down to a route that was perfect for us.
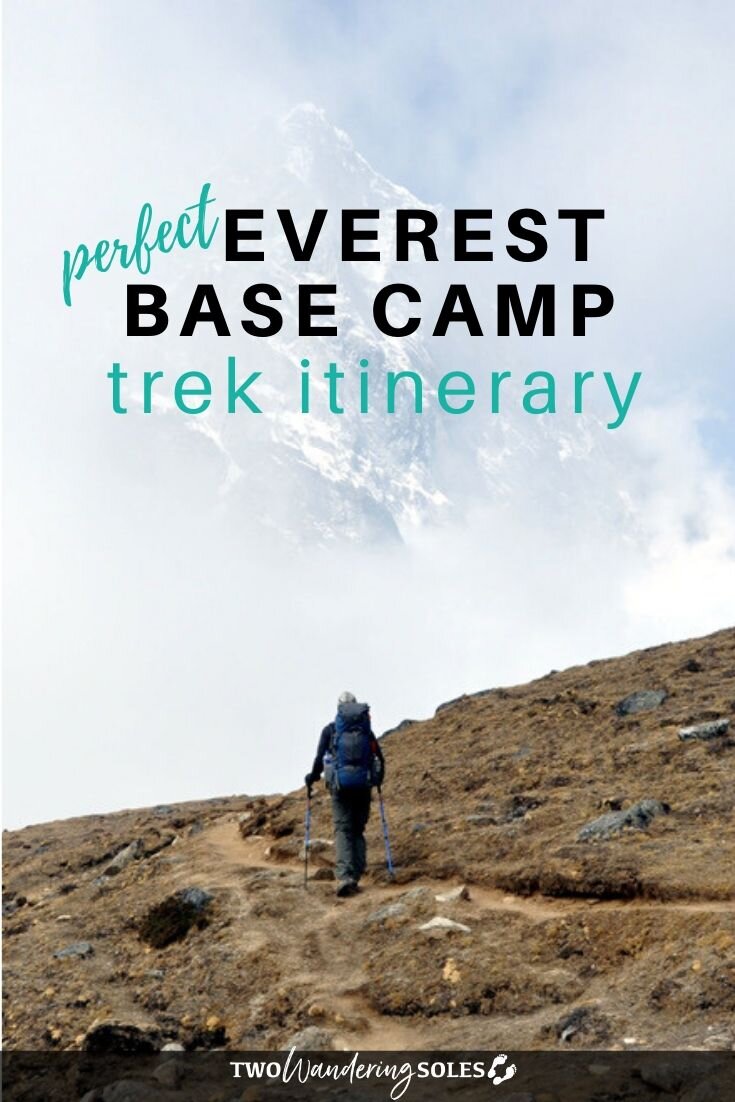
This 16-day itinerary will bring you to Everest Base Camp, across the infamous Cho La Pass, and to the beautiful Gokyo Lakes. It has buffer days built in, so you have plenty of time to acclimatize.
This itinerary will give you an idea of what each day looks like, its difficulty level, and the name of the teahouse we stayed at (and if we’d recommend it).
We trekked at a slow to average pace (some may say a “turtle pace”), and we carried our own packs (without a porter). Take a look at our EBC packing list. To learn more about what life is like on the trail and how to do it yourself, check out our Ultimate Guide to Trekking Everest Base Camp.
Note: We did our trek from April 6th – 22nd, 2016.
Who is the Everest Base Camp Trek for?
We saw people of all ages and abilities making this trek. But be warned, it’s not easy. And even the fittest people can suffer from altitude sickness and fail to make it to base camp. We didn’t do much training for this trek at all, but we met several people who trained hard for an entire year before attempting EBC.
Can children trek to Everest Base Camp?
We wouldn’t recommend it. Come to think of it, the youngest person we encountered was maybe 16 years old, and that was a rarity. If you are planning on trekking in Nepal with kids, there are many other, less intense hikes that would be more suitable for young children.
EVERYTHING you need to plan your EBC trek!
There are a few trekking routes around Everest National Park (Sagarmatha National Park). We trekked the Everest Base Camp & Gokyo Lakes Itinerary shown below. Click the links to jump to that day on the trek.
Everest Base Camp & Gokyo Lakes Itinerary
*Note 1: If you are looking for the classic Everest Base Camp and back route, you would start heading back down from Day 10 from Kala Pattar – Pheriche – Namche Bazaar – Lukla.
*Note 2: Staying in Dugla on Day 7 is commonly skipped but we decided to stay here because we both got sick. Read more about what happened to us on Day 7.
If you have even more time, try looking into the Three Passes Trek. Check out the route in the Lonely Planet’s Trekking in the Nepal Himalaya travel guide.
Before starting your Self Guided Trek to Everest Base Camp
You’ll need to purchase travel insurance with high altitude coverage, which is not common on most policies. We saw far too many people get helicoptered off the trail because they got sick from the elevation. We purchased a policy from World Nomads, which high altitude coverage comes standard. We were at ease knowing that if anything happened, we were insured.

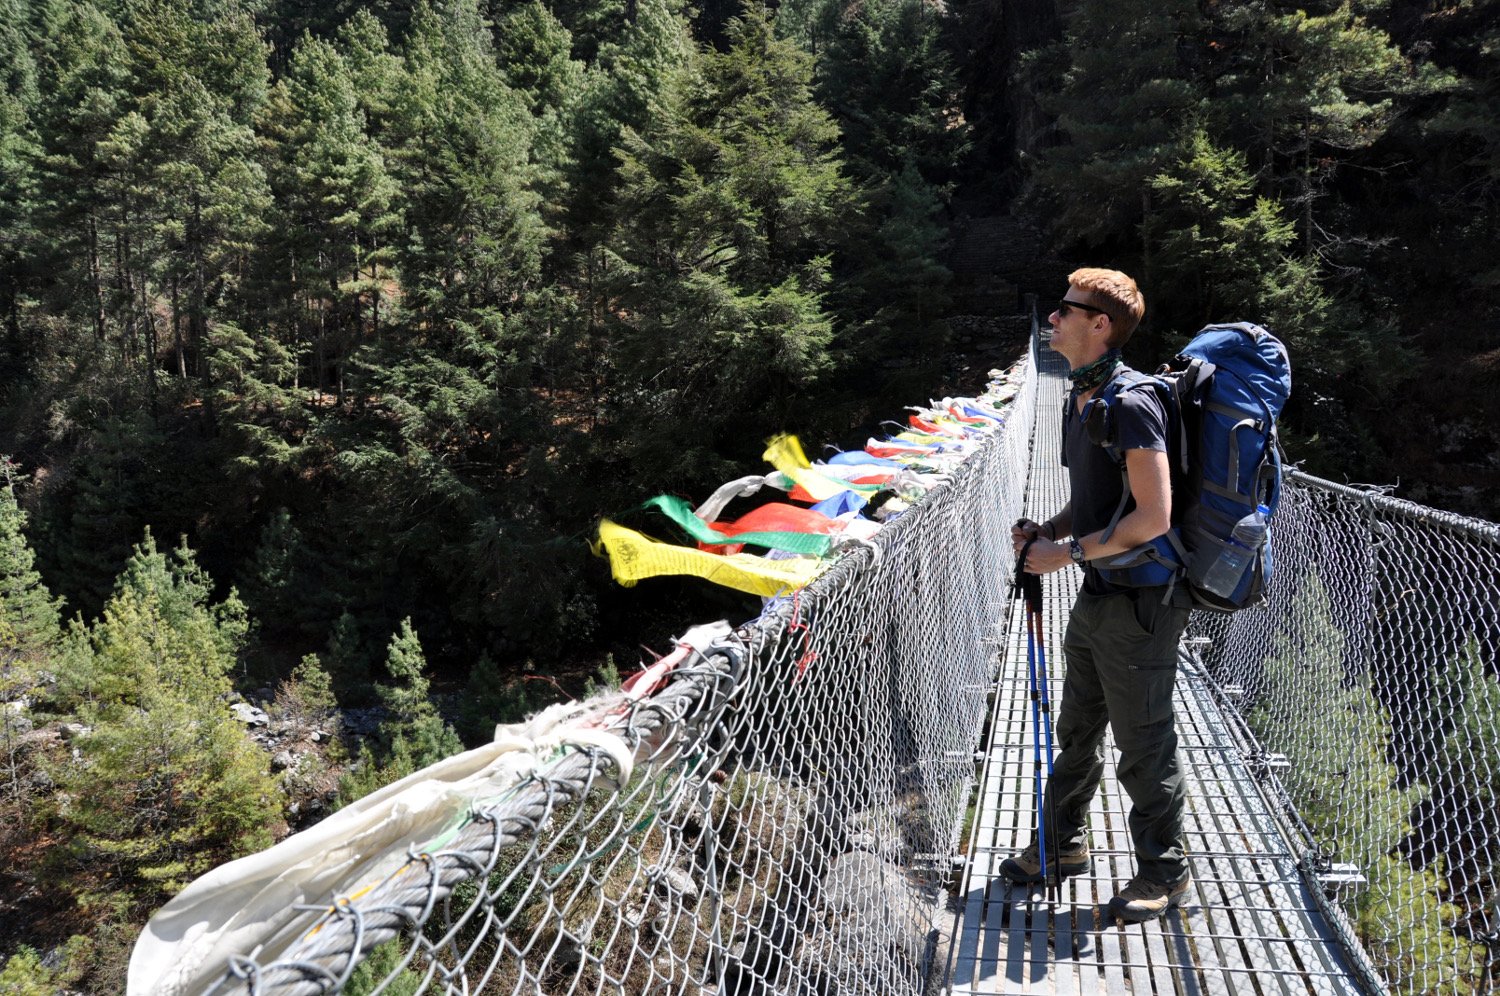
Day 1: Lukla to Monjo
Total trekking time: 5 hours 15 minutes + Rest time: 45-minute lunch in Phakding
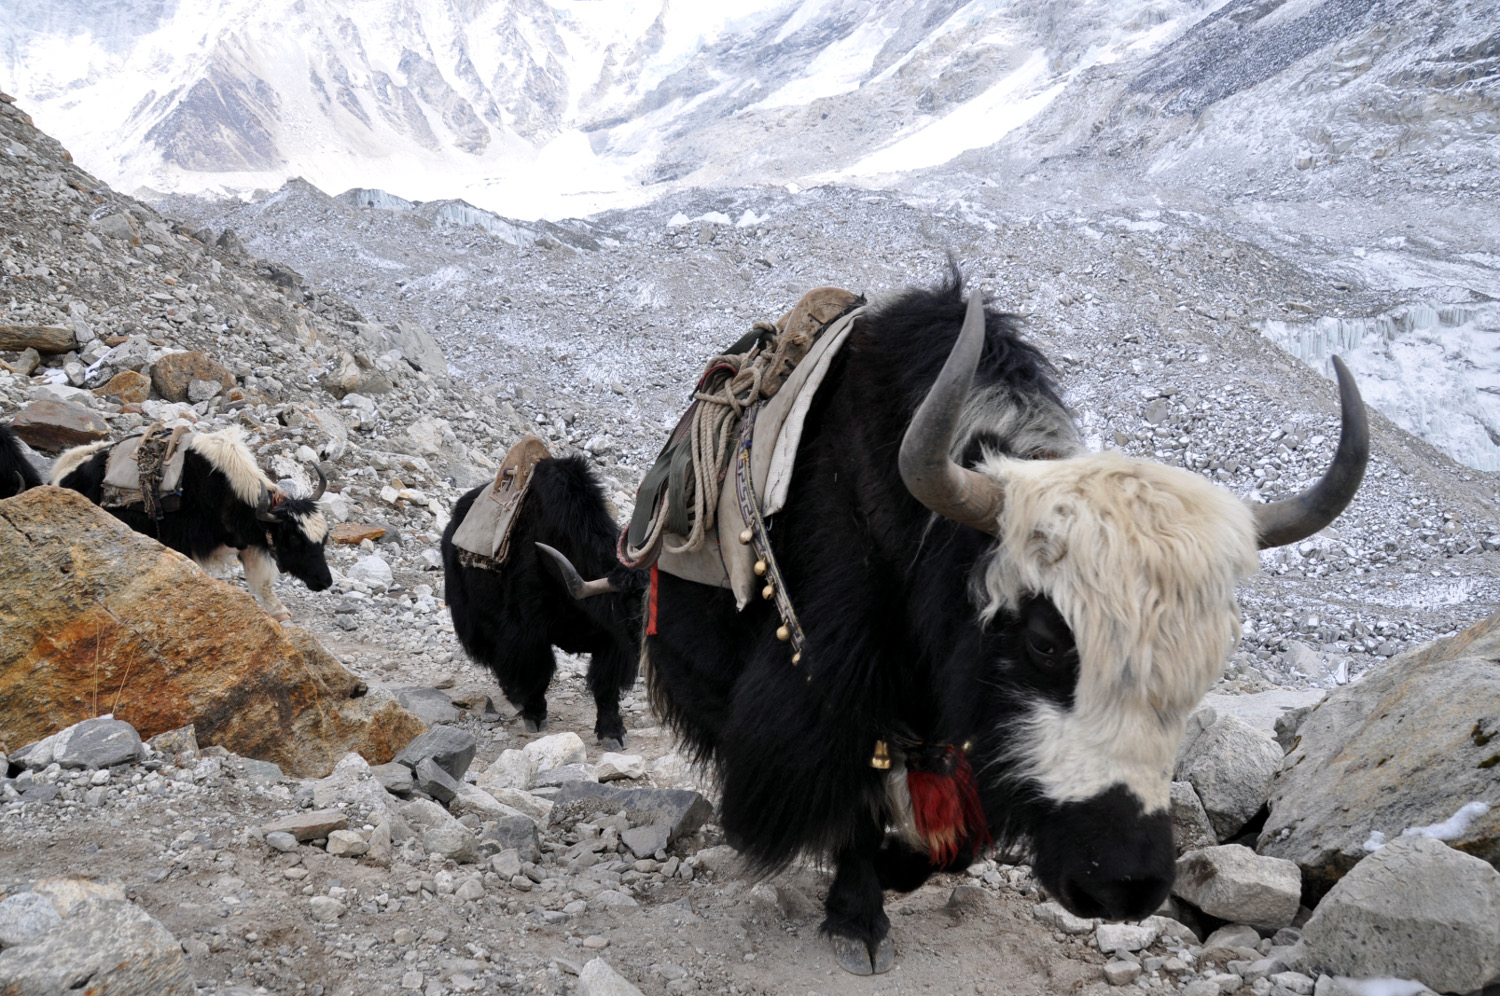
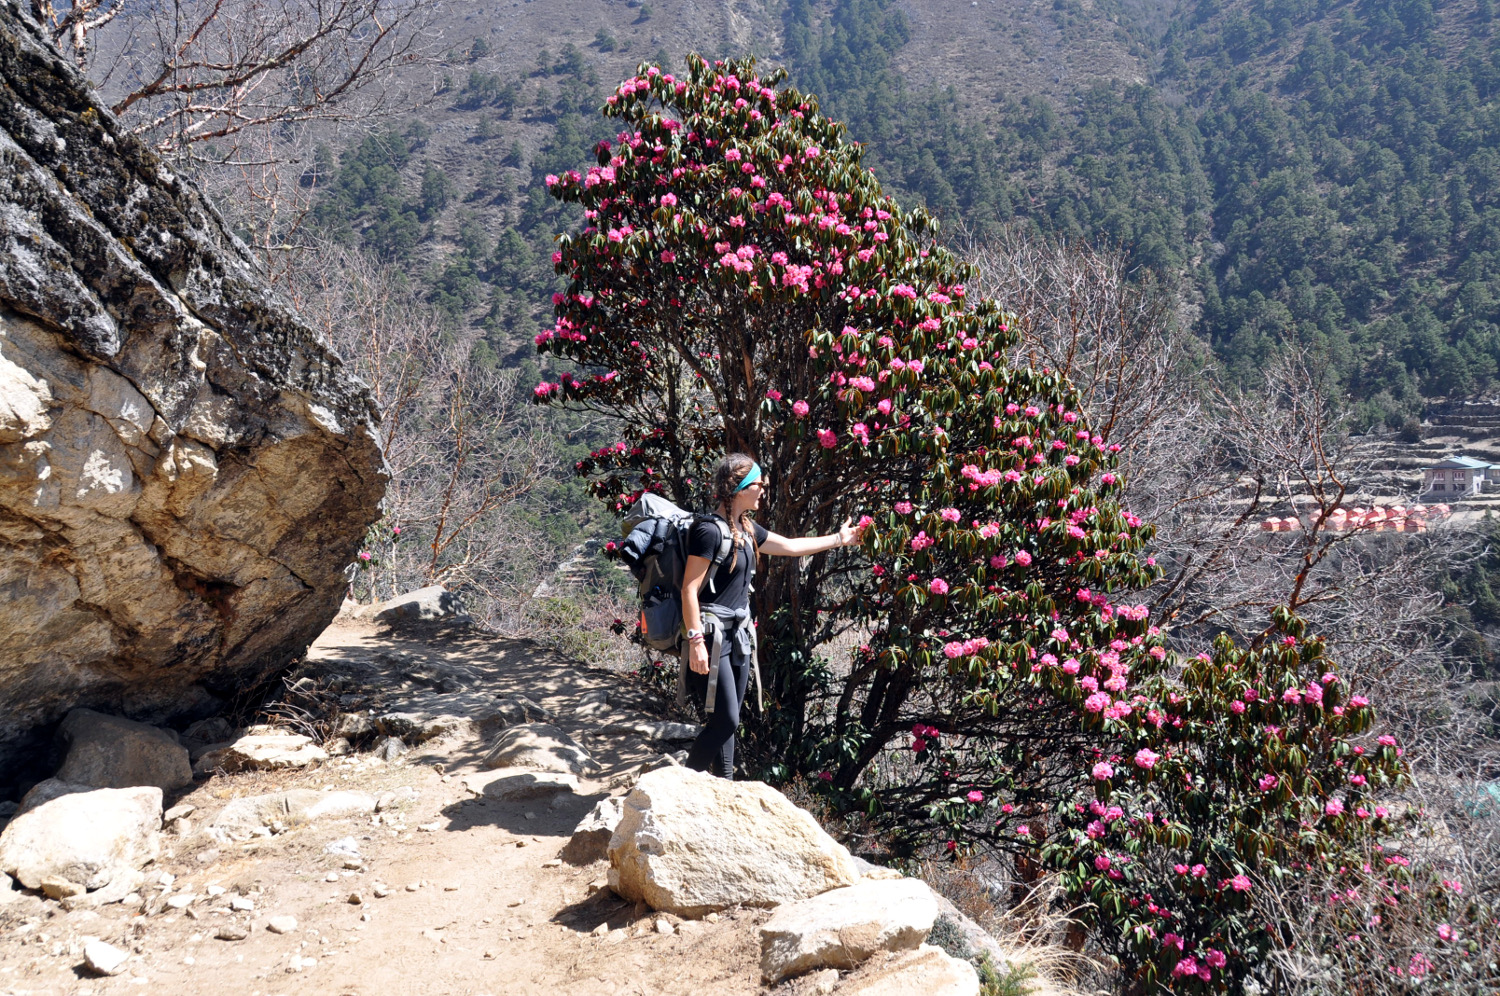
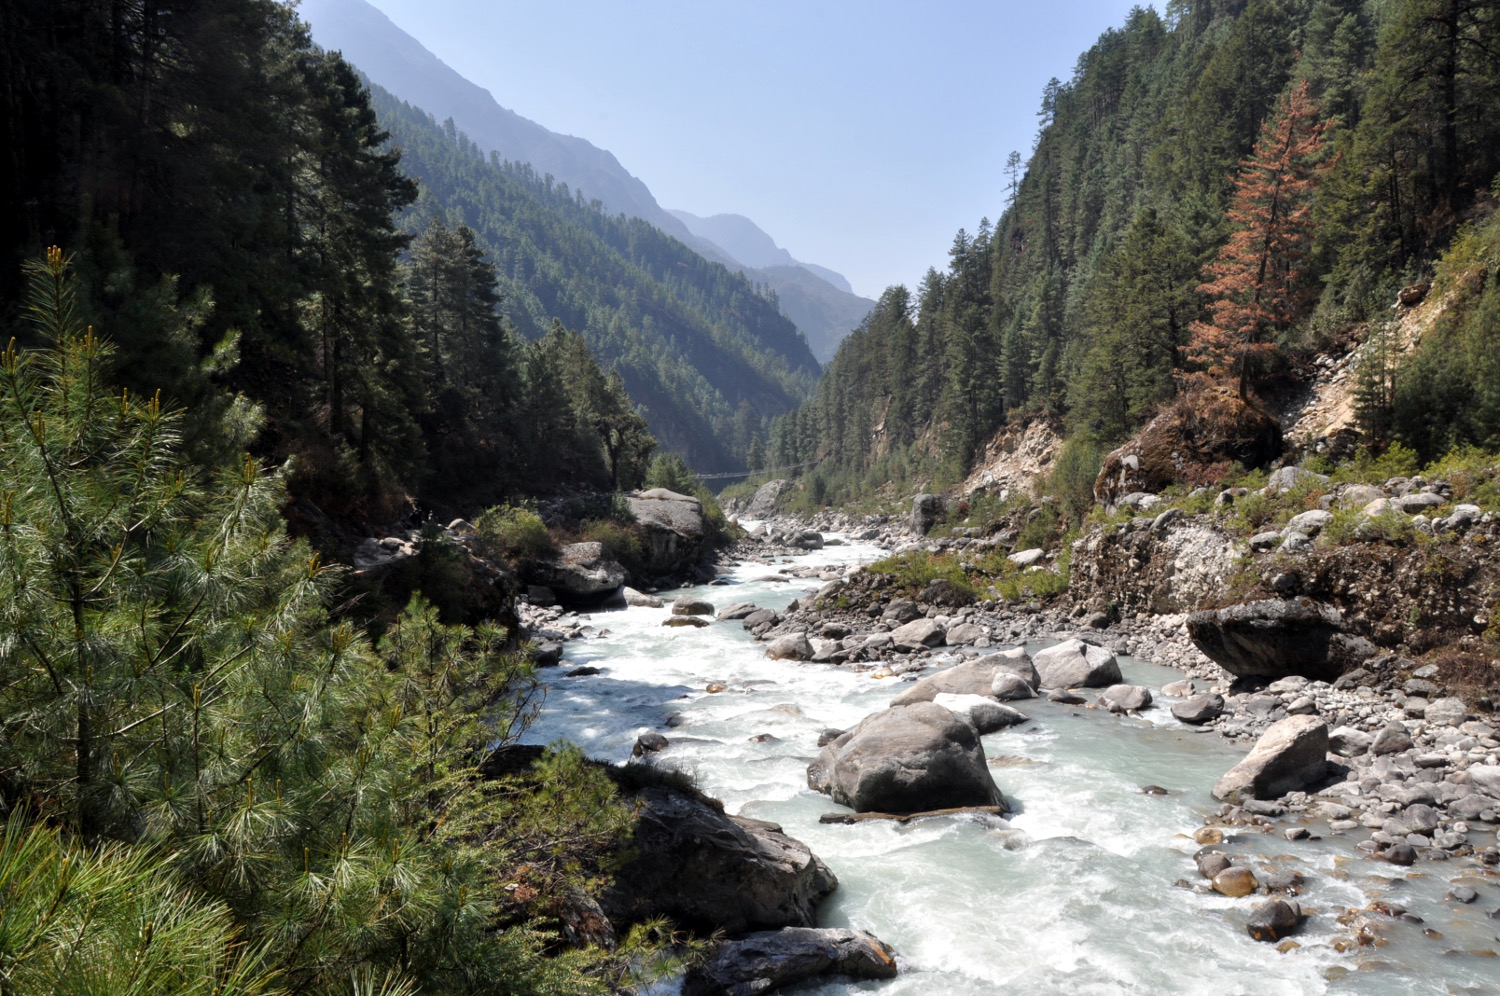
Description: Once your flight lands grab breakfast and coffee in Lukla (we ate at Everest Coffee Cafe), and then began hiking. Trek through beautiful scenery, crossed suspension bridges, passed by yaks, and smelled the cherry blossoms and rhododendrons.
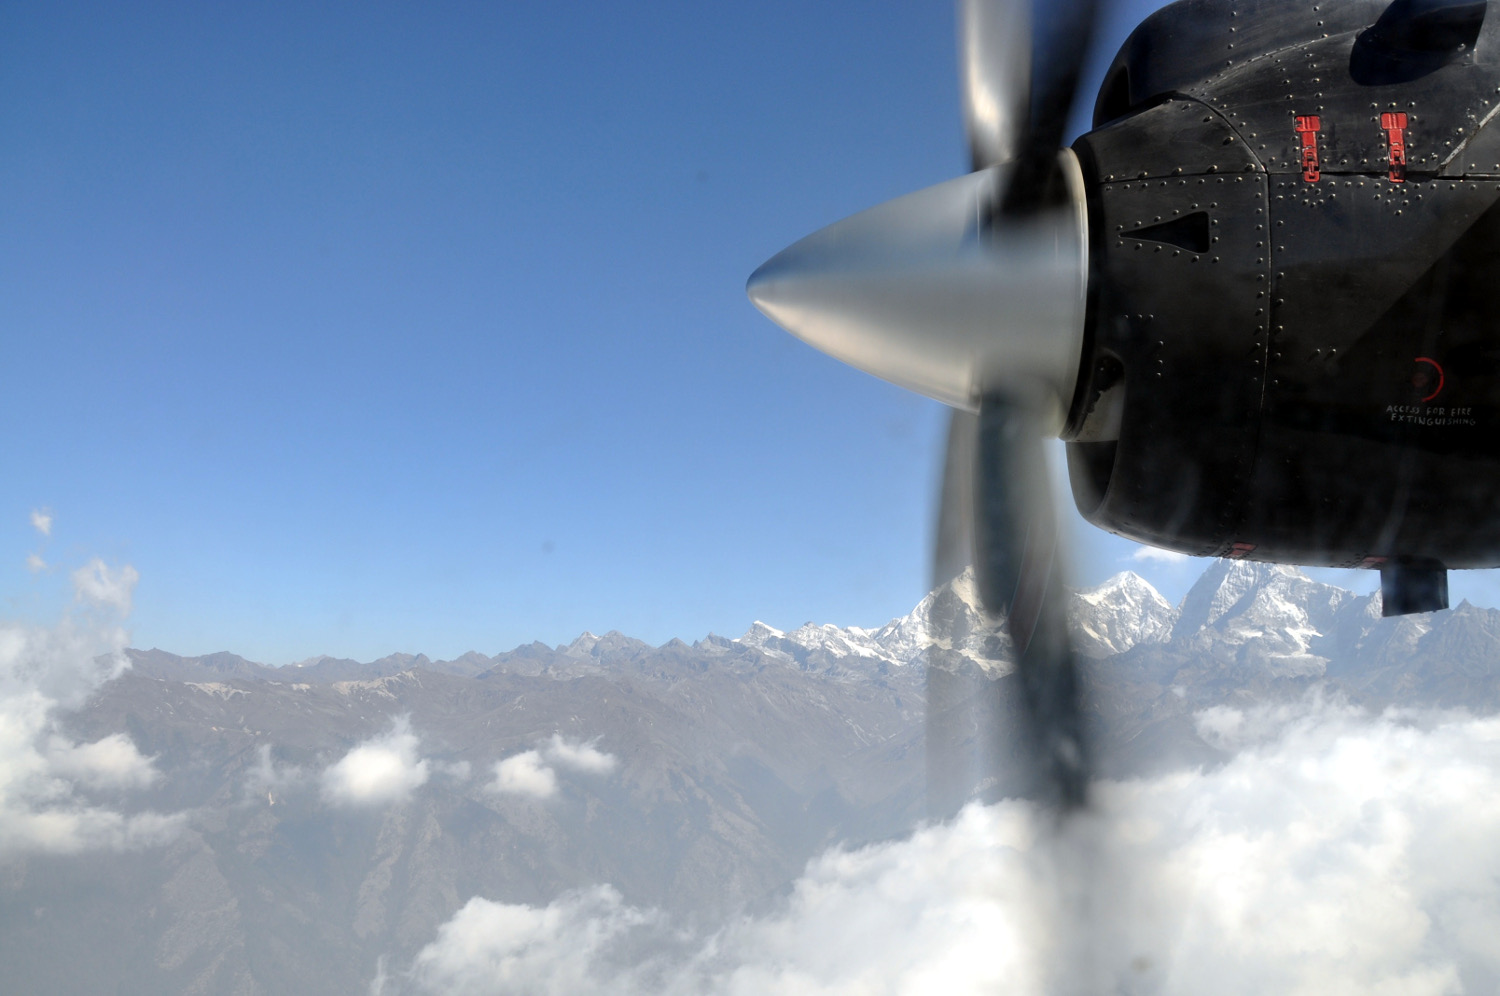
Note: If you are flying to Lukla, it’s not uncommon for your flight to be delayed or even cancelled. Be prepared to get a later start than you were expecting.
Difficulty Level: 4 – Today was easy, with mild uphill and downhill portions.
Teahouse: Monjo Guesthouse
-
Cost: 200 rupees
-
Warm dining room, simple rooms, good views
-
Recommended: Yes
Tip: Many people spend their first night in Phakding, but we skipped it for a few reasons. First, Phakding is full of large lodges with big trekking groups, whereas Monjo is a bit smaller. Also, Monjo is at a higher altitude, which will help you acclimatize better and make your transition to Namche easier.
Lastly, the second day of the trek is long and tiring. By staying in Monjo the first night, you’ll get ahead of the crowds and cut significant time since you are closer to Namche. If you have time, we would recommend pressing on until Monjo for your first night.
Day 2: Monjo to Namche Bazaar

Total trekking time: 4 hours 30 minutes + Rest time: 30 minutes at the Namche check point
Description: Start the day crossing suspension bridges and easy walk, but after the last suspension bridge it is 2 hours or more of uphill hiking. 30 minutes before Namche there is a check point you must sign in at. Ours took 30 minutes because the power got shut off and had to reboot everything. Make sure to drink lots of water, at least 3 liters.
Difficulty Level: 7 – Easy first few hours, but the hill to Namche is a killer.
Teahouse: Khumbu Lodge
-
Cost: 300 rupees
-
Rooms have soft beds and good views (ask for a room facing the valley). It’s in a central location of Namche and has a big restaurant with tasty food.
-
This well-known lodge is popular with big expedition groups, and some famous climbers have stayed here throughout the years. The owner seemed to be well known in the climbing community. U.S. President Jimmy Carter and his wife stayed here as well in 1985.
-
Recommended: Yes
Tip: Try the fried potatoes with veggies and an egg. Good for breakfast or dinner!
Day 3: Namche Bazaar Acclimatization Day
Total trekking time: Depends on day hike. 2 – 3 hours. We hiked to the Sherpa Museum for a view of Everest, about 1 – 1.5 hour round trip. Then we hiked up the hill over Namche to the Sherpa Village Lodge, about 1 – 1.5 round trip.
Difficulty Level: 4 – Pretty relaxed, easy slope to the Sherpa Museum. The hike up to the Sherpa Village Lodge was a steep climb but not too bad.
Teahouse: Khumbu Lodge (same as Day 2)
Tip: Next to Khumbu Lodge is Himalayan Java Café, which is a great spot to relax on your “rest day” after a morning hike. Make sure to get the walnut chocolate brownie, I dare you to try to only eat one!
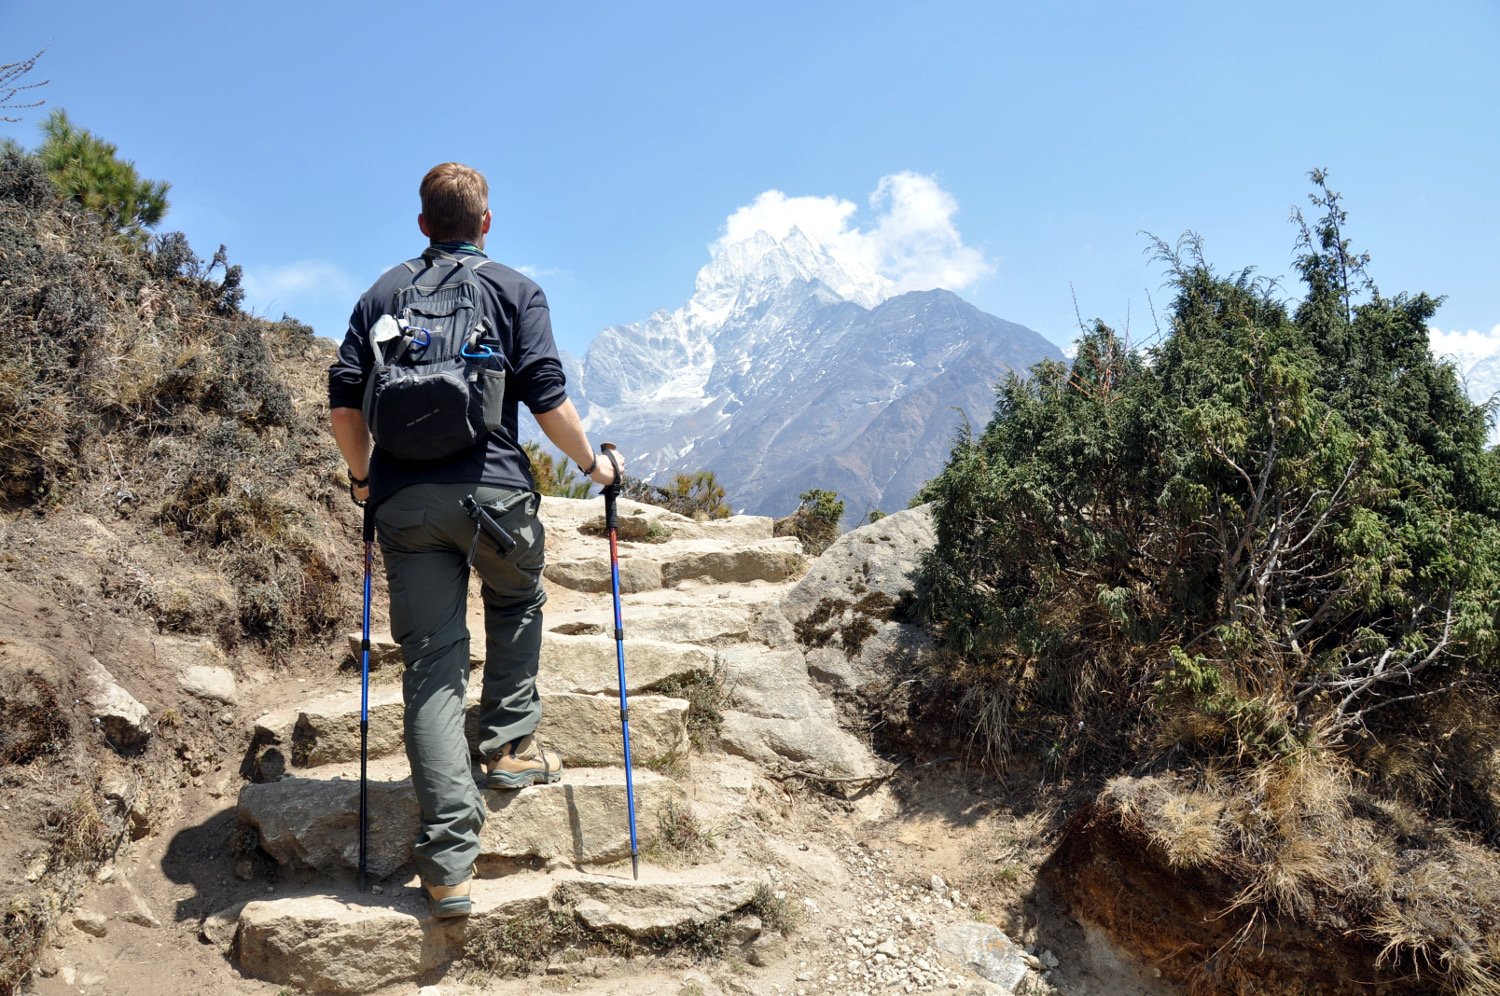
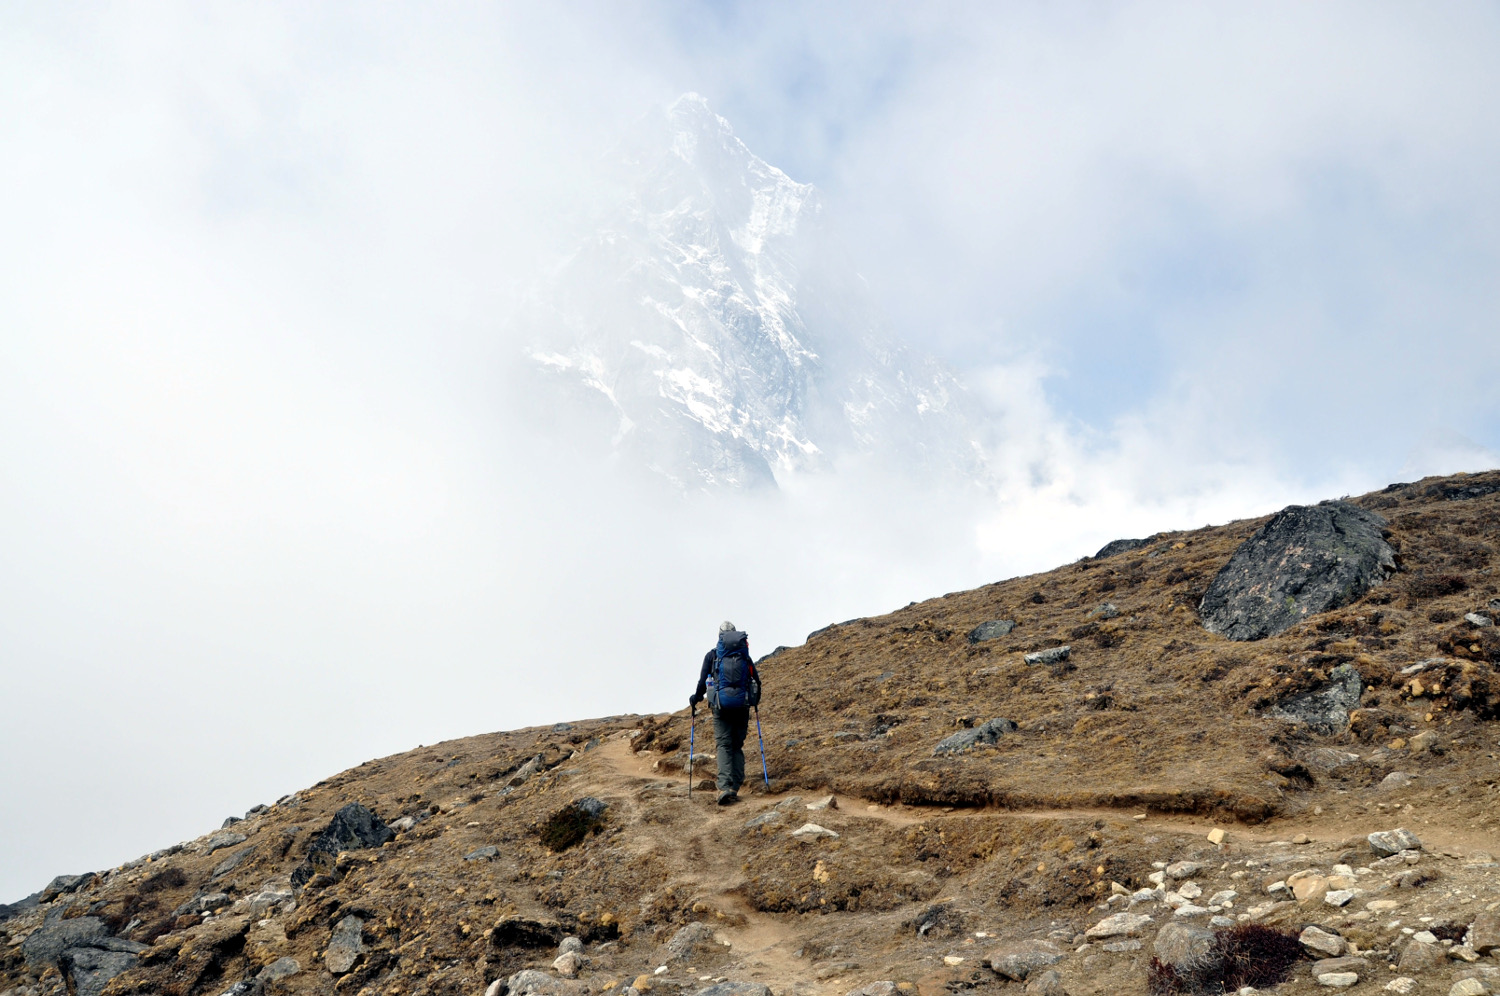
Day 4: Namche Bazaar to Tengboche
Total trekking time: 5 hours and 10 minutes + Rest time: 15-minute snack break in Khyangjuma and 45 lunch break in Phunke Tenga
Description: It’s a steep climb out of Namche and then a level walk for about 1 hour with views of Everest and surrounding mountains with river valley below. Then downhill for an hour before the 2 hours and 15 minutes zig-zag uphill through the pine forest before Tengboche.
Difficulty Level: 6.5 – Early easy walk on flat trail, but the down and then up were challenging.
Teahouse: Tengboche Guesthouse
-
Cost: 200 rupees
-
We had a small room and the bathroom cleanliness could be better, but the common area was warm and cozy.
-
Recommended: Yes
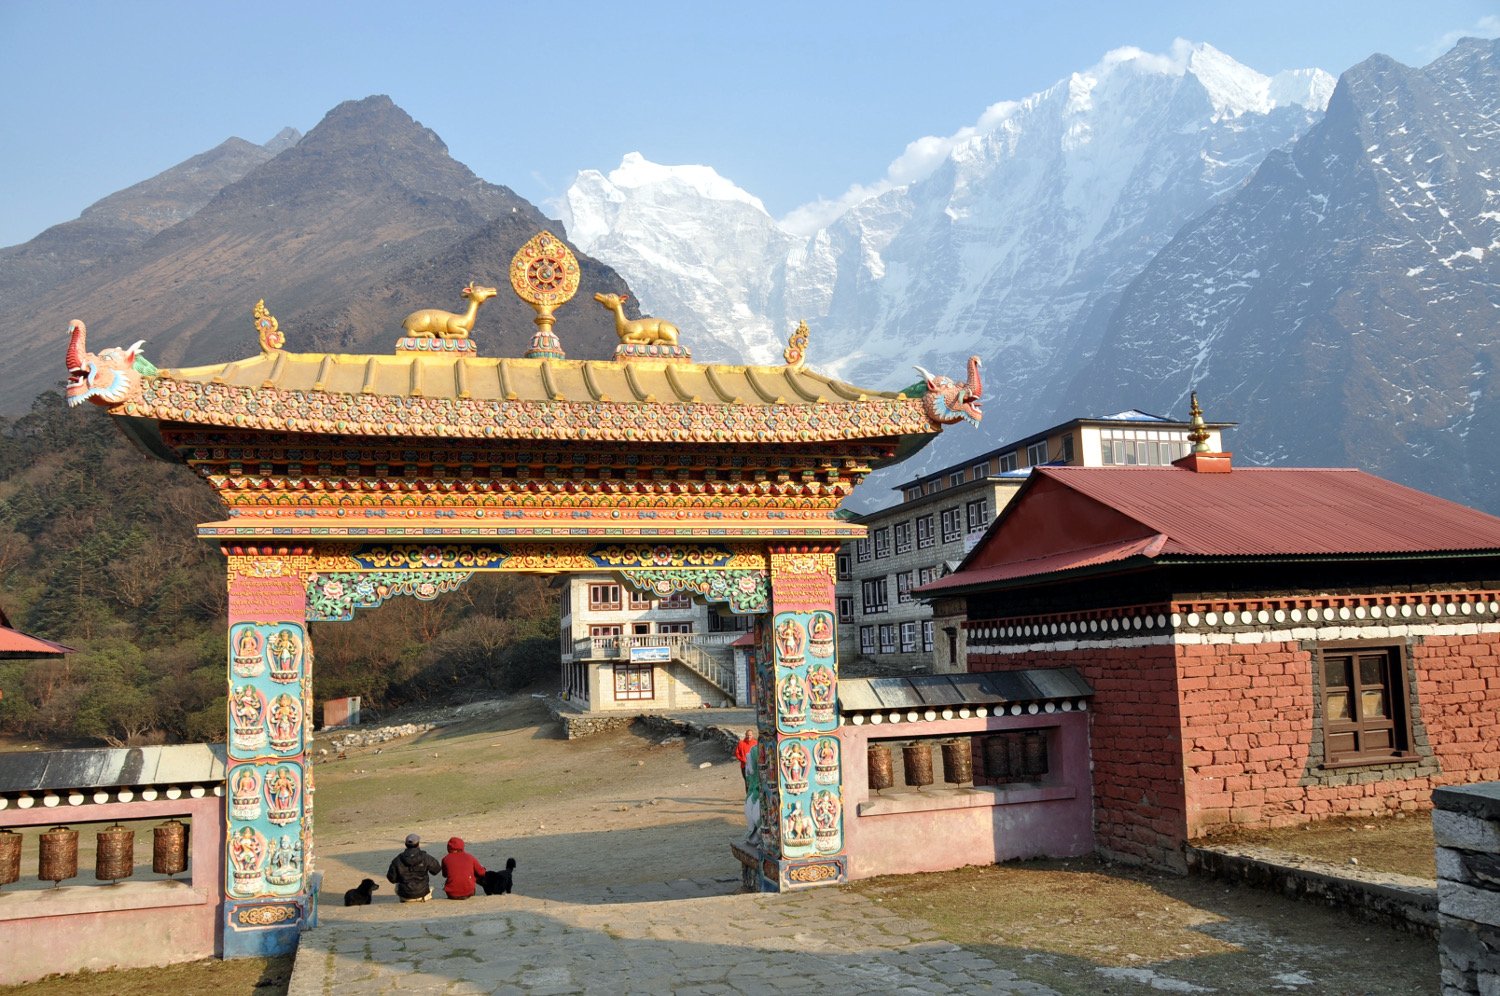
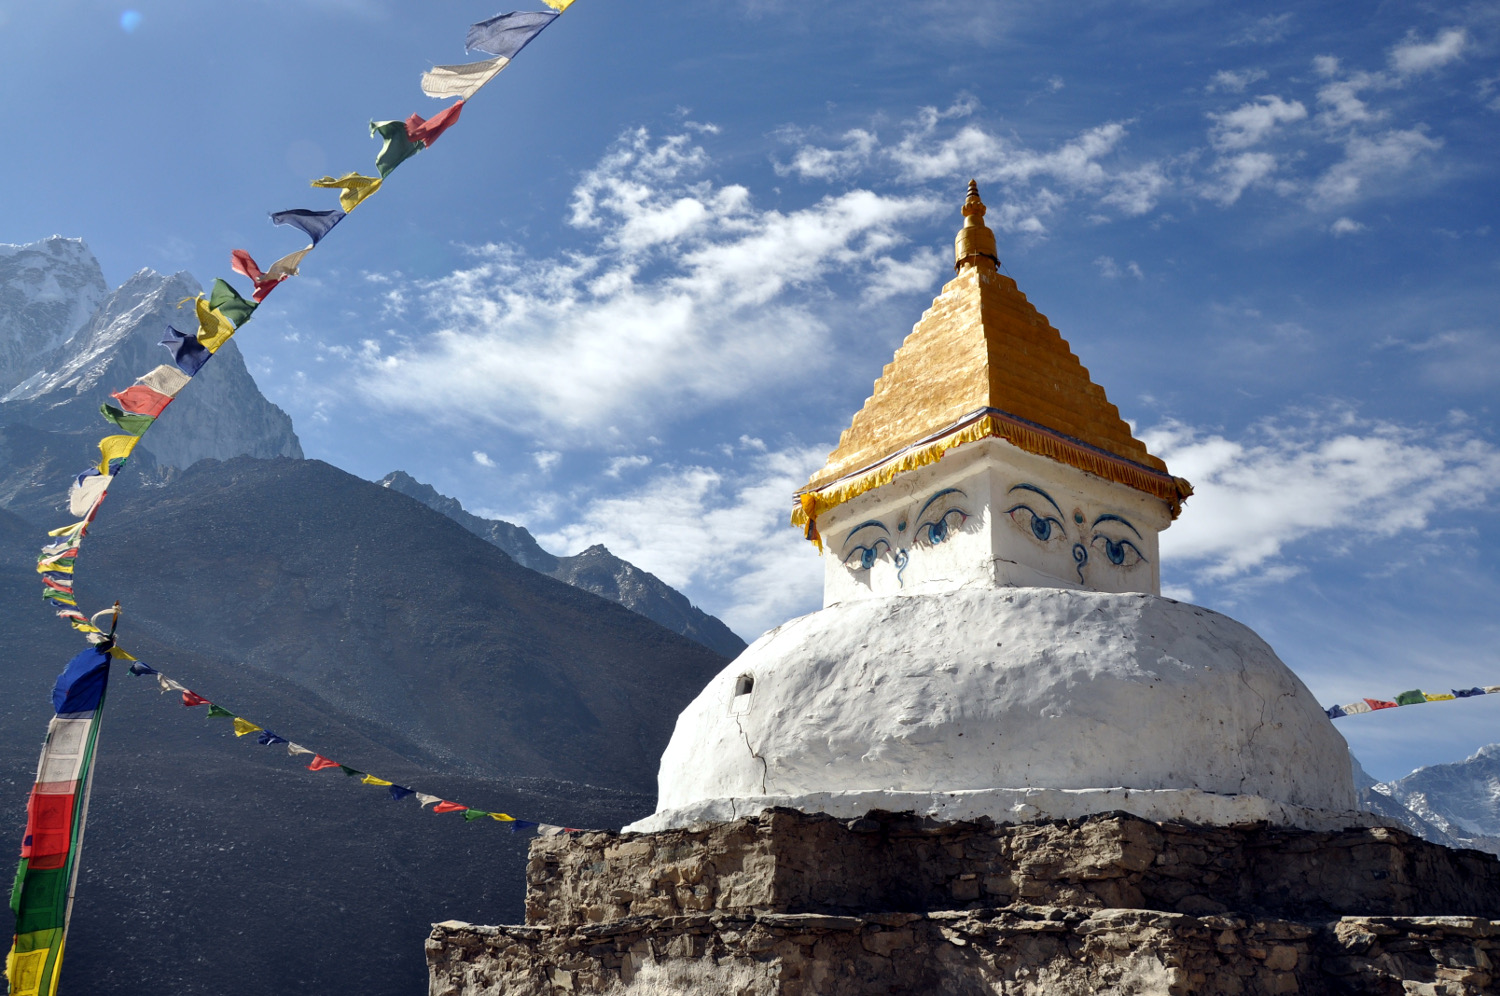
Tip: Once you’re settled in your room, visit the Tengboche Monastery. It’s the oldest in the region and had blessed Sir Edmund Hillary and Tenzing Norgay before their summit on Everest.
Day 5: Tengboche to Dingboche
Total trekking time: 4 hours and 40 minutes + Rest time: 15-minute snack time
Description: After leaving Tengboche, there’s 30 minutes of downhill hiking within a woody forest. You’ll walk on a flat trail for what seem like hours, stepping over boulders along the way. Once you get above the tree line near Somane, the landscape make you feel like you stepped into the Lord of Rings film set.
Difficulty Level: 6 – Simple hike on a well walked trail, but by now the altitude can start to take an effect on your breathing.
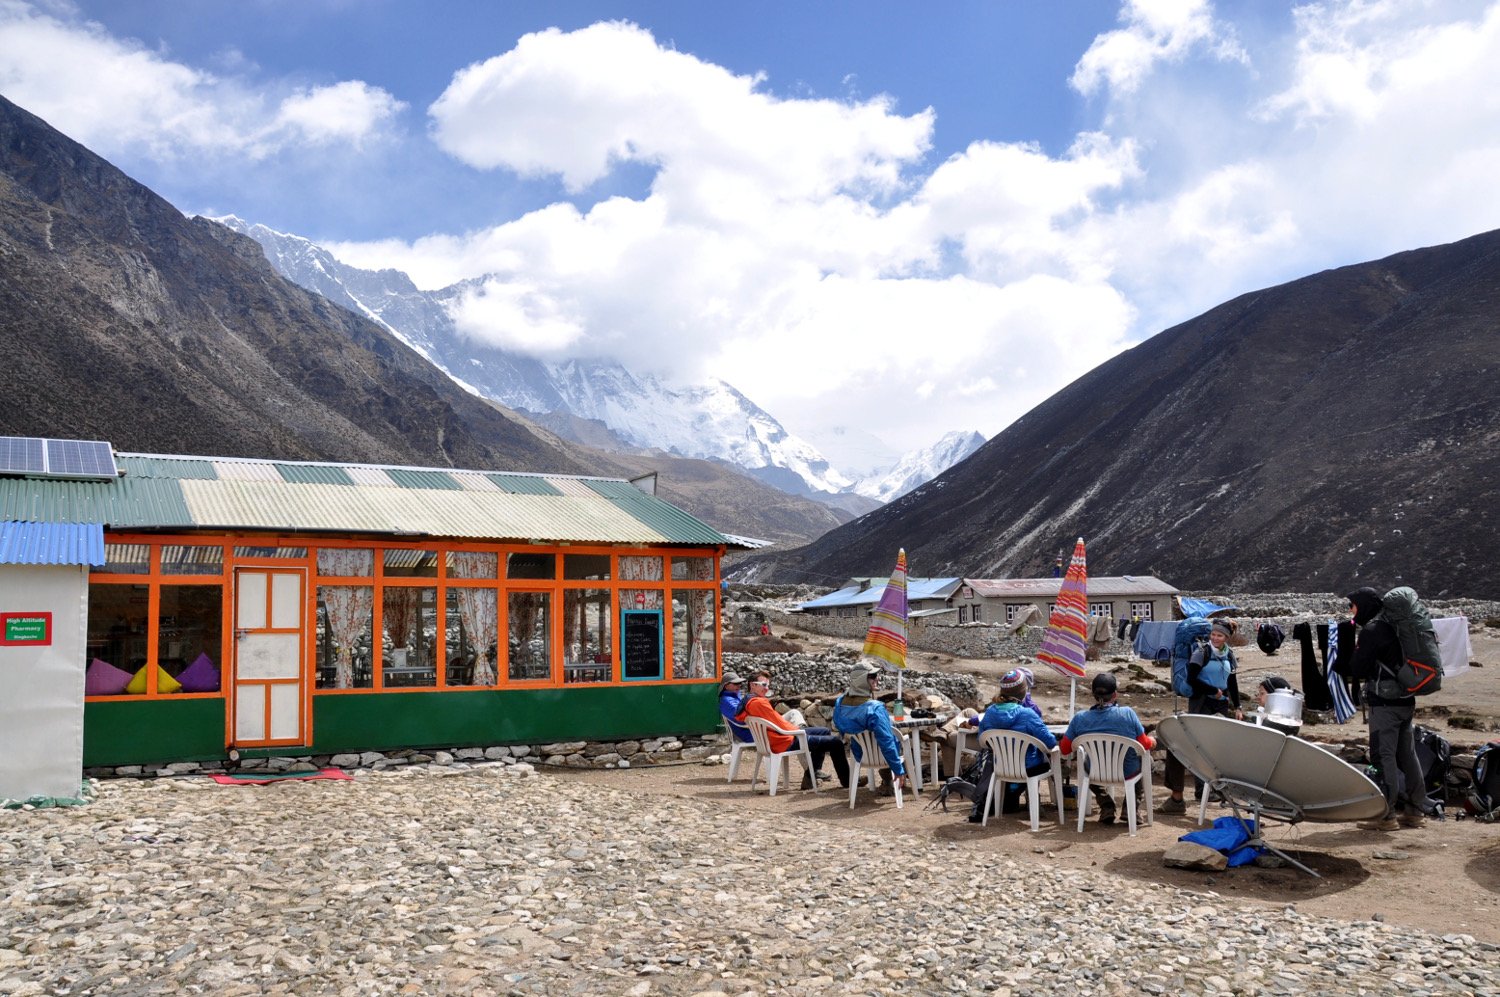
Teahouse: Snow Leopard Lodge
-
Cost: 100 rupees
-
The rooms are simple and quite large. The common room is comfy with a great restaurant. The best part the attached bakery where you can order a strong coffee, cheesecake and apple pie!
-
There’s also a small pharmacy where it’s your last chance to stock up on medications or cough drops before heading to higher altitudes.
-
Recommended: Yes, highly recommended!
Tip: There is no cell service in Dingboche and the WiFi options are terrible. Just enjoy being off the grid for a few days and eat some cheesecake.
Tip: Many people spend their night and the next day resting in Pheriche, however we found more benefits to staying in Dingboche. It’s at a higher altitude so your body can adjust better. This could allow you to travel to Lobuche on Day 7 if you would like (we didn’t because we wanted to take it slower due to us getting a little sick). Dingboche also has the amazing bakery that we could spend days relaxing and eating.
Day 6: Dingboche Acclimatization Day
Total trekking time: 2-4 hours depending on day hike
Description: We were not feeling great with a tooth infection and a bad cold so we only hiked an hour up the hill overlooking Dingboche. There are some sweet views of Ama Dablam and other Himalayan giants with prayer flags at the viewpoint. If you wish, you can climb another hour or so to the top of the hill for even better views, but bring a wind breaker jacket.
Tip: Spend the rest of your acclimation day in the Snow Leopard Bakery. Order the cheese cake or the apple pie, you won’t be disappointed.
Difficulty Level: 6 – You get to hike without your packs, but the altitude really starts to hit you as you climb up the hill.
Teahouse: Moonlight Lodge
-
Cost: 100 rupees
-
The family running the lodge is extremely kind and welcomes you into their cozy family circle around the central stove. However, the rooms were pretty small and cold and the food was nothing special.
-
Recommended: Yes, only if the Snow Leopard Lodge is full

EBC Video Diaries
Watch Part 1 of our video diary from Day 1 through 6 of our trek. This will show you what life is like on the trail, plus we included some funny scenes for your entertainment.
Day 7: Dingboche to Dugla
Total trekking time: 2 hours and 15 minutes
Description: It’s an easy gradual slope that leads into Dugla. There are epic views throughout the entire hike to the south. Take the rest of the day to rest and recover, there is not much to do in Dugla.
Note: Most trekkers continue on to Lobuche on this day. However, Katie had a bad cold and Ben had a tooth infection, so we both needed an easy day with lots of rest (and medication). This shows the importance of going at your own pace and not pushing your limits. After one night in Dugla, we felt much better and continued on our regular route.
Difficulty Level: 5.5 – One of the easiest and shortest days on the trail.
Teahouse: Yak Lodge
-
Cost: 100 rupees
-
The rooms were simple and the food was mediocre with prices starting to increase. It was enough to fill your tummy, but not that tasty.
-
Recommended: Yes, if you stay in Dugla there are only two choices, and this is the cheaper option.
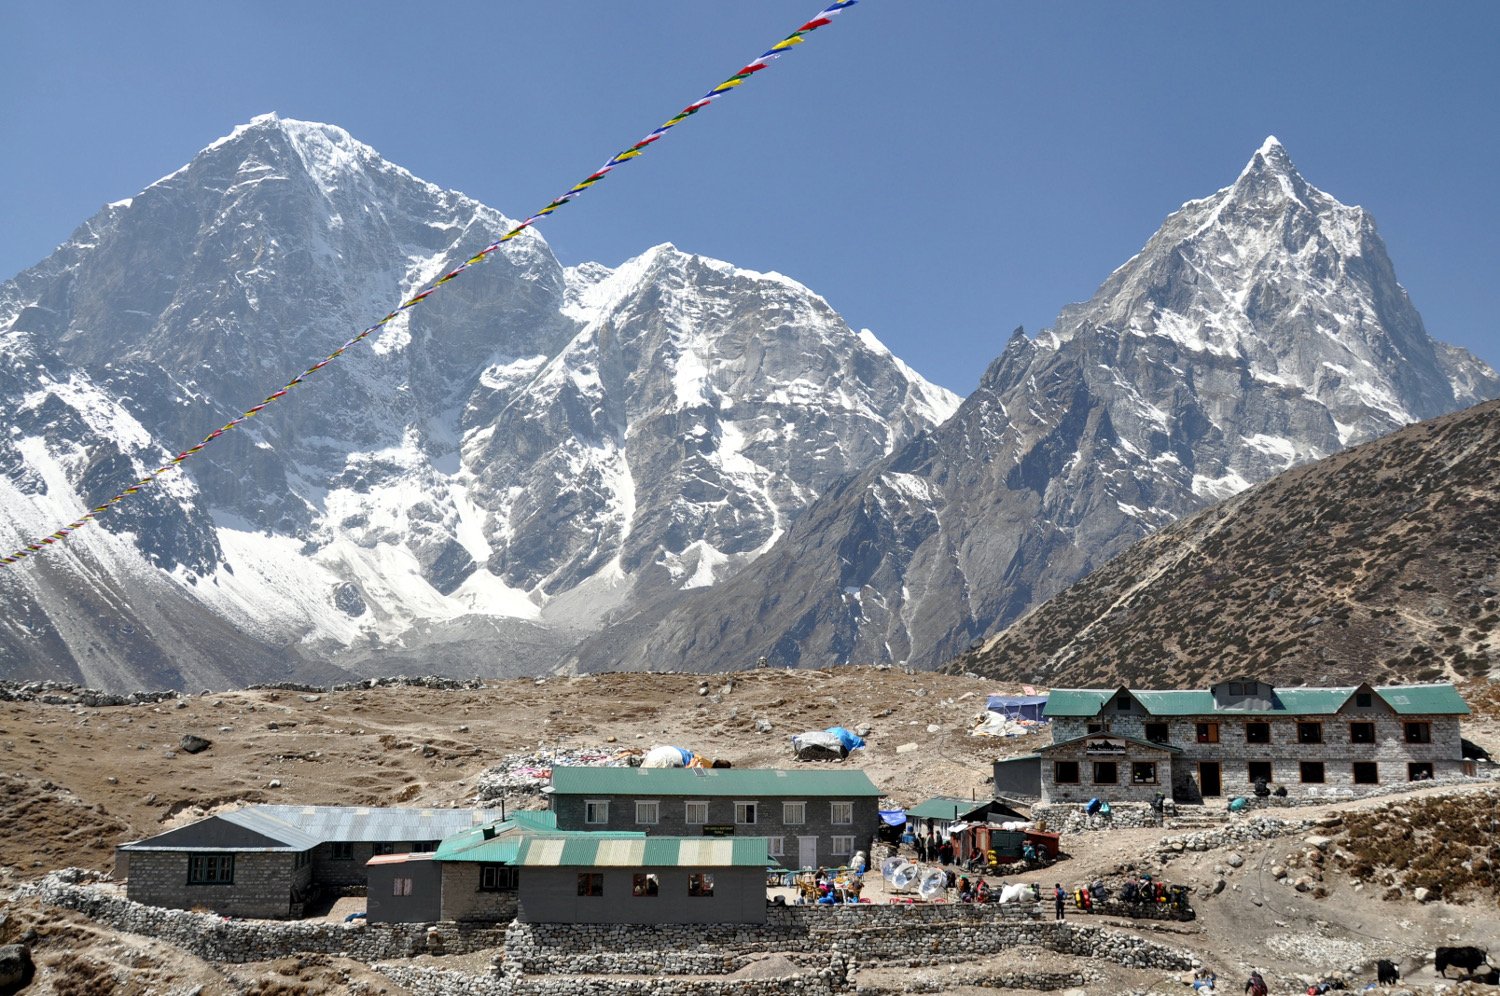
Day 8: Dugla to Lobuche
Total trekking time: 2 hours and 30 minutes
Description: Leaving Dugla, the extremely difficult uphill climb takes about 1 hour. Once you’re at the top breathing is difficult, but luckily it’s pretty flat the rest of the day trekking over rocks and boulders.
At the top of the hill, there are numerous memorials for climbers who’ve lost their lives climbing Everest, including one for Scott Fisher who perished in the 1996 disaster.
Hiking 30 minutes past the top of the hill, you can see the trail to the west that leads to Dzongla. Keep that in mind for Day 11 when you’ll be heading down that way.
Difficulty Level: 8 – Hardest day so far. The uphill climb in the morning is a bitch and you’ll be so happy once you’re at the top.
Teahouse: Mother Earth Lodge
-
Cost: 200-500 rupees
-
The rooms were a decent size, but not very cozy. There are different prices depending on which room you choose, but from what we saw there is no difference in the rooms (the only difference was that the more expensive rooms has trash bins, ours did not).
-
Recommended: No, go stay at Oxygen Altitude instead (We stayed there on Day 10 and liked it a lot more).
Day 9: Lobuche to Gorak Shep to Everest Base Camp!
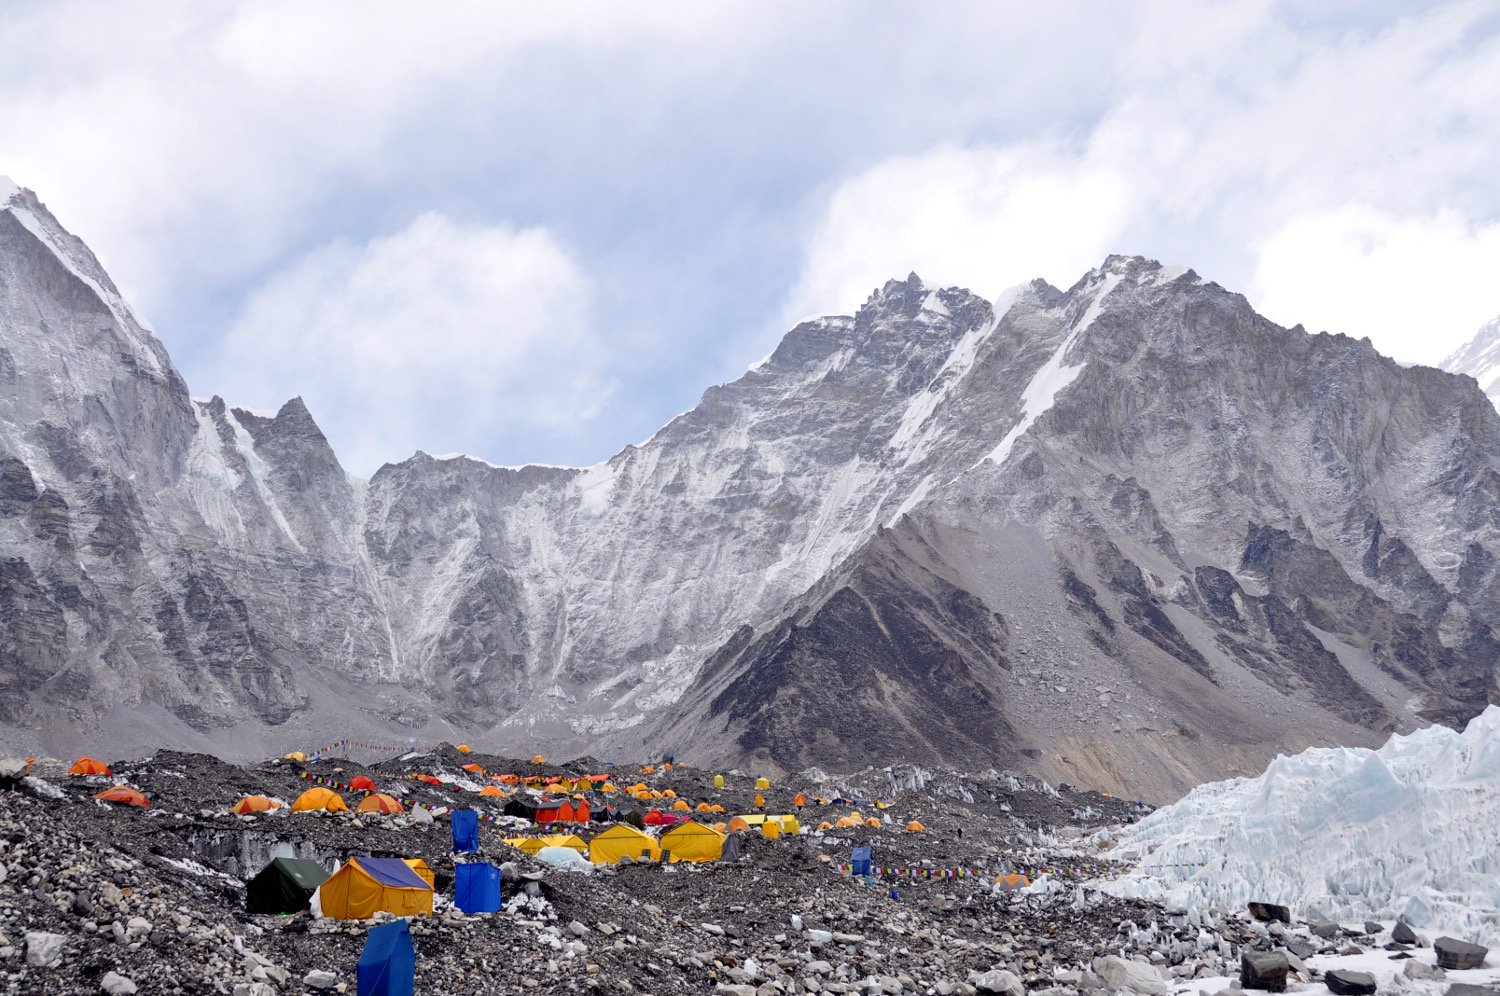
Total trekking time: 6 hours and 25 minutes + Rest time: 1 hour lunch and 1 hour at Base Camp
Description: From Lobuche it’s an easy stroll for about 1 hour and then it gets pretty steep. Climbing over boulders and crossing glacial streams would be fun it wasn’t for the whole struggling to breathe thing.
Once at Gorak Shep, grab a quick lunch, because it’s only another hour and a half to EBC. You’ll be happy to drop off your big pack, which now feel three times as heavy, for the last hike to Base Camp.
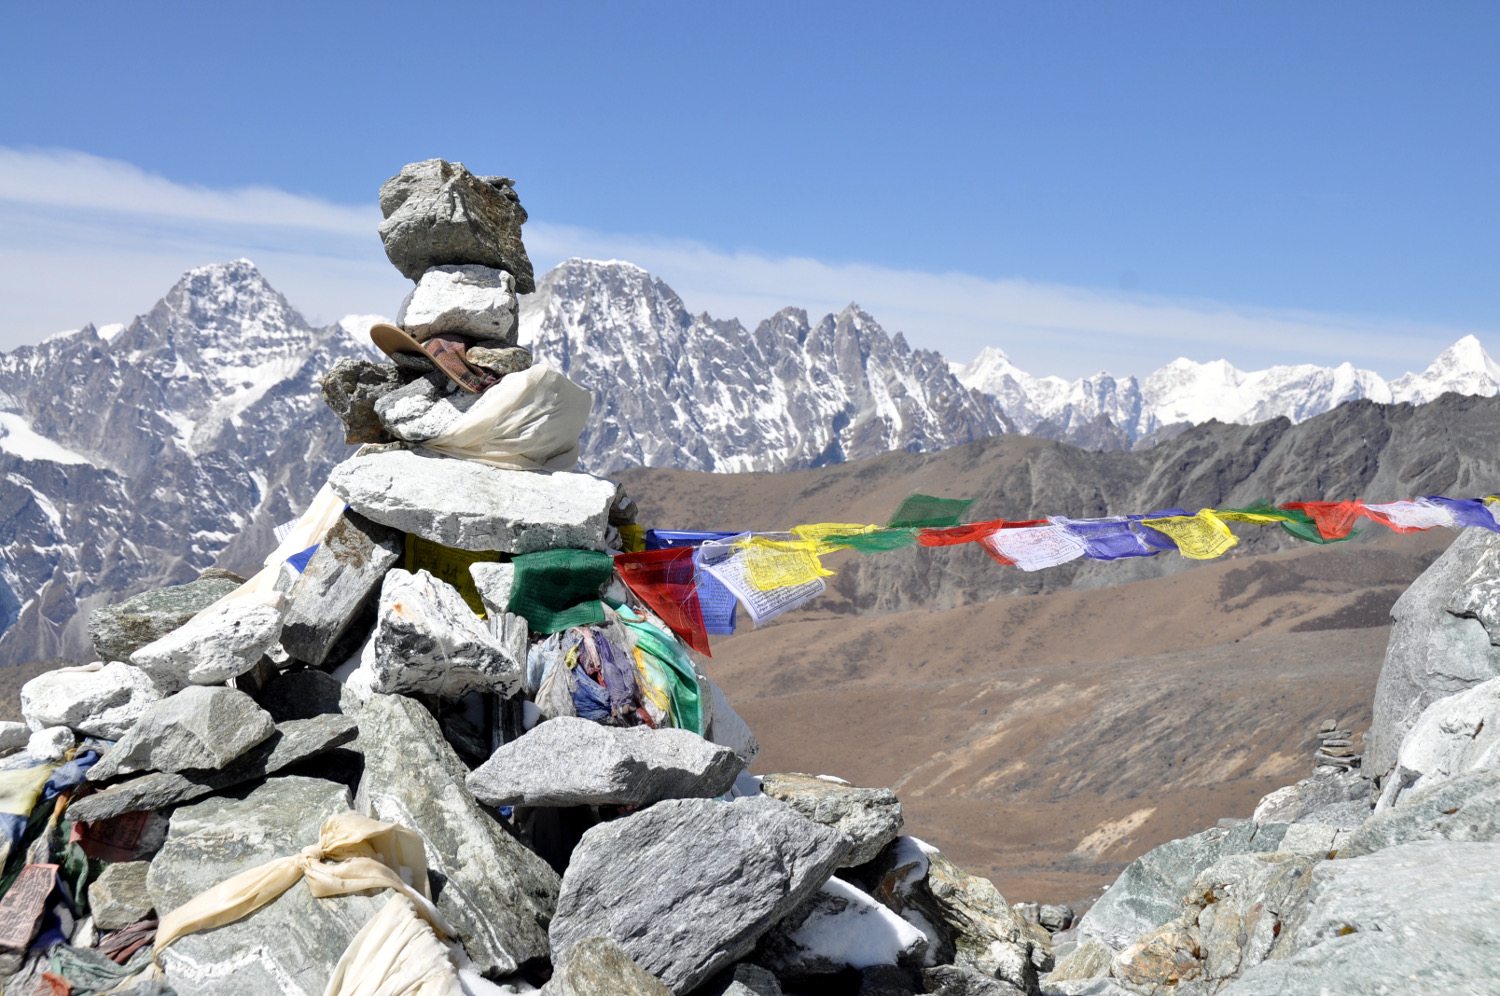
The trail from GS is full of short ups and downs over loose rocks, but there are a few flat parts. You’ll know when you’re at EBC because there will be a few people gathered around the famous rock and flag pile. Time to celebrate! You made it to Everest Base Camp!!
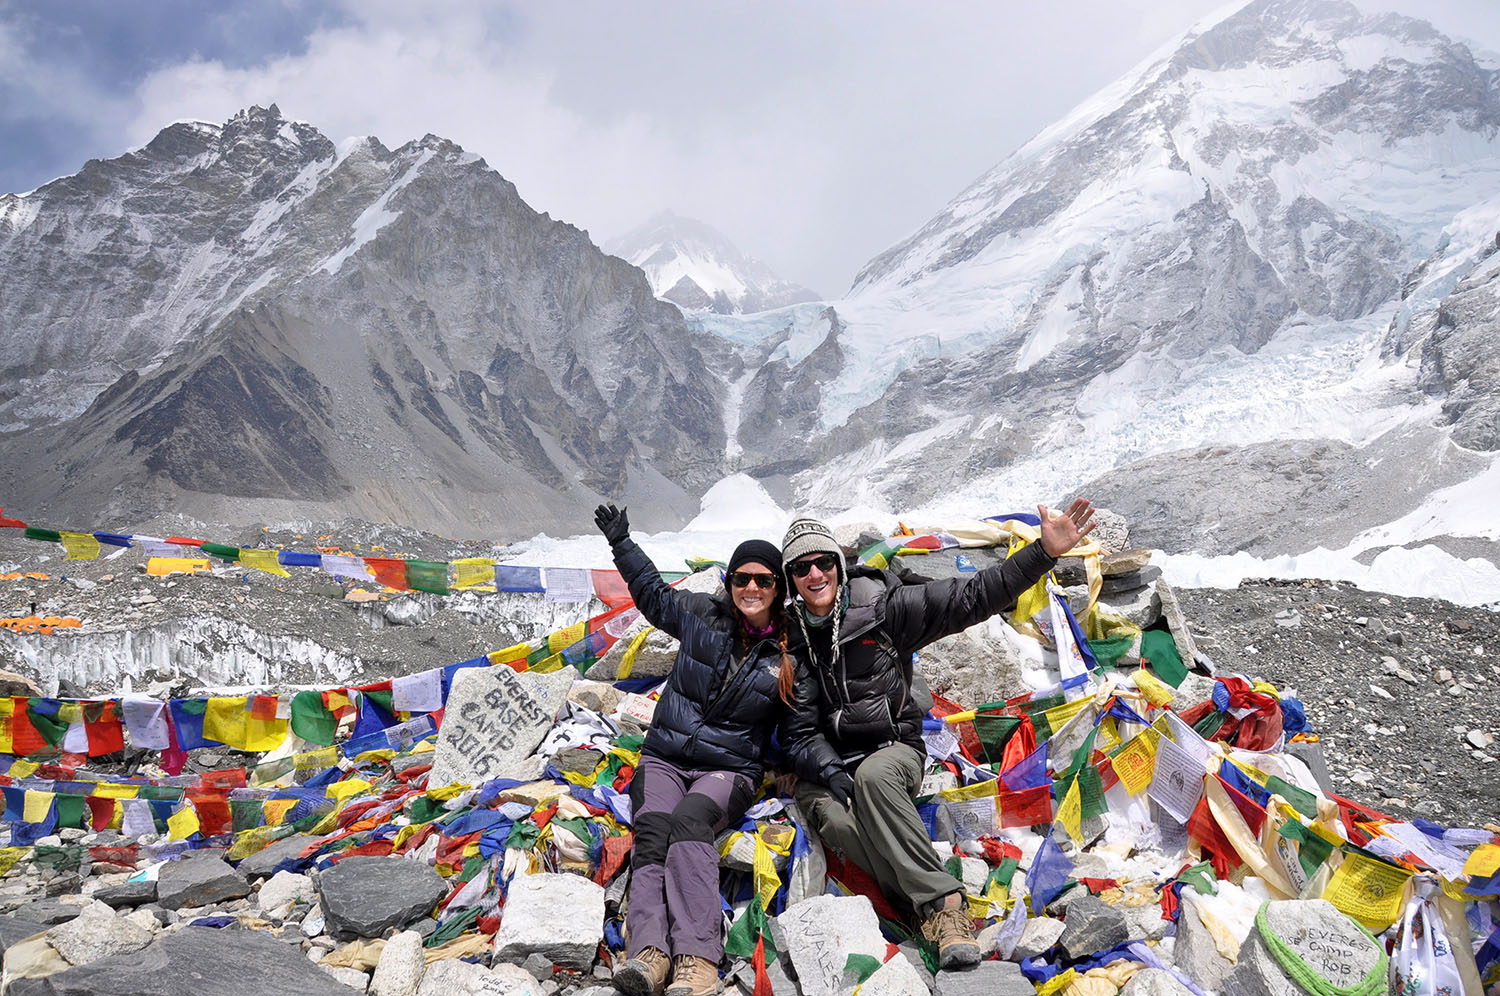
Tip: Don’t forget to pack extra batteries because it would be the worst if your camera died for this once in a life time moment. It’s also nice to have a celebratory Snickers bar to have once you reach the top!
Difficulty Level: 8 from Lobuche to Gorak Shep, and 7 from Gorak Shep to EBC – We were surprised on how (relatively) easy the hike is from Gorak Shep to Base Camp. It’s probably because we didn’t have packs on, which was really nice.
Teahouse: Buddha Lodge
-
Cost: 200 rupees
-
The guide book says “cozy” but I say cramped and busy. There’s hardly any place to sit during meals because the tour groups have reserved tables. Room is simple and cold, but what do you expect at 5180 meters?
-
Recommended: Yes, but don’t really expect much.
Tip: The potato veg with cheese is pretty good, but maybe the altitude was messing with my taste buds too.
Tip: Many people don’t sleep well at Gorak Shep because of the altitude. To counter that, we both drank about a half liter of electrolyte water before bed and again once we woke up. Surprisingly, we slept like babies up there, expect for the mandatory midnight bathroom run thanks to Diamox side effects.
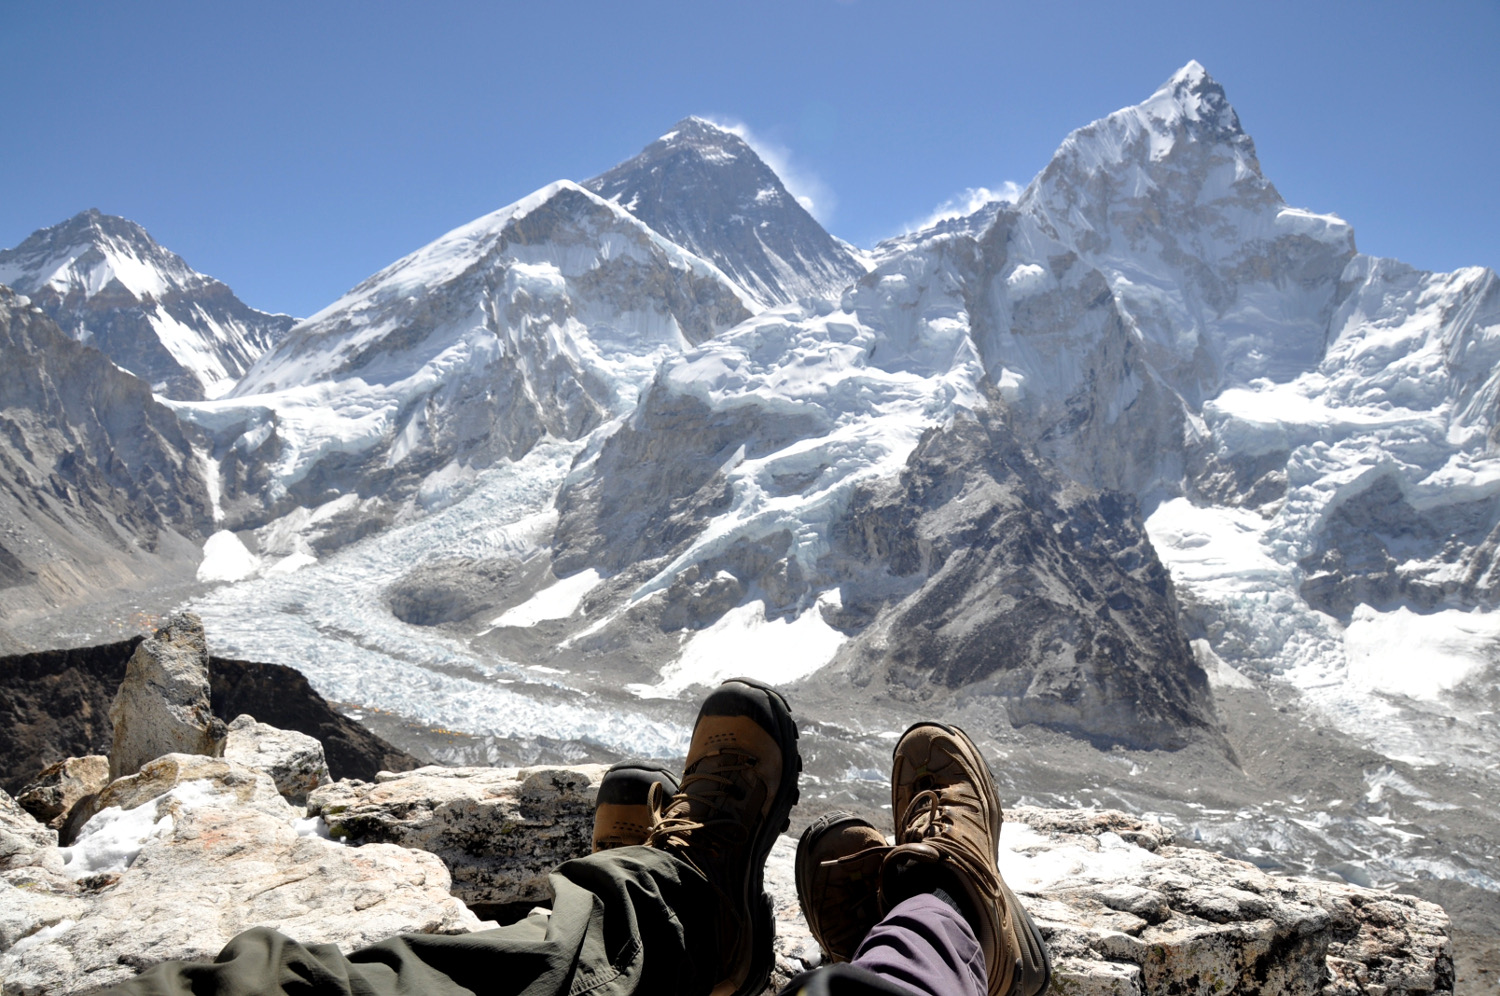
Day 10: Gorak Shep to Kala Pattar to Lobuche
Total trekking time: 5 hours and 45 minutes + Rest time: 30 minutes at the top of Kala Pattar and 1 hour for lunch in Gorak Shep
Description: Don’t have too high of expectations for Kala Pattar, it’s honestly just a massive rock pile. But the views from the top are incredible!
Make sure you have a decent breakfast before you start otherwise you risk being a baby like Ben was because he was low on sugar.
At the top, you will have 360 degree views of Himalayan giants like Khumbutse, Changtse, Lhotse, Nuptse and of course Everest, which looks like a black diamond peering over the shoulder of the other mountains.
Once you have taken it all in at the top, head down and grab your pack and start heading back to Lobuche. You’ll feel like you could run a marathon as you come down from the mountain, it’s a pretty cool feeling. The hike from Gorak Shep to Lobuche is about the same difficulty as coming up the day before.
Tip: Bring other candy bar to celebrate at the top, or if you are Ben, you eat it 20 minutes in because he was low on blood sugar and could barely walk.
Tip: If for some reason you cannot make it to the top of Kala Pattar, like if you’re not feeling well or running short on time, it is totally okay. Honestly, the views are about the same at the one hour mark up the hill as the 3 hour mark at the top. The only difference is some mountains appear more visable and the glacial lakes show up below.
Difficulty Level: 10 – Kala Pattar is one of those hills that just seem to get higher and higher the further you climb. At that altitude, you need to take your time. It seriously took us 3 hours to reach the top of KP and only 40 minutes to get down.
Teahouse: Oxygen Altitude
-
Cost: 300 rupees
-
This place has really done a good job on making you feel at home. The rooms are huge and the beds are really comfy. The veg momos, veg curry and veg pasta are all good (and us fattys ordered them all in one meal)
-
Recommended: Yes, it’s the best accommodation in Lobuche.
EBC Video Diaries
Watch Part 2 of our video diary from Day 7 through 10 of our trek. It shows you what Everest Base Camp is really like and the incredible views from Kala Pattar.
Day 11: Lobuche to Dzongla
Total trekking time: 3 hours
Description: Heading south from Lobuche you will come to a fork after about 25 minutes. Instead of veering left on the same trail you came up on from Dugla, take the path to the right and stroll along the side of the mountain with great views of Cholatse to the south and Ama Dablam to the east.
Tip: As you make your turn to the west,take the path that leads down into the valley and not up the hill. Follow the river upstream and you’ll be fine. We got a little lost and had to scale down a couple hundred meters to find the correct path.
Tip: Make sure to leave early in the morning because around 11 a.m. thick clouds are commonly roll in the valley and it’s difficult to see the route.
Difficulty Level: 6.5 – Pretty flat trail that gradually slopes downward and then a small uphill right before Dzongla.
Teahouse: Mountain View Lodge
-
Cost: 200 rupees
-
Simple lodge with basic rooms, but has really good food.
-
Recommended: Yes
Tip: Tell the hotel owner the night before your breakfast and take-away lunch order for the next day because you’ll be leaving really early.
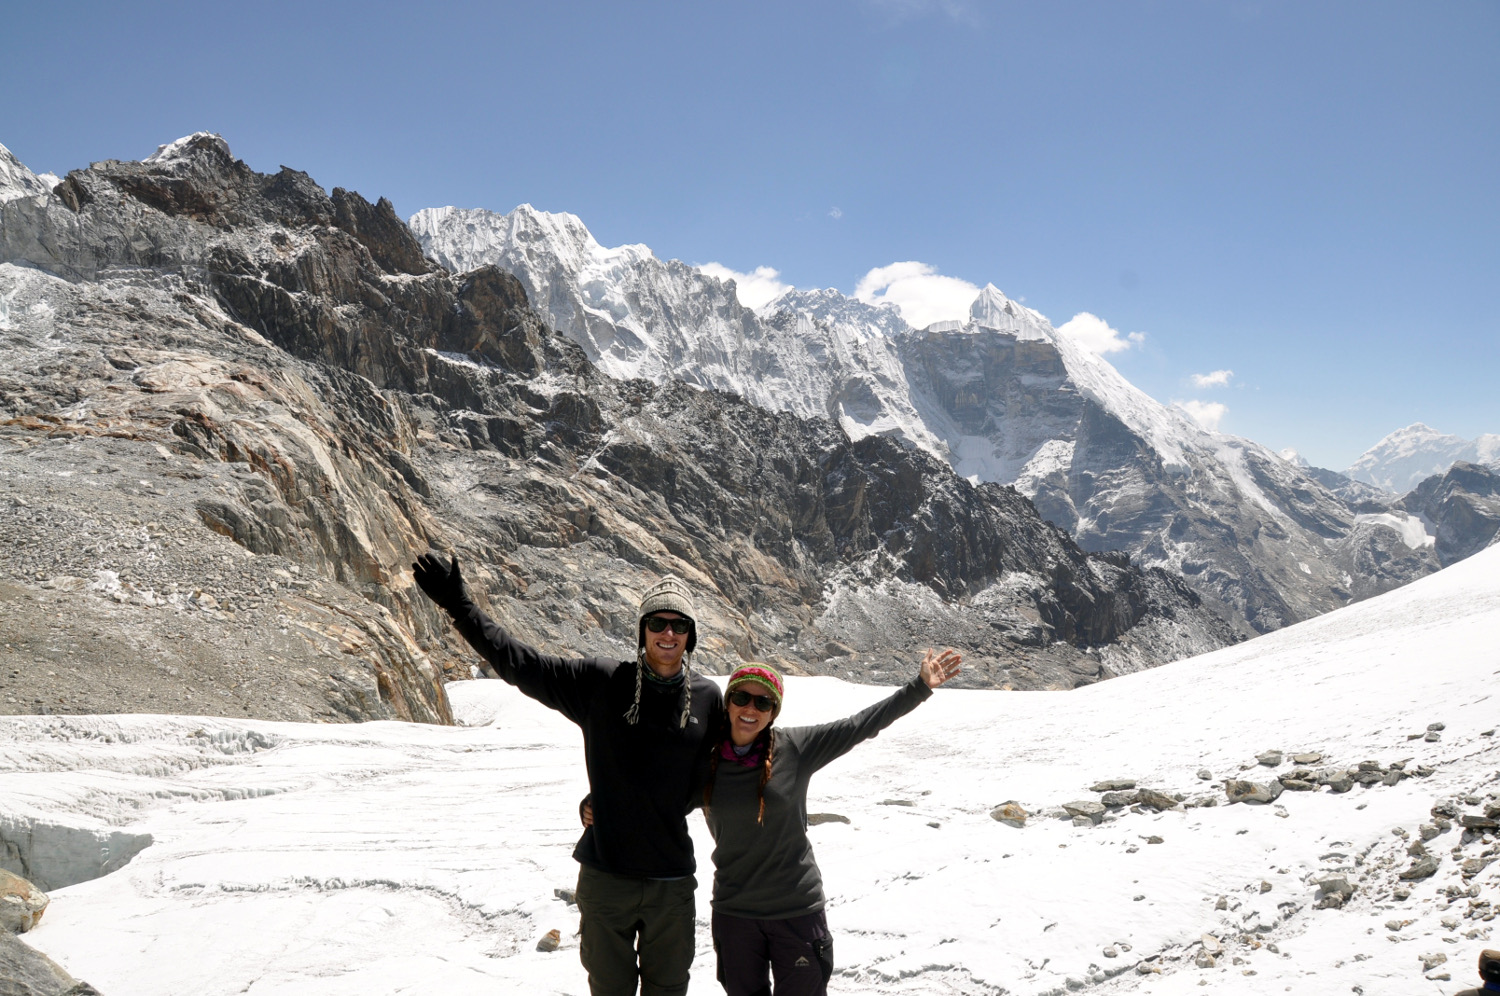
Day 12: Dzongla over Cho La Pass to Gokyo
Total trekking time: 8 hours + Rest time: 1 hour at the top of Cho La Pass and 1 hour in Thangnak for lunch
Description: It’s recommended to reach the top of Cho La pass before 9 a.m. because the glacier ice at the top can start melting later in the day, making it dangerous to cross.
So an early start around 5:30 a.m. is required to make it in time. It’s an easy stroll leaving from Dzongla and then there’s a steep climb up a rock hill.
As you approach the rock face, turn right, and go up at a 45 degree angle climbing over boulders. You’ll be rewarded with an excellent view behind you once you make it up the top. Continue hiking and stay to the left, traversing boulders as you can see the tongue of the glacier to your right.
Once the boulders end, cross the glacier with a wide angle, not going uphill too much. You don’t want fall in the glacier pool right before the pass. When you reach the top of the pass, celebrate and rest for a bit, you deserve it.
Once you had your fill of the view at the top, hike down the slippery rocks, loose gravel and traverse massive boulders. Next, trek uphill over a short mound and then back down again a narrow valley that leads to Thangnak.
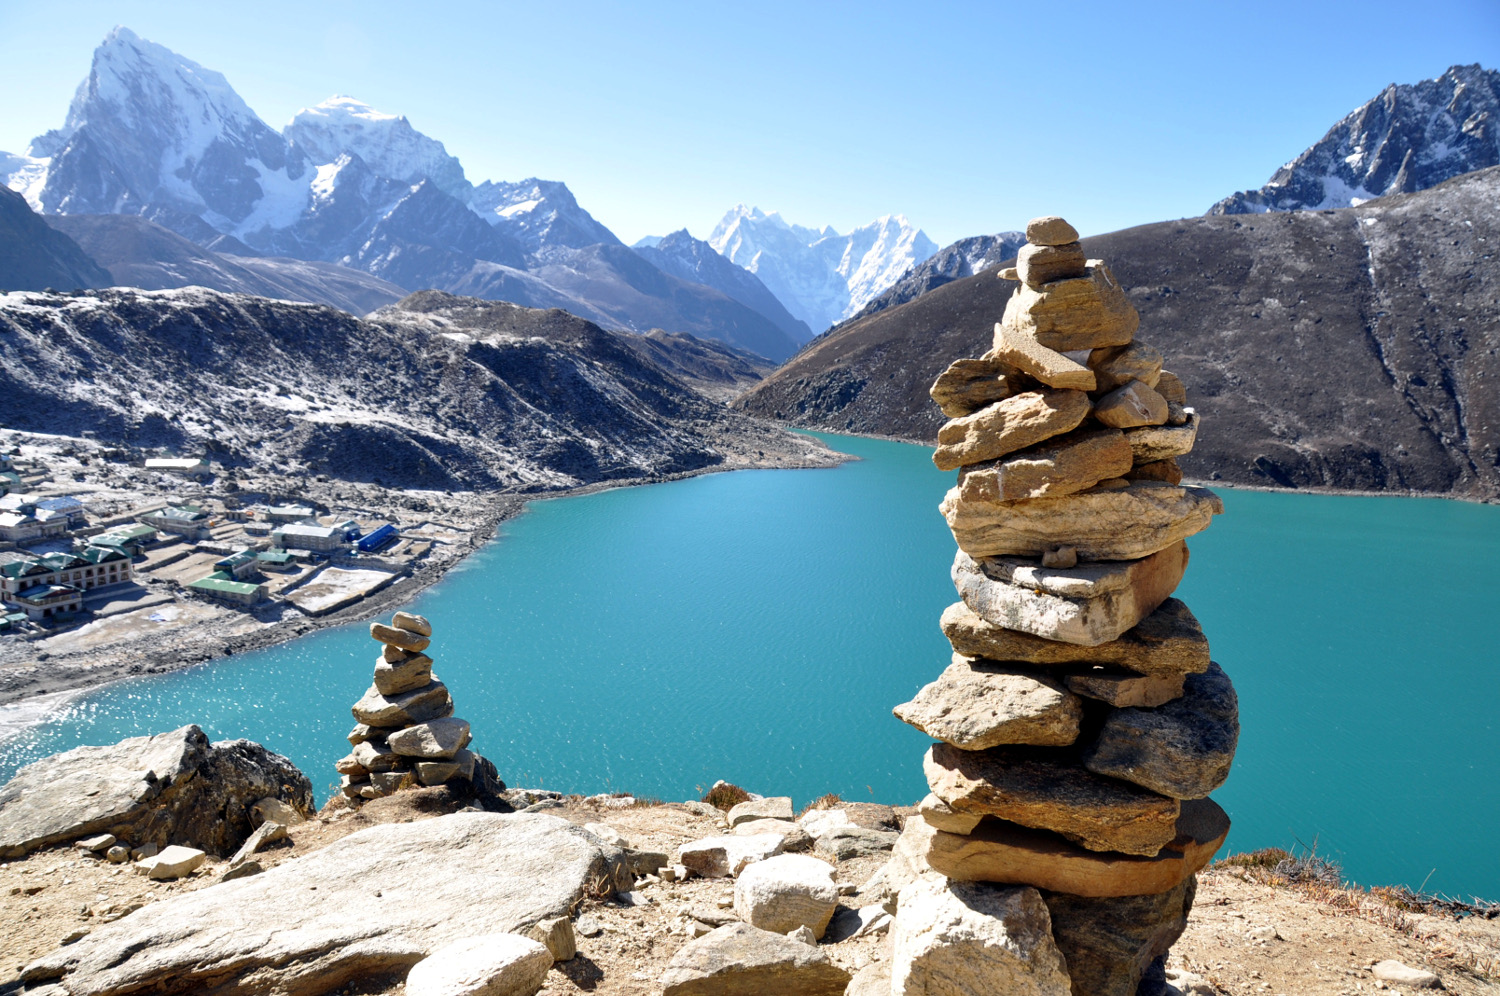
After lunch in Thangnak, hike north, parallel with the glacier on the east side of the moraine wall, until you see a white flag signaling you to climb into the glacier field. Try your best to follow the maze of stone cairns while admiring the turquoise pools until you reach the west wall of the glacier moraine. Hike over the wall and down into your final destination of Gokyo. Wow! What a day!
Difficulty Level: 9.5 – It’s a difficult climb up to the pass, but your body should be acclimatized after coming from Everest, so it’s not too bad. Trekking from the other direction would be a much more challenging task. Also, take your time hiking down the steep rocks leading down from the pass. We slipped a few times and it could create a “rocky” situation for anyone below you.
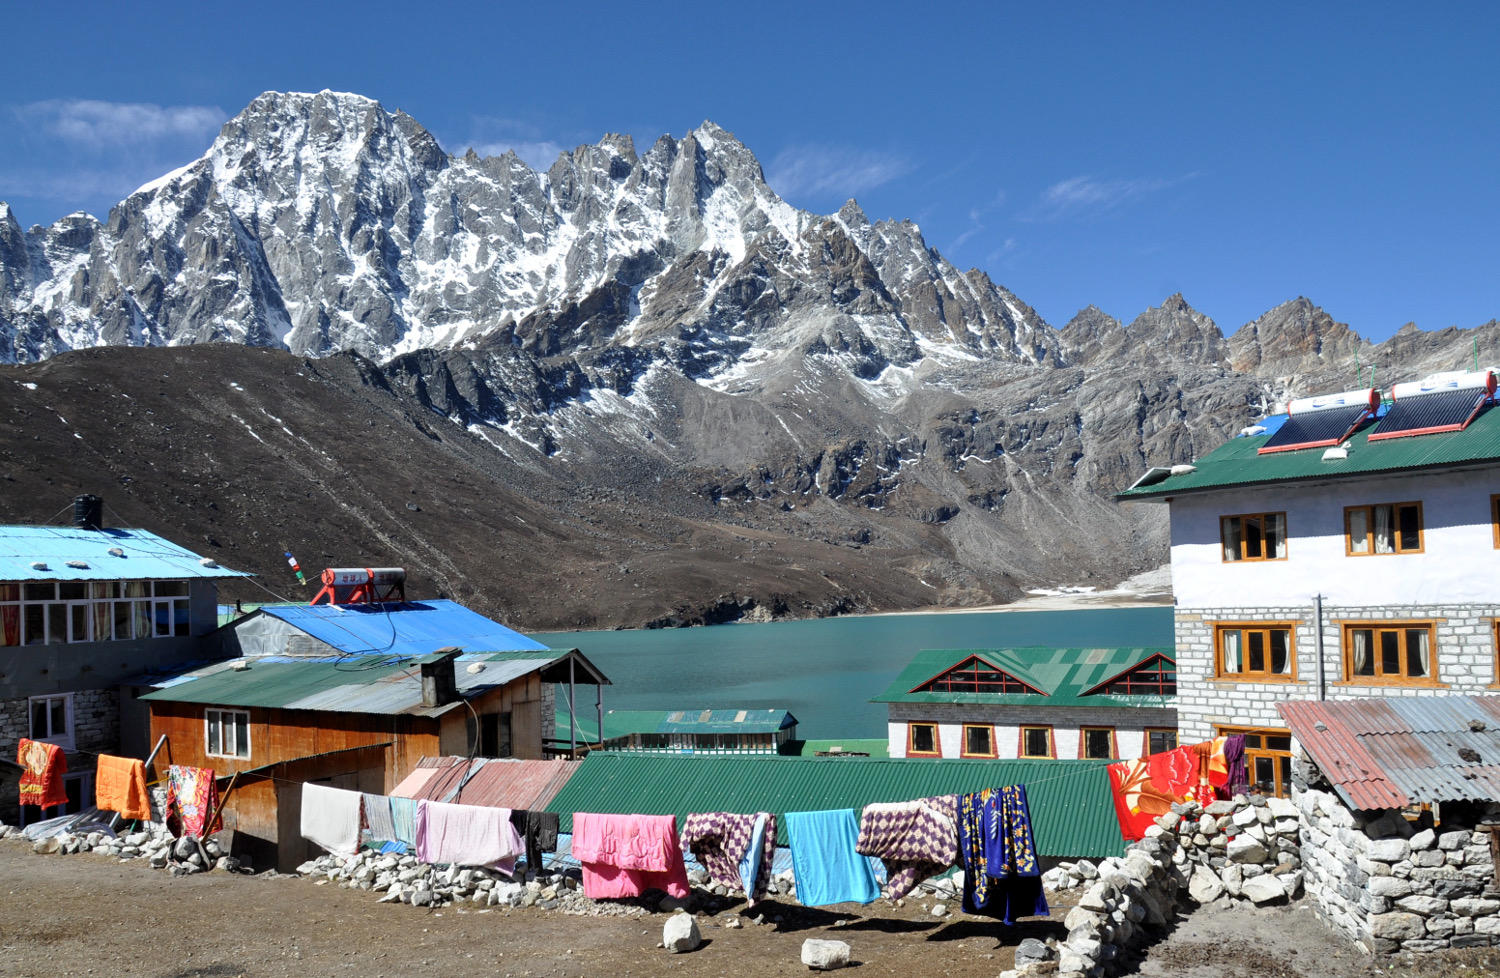
Teahouse: Gokyo Resort
-
Cost: 200 rupees
-
Try to snag a room on the second floor with nice views of the lake. The restaurant has good food and the staff is extremely friendly.
-
Recommended: Yes
Tip: Try to restrain yourself from buying every pastry item from the attached bakery because you’ll run the risk of spending your last rupees. But you do have to try the apple pie and brownies, you might never leave Gokyo.
Day 13: Gokyo Sacred Lakes and Rest Day
Total trekking time: 3 hours and 50 minutes + Rest Time: 40-minute stop at the 4th lake and 45 minutes at the 5th lake
Description: Relatively easy gradual slope heading north with some ups and downs. The route can be a little tricky, but just stick to the lakes and hills and away from the glacier, because we came across a trail that fell into the glacier.
Make sure to climb up to the glacier moraine just east of the fifth lake for a great view of Everest and surrounding mountains.
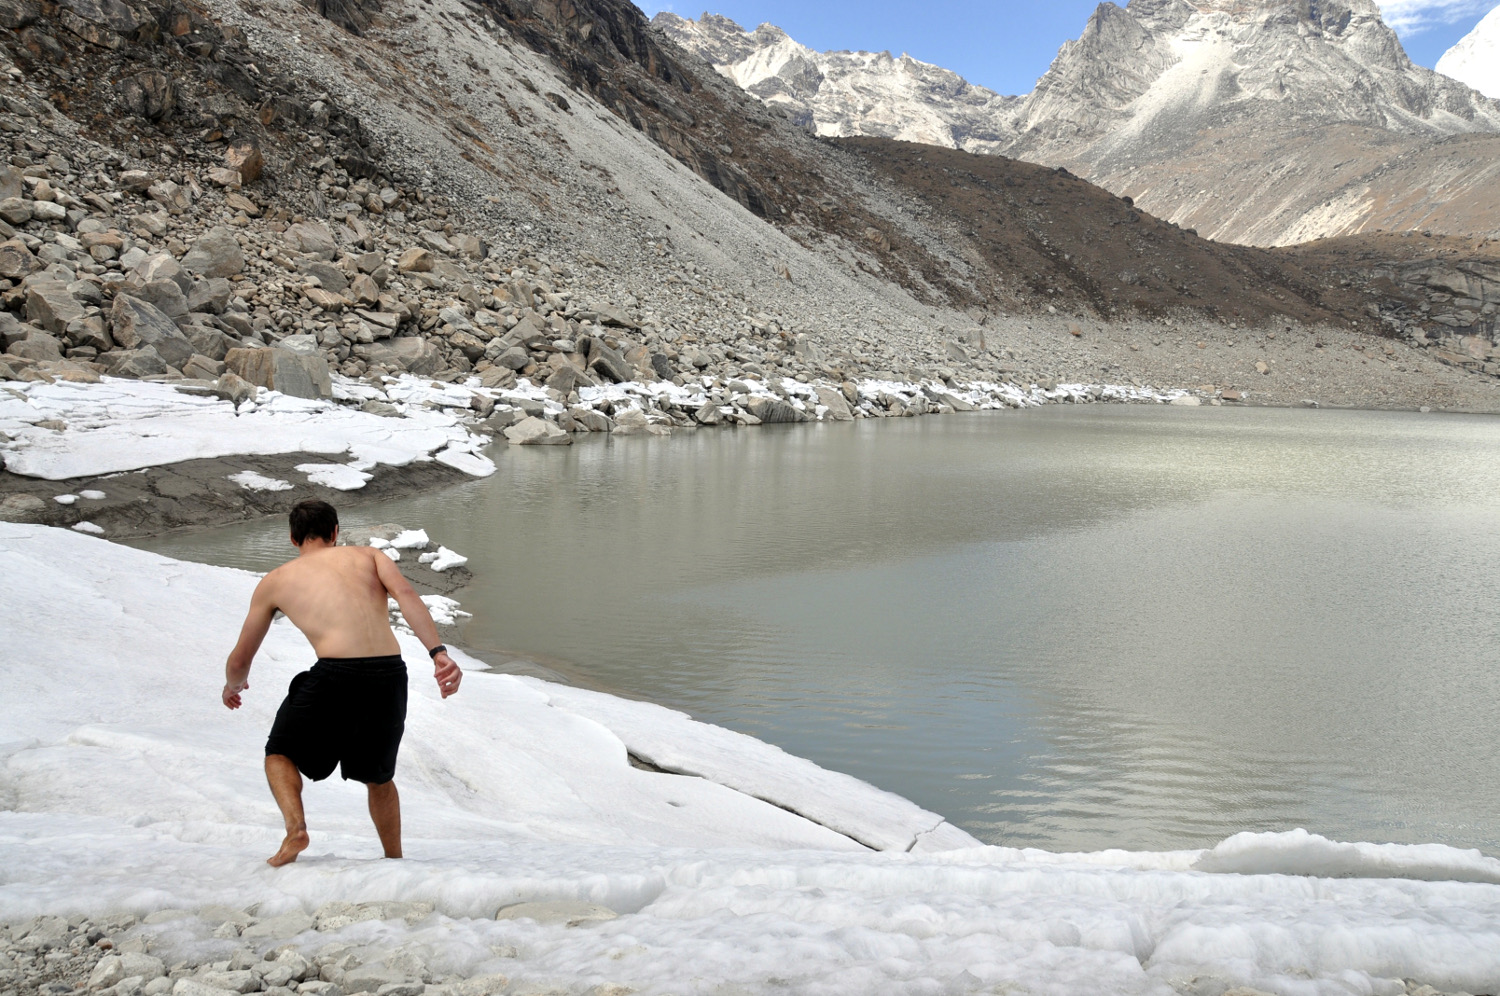
Tip: If you are really crazy, bring a towel and a change of warm clothes after taking a freezing dip into one of the lakes. If you want to play it safe, try dunk yourself in the 3rd lake that is right next to Gokyo so you can thaw out next to a stove.
Difficulty Level: 6.5 – Pretty easy with a few ups and downs, but there are many trails crisscrossing so stick to the hills.
Teahouse: Gokyo Resort (Same at Day 12)
Tip: After your day hike, spend the rest of the day in the bakery with coffee and yummy baked goods, you won’t regret it.
Day 14: Climb Gokyo Ri then Gokyo to Dole
Total trekking time: 8 hours and 15 minutes (3 hours return up Gokyo Ri) + Rest time: 1 hour lunch break
Description: Gokyo Ri is challenging straight uphill hike, but you’ll be impressed with the views from the top. After climbing back down you’ll finally start heading downhill. Whao-hoo!!
You’ll get to see the remaining Sacred Lakes (which the 1st lake is more like a puddle) as you walk down into the valley. Passing through many small villages, take a lunch break at any one of them. Continue until you reach Dole.
Difficulty Level: 5.5 – Gokyo Ri is like Kala Pattar, but since your body is more use to the altitude you should be fine hiking it. Don’t get me wrong, it sucks, but you’ll be rewarded once you reach the top.
Beside the Ri, the rest of your day is easy. You’ll enjoy getting more oxygen back into your lungs and body as you go lower and lower.
Teahouse: Yeti Lodge
-
Cost: Free, but had to eat dinner and breakfast.
-
The dining room was the cutest on the entire trek with big pillows and cozy decorations. It looked like a café back home. Try the organic veg soup with fresh herbs, it was the best soup we had on the entire trek.
-
Recommended: Yes
Day 15: Dole to Namche Bazaar
Total trekking time: 5 hours and 15 minutes + Rest time: 15-minute snack break in Mong La
Description: If you’re like us, you might start to get a little goofy as more oxygen hits your body. You’re going downhill all day except for the hour climb up from Phoete Tenga to Mong La.
The rest of the day is walking on well-groomed paths with many places to stop and rest along the way. Enjoy the beautiful greenery that surrounds the valley.
Difficulty Level: 6.5 – Going downhill is great! But the hour steep up hill is kind of a buzz kill.
Teahouse: Khumbu Lodge (Same as Days 2 & 3)
Tip: Don’t forget to stop by Himalayan Java Café next door to Khumbu Lodge and eat as many walnut brownies as you can!
Tip: Time to celebrate! Congratulate yourself with a drink at the highest Irish Bar in the world. But don’t have too many, you have a long day tomorrow.
Day 16: Namche Bazaar to Lukla
Total trekking time: 6 hours and 15 minutes + Rest Time: 45-minute lunch in Phakding
Description: Reverse your steps from Days 1 & 2 from the beginning of your trek as you head down the massive hill before Namche. Cross suspension bridges and pass through the small villages as you see other bright-eyed trekkers heading the opposite direction.
Difficulty Level: 5 – You should be feeling like an Olympic athlete as you stroll back through the small villages in the valley.
Teahouse: Sunny Garden Lodge
-
Cost: 200 rupees
-
It’s had a small room and not the best food. I also heard mice in the middle of the night. But hey, it was just our last night.
-
Recommended: No, there are plenty of other places in Lukla.
Last Day: Fly Lukla to Kathmandu
Description: Grab a quick breakfast and head to the airport. Make sure to get there early, because it gets crazy in the one room terminal. Once your plane arrives, it’s a quick turn around and you’re boarded. Say one last prayer to the Khumbu gods as you take off on what can be the scariest flight in the world.
EBC Video Diaries
Watch Part 3 of our video diary from Day 11 through 17 of our trek. It shows our trek over the challenging Cho La Pass and our final decent out of the Himalayas. We added bloopers and even a Snickers commercial we made for your enjoyment!
Are you planning a trek to Everest Base Camp? We can help!
We have TONS more resources on trekking EBC. Check out our Nepal Homepage for more resources and some of our favorite articles on Everest Base Camp below.
Save this on Pinterest for later!
We want to hear from you!
What do you think about our itinerary? Have you trekked to Everest Base Camp or Gokyo Lakes? Do you have any additional tips? Share in the comments below.
Hey!
What a fantastic guide! Thank you.
Just one question – is it possible to prebook the tehouses?
Thanks
Stuart
Hey Stuart! We did not have to prebook teahouse and we went in the busy season of April. I think you can book hotels in Namche Bazaar, but anything further than that you might have to just wing it or call them in advance to see if they take reservations.