If you want to learn how to convert a van into a camper but don’t have a lot of time or money, we’ve got you covered! This article is chock-full of practical tips and all the steps needed to do a DIY van conversion with a small budget in just one week.
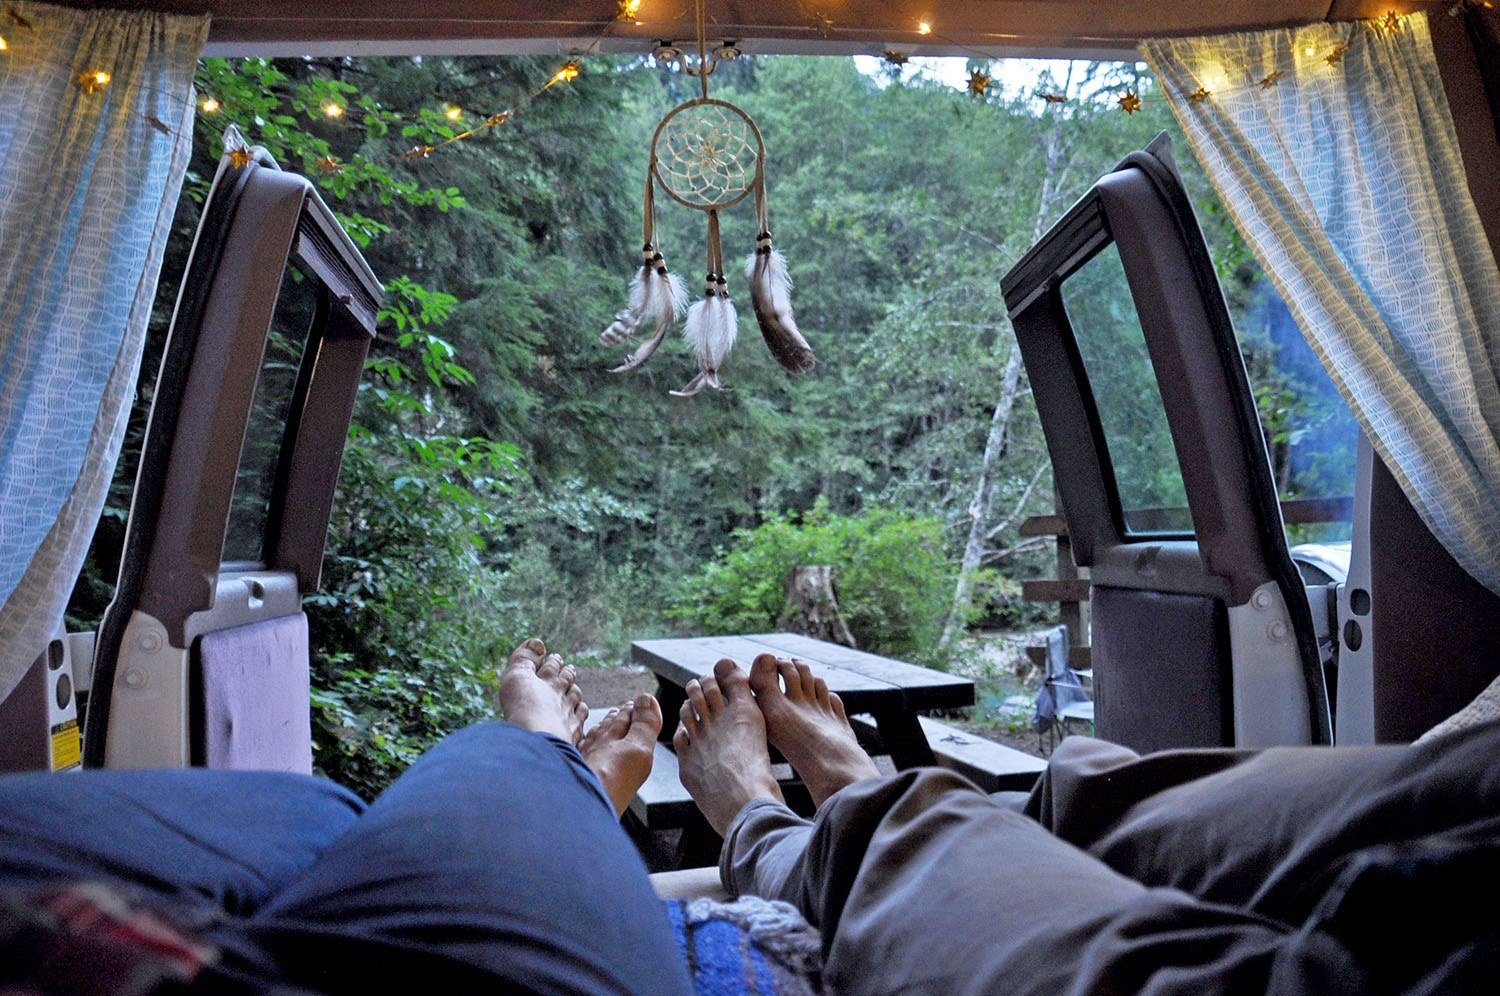
So you wanna live the vanlife but you have a super tiny budget and you need a quick turnaround? And on top of that, you don’t have a ton of tools or experience with this type of campervan conversion?
Is this too much to ask?
Not at all!
We bought a van (that was in dire need of some TLC) for cheap, and transformed it into a livable home in less than one week from start to finish. Plus, this was our very first time doing anything like this and we had very few tools to use.
If we can do it, so can you!
In this article, we have laid out exactly how we built our DIY camper van fast and cheap so you can follow in our footsteps and find out for yourself why living in a van is the best.
More info…
- Our DIY campervan story
- Total cost of our DIY campervan conversion
- Tips to save money on a DIY campervan conversion
→ Psst! Save yourself hours of research and headaches and jump straight down to our DIY campervan conversion course!
Our DIY campervan conversion story
After spending nearly 4 years living abroad, and then moving back to the states to work for a season at a mountain ski resort in Washington state, we were itching to explore more of the western United States.
The only problem was, we were traveling on a pretty small budget!
We took the leap and decided to join the movement known as #vanlife we’d been seeing on social media. We bought a 1994 Chevy G20 van and did all the work ourselves to fix her up into a “home on wheels” in just one week.
Our budget van conversion was cute, functional, comfortable, and it felt like home. We made it fast and cheap with few tools. But it was nowhere near luxurious.
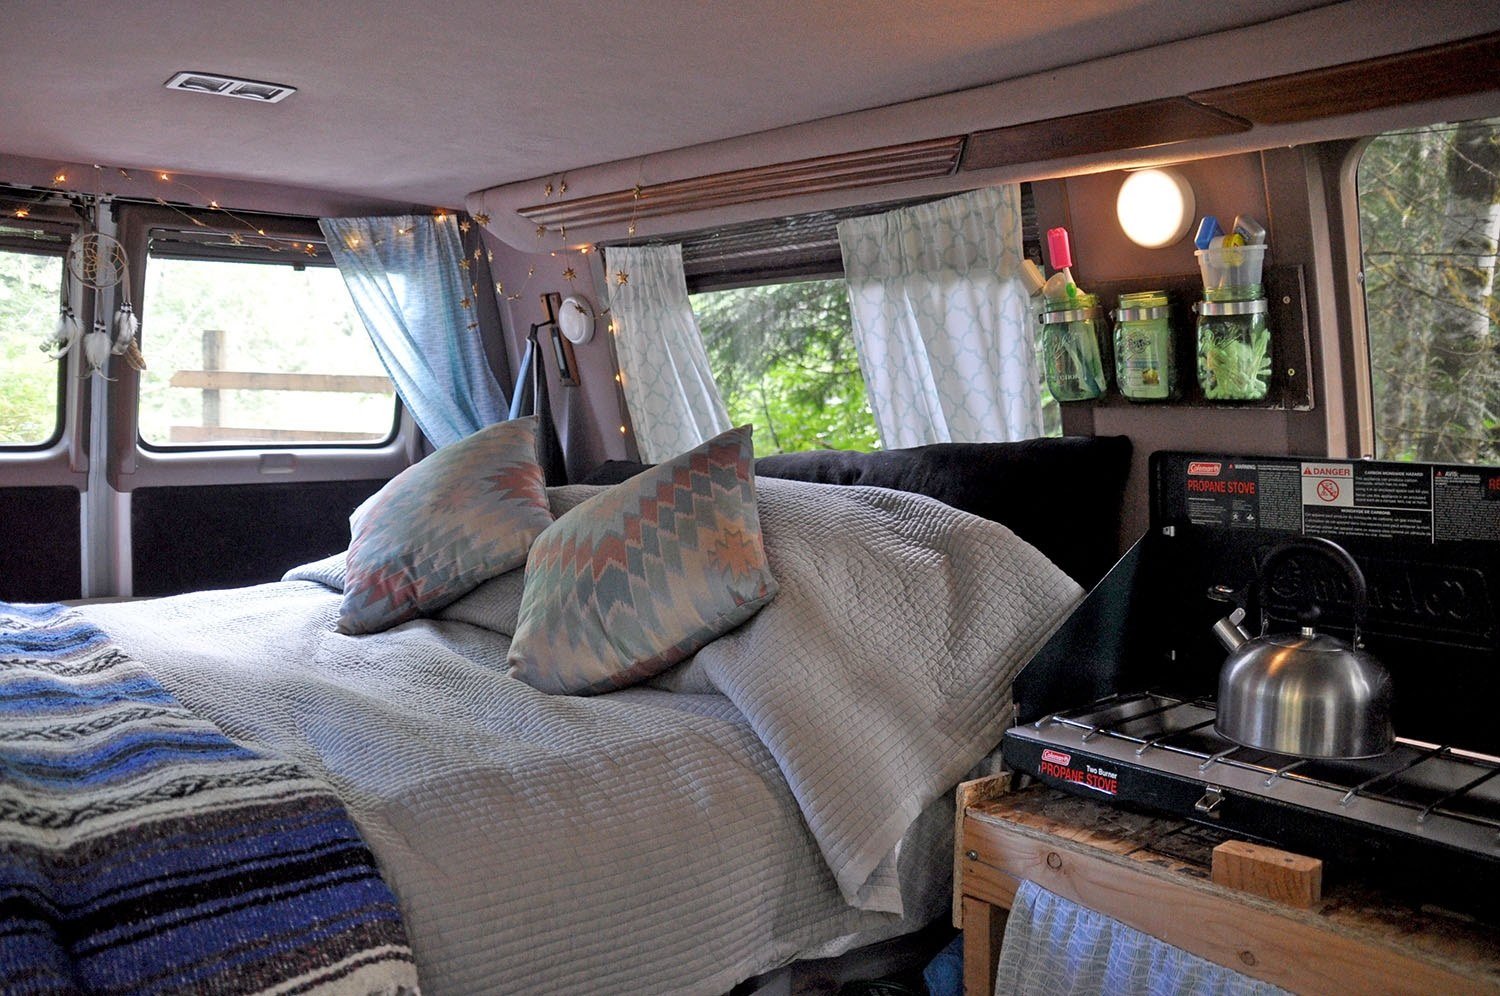
We were incredibly happy with how it turned out and can’t think of anything we would change with the time and budget constraints we had.
We had an incredible summer traveling with Vinny. We made it through 8 western states and even up to Canada.
Tip: Before we get started, you may want to take a look at these van conversion ideas to get some inspiration for your van build…
Now let’s jump right in…
1. Buy a van

Well, duh, right? But there’s more to it than just handing over cash.
Start by setting a budget and researching the market—even if you’re not ready to buy yet. This helps you understand pricing, availability, and which makes and models suit your needs. Prices vary by region, so knowing the going rate in your area is key.
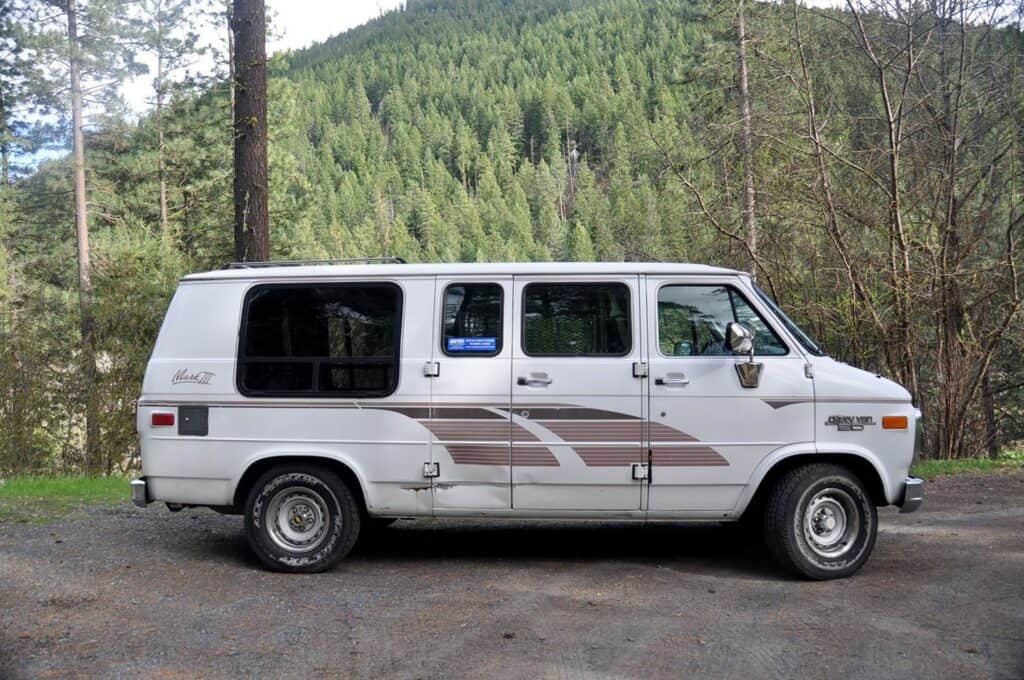
We found our 1994 Chevy G20 van (85K miles) for $2,000 on Craigslist in 2017, but you can also check Facebook Marketplace (watch for scams!) and ask around—friends or family may have leads.
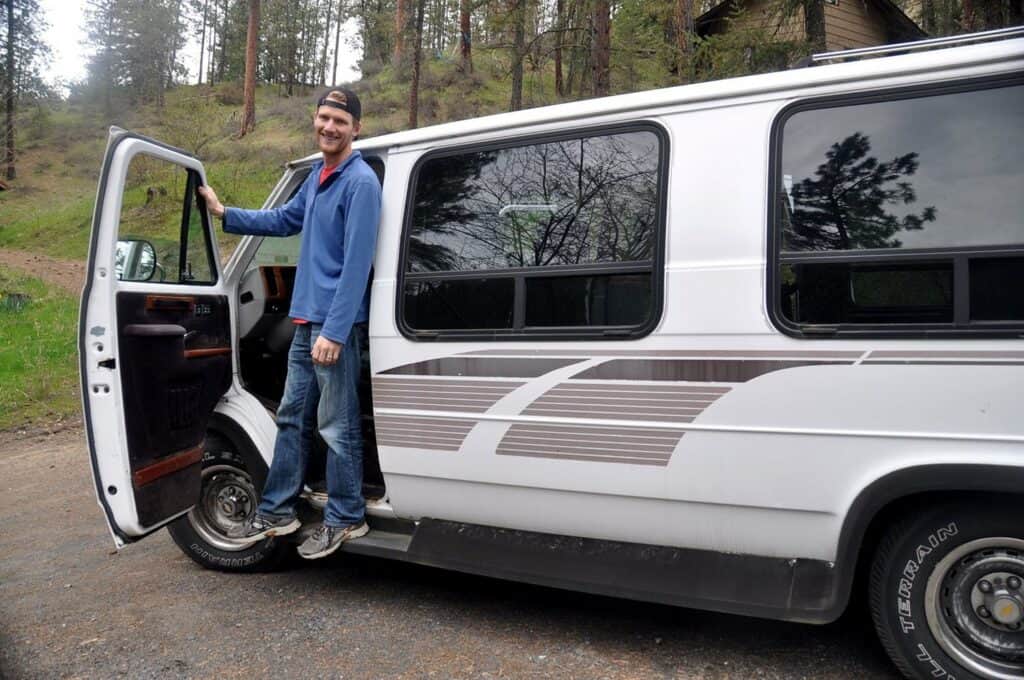
Tip: When searching online, try terms like “cargo van” or “passenger van” rather than just “van” for better results.
Be open to expanding your search radius; we drove three hours for a better deal since vans in our area were overpriced. Also, factor in extra costs like registration and title transfer—Washington’s steep fees set us back $310!
Prices will vary, but doing your homework ensures you get the best deal possible.
Best vans for a budget van conversion
Those picture-perfect campervans you see on Instagram? They’re often high-roof Mercedes Sprinters, Ford Transits, or Ram ProMasters—costing tens of thousands before any conversion. While they’re great (we’ve built out two ProMasters ourselves), they’re not the best choice for a budget DIY campervan conversion.
If you’re looking for an affordable van, consider:
- Chevy G20/G30
- Ford Econoline (2014 & earlier)
- Chevy Astro Van (Katie’s childhood road trip van!)
- Dodge Ram Van (’90s–2000s)
- GMC Savana
- Vauxhall Vivaro
- Chevy Express
Check out some of the best vans for camper conversion to compare models and understand pricing in your area—it varies by region!
Important things to consider when buying a used van
Beyond mileage and age, keep these factors in mind:
- Tires: Check the treads—if they need replacing, use it to negotiate a better price.
- AC & heat: Make sure both work; repairs can be costly and trust me when I say you don’t want to go without if this is to be your full-time home.
- Clearance: Low vans struggle on rough roads and perhaps at certain campsites.
- Noises: Listen for odd sounds while shifting gears—they could signal issues.
- Leaks: Look under the van for signs of fluid leaks. Some are minor, others can be much more expensive.
- Brakes: Test for squeaks or worn down brake pads.
- 4WD vs. RWD: RWD isn’t great in snow, but we made it up plenty of mountain passes in our RWD van during summertime.
- MPG: Campervans aren’t fuel-efficient, so ask the owner about real-world mileage. Our 1994 Chevy G20 got 15–18 MPG—not great, but not the worst!
2. Gut and clean the van
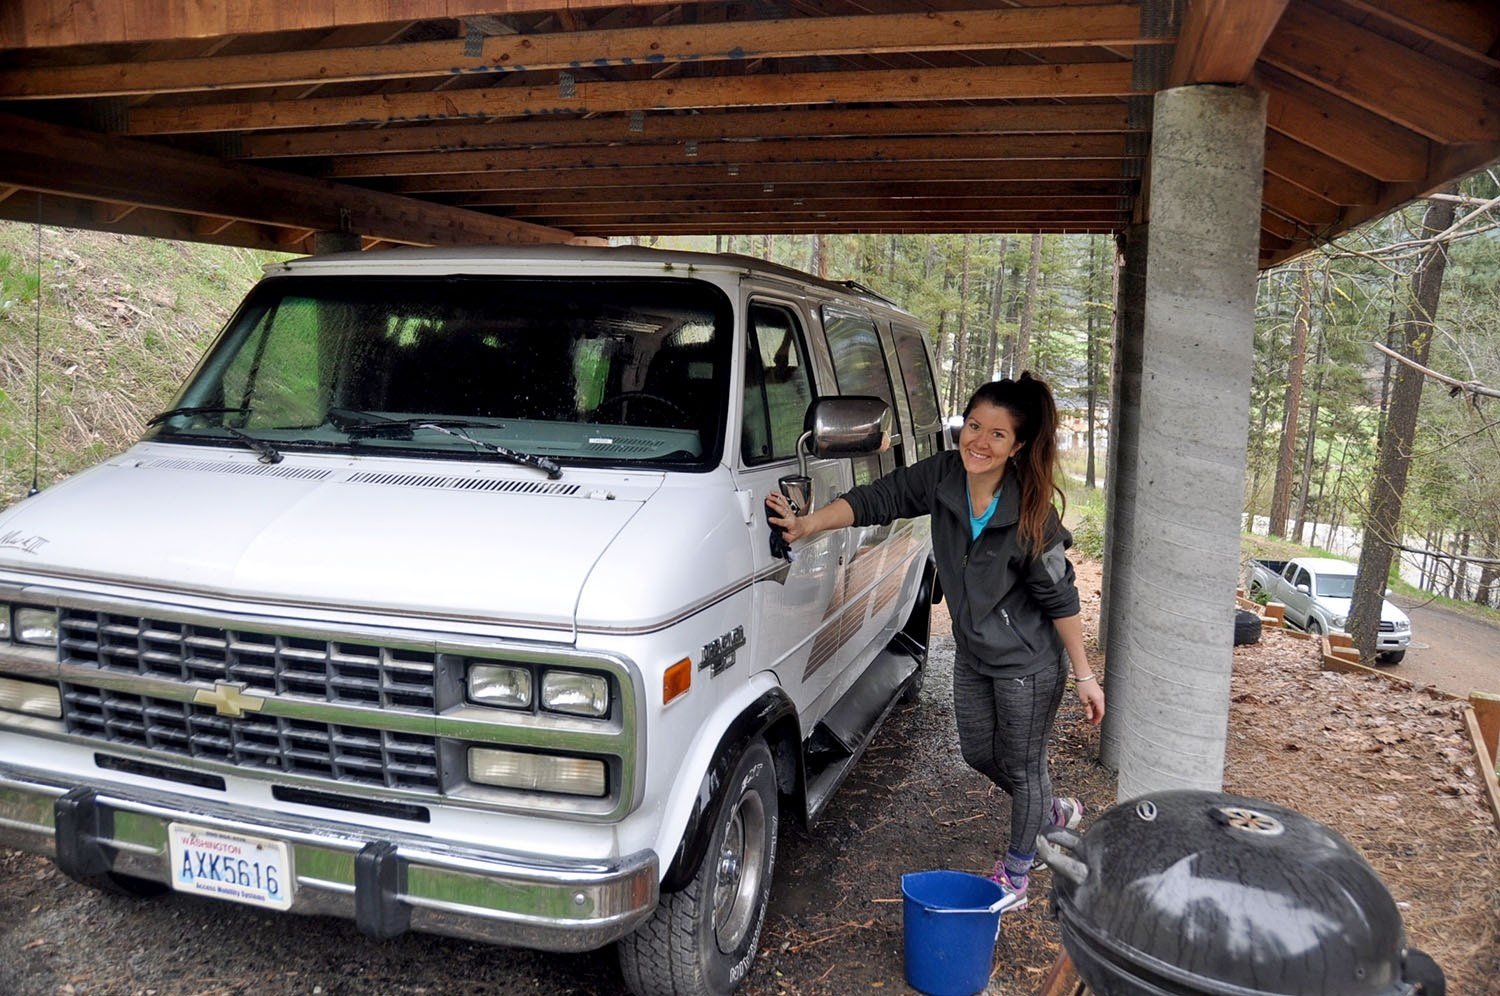
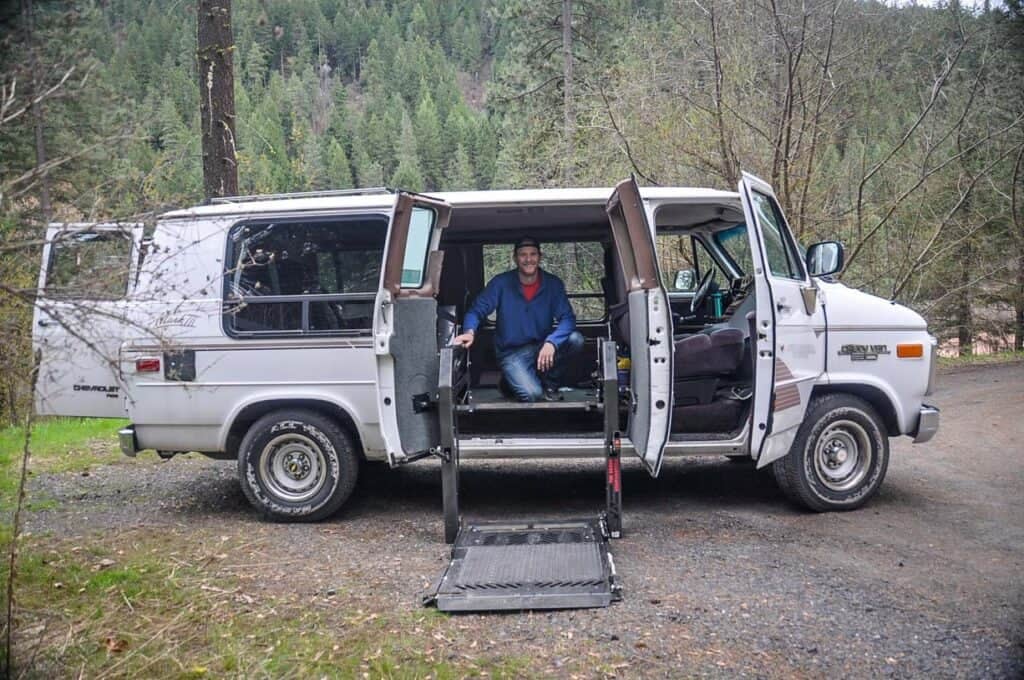
If you’re buying a budget-friendly used van, you can expect some cleanup!
Gutting: Our van came with a wheelchair lift, which took a full day to remove. It wasn’t glamorous, but we sold the lift and bench seat for $260. If there’s anything to remove from your van, do this first.
Tip: To save some money on your DIY campervan conversion, try selling any valuable items on Craigslist – you never know what people around you may be searching for!
Cleaning: Our van had pet hair, moldy windows, and a less-than-pleasant smell when we first purchased it.
We tackled the carpets with Arm & Hammer carpet cleaner, a vacuum, and a stiff brush, then wiped down all the hard surfaces with Simple Green industrial cleaner. After airing it out, it smelled brand new!
Cost: Just $7.83 for cleaning supplies—but since we resold parts, we actually made money! This may not be the case for everyone, so we did not factor the money earned into the total cost of our van in our cost breakdown below.

3. Take measurements of your van
The next step is to measure everything in your car: length, width and height obviously, but also take measurements of the wheel wells and the windows.
Also, many cars bow out slightly so the width will vary from the floor, to the center, to the ceiling. Getting all the measurements will make the next steps as simple as possible.
4. Plan your campervan layout
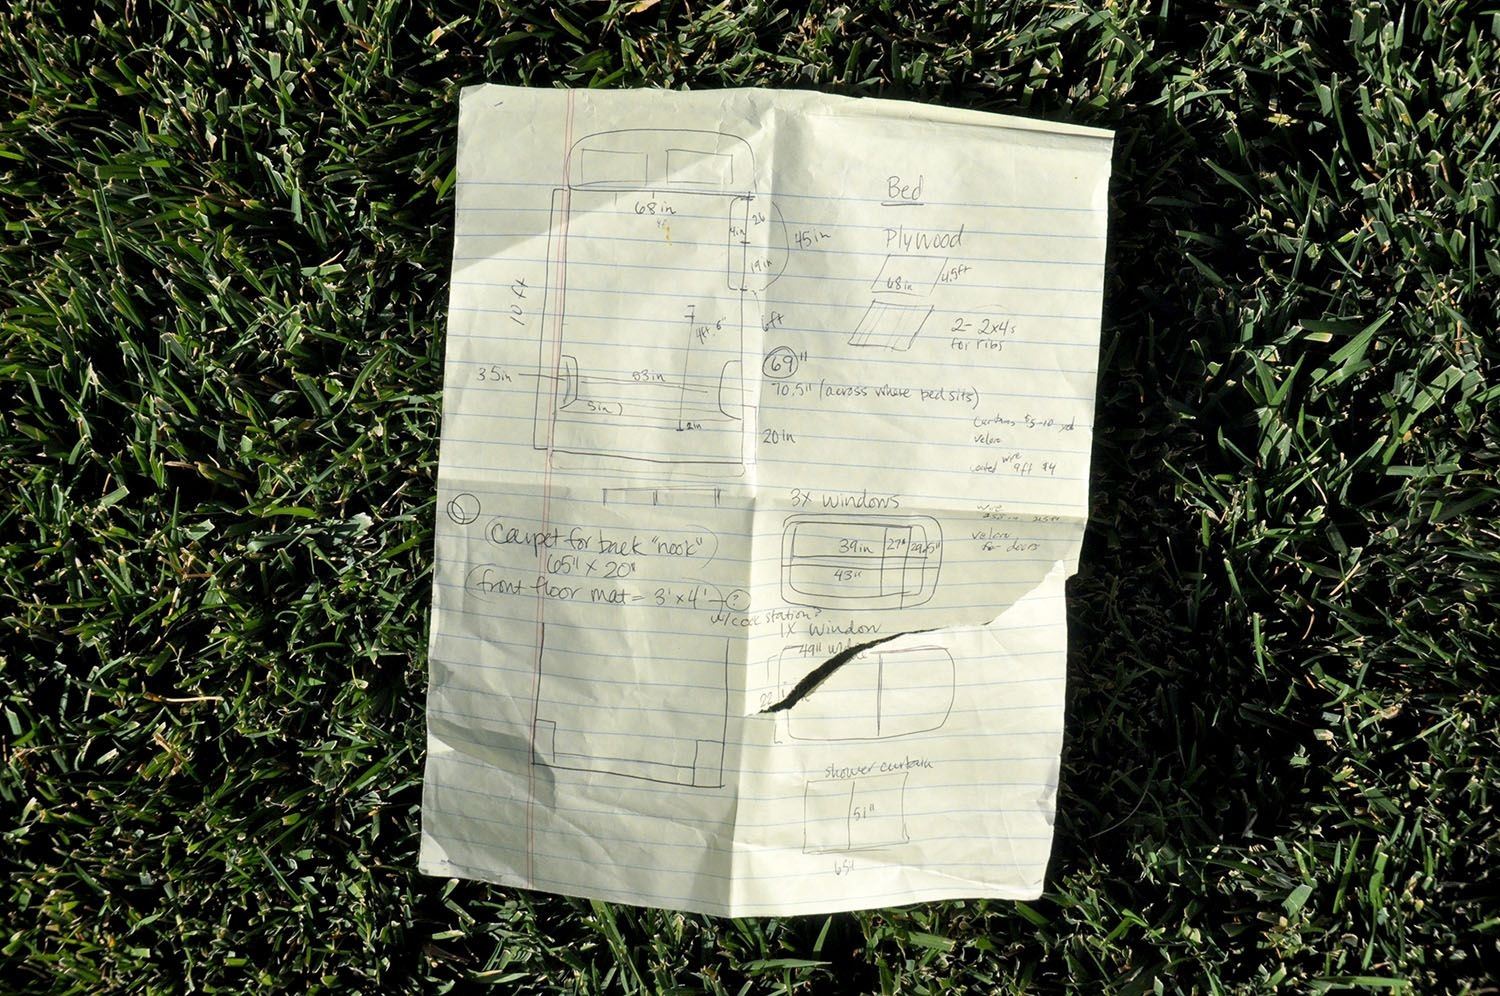
Now it’s time to design your dream campervan layout. Ask yourself what is important to you in a camper van. Our advice when building a budget campervan is to keep things simple as possible and separate your “wants” from your “needs”.
- Bed: Will a fixed bed do or is a convertible bed/bench system better for lounging?
- Kitchen: Should you place the kitchen inside or outside? Do you need a fridge or will a cooler work fine?
- Storage: Do you need storage for adventure gear, like a mountain bike or a snowboard?
- Pets: Do you need an area for a pet?
- Work: Do you need to design a desk to do work on?
- Toilet: Do you need a toilet inside the van or will using public bathrooms be enough?
- Electronics: Do you need to install campervan batteries to power laptops, lights, and a refrigerator? Or will tap lights and a car inverter work for you?
Once you know your top priorities, you can start thinking about the space each element can take up and where it should go.
It is like putting the pieces of a puzzle together when you’re working with a small footprint, so don’t get frustrated if it doesn’t work out right away.
And know that you’ll likely have to make some sacrifices. Play with a few options, and choose the one that works best for your situation.
For our DIY campervan conversion, we decided our layout would include:
- A fixed bed (with storage)
- A basic kitchen, with a gravity-fed sink, propane stove, and a cooler.
- A car inverter for charging electronics and tap lights and solar lights at night.
- No toilet (we’d use public bathrooms).
Start drawing out some basic plans using the measurements you took in Step #3. Download our free van layout template, print it off, and fill in the corresponding measurements. This will be incredibly helpful as you start to plan your build.
5. Build your campervan bed
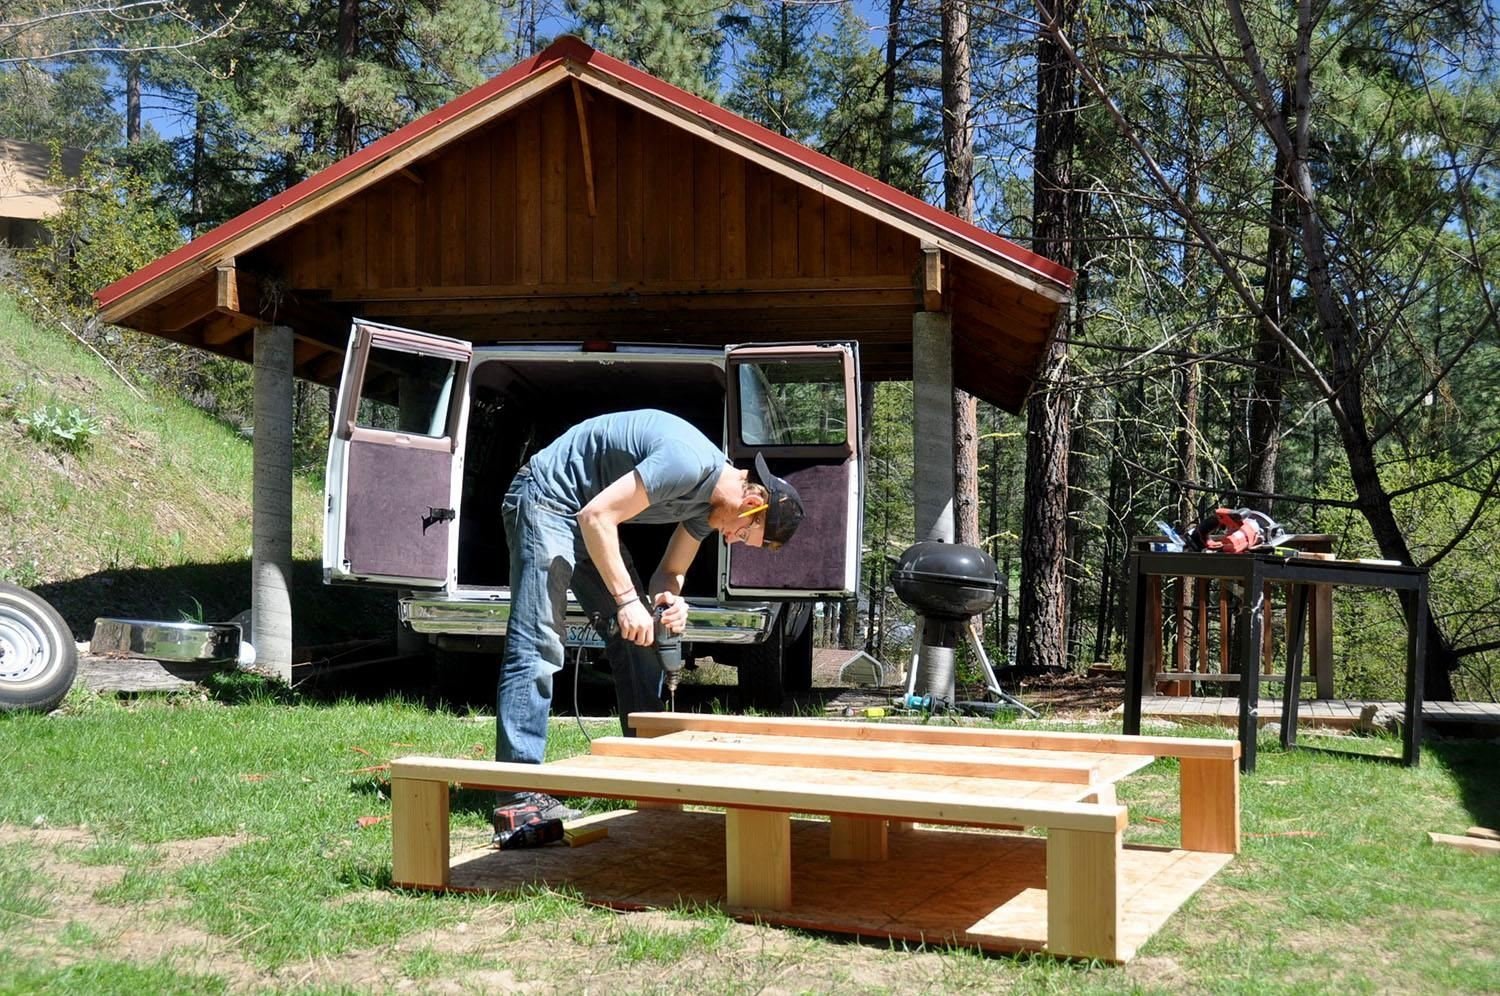
This is where you’ll get to work with your hands (and get them dirty, if you’re doing it right!).
Using plywood, 2×4s, and 2×6s, we built a bed platform that fit a full-size mattress and maximized storage space underneath. If you want to build your own campervan bed with storage, check out our step-by-step instructions.
We spent about $35 on wood at Home Depot and lucked out with a free mattress from a friend. If you’re on a super tight budget, consider a futon mattress or thick foam padding.
With a custom plan in place, Ben measured, cut, and assembled the frame in about 4 hours.
6. Construct the kitchen
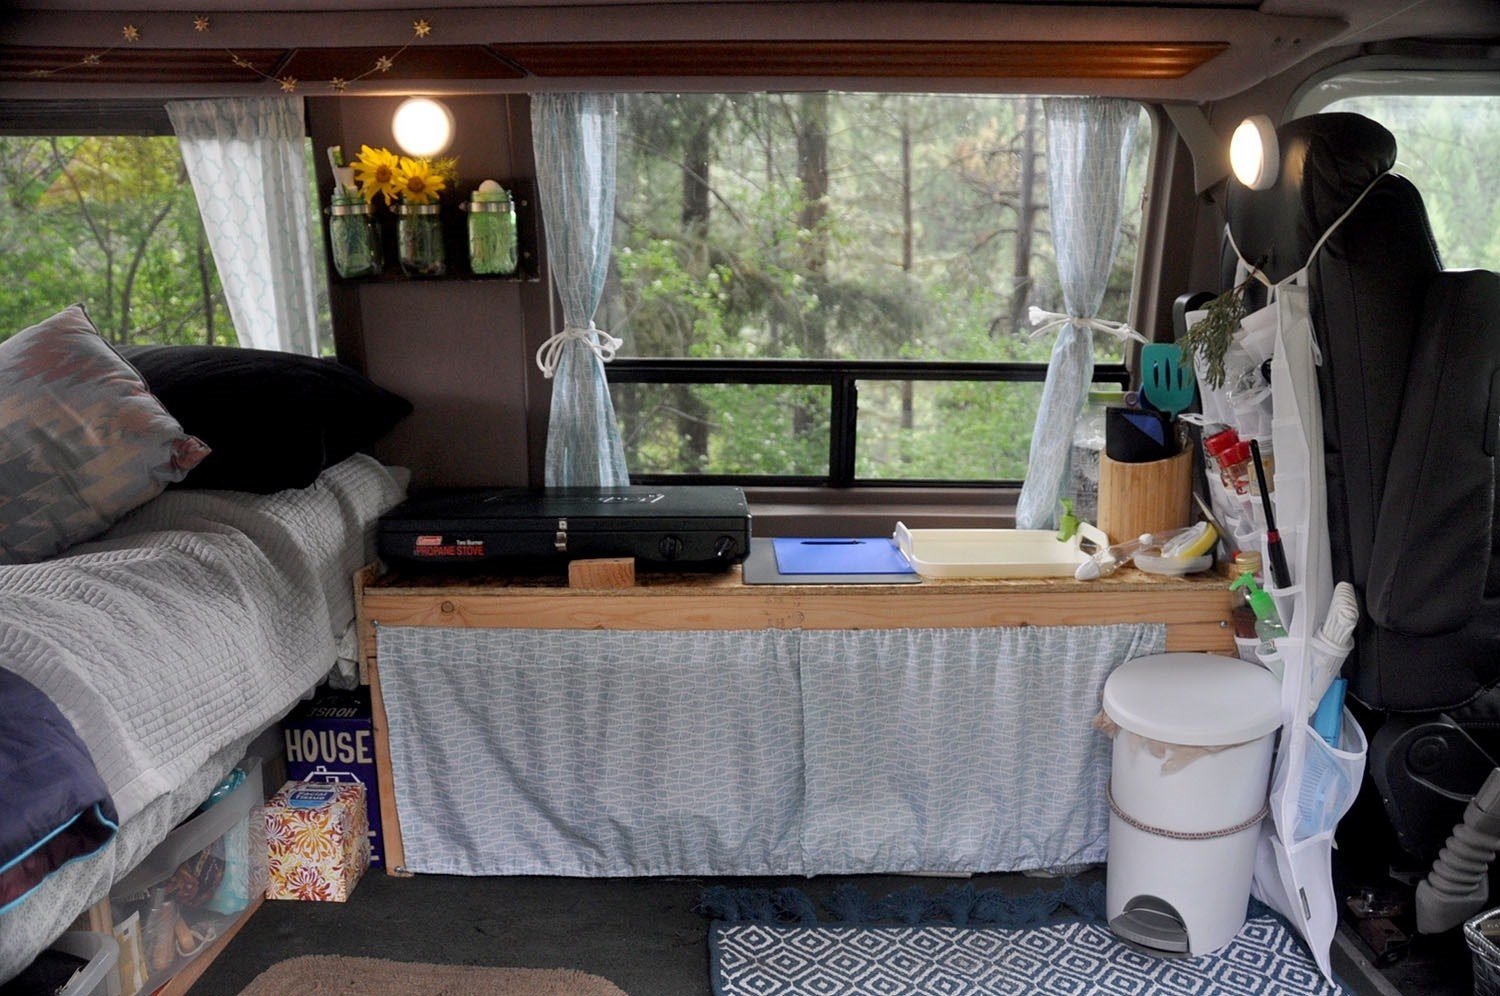
Since we love to cook, adding a kitchen in our van was a must! Ben built a simple countertop with a Coleman 2-burner stove, a small cutting board, a working sink, and storage underneath.
Using plywood and 2×4s, the counter cost about $15 to build, plus $35 for the stove and $23 for the sink. The trickiest part? Cutting a snug hole for the sink! Overall, it took about 2 hours.
Want to build your own? Follow our step-by-step tutorial for a DIY campervan kitchen.
7. Make privacy curtains or window covers
We love natural light as much as anyone, and the big windows in our van were something we were super excited about. But when you’re living in a van, you’ll want some privacy. Trust me.
Plus, having curtains—or better yet insulated window covers—will help block the light out at night so you can get better sleep.
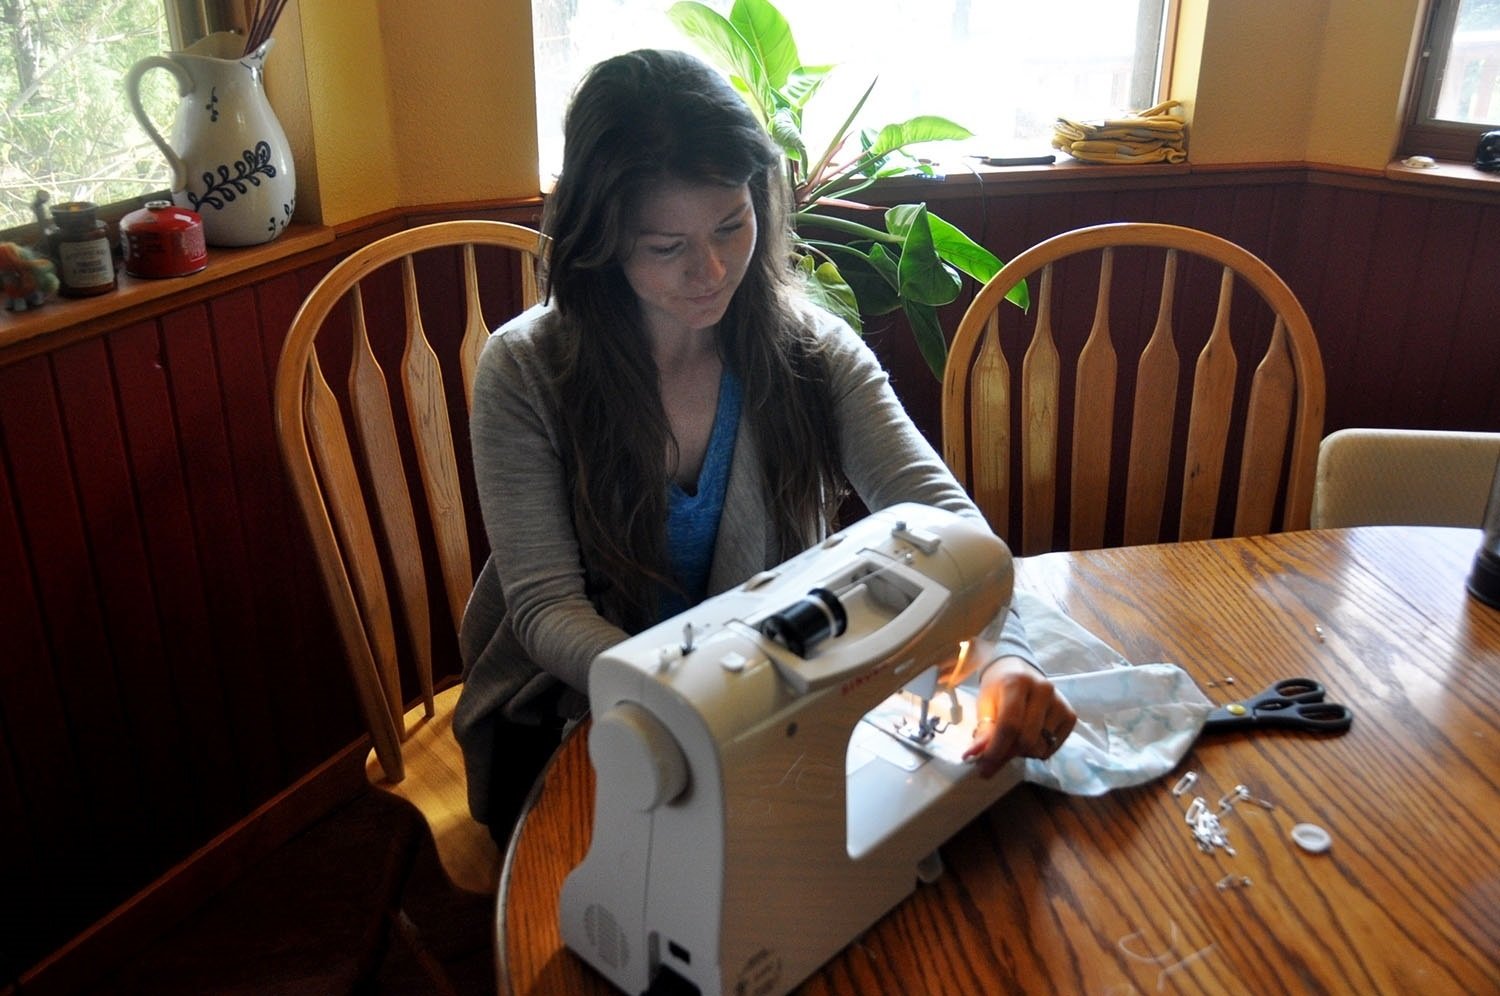
Sewing might seem intimidating (I get it—I had to look up how to use a sewing machine on Youtube!), but after some trial and error, we figured out a simple method. Using thrifted sheets, thread, picture wire, screws, and Velcro, we made all our campervan curtains for just $26.
Find out whether curtains or insulated window coverings are best for your DIY campervan conversion in our article where we compare the two and show you exactly how to make your own!
8. Buy the campervan essentials
Once your van build is done, it’s time to stock up on essentials to make it a comfortable, livable space. From power solutions to keeping cool in summer, here’s what you’ll need before hitting the road.
Powering your electronics
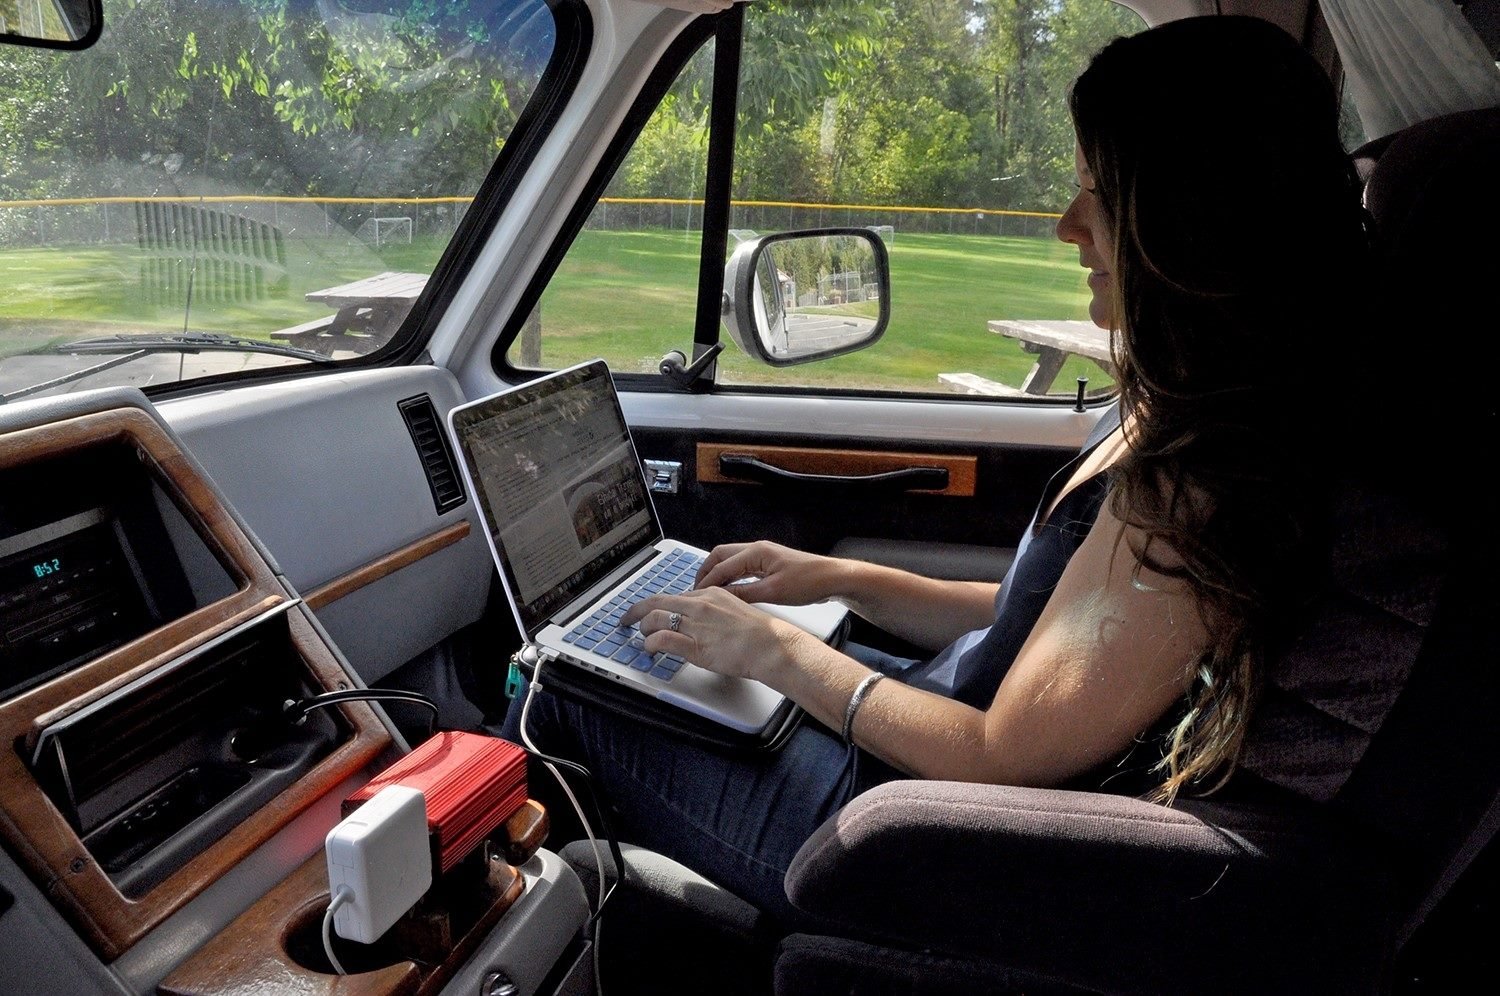
Charging devices in a campervan can be tricky, but we found a simple setup that worked:
- Power inverter: We used the Bestek 300W Power Inverter, plugging in devices while driving to charge them.
- Portable battery pack: Our Anker external battery was a lifesaver, holding seven full charges for phones, cameras, and fans.
- Upgrade option – Solar panels: If you have the budget, Renogy solar panels are an affordable, easy-to-install option.
- Portable power stations:Jackery Explorer Series offers plug-and-play power without needing a full solar setup. Even the compact Explorer 240 is a solid choice.
If we were to go back to our very first campervan, this is the power station I would want to charge all our gear and electronics.
→ Related: Wondering how we are able to get work done while on the road? We put together a complete guide on campervan wifi solutions, including multiple options we’ve used during our vanlife adventures.
Lighting in your campervan
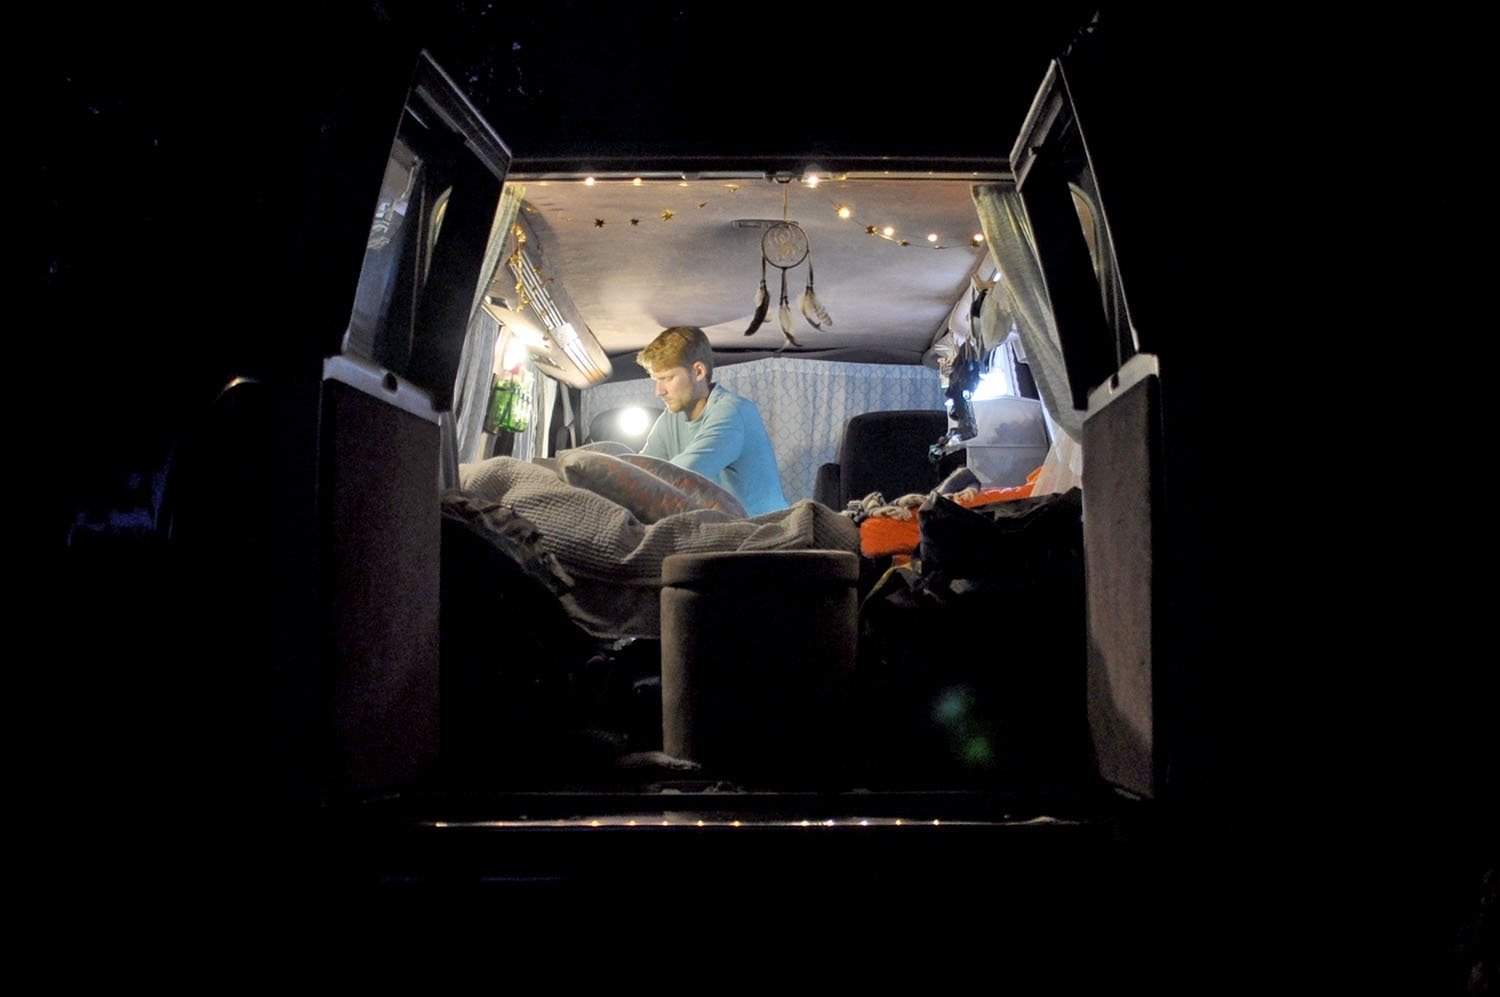
For nighttime lighting, we used a mix of the following:
- Battery-powered push lights (lasted 3+ months)
- Solar-powered Luci lantern (left on the dashboard to charge)
- LED fairy lights (cozy and great for reading)
Doing laundry on the road
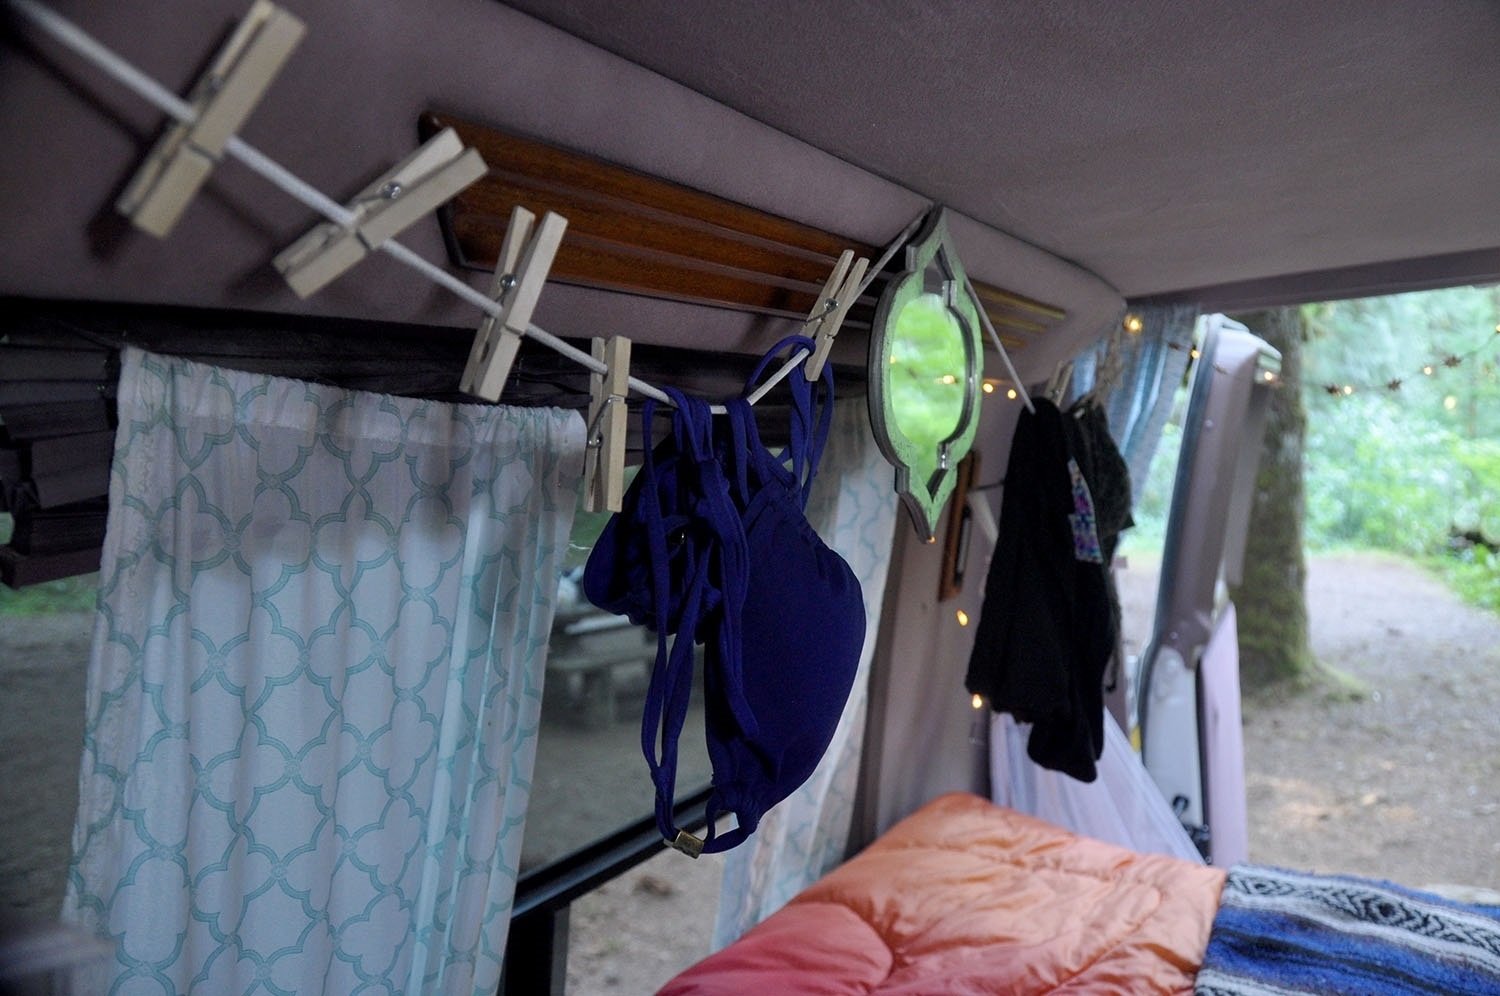
We rarely used laundromats, instead we opted for washing clothes by hand using Dr. Bronner’s biodegradable soap in our sink or public restrooms.
We made a DIY laundry line by stringing up a clothesline and fastening it to the ceiling. We bought clothespins to secure our clothes. This worked wonderfully because we could wash a few items in the morning and they’d be dry before evening.
Staying cool (or warm!) in your van
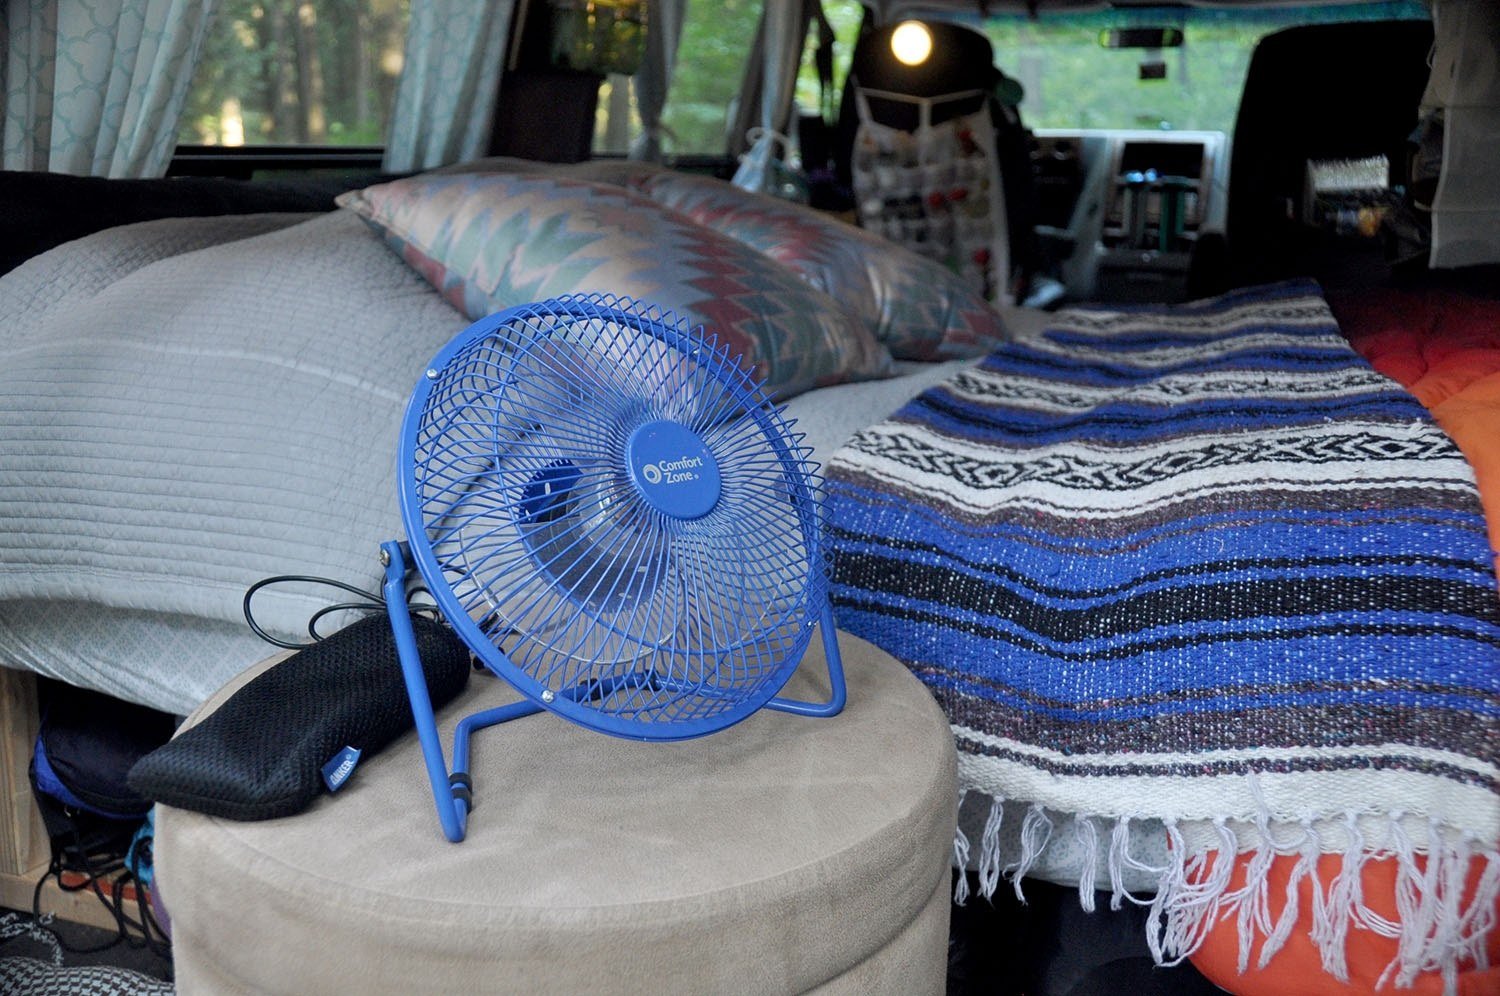
We were traveling in our van during the summertime, so we only had to worry about how to keep cool.
We bought two fans, each with a different purpose:
- USB-powered fan: At night, we set this beside us and plugged it into our Anker charger. It would run all night and keep us cool.
- Rechargeable fan: We had a small handheld fan that is more portable and if charged, doesn’t need to be plugged in. We found that it didn’t last as long though, so it was nice to have both as backups.
For chilly nights, we bundled up in warm layers instead of using a heater.
Stocking up on campervan essentials
To make your van feel more like home, you’ll need to stock up on some essentials. We have a complete list of all the items we packed inside our camper van, but here are some of the basics:
- Enamelware pots
- Cast iron skillet pan
- Durable cutlery
- Camping plates and bowls
- Coleman propane (you can find a 2-pack for a few bucks at Target or Walmart)
- Utensils set
- Cutting board for camping
- Camping chairs
- Large cheap cooler or we recommend a Yeti cooler
Money-saving tip: Thrift stores are goldmines for budget-friendly camping gear. If buying new, Walmart and Target have solid, affordable options.
Looking for a full campervan packing list? Check out our ultimate campervan essentials guide for everything we brought along!
9. Organize the van
Without smart organization, van life can quickly feel cluttered. To make the most of your limited space, every item should have a designated spot. (Ben, as a former engineer, was all about optimizing our setup!)
Here are a few of our campervan storage tips:
Utilize every inch of storage space
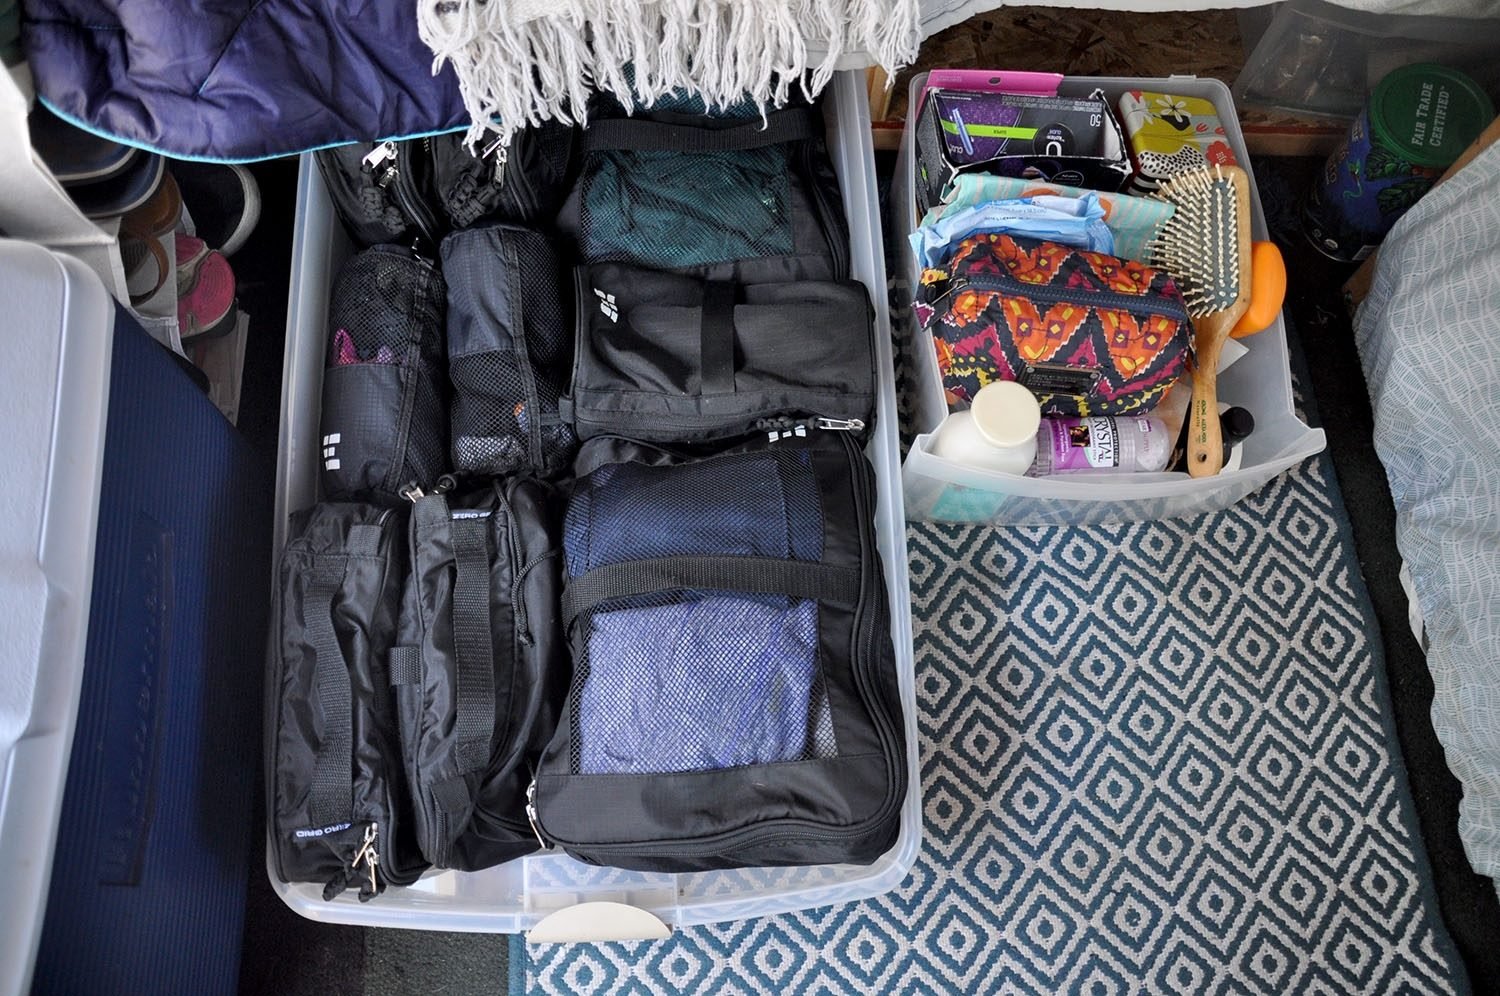
The space beneath your bed is perfect for stashing clothes, camp chairs, and bulky gear. We also used:
- Clear plastic containers from a three-tiered drawer to store toiletries and pantry items under the bed.
- A shallow, lidless plastic bin to hold clothes, using packing cubes to keep them compressed and organized, also under the bed.
- Doubling as a coffee table, this storage ottoman comes in handy to store jackets, blankets and other puffy gear.
- Choose a small trashcan with a lid (trust us!) so it doesn’t take up much space, and you can use reused plastic bags from the grocery store as garbage bags
- Tip: You’ll want to empty it frequently to prevent your van from smelling, so the small size helps you keep on top of this.
Maximize vertical space
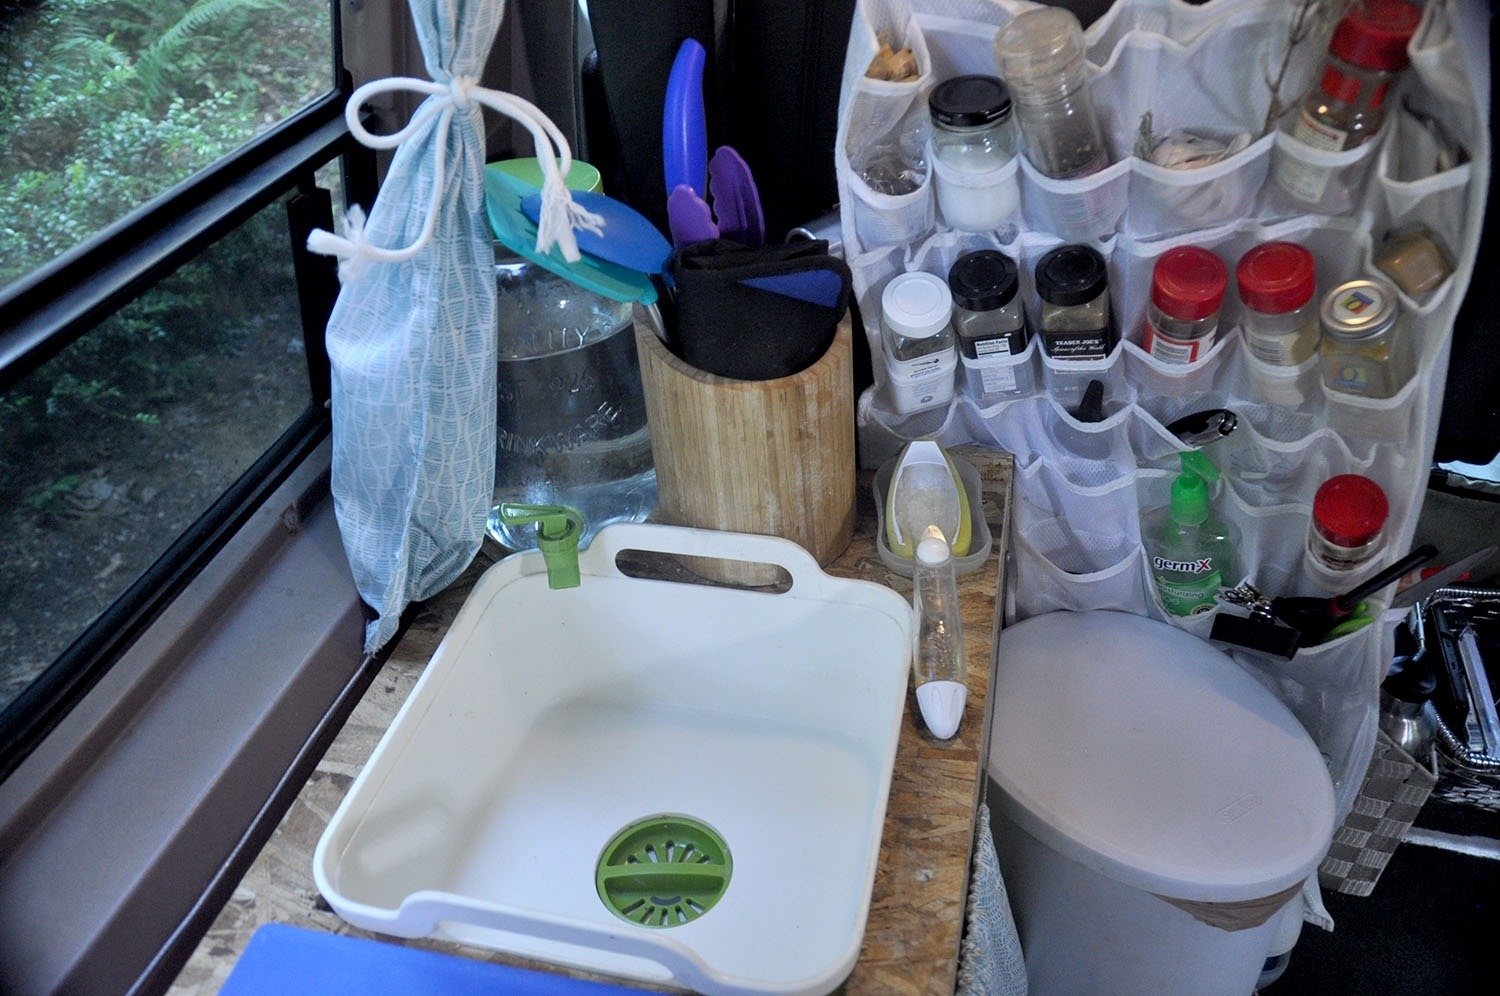
- Use a behind-the-door organizer for holding spices, oils, and kitchen supplies. Hanging it on the driver’s seat keeps essentials within reach.
- A hanging laundry bag makes storing dirty clothes easy.
- Hanging a shoe rack helps keep frequently used items off the floor.
DIY Mason Jar storage hack
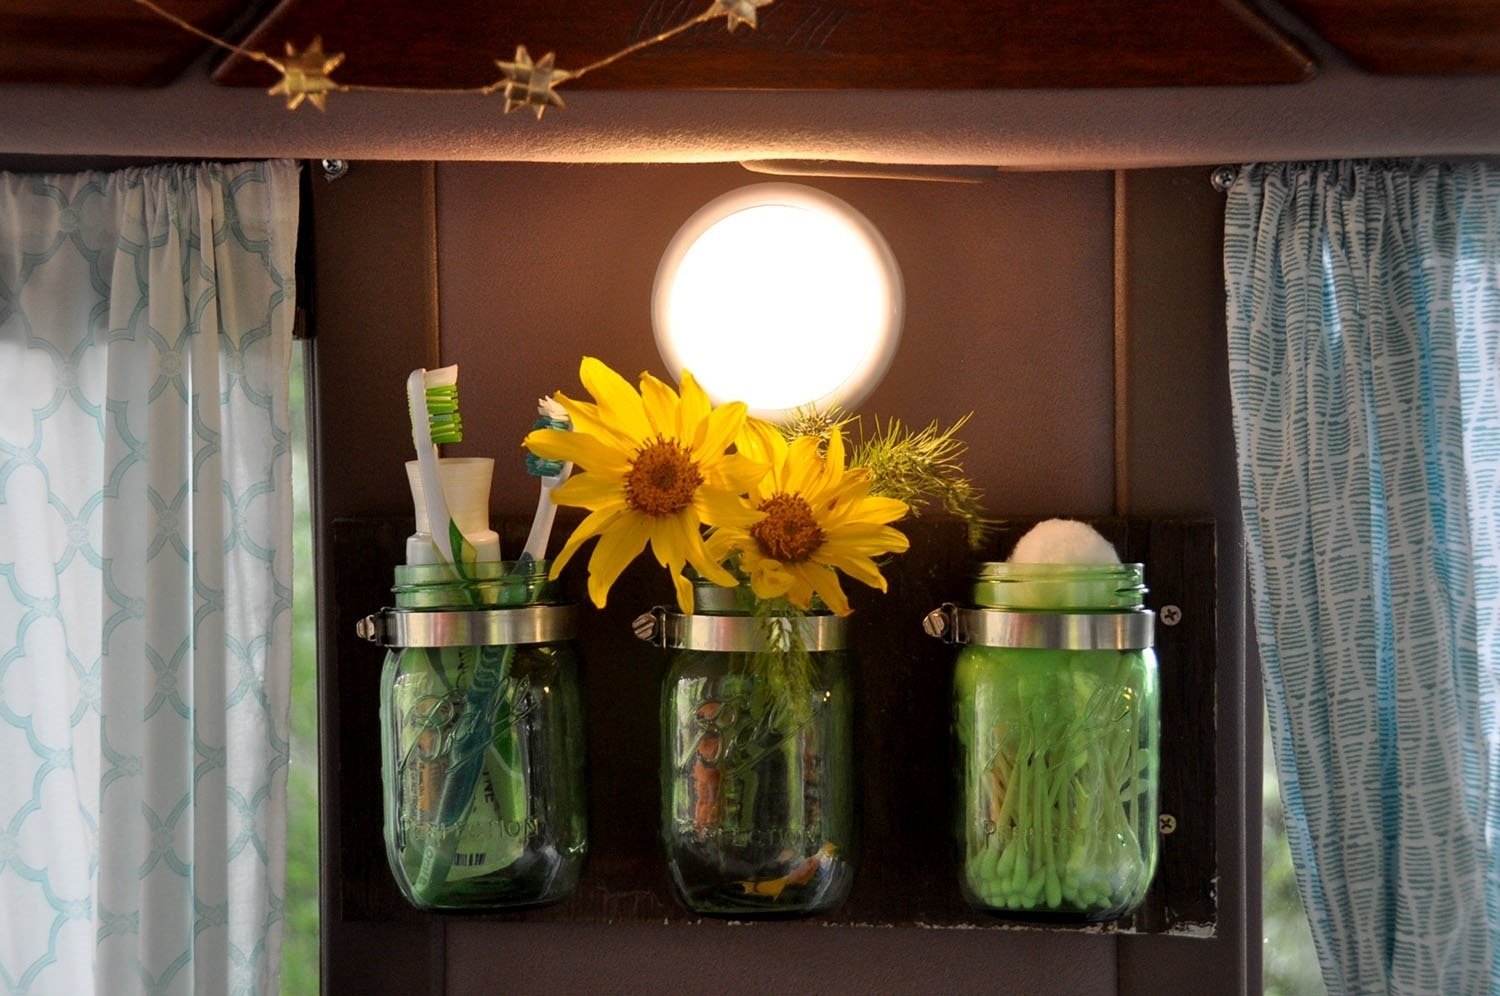
One of my favorite quick and functional projects was a Mason jar organizer—perfect for holding toothbrushes and other small essentials. You can make this in under 20 minutes with just a few materials:
- Mason jars
- A scrap piece of wood
- Hose clamps
- Screws
How to make it:
- Secure the hose clamps around the necks of the jars and screw them into the wood (measure first!).
- Attach the wood to a wall panel inside your van.
- Pop in your essentials—and admire your handy work!
DIY produce holder
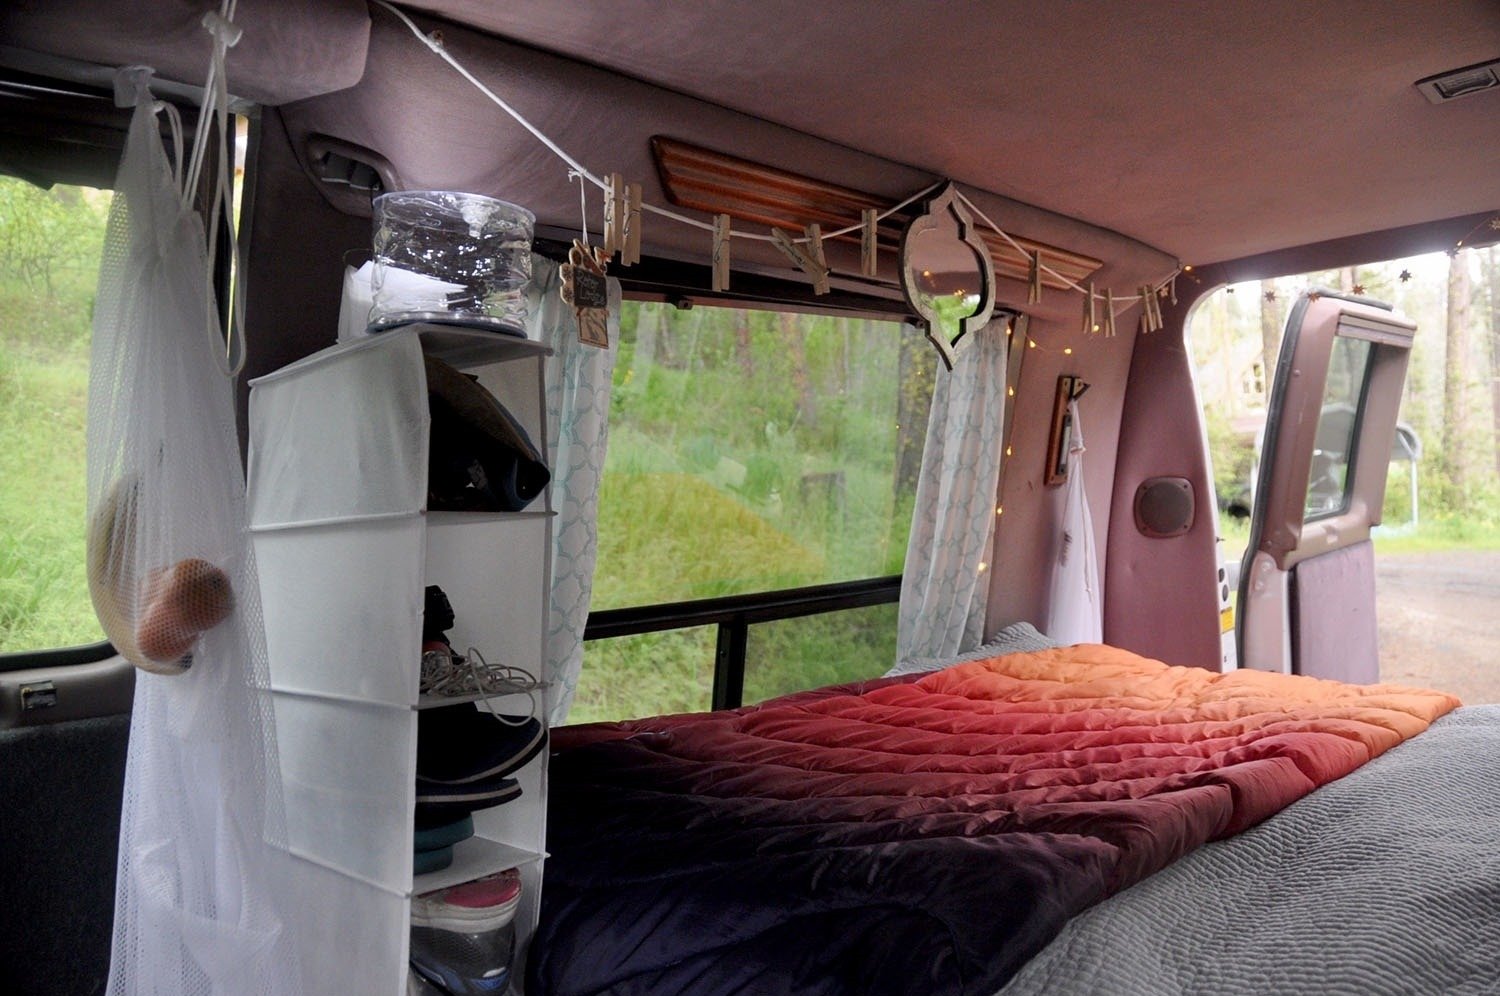
We DIYed a double-level produce holder using a simple laundry bag. Here are the simple steps:
- Sew a concave arc across the middle of the bag for support.
- Make a horizontal cut near the middle on one side.
- Hang it from the ceiling—instant fruit and veggie storage!
Want even more space-saving hacks? Check out our guide to campervan storage solutions for creative ways to keep your van organized!
10. Make your van function and feel like “home”
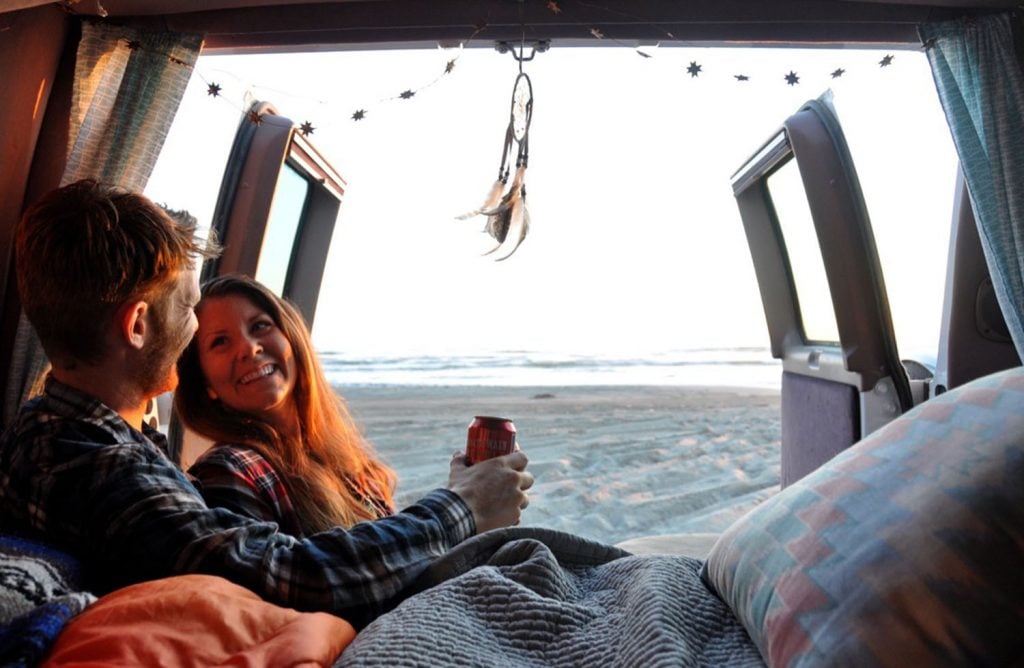
This was the step I was most excited about, but Ben kept telling me to wait until everything else was done. And he was right, of course.
With a small budget, we scoured thrift stores for cozy, personal touches to transform our DIY van into a true home on wheels.
Some of my favorite finds? $1.50 pillows, a $1.25 mirror, and seat cushions that turned our “nook” into the perfect cozy spot—all for just $12.
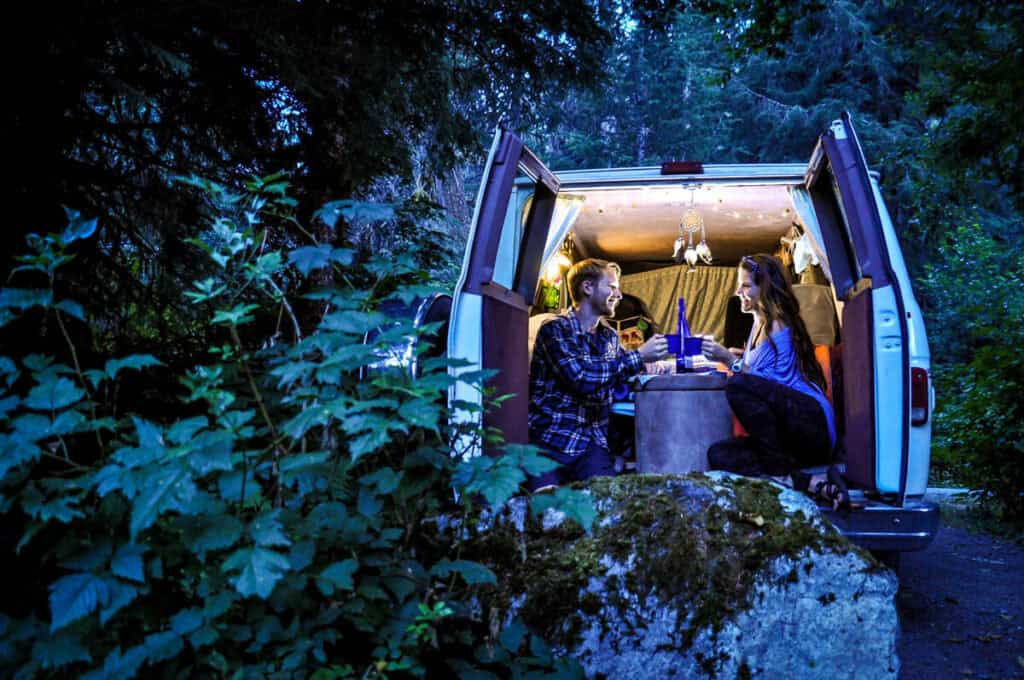
And while totally unnecessary, I couldn’t resist adding $5 battery-powered fairy lights to the back door. (Ben came around to love them too!)
When decorating your campervan, start small. We’ve learned that keeping things simple and uncluttered makes the space feel bigger, cozier, and more functional.
Total costs for our DIY campervan conversion
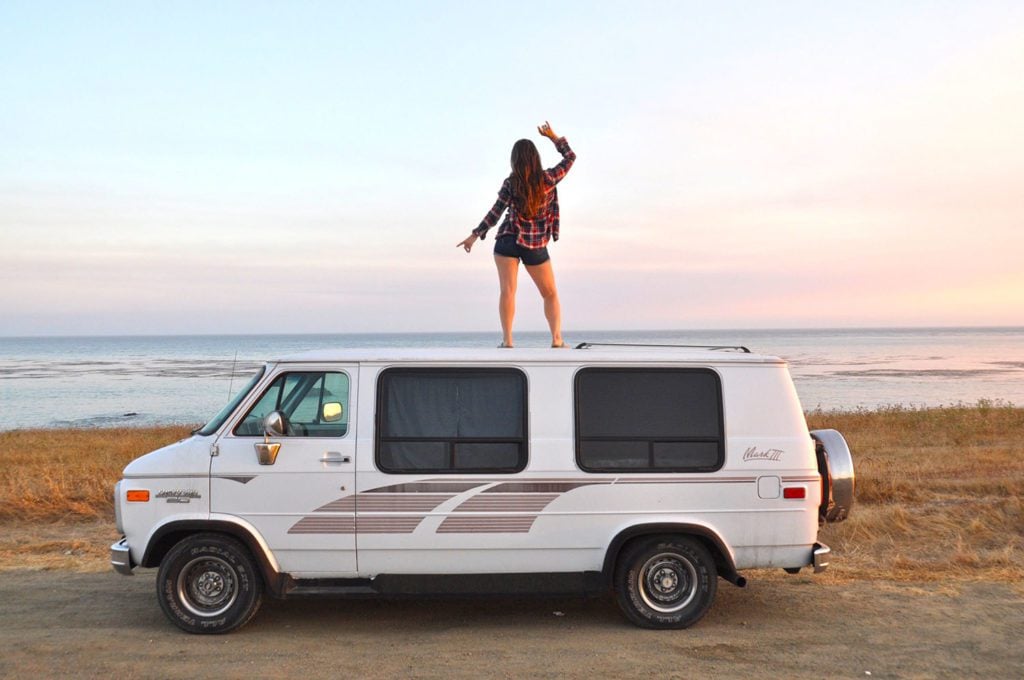
By now, you might be trying to tally up all our costs to get an idea of the grand total. Don’t worry, we’ll tell you how much it all added up to so you don’t have to strain your brain (Note: these are 2017 prices).
Our grand total for the van AND everything it took to convert it into a livable space adds up to $2,900.96.
Here is the breakdown:
- $2,000 Van
- $310.25 Van title and tabs (in most states, this cost will be cheaper)
- $58.31 Auto parts and fixes
- $7.83 Cleaning supplies
- $50 Lumber and screws
- $6.90 Decorations
- $32.68 Curtain supplies
- $23.78 Kitchen sink
- $408.51 Gear and miscellaneous (aka pots, pans, cutlery, camp chairs, stove, carpet, etc.)
Not too shabby, huh? While buying a new camper or doing a “fancy” conversion can cost a hefty sum, it certainly is possible to live the van life on a small budget.
Easy ways to save money on your budget van conversion
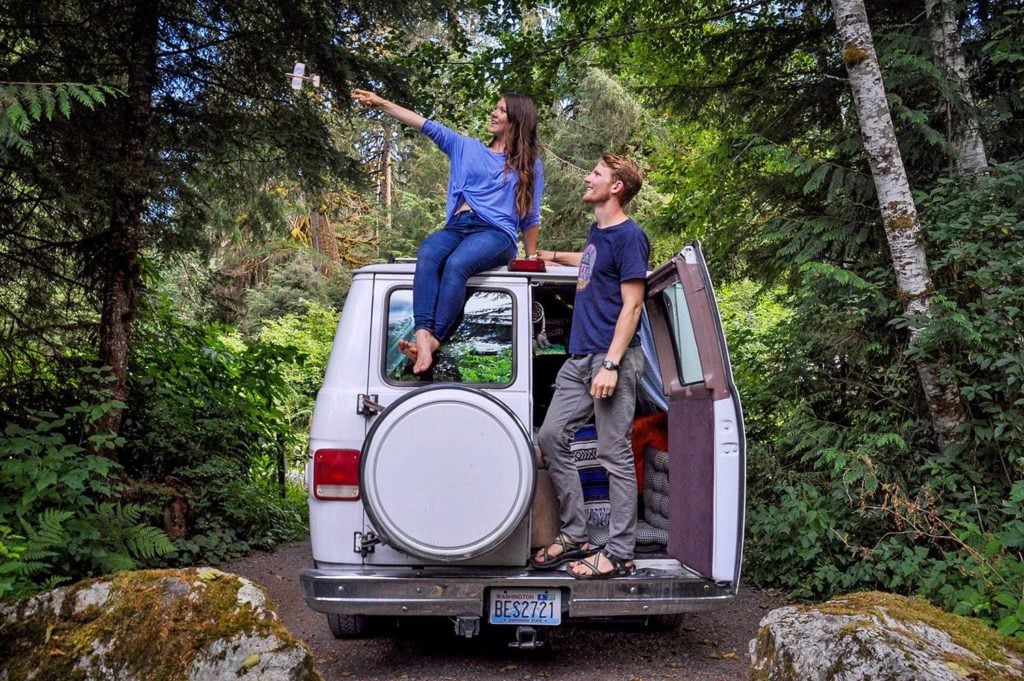
It can be so easy to fall into the traps of wanting to add everything to your van. Believe me, we’ve been there.
We are firm believers that anyone at any budget can start van life. And you can always modify or upgrade your rig along the way. Heck, we are still making changes to our van as I type!
Here are a few hacks we’ve learned through our 3 campervan builds that you can apply to your DIY conversion:
- Skip on solar. Start small when it comes to your electrical system. Buy a car inverter and tap lights or headlamps. Then buy a power station like the small but powerful Jackery Explorer 240. Then upgrade to a house (campervan) battery with a DC to DC charger so it charges as you drive your van. That would allow you to install lights! Then when the time is right, you can invest in solar and a solar charge controller.
- Cool it on a fridge: You can get by with just a cooler in the beginning. Especially if it is a Yeti or a Rtic super-insulated cooler. A bag of ice can last a few days and dry ice will last even longer. Plus, coolers make great additional seating in a low-top van!
- Hold off on a fancy kitchen: All you need is a portable Coleman propane stove and a gravity-fed or foot pump sink. Cooking outdoors is way better anyway.
- You may not need insulation: Depending on where you are traveling, loading your van walls up with insulation may not be necessary or even possible with an older passenger van.
- That being said, having a van insulated on a cool mountain highway is kind of a nice luxury. Check out our entire article on how to install van insulation.
- Don’t install a rooftop fan: Stick with portable fans, rechargeable fans, or window fans. These are cheap and you’ll be able to get by with them. When the time comes, you can plan out the hole in your ceiling and install a Maxx Air Fan, but you don’t need it right away.
Ready for an upgrade?
DIY campervan conversion course
Simplify your van build & get on the road faster!
Want to save yourself the headaches and hours of research we went through and get straight to the building process?
We created Van Conversion Academy, a DIY campervan conversion guide, because it’s exactly what we wished we’d had when we were building our campervans.
Save yourself the time and money and get straight to the building process with step-by-step instructions, video tutorials, blueprints you can actually copy and tons of insider tips and recommended products to get you on the road faster!
Click the banner above to learn more about Van Conversion Academy.
More campervan build resources
We have TONS of resources on converting your own campervan and living the #vanlife. Check out our Vanlife Homepage for more build guides and resources for living in a van, or read some of our favorite articles below.
- From budget to luxury builds, find out exactly how much does a campervan cost.
- Keep this list of best vans for conversion + specs handy when looking for DIY build.
- We’ll show you exactly how to design your dream van build.
- Don’t forget about campervan insurance! Learn how to get full coverage for vanlife.
Interested in engaging with others about all things #vanlife? Join our Vanlife Facebook community!
Don’t miss your chance to grab our Vanlife Jumpstart toolkit!
We understand just how overwhelming it can be to start this process so we poured all of our personal experience and advice into a mega resource just for you.
Click the banner and enter your email to immediately receive our Vanlife Jumpstart Toolkit, your FREE mega guide to jump-starting your #vanlife dreams!
Save this article on Pinterest for later!
We want to hear from you!
Are you planning on doing a DIY campervan conversion by yourself? What questions do you still have? Let us know in the comment below and we’ll do our best to get back to you!


I did a camper conversion on a high roof 1995 Chevy G20. Best thing I did was install a swivel base on the passenger seat to it can be a rear-facing leather recliner.
Hey, thank you so much for this breakdown. Had a quick question, can you tell us more about what you did for bathroom breaks and showers?
Hi Nihal, in this van we mainly stopped off at trailhead, rest stops, or fast food restaurants to use the bathroom. In our newest van build, we installed a Nature’s Head Compostable toilet and LOVE IT. Totally worth the extra cost. If you want more info, please reply below.
For showers, many campgrounds have shower facilities or even some laundromats have showers attached too. It’s not the prettiest but it works 🙂
I saw one van conversion where the lady used one of those pump weed sprayers for a makeshift shower. Not the greatest, but might work in a pinch.
Are you able to stand up inside your van? I think that is a requirement for comfort but I don’t know which vans to select from.
Great question! Katie (5’4") was able to just barely stand, but Ben (6’1") was not. We made due for our summer in that van, but Ben said our next build would need to be one he can stand up in haha! We are in the middle of our second van build now, and Ben got his wish!
We’re actually working on an article with the best vans to choose from, but Promasters, Sprinters and Ford Transist are good bets when it comes to standing up. You can also buy a regular van and pay to have a high roof installed. We’ve known some people who have had success with that (and sometimes it’s cheaper than the aforementioned makes/models). Best of luck!
Thanks for the good ideas and step-by-step projects. I’m thinking of doing the same, but need to stay warm in the winter as I will be full-timing. I live in northern Nevada 8 or 9 months of the year. Please help.
Hi Mary, make sure you properly insulate your van so you can trap your heat and keep warm. You’ll also want a ceiling fan, like a MaxxAir Fan to regulate your temperature. The Mr. Heater Buddy heater looks like a cheap and safe way to heat your van.
Hello!! I’m in the middle of renovating my G20 and I love it I actually had a wheelchair lift that I took out and I’m going to take out the bench seat tomorrow. I was just wondering did you just use a power drill to unbolt the seat??
I just purchased my 1992 Chevy g 20 turtle top 2 days ago for $450 dollars and I will be using your information to start my demolition. It is in pretty bad shape but the engine and transmission are good and it has only 122,203 miles. I am retired and woke up one day and said I want to do RV camping but I didn’t want something big so I starting thinking about a van. I plan on first just using it for weekend trips and then working my way to a week and on from there. Thanks for making me believe that I can do this. I am a little frightened to do this alone but here I am so here I go.
Valerie P. Morgan
Thank you so much for your kind message, Valerie! You got this!
Just bought my first camper.
Going to be following your guide.
Thank you very much for putting this together for clueless people like me!
So happy it’s helpful, Bradley! Wishing you the best of luck with your conversion! Once you get it completed, you’ll be impressed by how much you’ve learned along the way!
Hello to both of you !!
Y’all have inspired me to go for it! I am a college student and want to do this once I graduate, but I am scared because I would be traveling by myself. Would you recommend looking for someone to tag along?
Hi Abi, we have known many solo campervan travelers throughout the years. There are tons of ways to stay safe on the road, and I’d recommend researching (googling, hehe) so you have some ideas. Some people we know have opted to travel with a dog, others have a pretty good security system in their van. It’s really up to you. Having a friend to share the campervan experience with is great as well, but you will definitely get pretty close 😉 I hope this helps.
Hi Ben, Just wondered whether you installed any type of fridge in the camper/any advice for food storage?
Thanks
J and R
Hi Josh, we just had a cooler in our DIY campervan, so no fridge. Maybe in our next build 😉 but the cooler would keep food cool enough for a few days so it worked for us.
Hey Ben!
Did the cooler keep meat at a safe temperature? My girlfriend and I are debating whether or not to get a fridge (which would require us to get solar panels as well) and aren’t sure if the cost would be worth it if we can safely keep our food in a cooler.
Thanks!
Maddy & Syd
Hey Maddy, great question. Whenever we got meat we made sure to buy ice for the cooler and cook the meat that day. Because it was a bit tricky to keep meat cool, we mainly at vegetarian that summer. If you do want a fridge, you’d have to buy batteries and a way to charge the batteries like solar panels. However, a pretty quick way to charge batteries is to get a battery isolator that charges you "house" batteries when your vehicle battery is fully charged. You’d only be able to charge when your van is running so that gets a bit tricky as well, but it is a cheaper option to think about.
I will be buying my first van in 2 month and can’t hardly wait. I will be converting the van on my own because it’s what I wanna do. If something breaks I will be able to fix on my own. Love the simplicity of your van and that’s how I wanna start. Safe travels.
Yay! Such an exciting time! I think it’s best to build it yourself if you are able, because that way you know how to fix it! Best of luck!
First of all I want to thank you for the step by step guide so that anyone can understand and follow it. You made it so possible for anyone to achieve a way to travel without doing without things that make you happy. My husband and I are in our late 60’s and I am partially disabled. We have a large 4×4 pickup and he thought of us buying a camper to mount on our truck, But with a bad leg, I just couldnt accomplish that climb up or down. So what we have done is save for months to be able to go down to ocean Shores and see the beach, and have to pay the out of this world rates to stay in a hotel for a night or 2. so we tossed around an idea regarding a motor home and that would be possible only if we won a lottery! (Fat Chance of that ) so everyday of life gets less and less opportunity to enjoy and it really depresses me. Reading this makes me happy and gives me hope that, yes, it is truly possible to enjoy life, without winning a lottery to do it. After raising our kids and grand kids, pets and other life commitments we are now free to do as we please. We just had no idea how to make it happen until now. Thank You, Thank You, Thank You!!! Tess & Dean.
Aww you are very welcome, Tess & Dean! It’s comments like these that truly make our day and give us purpose to do what we do with this blog. From the bottom of our hearts, thank you! We wish you the happiest of travels! You deserve it!
That was so great thanks.. You have encouraged me a lot
You’re very welcome, Dennis!
Thank you for this step by step breakdown! This is so amazing. Great job you guys. I hope to find someone to do this with me one day 😛
You’re very welcome, Viola!
I am dying to do this! I will save this for my future inspirations. Thanks 🙂
This is fantastic! You did such a great job on a small budget, too. Very impressive.
Wow this is fantastic. I do however have a couple questions. One Where is the cooler you speak of sitting. What did you do for showers and bathroom business. Did you stay in campgrounds? or Boon Dock? Thanks in advance for your answers.
Hi Debbie, we answer all of these questions and more in our Campervan Q&A article. But in short: The cooler sits by the side doors; bathrooms and showers are SO frequent in the US you just need to know where to look; and we did both campgrounds and Boondocking. Hope this helps and we’d recommend looking at that other article!