Hiking to Havasu Falls Arizona is one of the best backpacking trips in North America, if not the world. There’s a lot that goes into planning a trip to Havasupai, so we’ve created the ultimate guide that covers everything you need to know about this hike, what to pack, and what not to do!
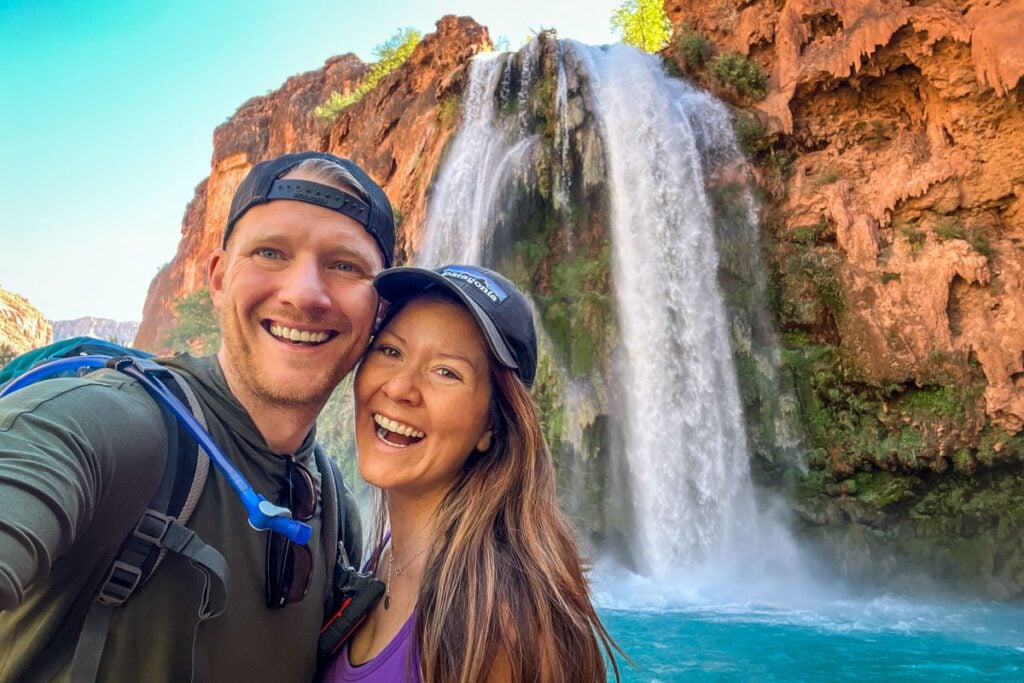
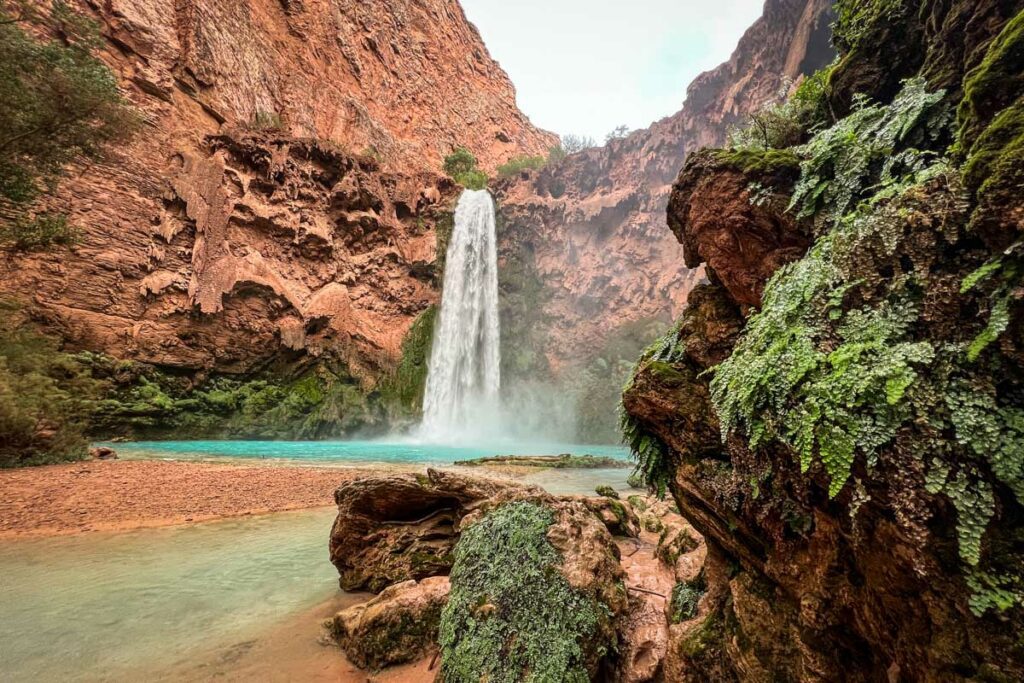
Nestled below the rim of the Grand Canyon, the Havasu Creek creates a series of waterfalls, each more majestic than last. It’s no wonder that this place has become a viral sensation on Instagram over the last decade.
If swimming in turquoise pools, hiking from one waterfall to the next, and camping in a canyon oasis sounds like your idea of fun, you’re in the right place!
Yes, it really is as magical as it sounds.
But before you start lacing up your hiking boots, there are some very important things you need to know…
Planning a backpacking trip to Havasu Falls Arizona requires quite a bit of planning and preparation.
We had such an incredible time at Havasupai that we wanted to share what we learned by creating the ultimate resource for others doing this trip. We are here to share everything you need to know about hiking to Havasupai so you know exactly what to expect, what to pack, and how to plan your hiking itinerary.
Let’s get this adventure started!
Havasupai Planning Guide
In this article you will find:
- Our experience
- Quick tips about Havasu Falls
- How to get a permit
- Best time of year to hike
- Havasu Falls Hike
- Best Havasupai itinerary
- Campground Info
- Waterfalls at Havasupai
- Hiking to the Confluence
- What to pack
- Photography tips
- Everything to know before you go
- Havasupai FAQs
Jump to any of the links above to go directly to that section. Otherwise, keep scrolling for all the info!
The ultimate Havasupai packing list
If you’re planning a trip to Havasupai, we have the ultimate resource for you!
This FREE PDF download includes everything you’re going to want to pack for your Havasu Falls hike, including what NOT to bring, plus tons of insider tips!
Sign up for our ultimate Havasupai packing list now and get a copy sent straight to your inbox.
Come along on our Havasupai adventure!
Wanna see what our Havasupai backpacking trip was like up close and in-person? Watch this video to see exactly what our experience was like, including details you won’t find anywhere else!
Quick tips about visiting Havasu Falls
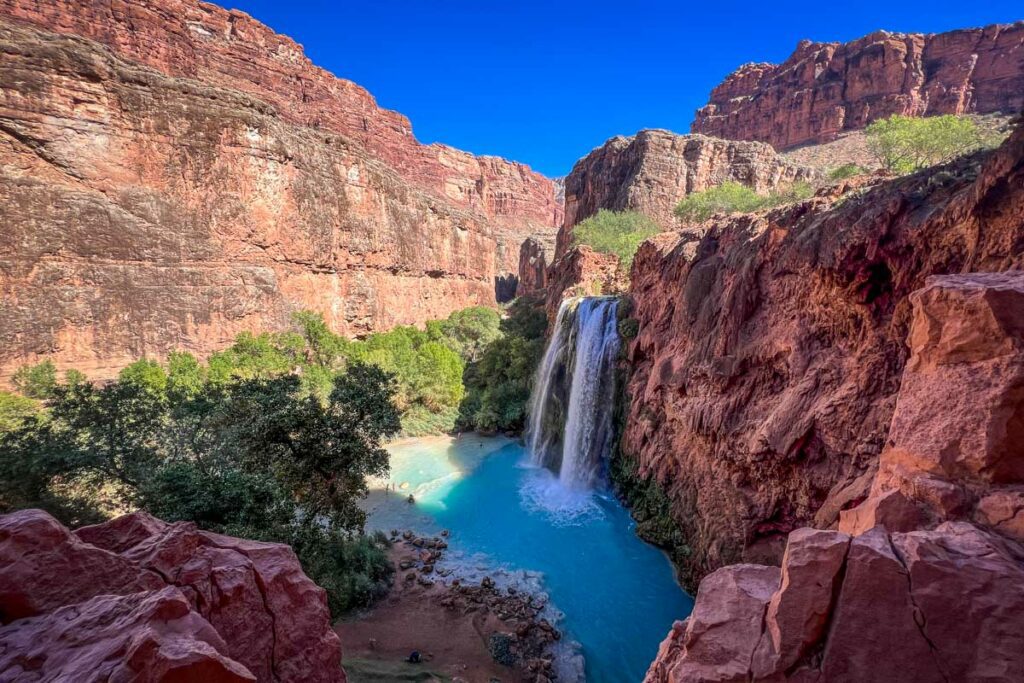
Before we dive in, there are some really important things you need to know about Havasupai.
1. Permits are required: Permits must be purchased through a competitive lottery system. For information on how to score one of these highly coveted permits, jump down here!
2. You will be on a Native American reservation: Northern Arizona’s Havasupai tribe called this land home for centuries. There is a complex history of the people and this land, and you should do a bit of research about it before your trip.
3. You can get there without hiking or carrying your own gear: If you’re not an enthusiastic hiker, you may be interested in how you can get to and from Havasupai without hitting the trail or carrying all your gear: a) Hire a pack mule to carry your things b) Fly in or out via helicopter. Jump to read why we don’t personally recommend either.
4. There is no cell service on this trail: You will not be able to get cell reception at the trailhead or anywhere along the hike.
5. You must check in before getting to the trailhead: You must check in in-person before starting this hike at the Grand Canyon Cavern Inn. If you skip this step, you’ll be turned away from the hike.
6. Many things are prohibited on the Havasupai Reservation: Before you start hiking, it’s important to know there are several things that are banned. Be sure you know exactly what is not allowed so that you don’t violate any rules.
Jump down to see our full list of things to know.
Psst! Want to see actual footage of what walking the trail is like? Check out our Instagram story highlight from Havasupai!
How to get a permit for Havasupai
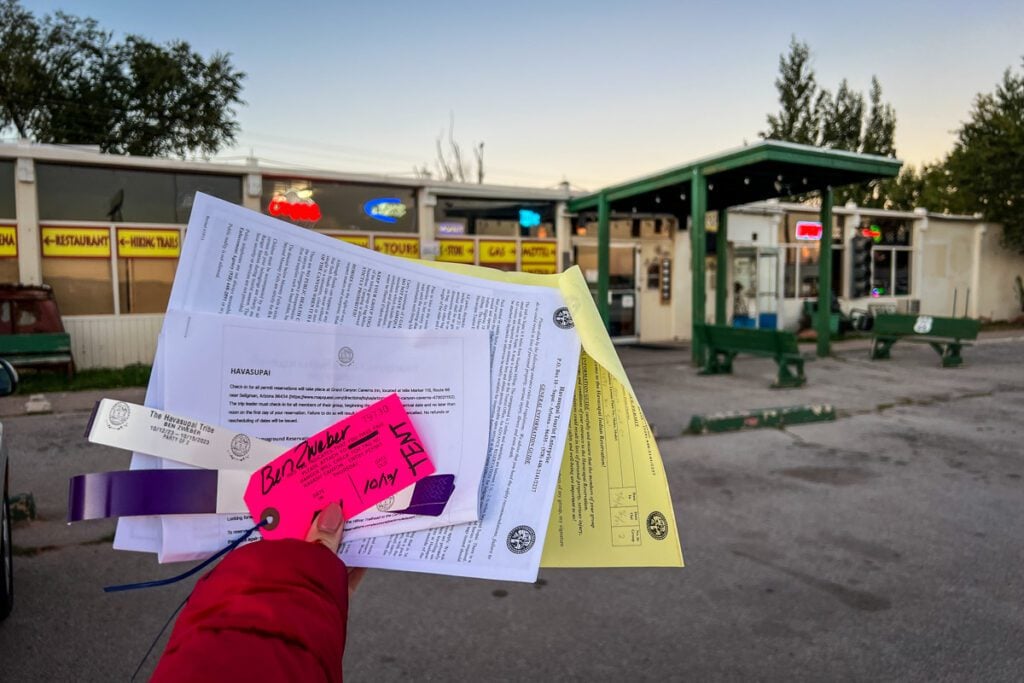
Permits are required to hike to Havasu Falls. No ifs, ands, or buts.
(Yes, they do check for them.)
You can apply for a permit on this website.
- Reservations for the campground are available from February 1 – November 30, 2025.
- Reservations for the lodge are available from April 1 – November 30, 2025.
How much do permits cost?
Permits are only sold for 3 nights, no more and no less.
The 2025 rates are:
- Campground permit: $455 per person for 3 nights
- Lodge: $2,277 per room (3 nights), for up to 4 people
We have a guide for getting Havasupai permits with tips, step-by-step instructions, and important dates to remember. Be sure to check that out so you don’t miss anything!
Best time to go to Havasu Falls
First things first: It’s important to know that Havasupai is not open to tourists the entire year.
Permits are available from February 1, 2024 – November 30, 2025.
This means Havasupai Reservation is not open to tourists during the months of December and January.
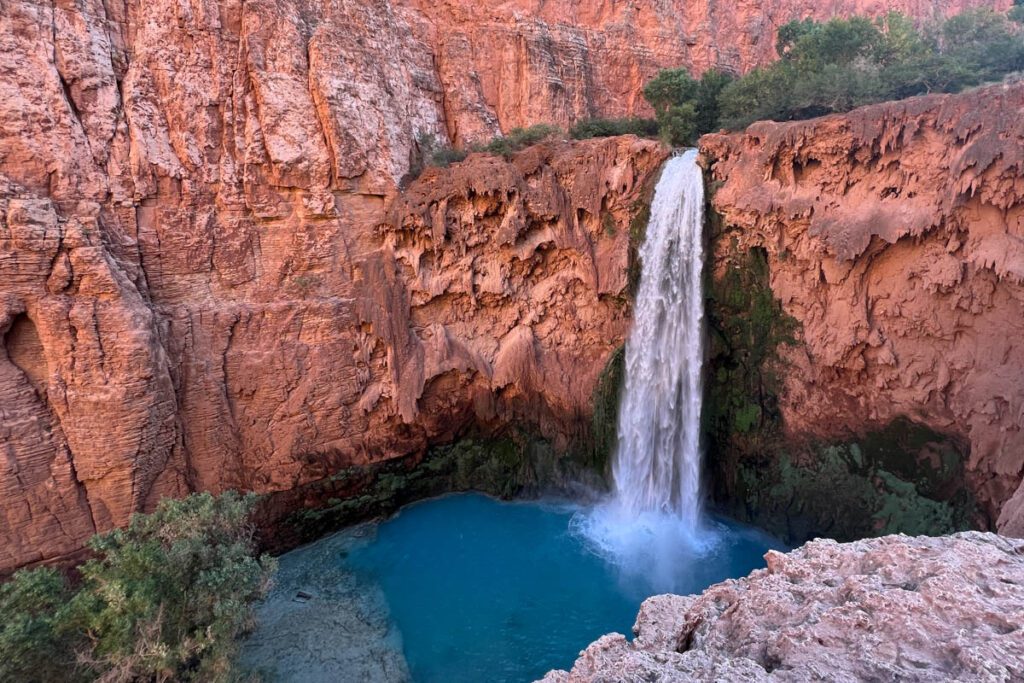
What is the best time of year to go to Havasupai?
The best time of year to visit Havasu Falls are the following months:
- April
- May
- (mid to late) September
- October (this is when we visited and our top recommendation!)
If you want more details on the average temperatures each month, our personal experience with weather (spoiler: we visited in October), and information about the monsoon season at Havasupai, check out our full guide to the best time to visit Havasu Falls.
Havasu Falls Hike
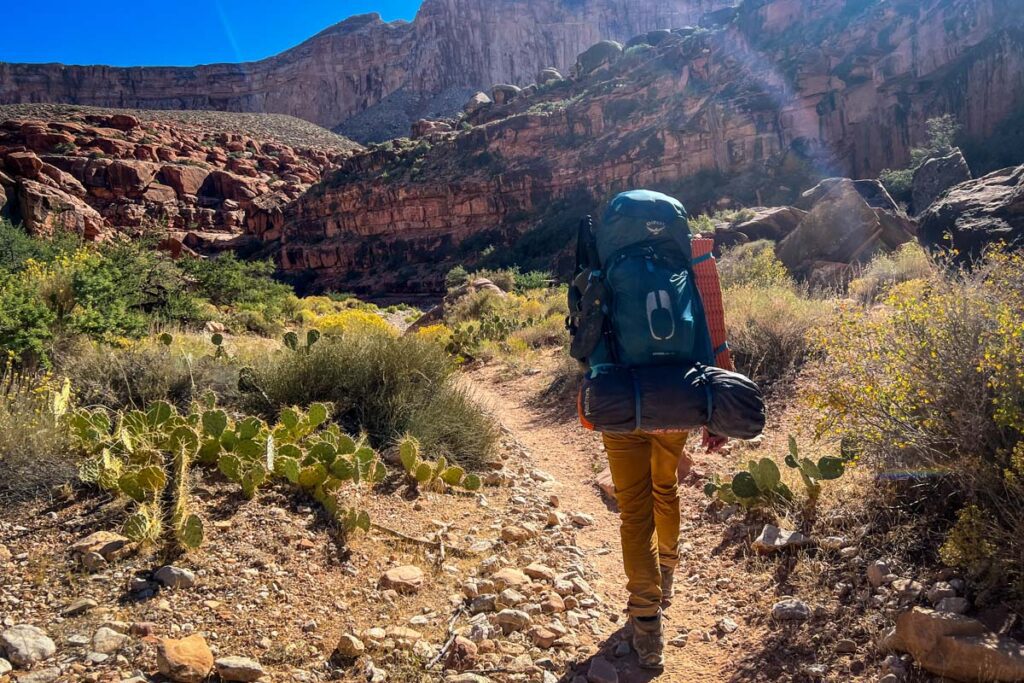
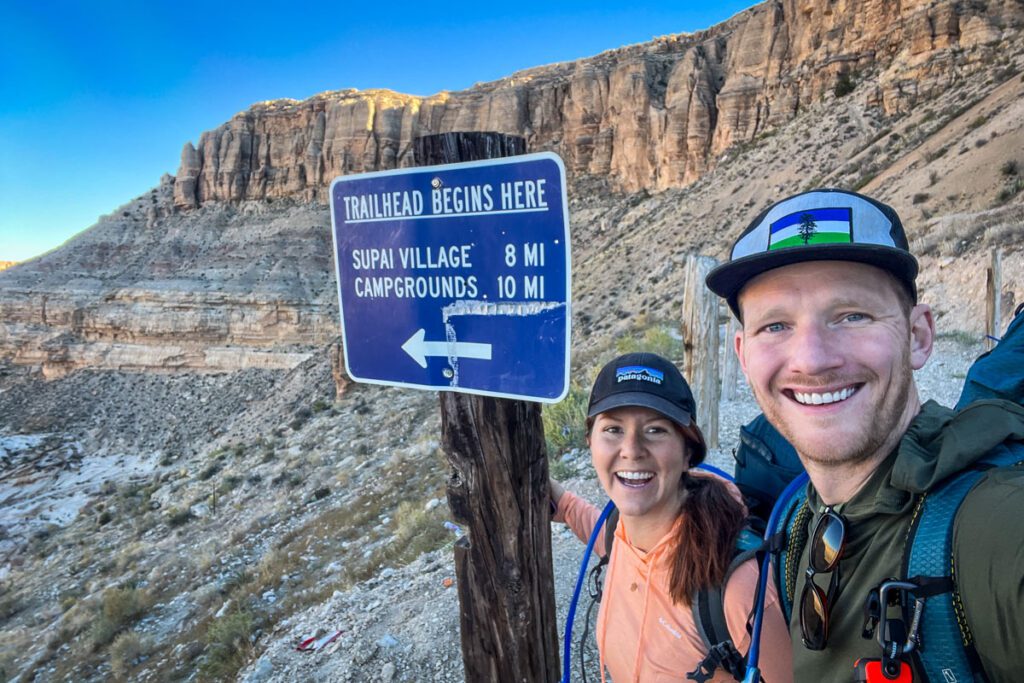
- Starting point: Havasupai Trailhead (also known as Hualapai Hilltop)
- Ending point: Havasupai Campground (this is the start of the campground – you will likely need to hike further through the 1-mile campground to find a spot)
- Distance one way: 10 miles
- Elevation: roughly 2,400 feet of elevation loss on your hike in, and 2,400 feet of elevation gain on your way out
- Type of hike: Out and back (multi-day)
- Difficulty: Moderate
- Some ratings have this trail marked as “hard”, but I think that’s because it is long. The hike itself is mostly flat. For more info on the trail’s difficulty, jump here.
- Permit: Required
We have so much to say about the hike to Havasupai, including our personal take on how difficult it is as well as tips that’ll make your experience better. For all the details, check out our Havasu Falls hiking guide.
Havasupai Hike Map
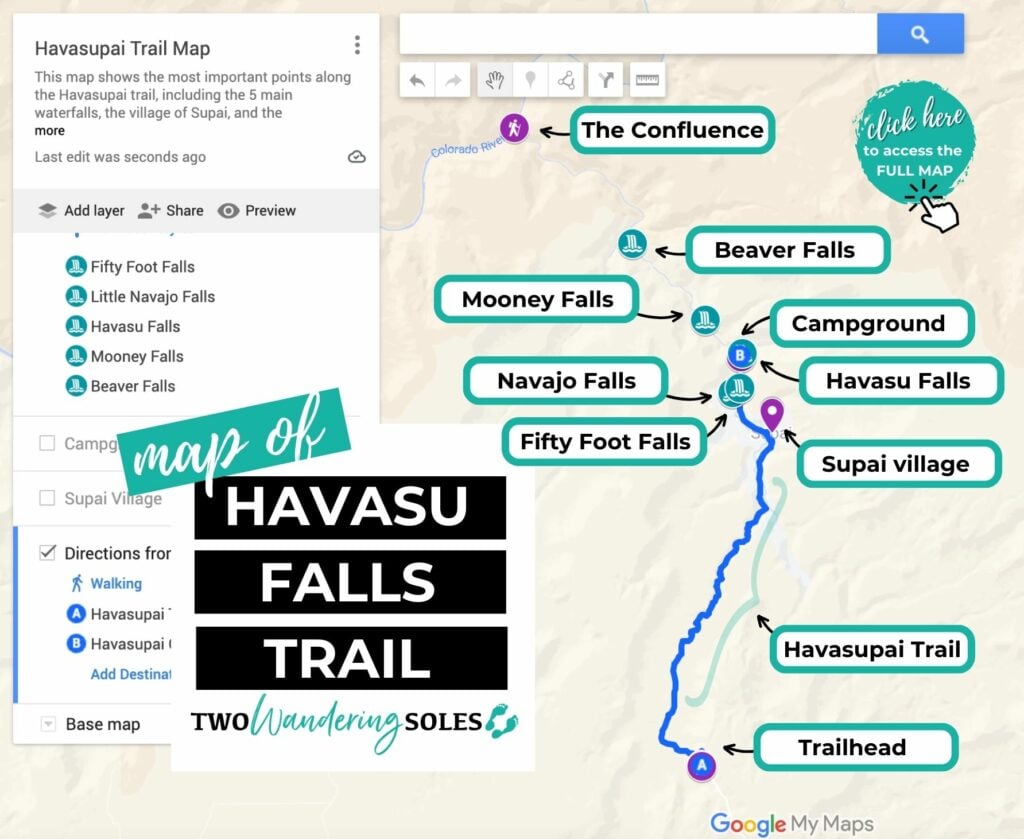
Above is a rough map of the hike to Havasupai so you can see the trail in proximity to all of the waypoints, such as the village of Supai, the campground, and the waterfalls. Click on the map to get directed to the interactive version in Google Maps.
Havasupai Campground
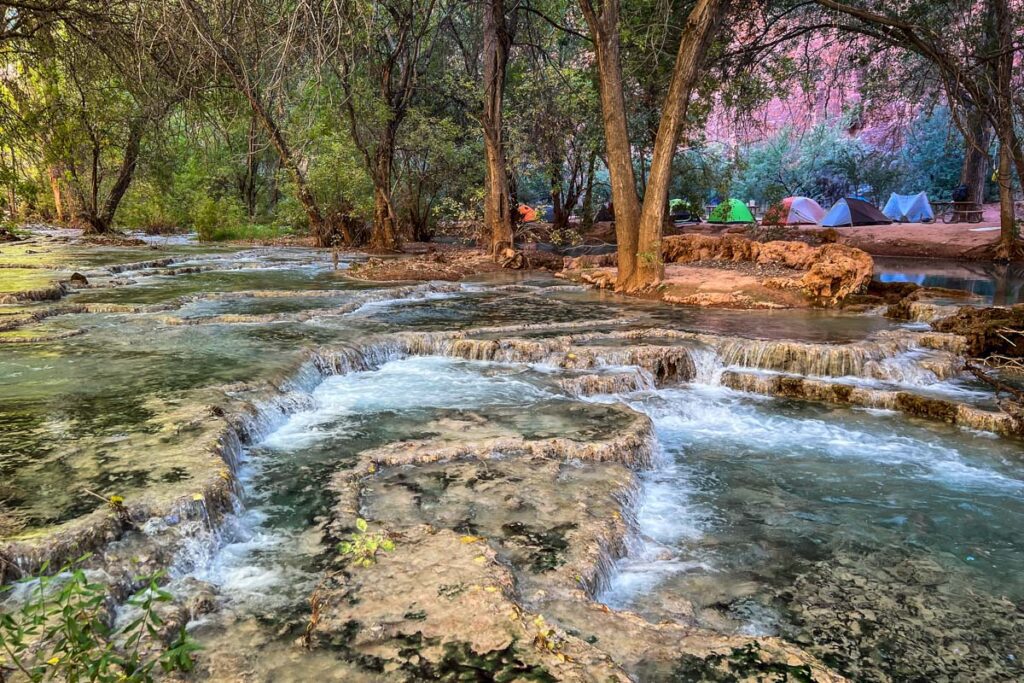
We did a lot of research before our backpacking trip, but one thing we didn’t quite understand was what the campground would be like.
Things to know about the campground at Havasupai:
- The campground is 1 mile long.
- Most sites don’t have much privacy.
- These days, the campground is almost always at full capacity.
- There are 3 toilet blocks in the campground: one at the beginning, one in the middle, and one near the end.
- There is one water fill up station called “Fern Spring”.
We have a guide to the campground at Havasupai with tips for finding the best campsites as well as how to store your food and filter your water.
Havasupai Waterfalls
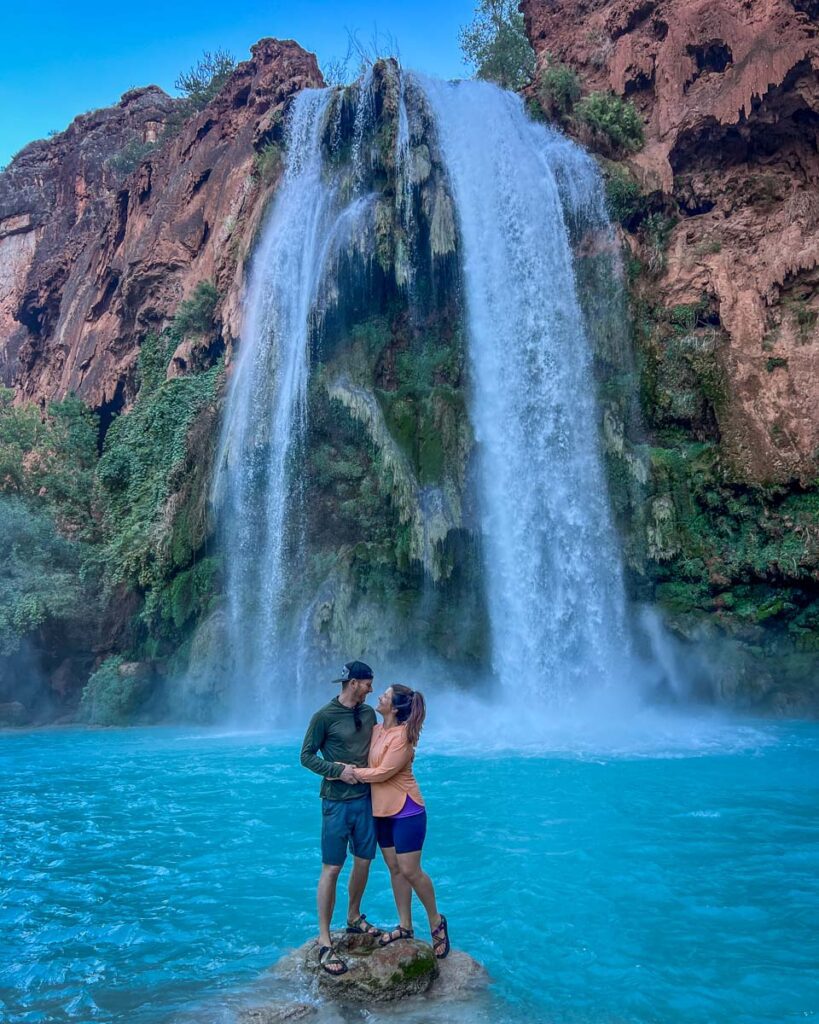
Havasupai has 5 waterfalls.
Okay, I should clarify… There are 5 main waterfalls on the Havasupai Reservation.
While a lot of people refer to this as the “Havasu Falls hike” (ourselves included), there are more waterfalls you’ll want to check out while you’re there:
- Navajo Falls
- Fifty Foot Falls
- Havasu Falls
- Mooney Falls
- Beaver Falls
For more info on each of the falls and which ones we’d personally recommend prioritizing, check out our Havasupai waterfalls guide.
Havasupai itinerary

All permits for Havasupai are for 4 days and 3 nights, so most people’s itineraries will look somewhat similar.
We think it’s important to have a rough plan for how you want to spend your time so you:
- know what to expect (energy wise)
- know what time you’ll need to wake up by each morning (some may be early)
- can plan meals accordingly
Below is a snapshot of how we recommend spending your time:
- Day 1: Getting there and setting up camp
- Day 2: Adventure Day
- Day 3: Relaxing Day
- Day 4: Hiking out
We have a fully-detailed Havasupai itinerary with how to plan your mornings, afternoons, and evenings to maximize your time in this special place!
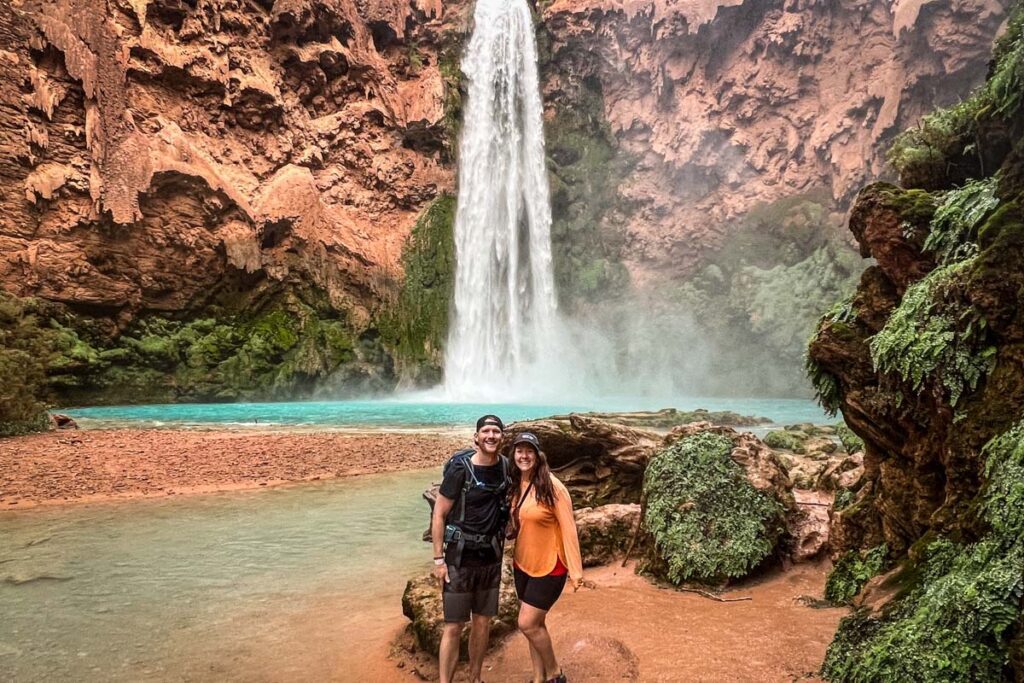
All permits for Havasupai are for 4 days and 3 nights, so most people’s itineraries will look somewhat similar. This is our exact 4- day itinerary for visiting Havasu Falls.
What to pack for Havasupai
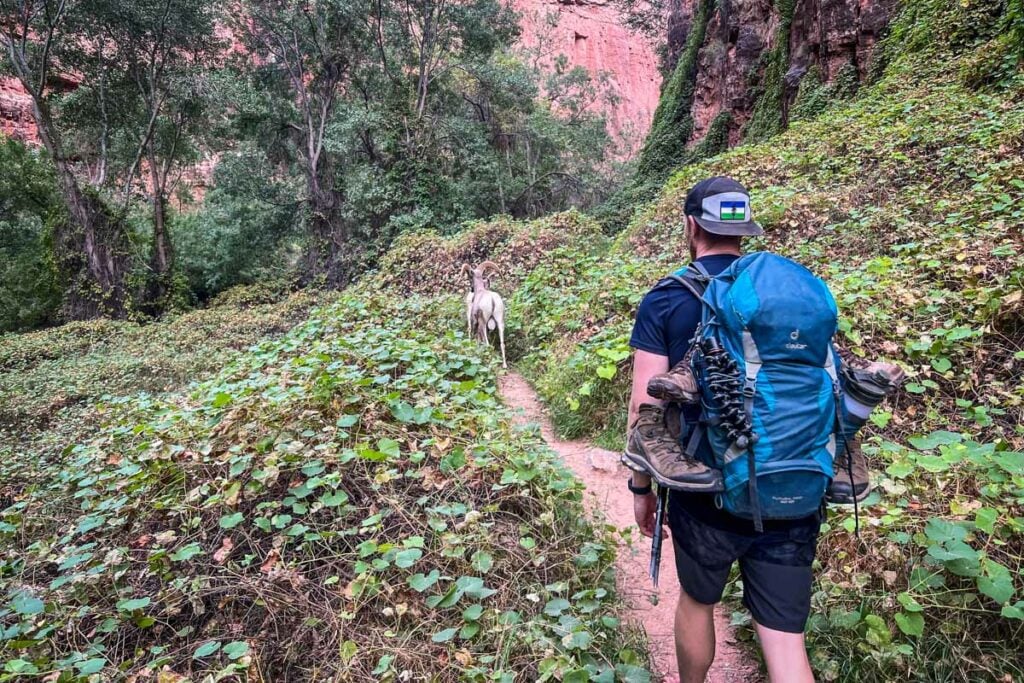
We’ve curated a comprehensive packing list that is specific to hiking and camping at Havasu Falls.
This packing guide includes all the gear you’ll need, what to wear, food ideas, what to do about water, and some “fun” things to pack if you have the space.
Here are the essential items you can’t forget, but be sure to download our full packing list for the rest (there are some items I have a feeling you might not think about!):
Essential gear
- Printed out permit
- Hiking backpack with a rain cover
- Lightweight tent (this is similar to the one we have)
- Sleeping bag rated for warm temperatures is best if possible (we used this one and it worked well)
- Navigation (physical map or AllTrails loaded on phone along with a portable battery charger)
- Toilet kit (bag with poo shovel, toilet paper, and/or Kula cloth, small trash bag for TP)
- Headlamp
- Hydration pack bladder
- Water filtration system (see our tips here)
- Dehydrated meals
- These are our go-to tips for backpacking food
- Backpacking stove and fuel
- Hiking clothes & shoes
- Swim suit
- Daypack for hikes once you’re at camp
- Hat and sunglasses (this is the pair I have and love!)
- Dry bag, Ziplock baggie, and/or waterproof phone case
- Microfiber towel or sarong
- Camera
- Power bank for charging electronics
General Tip: We’d recommend trying to pack as light as possible while also bringing the items that will bring you comfort on the trail. If you are coming from outside of Arizona, you’ll also need to put some thought into driving or flying with your gear.
Havasupai photography tips
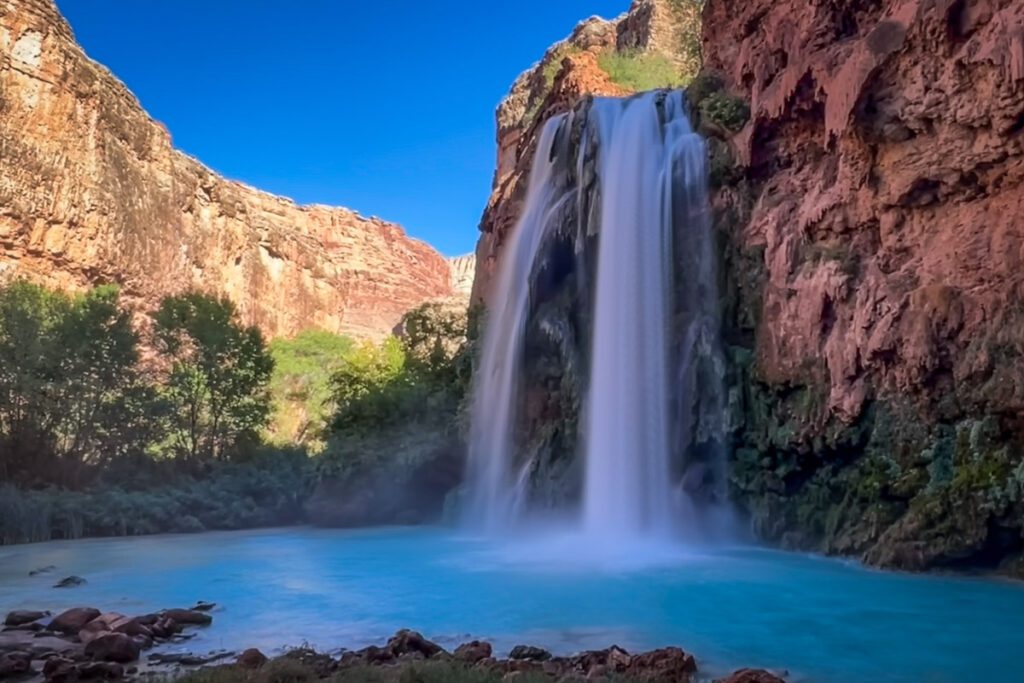
Whether you’re packing a full-on camera or just bringing your phone, you’ll definitely want to capture shots of your time at Havasupai.
I mean, photos don’t exactly do this place justice – you have to see it with your own eyes – but there are some pretty dang good photo opportunities.
Here are some tips that should be helpful:
- Use a tripod: This will help you get super high-quality shots of the iconic falls.
- Open shutter: If you want to get that blurred effect on the waterfalls, you must have a longer shutter. 1-3 seconds is good to aim for. You’ll have to play around with your manual settings to get the correct aperture and ISO to match your shutter speed.
- Shoot early and late: One of my biggest tips is to try to shoot the waterfalls in the morning or late afternoon light, as the midday sun can be really harsh. Plus, these times tend to be less crowded at the waterfalls.
- Carry gear in a dry bag: Any time you’re shooting near water, I’d personally recommend having some sort of waterproof plan, like carrying your gear in a dry bag.
- Cleaning kit: Carry a small cleaning kit so you can make sure you can get water droplets off your lens if you get close to the waterfall mist.
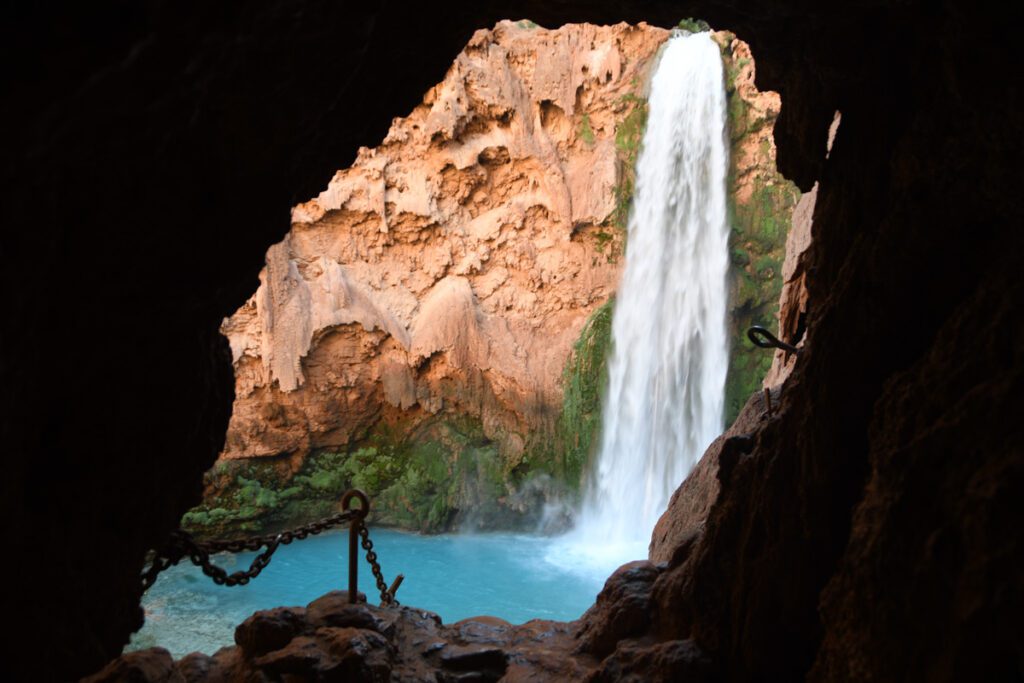
- Phones can be a great option too! If you don’t own a DSLR or don’t want to carry it, phones can be a great option for most people, as their cameras are getting better and better. Play around with settings like “long exposure” to get the blurred waterfall effect that an open shutter creates on a traditional camera. Also, before your trip, see if your phone has night photography capabilities (some of the newer phone models do!).
- Night photography: While the waterfalls are definitely the star here, the canyon can be an incredible place to get some astrophotography shots.
- Wear bright colors: If you want to get shots where you are in the photo, wear bright colors that will stand out against the blue water and red rocks. Yellow, red, bright purple, and even white can be good options!
Psst! We have many more travel photography tips, so check out our full guide!
Hiking to the Confluence (optional day trip)
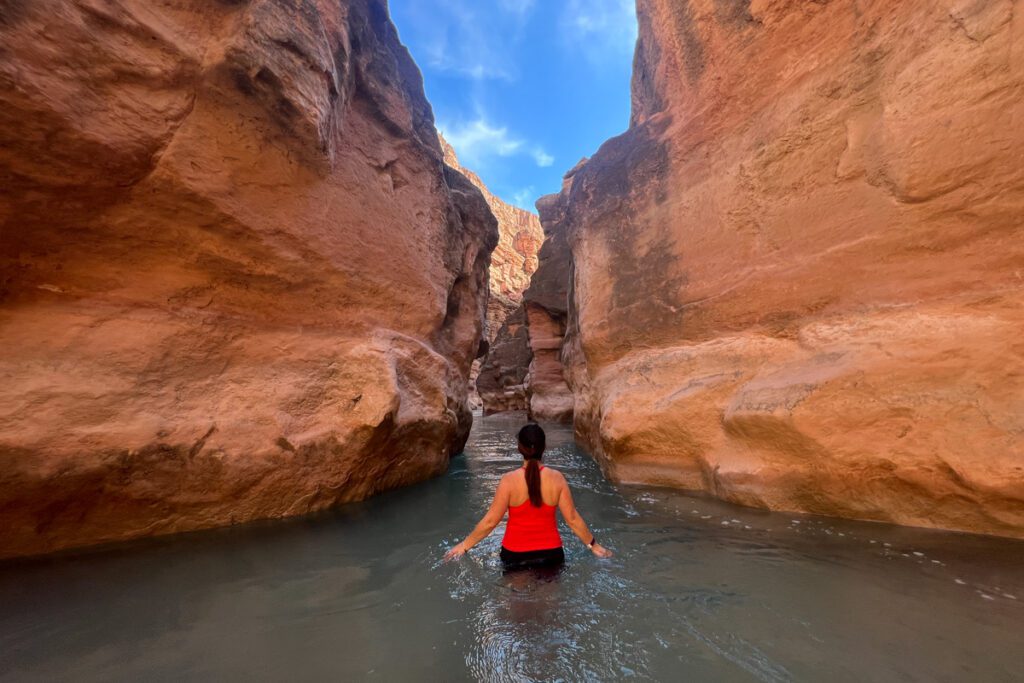
While researching our Havasupai backpacking trip, I kept coming across threads in Facebook groups where people talked about “the Confluence hike”.
This is the point at which the Havasupai Creek and the Colorado River meet.
I had never heard of it before, but each of the posts mentioning it had 3 common themes:
- It is an epic hike.
- Not many people do it, so the trail is far less crowded than anywhere else at Havasupai.
- It is challenging.
We went back and forth on whether or not we wanted to do this hike, but ultimately, we decided to go for it. And I’m so glad we did!
That said, there’s a lot to consider before you just hit the trail. The main thing is that from the campground, it is roughly a 12-mile round-trip hike on a pretty poorly-maintained trail. Also, on this hike, you will leave Havasupai Reservation and you’ll enter Grand Canyon National Park.
We’ve created a Confluence Hiking Guide to help you decide whether you want to take on the infamous trek (plus tips to help you prepare!).
Everything you need to know about Havasupai before you go

In this section, we’re sharing all the essential info you need to know before you go to Havasupai. We’re also divulging some definite no-nos that you should avoid if you’re doing this hike. Some of them can get you fined or even land you in jail, so make sure you read this section carefully!
1. Permits are required
One of the very first things you need to know about this hike is that you cannot even attempt this trail without a permit.
Permits must be purchased through a competitive lottery system.
For information on how to score one of these highly coveted permits, check out our guide to getting Havasupai permits!
2. The waterfalls and campground are located on a Native American reservation
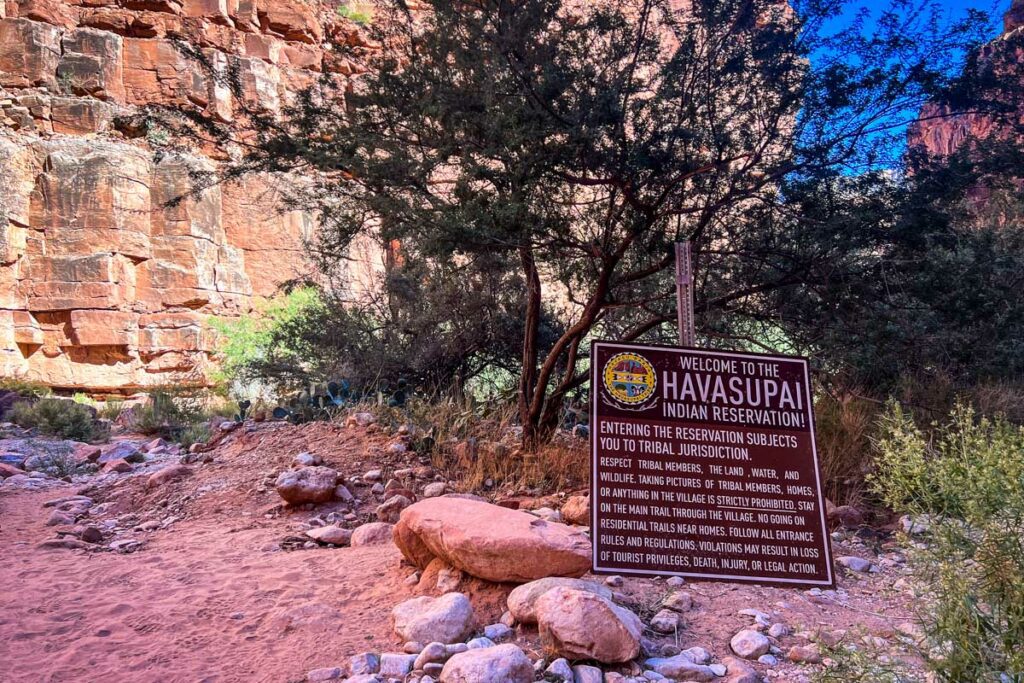
Northern Arizona’s Havasupai tribe called this land home for centuries, thanks in large part to the aquifer that supplies fresh water to the area.
There is a complex history of the people and this land.
Here is just a brief glimpse of a handful of things you should know:
- Pai means “people”, and havasu means “blue-green water”. So together, the name, Havasupai, literally translates to “people of the blue-green water”. It’s easy to see how they got this name!
- The Havasupai people thrived on this land for centuries. Then, in 1882, the federal government reduced the tribal lands to just 518 acres.
- Grand Canyon National Park was created in 1919, surrounding Havasupai by National Park land.
- In 1975, 188,077 acres of their former homelands were given back to the tribe, which comprises the Havasupai Indian Reservation today.
- There are roughly 600 tribe members that currently reside on the reservation. Most of them do farming-related work or have jobs in tourism.
- The village of Supai is thought to be one of the most remote villages in the continental United States.
- All mail, daily essentials, and supplies must be brought in using pack mules or helicopters.
Recommended reading: This book is an excellent resource for learning more about the Havasupai people.
3. You will see this area called both Havasu Falls and Havasupai
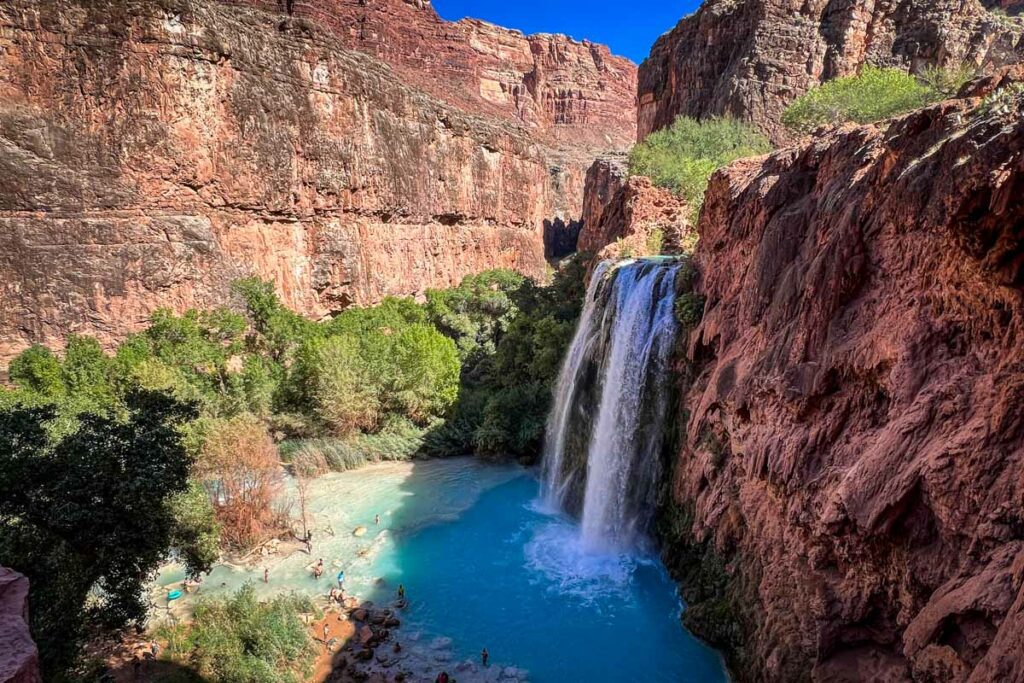
It can be a little confusing when you see both names used interchangeably, but they are often referring to the same place.
Havasu Falls is an actual waterfall. There are 5 main waterfalls that are located on the reservation, so while saying “Havasu Falls” only technically refers to one, a lot of people are referring to the whole area.
Havasupai is the name of the Native American peoples who call this place home. There is no waterfall named “Havasupai”, but sometimes you’ll see “Havasupai Falls” anyway.
You’ll see both Havasu Falls and Havasupai used in this article and elsewhere on the internet, so hopefully this explanation gives you a bit more context.
4. Really think about the time of year
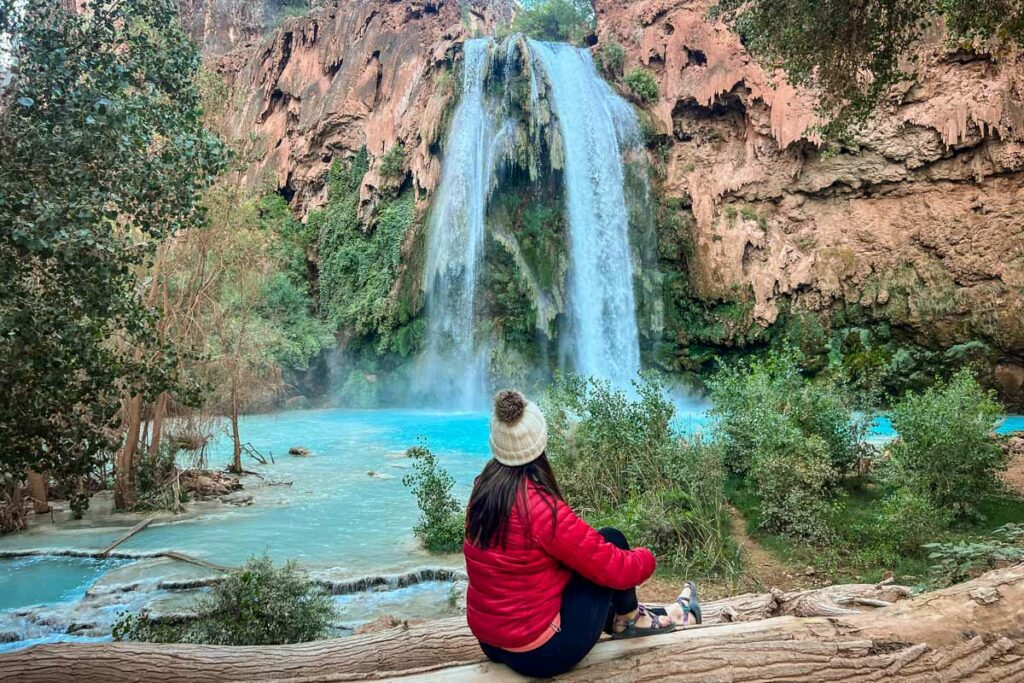
While it might seem like Arizona has similar weather all year long, you’d be surprised by how much the temperature can fluctuate.
There are some times of the year where it can get near freezing at night and even daytime temps are too cold to comfortably swim in the dreamy aqua pools. If that would ruin your experience, you definitely want to plan your trip during a time where temperatures are warmer.
Alternatively, summer can bring insanely hot temps that make hiking 10+ miles through the desert downright miserable.
In addition to temperatures, you’ll want to consider things like avoiding the monsoon season (July & August) or months with lots of mosquitoes.
We’ve got all the information you need to make a decision in our guide to the best time to visit Havasupai.
5. You can get there without hiking or carrying your own gear, but we wouldn’t recommend it
If you’re not an enthusiastic hiker, you may be very interested in how you can get to and from Havasupai without hitting the trail. Or perhaps you don’t like the thought of carrying all your gear the entire way.
There are two options available, but I’d offer caution before jumping on them as they each have their own drawbacks.
a) Hire a pack mule to carry your things
- You must book a mule in advance. You can do so when you purchase your permit.
- Pack mule reservation fees are $200 each way ($400 round trip).
- One mule can carry 4 bags, each weighing a maximum of 32 pounds. Bags must be soft sided and the maximum dimensions are 36 inches x 19 inches x 19 inches.
- Hilltop to campground: You must drop your bags off at the trailhead no later than 10 a.m. and your pack should arrive at the campground around 5 p.m.
- Campground to hilltop: You must drop your bags off at the campground no later than 7 a.m. and your pack should arrive at the top around 12 p.m.
- If you drop your bag off after 7 a.m., you will be charged an extra $300 late fee.
- Emergency pack mules may be available for $400 one way.
If you are physically able, we’d highly encourage you to carry your own gear instead of hiring a mule. There are rumors that the pack mules can get overworked in hot conditions, and this is not something we personally wanted to contribute to.
The Havasupai tribe understandably uses mules to get essential supplies into the reservation, but carrying tourist gear is not a necessity.
Also, just my opinion, but part of the satisfaction of a backpacking trip is knowing that you have carried your own gear in and that you have earned it.
b) Fly in or out via helicopter
- You cannot make reservations. All flights are on a first-come-first-served basis with first priority given to tribal members.
- Flights are $100 per person each way. (Prices increased when Havasupai reopened to tourists in 2023.) Luggage is an additional $50 per bag. You must have cash.
- It is said that the helicopters start flying at 10 a.m. and fly until everyone has been served or until dark, but this can vary depending on the day.
While taking a helicopter may sound tempting, I’d highly recommend you don’t plan on it for a variety of reasons:
- Helicopters don’t fly every day. They only fly Sundays, Mondays, Thursdays, and Fridays. This means your permit dates will have to align with the days they fly.
- If there are high winds or bad weather, the helicopters cannot fly.
- The wait time can be very long.
It is good to know helicopters may be an option in case of emergency, but we would recommend planning on hiking in and out.
6. You must check in before getting to the trailhead
Most trails that utilize a permit system require you to print out the paperwork and then you can be on your way.
This hike is different. You must check in in person.
Check-in location: Grand Canyon Cavern Inn
(There’s another hotel called “Grand Canyon Inn”, but this is not correct. Be sure you have the correct location plugged into your GPS.)
Important: You can only check in on the day your permit starts or the day before your permit starts. There aren’t many places to stay near the check-in point or trailhead, so unless you are spending the night at Grand Canyon Cavern Inn, you will be checking in on the day your permit starts.
Check-in instructions:
- The check-in counter opens at 6 a.m. and closes at 7 p.m.
- Once you arrive at the Grand Canyon Cavern Inn, follow the signs to the check-in window.
- Your trip leader must show a photo ID.
- After your reservation has been confirmed, you will be given all permits, wristbands, bag tags, and a form with entrance information.
- Once you have everything you need, use the bathroom (if you need to) and start the remaining 1-hour drive to the trailhead.
- Make sure you put your wristband on. You must wear it for the entire time you are at Havasupai.
- About 5 miles before reaching the trailhead, there is a security stop where you must show your wristbands and they will check your name off a list.
- Good to know: About a mile into the hike there was another person stationed who asked to see our wristbands.
Our experience checking in:
- We arrived at the Grand Canyon Cavern Inn at 6:30 a.m.
- There were no other people checking in when we were there, and it took us about 5 minutes in total.
- The woman we checked in with was friendly. She said they check in about 150 people a day.
- We took this opportunity to use the bathroom
- There is a diner and a convenience store at this inn, but the store was not at all well stocked so I wouldn’t recommend planning to get anything there.
7. There is no cell service on this trail
You will not be able to get cell reception at the trailhead or anywhere along the hike.
Download anything you need to your phone (including GPS maps) before you start driving. We recommend using Alltrails+ to download the offline trail map.
Psst! Get your first week of using Alltrails+ for FREE when you sign up using our link!
Be prepared to lose cell signal roughly 50 miles before the trailhead (after leaving the check-in point at the Grand Canyon Caverns Inn).
8. Many things are prohibited on the Havasupai Reservation
Before you start hiking, it’s important to know there are several things that are banned. Be sure you know exactly what is not allowed so that you don’t violate any rules.
Here’s what NOT to do in Havasupai…
Each of the following can incur a $1,000 fine:
- Cliff jumping: there have been many injuries
- Littering: including leaving trash at your campsite
- Possession of alcohol or drugs: in addition to a fine, this can be punishable by up to one year of imprisonment
- Flying a drone: in addition to a fine, drones will be confiscated as the Havasupai Reservation is a no fly zone
Also, you are not allowed to take photos in Supai village. There are signs posted that prohibit taking pictures of anything or anyone in the village.
Other things that are not allowed:
- amplified music
- open flames (other than a backpacking stove)
- pool floaties, inner tubes, rafts, water guns (this is a recent addition to the rules, so you may have seen pictures of people with floaties in the past)
- bringing pets
- fishing or hunting (you can fish in the Colorado River if you do the hike to the Confluence)
Here is a full list of the rules.
It is a privilege (not a right) to be allowed onto the Havasupai Reservation. The tribal members have opened up their land to visitors, so it is important that you respect the rules of this land and the people. ‘Nuff said.
9. Havasupai has 5 waterfalls
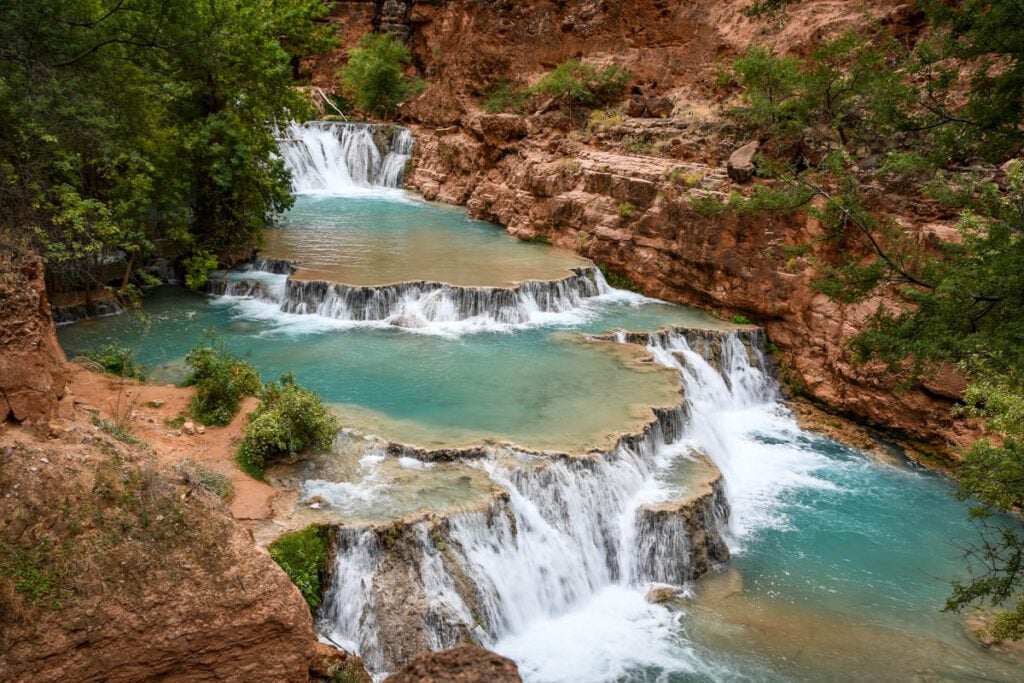
Okay, I should clarify… There are 5 main waterfalls on the Havasupai Reservation.
While a lot of people refer to this as the “Havasu Falls hike” (ourselves included), there are more waterfalls you’ll want to check out while you’re there:
- Navajo Falls
- Fifty Foot Falls
- Havasu Falls
- Mooney Falls
- Beaver Falls
We have a Havasupai waterfalls guide that goes over each of the 5 main falls, including how to get there and which is our favorite (hint: it’s not the most famous one!).
10. If you don’t like camping, there is a lodge
The Havasupai Lodge may be a good option for those who don’t want to camp.
There are a few things you should know about staying at the lodge:
- Reservations for the lodge are available from April 1 – November 30, 2025.
- It costs $2,277 per room (3 nights), for up to 4 people
- If you split that with 4 people, it ends up being roughly $190 per person, per night (you will be sharing a bed with someone)
- The lodge is located in the village of Supai. From here, it is a 2-mile hike (one-way) to Havasu Falls and the start of the campground. It is an additional 3 miles to Beaver Falls (our favorite). This means if you want to see all the waterfalls at Havasupai (you should!), you will need to be prepared for a 10-mile day of hiking.
Check the Havasupai Lodge website for more information on staying here.
Personal opinion: Unless you really need to stay in the lodge for some reason, we’d recommend camping. Everyone’s different, but we think there’s something about being in the campground with all the other hikers that makes this adventure extra special. Plus, the campground is a beautiful oasis and it’s located much closer to the waterfalls, so you won’t have to hike nearly as long in order to see them all.
11. There is a trash problem at Havasupai
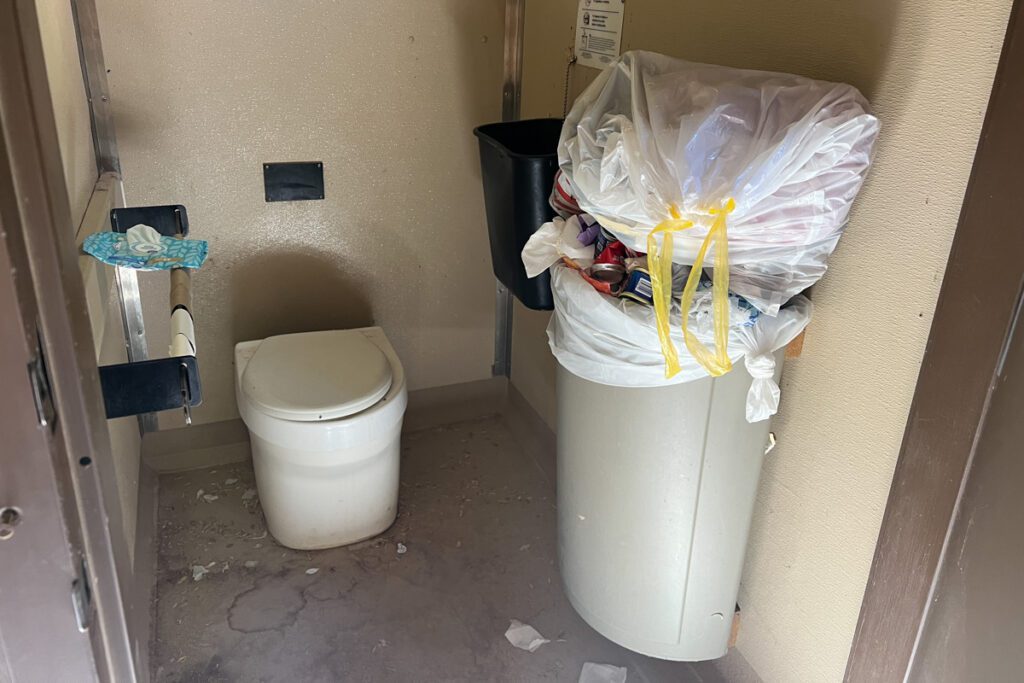
This is something that fires me up and makes me equally mad and sad.
There’s some litter along the trail – we didn’t notice too much – but the real problem here is that people leave camping gear behind.
Several places on the official Havasupai website say not to leave anything behind. And if that isn’t enough, one the the first rules of hiking is to leave no trace. This means you should always pack out everything you brought with you.
We go hiking and backpacking often, so this is an obvious one to us, but it blew my mind that so many people who do this hike do not abide by this very simple rule.
There’s a table near the first block of toilets at the campground where people perpetually leave belongings behind.
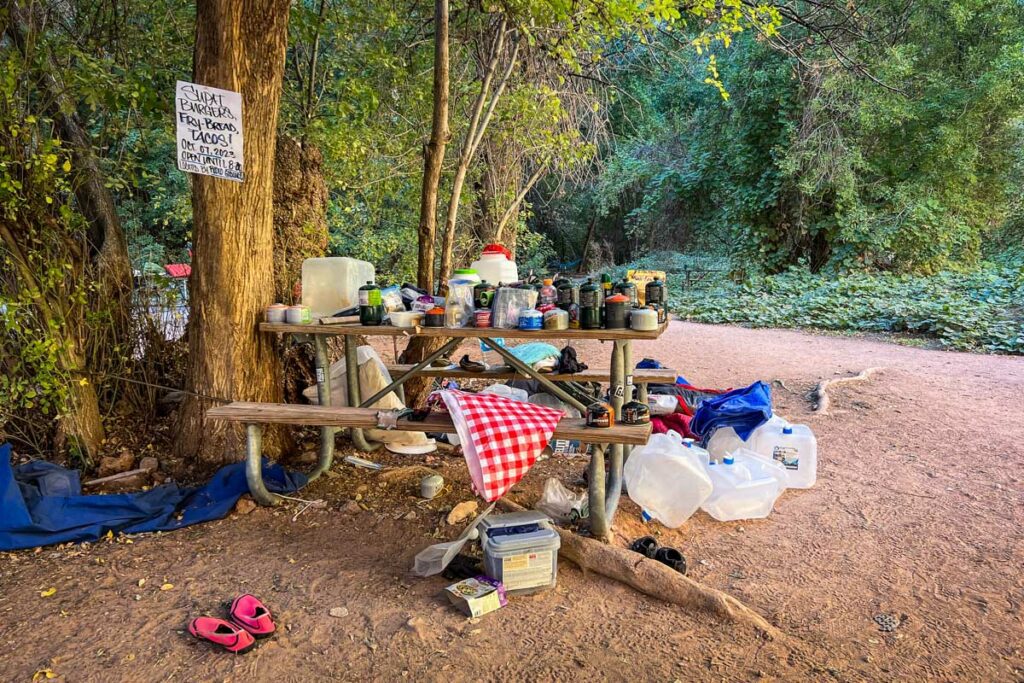
We saw sleeping bags, tents, full-on BLOW UP MATTRESSES. Food. Clothing. Water jugs. And lots and lots of propane canisters.
(We encountered a similar situation at the Kalalau Trail in Hawaii, which is another popular multi-day trek that we recommend putting on your hiking bucket list.)
Why leaving your stuff behind is wrong
I’ll give the people who left this stuff the benefit of the doubt and assume that they think they’re helping other people by leaving items behind. However, this is wrong on so many levels:
- If you are backpacking, you should never rely on “hopefully finding a tent/sleeping bag/food/propane/[insert other item here]”. You should always pack to be self-reliant.
- The tribal members have to clean this table daily. This should not be their job or responsibility. Remember, the only way to get trash or unwanted items out of this area is on a pack mule or via helicopter.
- Every hiker has been clearly given instructions NOT to leave these items behind. Please follow the rules and don’t do this.
Can you tell this subject gets me heated?!
12. There are some helpful Facebook groups you should join
This Havasupai Facebook group is a great place to ask questions and see other hikers’ recent trail reports. It can be really helpful if you have a very specific question, especially when it comes to recent conditions.
We also like checking trail reports on AllTrails before attempting major hikes so we know what to expect with recent conditions.
→ Love hiking? These jaw-dropping bucket list trails around the world deserve a spot on your adventure list!
Havasu Falls FAQs
Still have questions? Here are the answers to some of the general questions we get most about Havasupai.
Is Havasupai worth it?
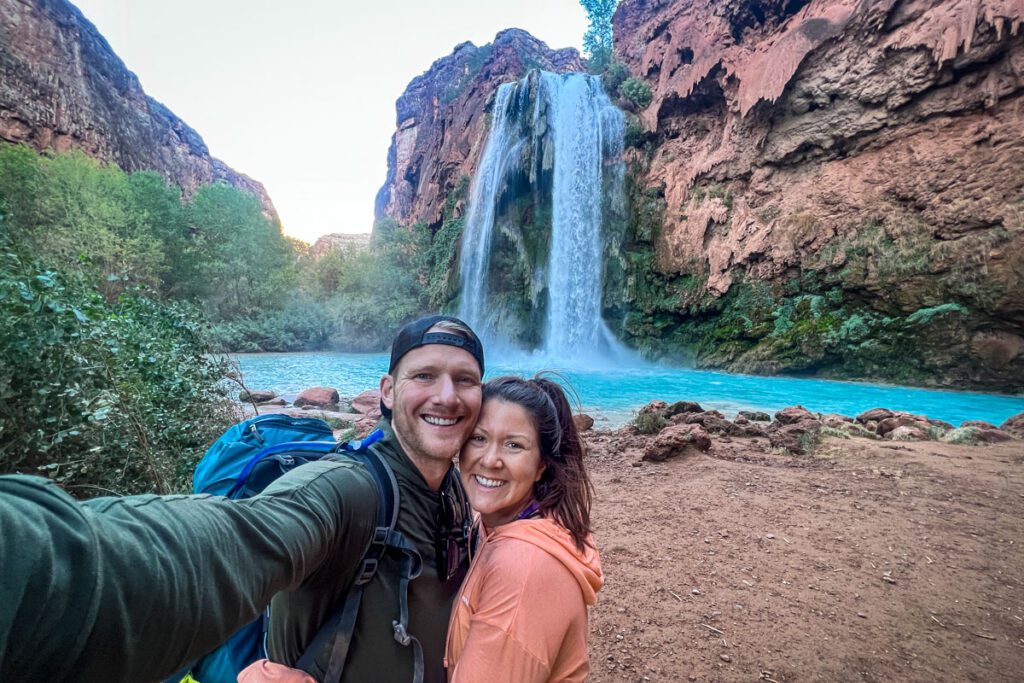
While this is certainly a subjective question, our personal answer is a big, resounding HELL YES!
It requires a lot of preparation and planning, and it can be challenging if you aren’t an experienced backpacker. But those that put in the effort will be rewarded with some of the most incredible waterfalls in the world.
We’ve done a lot of backpacking trips around the globe, and Havasupai is definitely up there as one of our favorites.
While we loved it and had an incredible time, here are two things I will add:
- I will say that this is one of those instances where, unlike the cliche, it is more about the destination than the journey. The hike was nice and prettier than we were expecting, but the main thing you will remember is time spent at the waterfalls.
- I’ll also add that while camping amongst 400 other people is certainly an experience, it is not my favorite type of backpacking trip. I much prefer solitude when it comes to camping in the wilderness.
How much does a Havasupai backpacking trip cost?
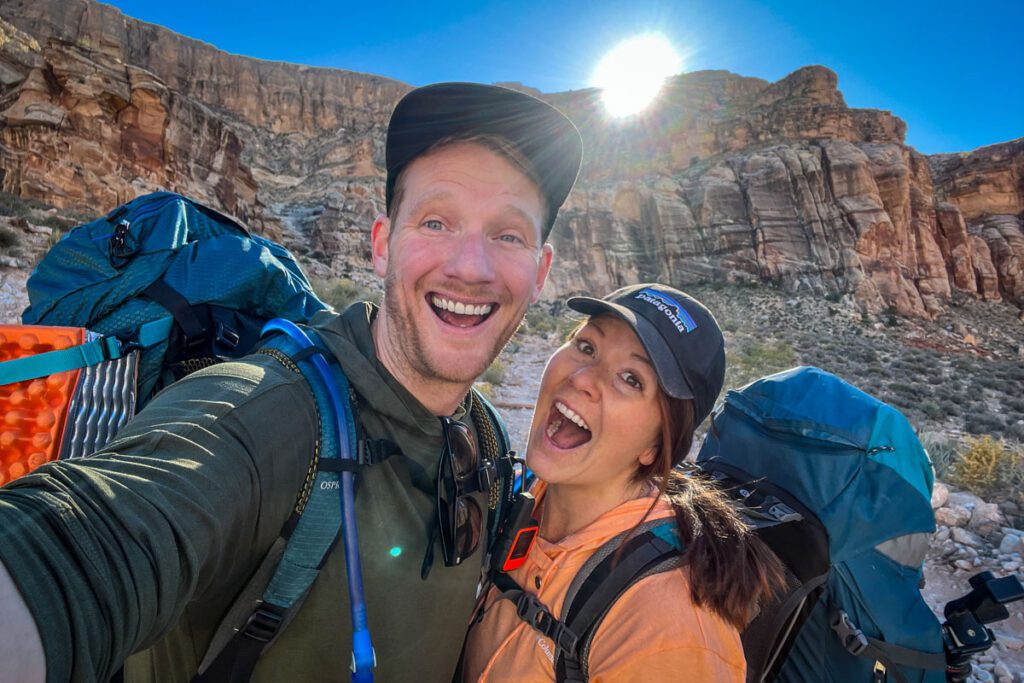
The total cost will vary depending on your specific situation, but here are some expenses to consider:
Havasupai backpacking costs:
- Permit: $455 per person
- Food for on the trail
- Dehydrated meals and snacks (Tip: we always make our own backpacking meals to save money)
- Indian fry bread: $10-$15 per fry bread (Fry bread is a nice treat, but make sure you still bring enough food for all your meals and snacks in case the stand is closed during your visit)
- Accommodation the night before and the night after your hike
More potential costs:
- Gear: If you need to buy any new gear for this hike
- Transportation to and from the trail (aka a rental car)
- Flights to Arizona (if necessary)
- Travel insurance
- Helicopter ride, pack mule, or lodge stay: If you choose to do any of these things, you’ll incur a much higher cost than someone who is doing this as a backpacking trip.
Is Havasu Falls crowded?
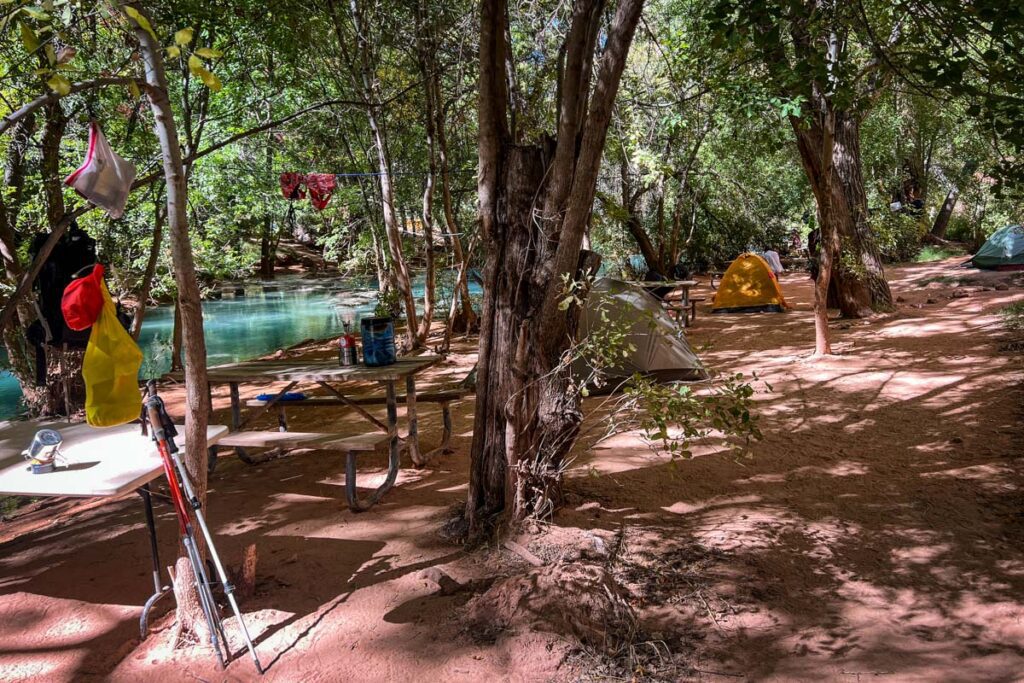
Yes, and it is getting more and more popular each year. This isn’t one of those “get away from everyone and find solitude” camping trips!
In the past, it has been said that peak tourist season is May – September with the months outside of that time seeing fewer people. That said, we did our hike in mid-October, but the campground was at full capacity.
The least crowded season will be in the colder months (February, March, November). The trade off for (potentially) fewer people is that it may be too chilly to swim.
Is there cell service at Havasupai?
No, there is not (reliable) cell service at any point on this trail or at the campground.
We have heard there is WiFi in Supai village and we did see someone getting a spot of service at one point in the campground, but we never once had it (we have Verizon).
Download anything you need access to onto your phone before your trip, and plan to go without cell service and WiFi the entire time.
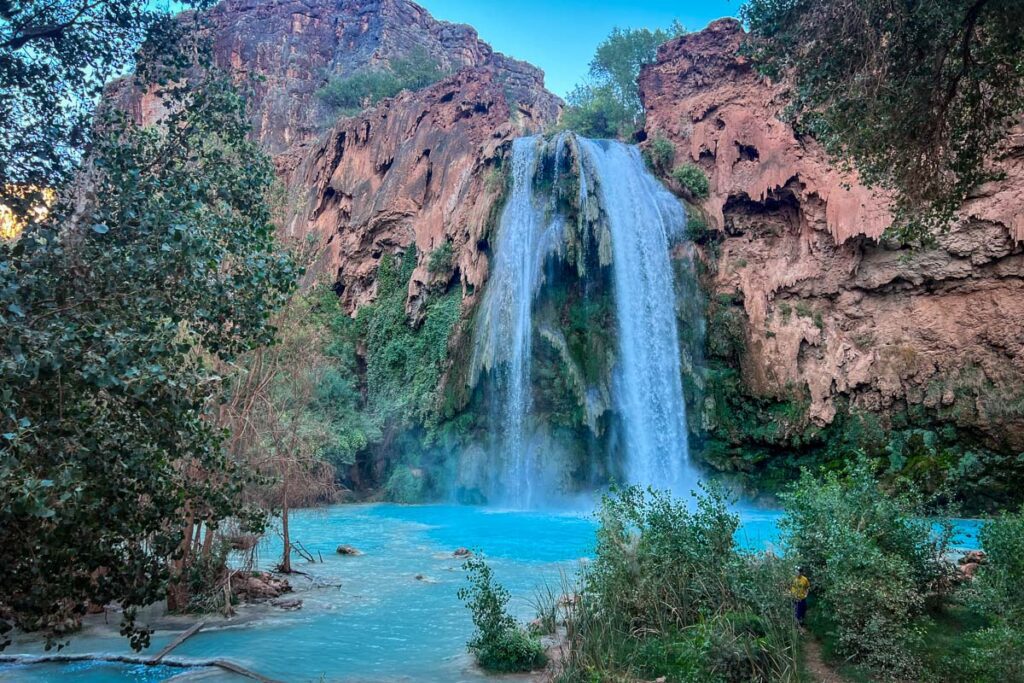
How long does the hike to Havasu Falls take?
It can take anywhere from 4-7 hours of hiking on the way there, and 5-8 hours on the way back.
The total time it takes you depends on your fitness level as well as other factors, like how heavy your pack is as well as the weather.
Our experience:
- It took us just under 4 hours on the way there (going at a pretty quick pace with only a couple of short stops)
- It took us 4 hours and 20 minutes on the way out (again, at a quick pace with only short breaks)
How hard is the hike to Havasu Falls?
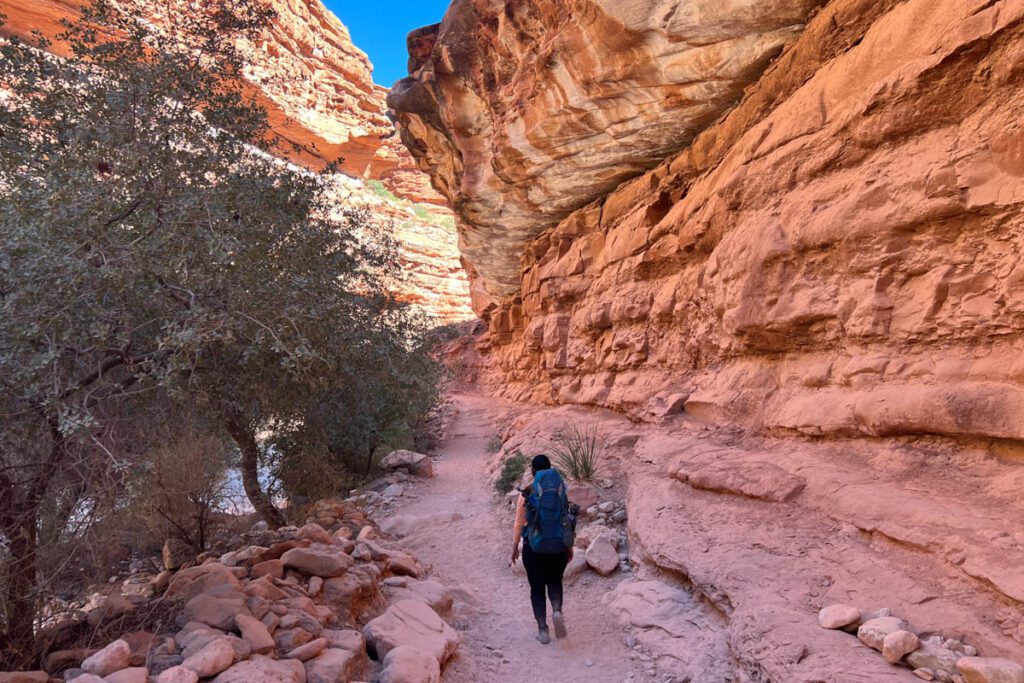
This is a subjective question and the answer depends a lot on you, your fitness level, and your backpacking experience.
All we can do is share our personal opinion on difficulty level, but know that we do quite a bit of hiking. Take our opinion with a grain of salt if you’re not much of a hiker, as it might feel more challenging.
Personally, we found this hike to be pretty easy overall. It was much easier than we expected, actually.
The hardest part is the sheer distance. Hiking 10 miles – especially with all your camping gear – takes endurance.
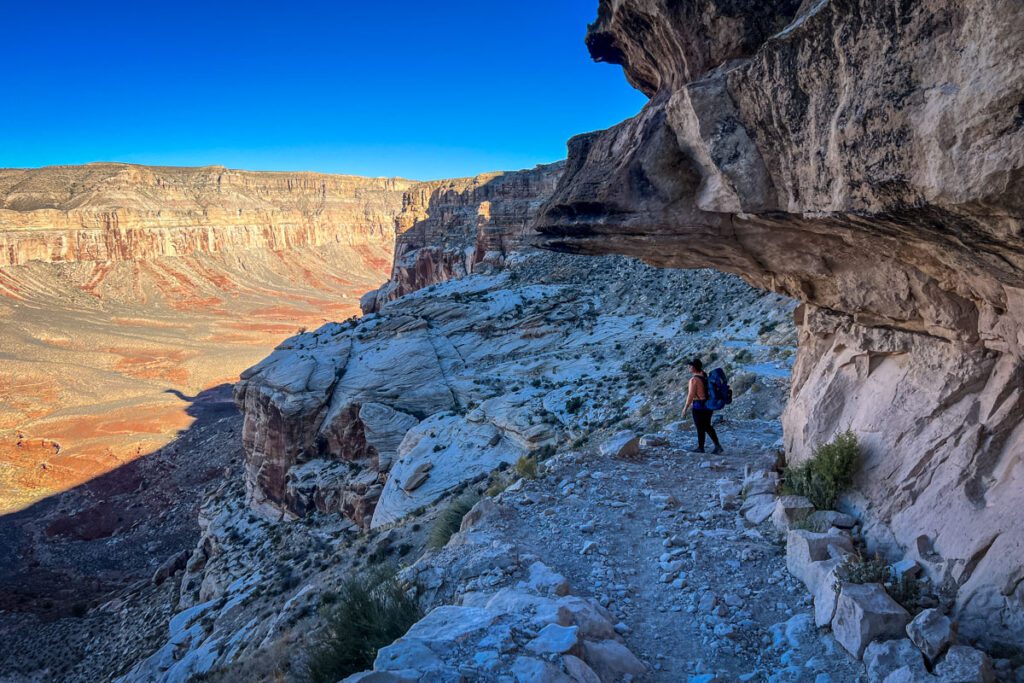
The steepest part is at the beginning of the trail, where you will descend some switchbacks that bring you down roughly 400 feet in elevation over 1 mile. If you’ve done a fair bit of hiking, this won’t be anything you haven’t done.
From there, the trail is mostly flat and you’ll hardly feel the (very) gradual decline. After passing through the village, we were ready to set up camp and get our packs off, but it wasn’t hard, per se.
So what about the hike back up? Again, you’ll hardly feel that you’re gaining elevation. It is really gradual. The last mile of the trail is the steepest. But again, nothing crazy or too long.
How difficult is the Confluence hike?
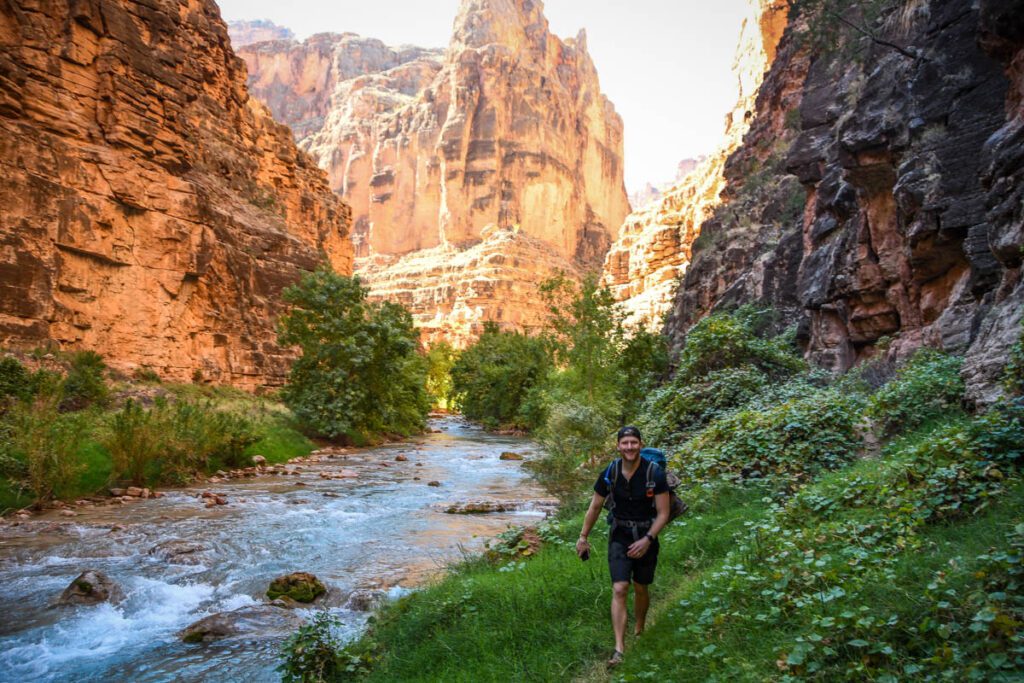
Now, the hike to the confluence is another story! You can find all the details in our Confluence Hiking Guide, but here are my thoughts on the difficulty level of this notoriously challenging (but very worthwhile, in our opinion!) hike:
There’s very minimal elevation gain, so it’s not difficult in the way that you think of hiking in the mountains. However, there are several river crossings and some areas where you will need to scramble a bit.
There are also places where it is easy to lose the trail and get lost, so you need a certain level of patience.
Again, I think the most difficult part is that it is a long hike, and due to sunset times (which vary throughout the year), you may need to hustle in order to get there and back to your campsite before dark.
What is the elevation gain to Havasu Falls?
While there is almost a half mile of elevation change between the trailhead (5,200 feet above sea level) and the canyon floor (2,800 feet above sea level), you tackle a lot of it very close to the trailhead. The rest is a very gradual decline/incline, depending on which direction you’re hiking.
To clarify: On the hike to Havasupai, you will lose elevation. On the hike out (back to the trailhead), you will gain elevation.
Are there toilets on the trail?
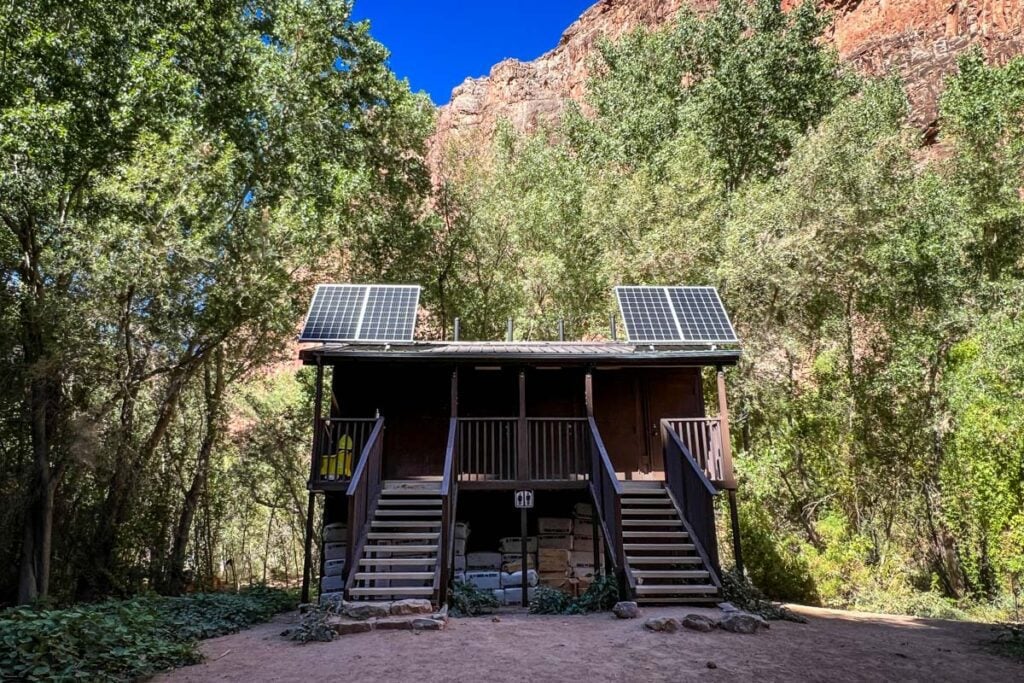
No, there are not any toilets on the trail to Havasu Falls.
Your last chance to use the bathroom is at the trailhead, so I’d highly recommend taking advantage of that.
There is a toilet in Supai village, and there is a block of toilets at the entrance of the campground that you can’t miss.
What if I need to go where there is no toilet?
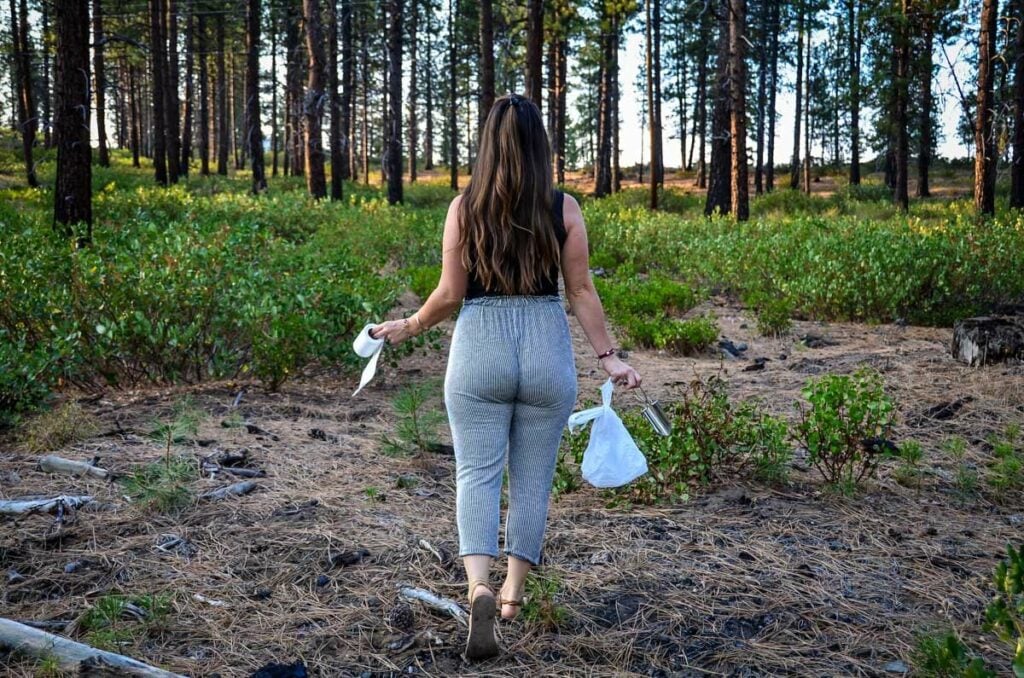
Good question! It happens. When ya gotta go, ya gotta go, right?
Well, listen up because there are some very important things to keep in mind if you plan to do your business in the wild and it does require some advance planning…
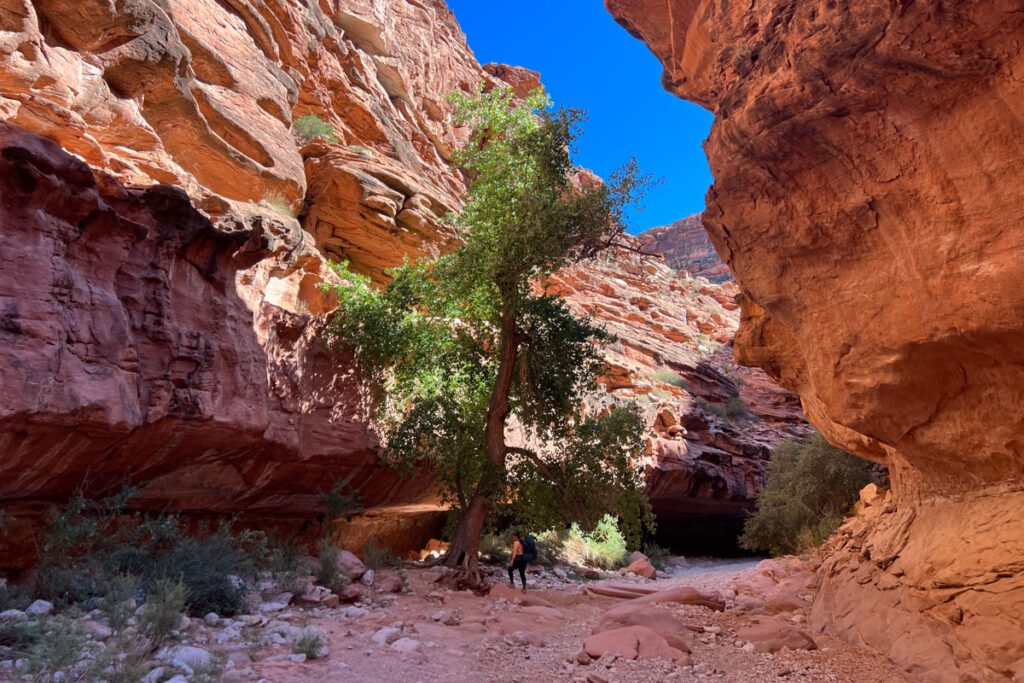
- Get off the trail. Nobody wants to walk where you went to the bathroom. This can be hard (especially for ladies) on some sections of this trail, as you’re walking through a narrow canyon without much vegetation or areas where you can get far from the trail.
- If you gotta go, start looking early because it might take you a while to find a suitable place to pull over.
- Make sure you are at least 200 feet from a water source. Aka don’t go right next to rivers or streams.
- If you need to go number 2, dig a hole that is at least 6 inches deep. Cover it up once you’re done so nobody steps in it. *cue me vomiting* For this reason, we never hike without a poo shovel. They are very lightweight and inexpensive and should definitely be on your packing list.
- Pack out your TP. Toilet paper takes much longer than you think to disintegrate, and it is recommended that you pack it out with you. Carry a plastic baggie for this purpose.
- Refresh your knowledge on going in the wild by reading these guidelines from Leave No Trace.
Insider tip for ladies: When you go number 1 in the wild, instead of using TP (and having to pack it out), drip dry or carry a Kula cloth which makes it easy to feel dry and fresh without using toilet paper.
Are there water fill ups on the trail?
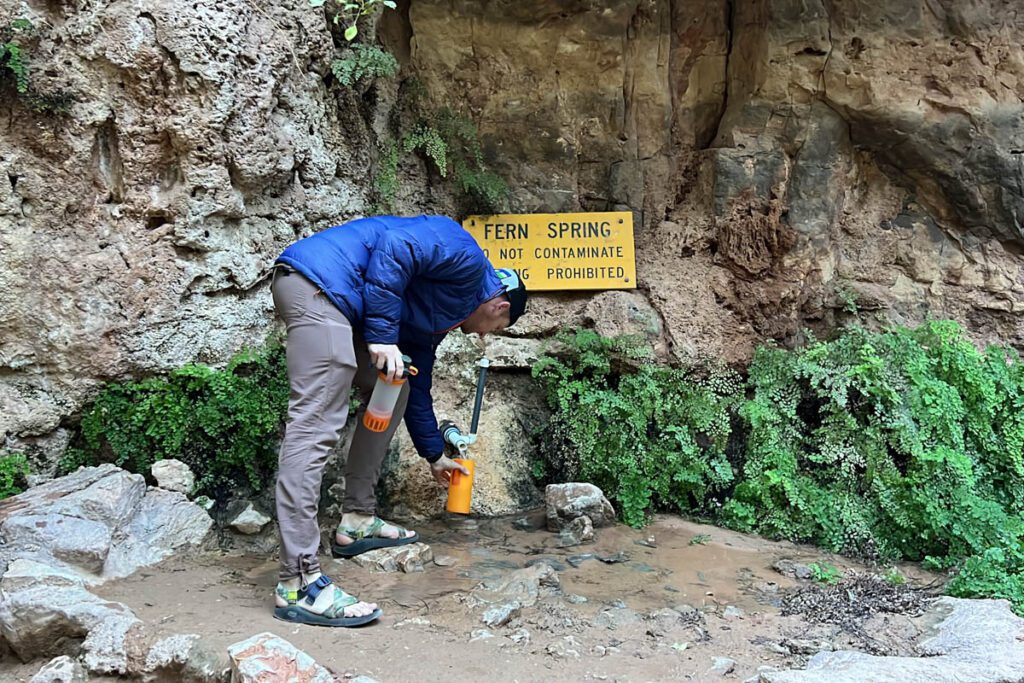
No, there are not any places to fill water on the trail.
It’s also important to point out that while there is a block of composting toilets at the trailhead, there is no water fill. This means all water must be brought in.
When you reach Supai village, you could purchase some from the small shop there, but we wouldn’t plan on that.
Instead, make sure you are carrying plenty of water when you hit the trail. We personally hiked in with 3 liters of water each and would recommend the same. (We each have a 2-liter bladder plus a 1-liter bottle.)
Our advice: We highly recommend hiking with a hydration bladder because it makes drinking water so much easier and helps ensure you’re getting enough. You can sip while you’re walking instead of having to stop and get your bottle.
There is one water fill up station called “Fern Spring” at the Havasu Falls Campground. We used our Grayl filtered water bottles to be sure we were drinking purified water that wasn’t contaminated. Another option we’ve used in the past is our Steripen.
Do you need hiking poles?

This comes down to personal preference. We don’t use hiking poles all that often, though there are some hikes we’ve done where we feel they are necessary, like hiking to Everest Base Camp, the Kalalau Trail, and the Inca Trail.
On this hike, we brought poles and didn’t find them necessary. We thought they just got in our way so we hardly used them and mostly kept them strapped to our packs. I used mine on the final switchbacks, but that is such a short section that I personally didn’t think it was worth bringing them just for that part of the trail.
If you don’t typically use poles and you’re debating it, I’d say you don’t need them. That said, if you really like hiking with poles, you might find them helpful.
If you’re still undecided, bring just one pole so you have some extra stability but not the bulk of two. It is worth pointing out that a pole could come in handy if you happen to get injured.
FYI: We also brought poles on the confluence hike, thinking they’d be helpful for river crossings, but again, we didn’t really need them. They were hard to secure to our daypack and got in the way when we were bushwacking (a common theme of the confluence trail), so we wished we hadn’t brought them.
Is this trail child-friendly?
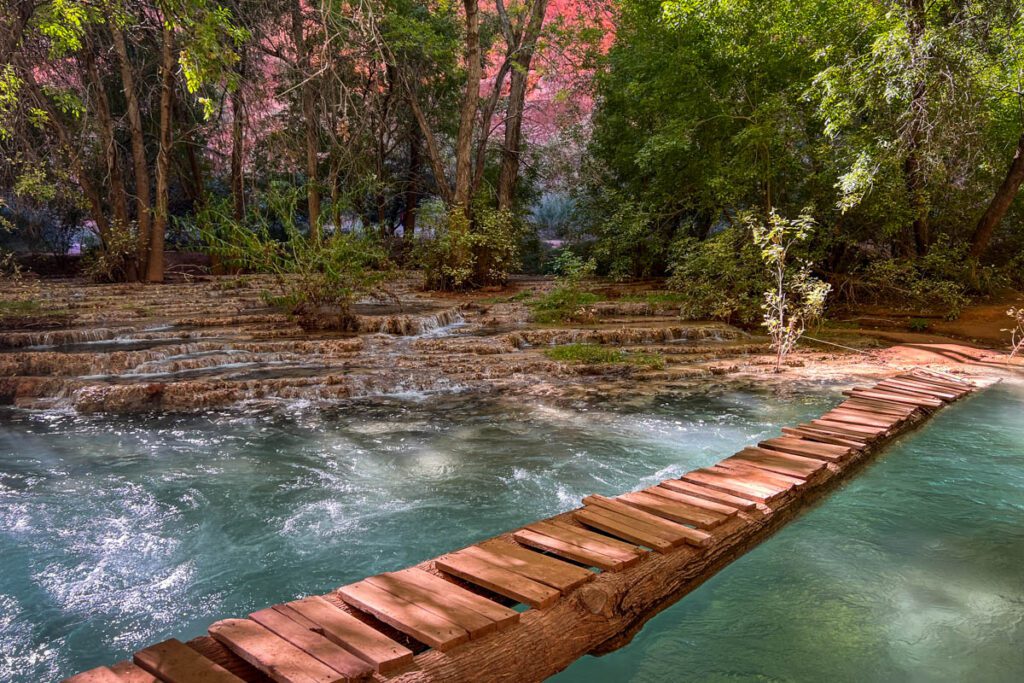
The official Havasupai website says this on the topic of children:
“Due to the many challenges and hazards of bringing young children (distance, elevation, remoteness, climate, extreme weather, challenging terrain, water hazards, lack of medical facilities, etc), bringing young children is NOT recommended.”
That said, we think it really comes down to you and your child, as well as their age and experience with backpacking.
Out of the roughly 350 people staying at the campground, we saw maybe 4 children, all of whom looked to be 8-12 years old. On our hike out, we saw a couple carrying a 9-month-old baby (they had hired a pack mule for the rest of their gear).
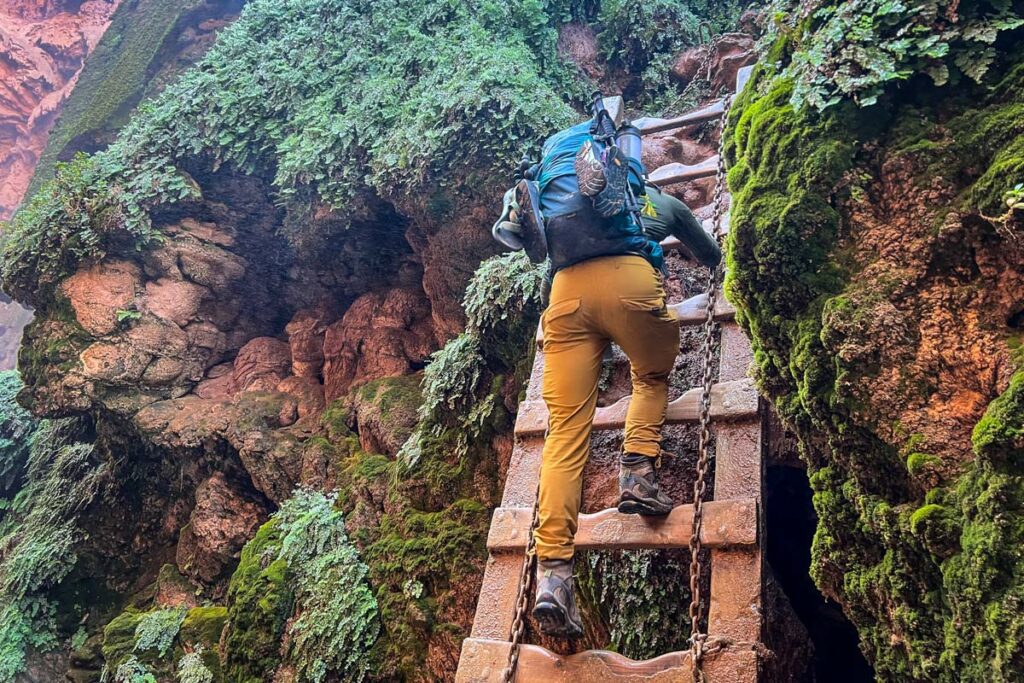
We actually camped next to a dad and his 9-year-old daughter, and she absolutely crushed this hike. They told us they go hiking and backpacking a lot, so this was nothing new to her. In fact, she did the ladder section at Mooney Falls (4 times) and hiked the notoriously challenging trail to the confluence and she had a blast.
Personal story:
We got our permits back in February 2020 and were originally supposed to do this hike in May of that year. We all know why that didn’t happen!
Our permit kept getting pushed back further and further and by the time we were able to go (3.5 years later), we had a toddler! We found ourselves debating whether we should bring her, but ultimately we decided to go on our own while she stayed with Grandma and Grandpa.
We’re really happy with our decision, as we think it would have been a hard hike to bring a toddler on.
Here’s why:
- There are several really long days of hiking on this trip. Our daughter was at an age where we would have needed to carry her, which would have been difficult with all our gear. Plus, I don’t think she’d want to sit in a carrier for 4+ hours at a time.
- The area is pretty exposed, and I wouldn’t want her to be in the sun all that long.
- I also would worry about her disturbing other campers at night since the spaces are so close together.
- There are some parts of this hike – like the ladder section at Mooney Falls and the hike to Beaver Falls and the Confluence – that I personally wouldn’t feel comfortable bringing her on.
In conclusion: We had a really fun time just the two of us without having to worry about our 2-year-old. We got to do all the challenging sections and hike as fast as we wanted to without making tons of stops. We could also go swimming and take naps and just enjoy ourselves. That said, I think this would be a fun hike to bring her on when she is older (as long as she enjoys long hikes).
Are dogs allowed on this trail?
No, dogs are not allowed.
Are there mosquitoes?
We personally didn’t experience many bugs in mid-October (other than cute, fuzzy caterpillars all over the place!).
That said, during the warmer times of the year, there are mosquitoes (and other bugs).
If you are traveling during the months of May – September, I would expect mosquitoes and be prepared.
What kind of shoes should I wear?
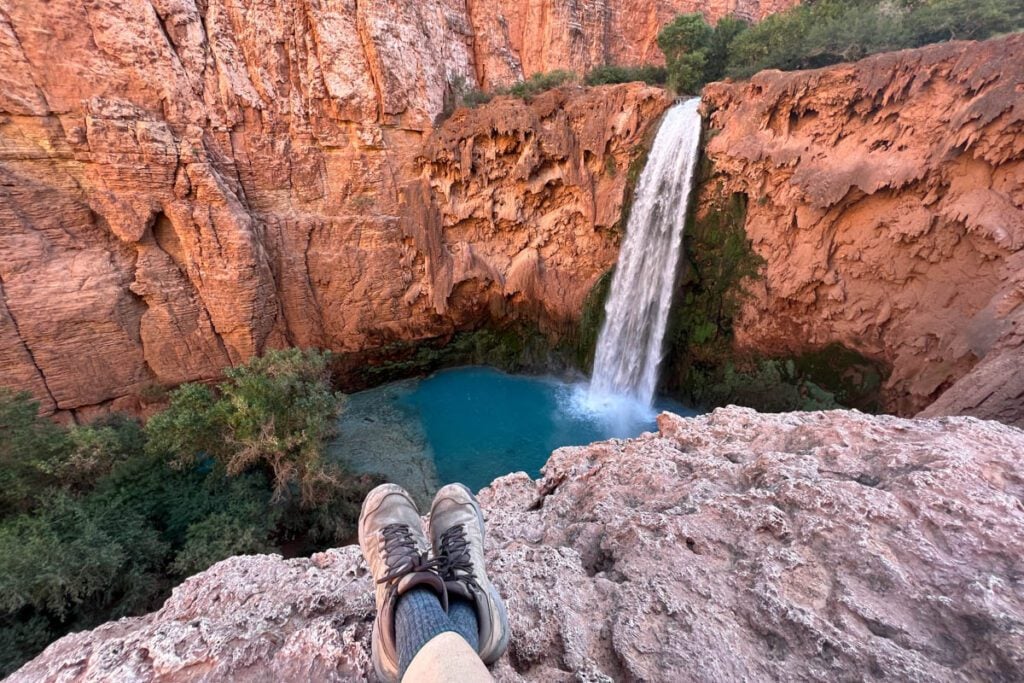
We recommend wearing hiking boots and also packing hiking sandals.
- Hiking boots: We’d strongly recommend wearing a good pair of hiking boots that have been worn in. These are my absolute favorite, ride-or-die hiking boots! I’ve also converted Ben to get the men’s version and he hasn’t looked back since.
- Water shoes / hiking sandals: In addition to hiking boots, we’d recommend bringing a pair of hiking sandals that do well in the water. (Our personal favorite is Chacos!) These are great for swimming, hanging out at camp, and doing the confluence hike (which has many river crossings).
Can I go to Havasu Falls as a day trip?
No, you can not visit Havasupai as a day trip.
First of all, this would be nearly impossible from a logistical standpoint. And secondly, the Havasupai tribe prohibit this.
What is there to do at Havasupai?
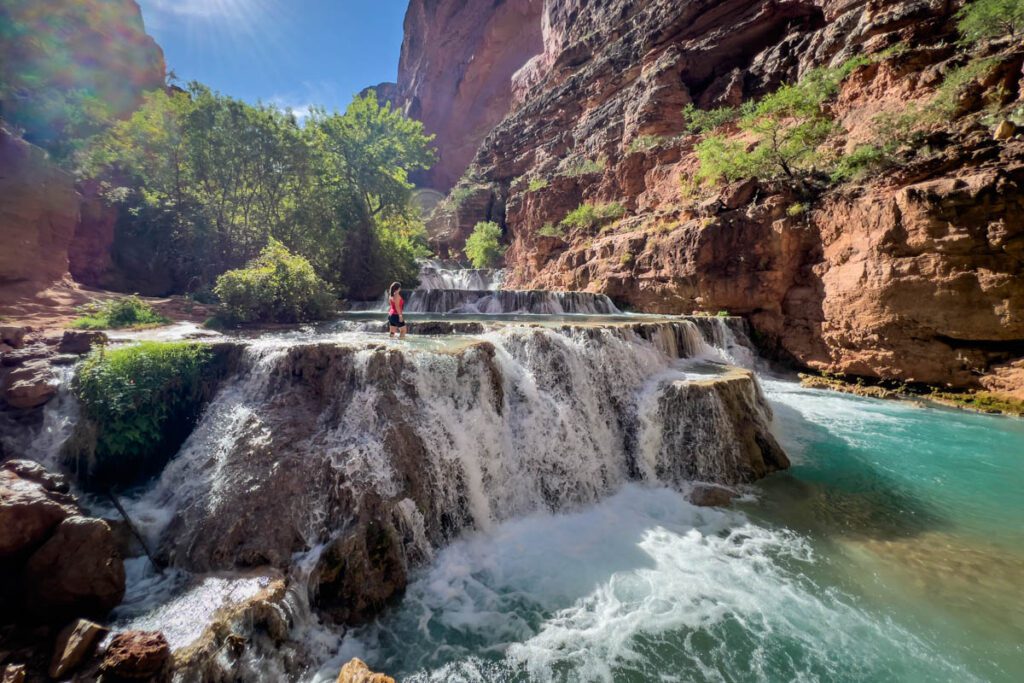
There’s a lot you can do to fill your time at Havasupai:
- Hike to each of the waterfalls. This in itself is enough to completely fill your time!
- Do a day hike to the confluence (aka the spot where Havasupai Creek meets the Colorado River). This will take one full day.
- Relax in a hammock
- Have a picnic lunch
- Go swimming (Havasu Falls and Beaver Falls are our favorites for swimming).
- Go to the Indian Fry Bread stand (just about Havasu Falls) for lunch.
- Play cards
- Get to know your tent neighbor
- Do watercolors (we packed a very small kit and had a lot of fun with this!)
- Read a book
- Take a nap
- Walk through the village of Supai.
- Take photos
- Cook a nice meal at camp
- Go stargazing
Wondering if you’ll get bored? Remember this: In total, you’ll only have 2 full days in Havasupai. Much of the first day will be spent hiking in, and your final day will be spent hiking out. There are plenty of things to do to fill 2 days.
Are masks still required on this hike?
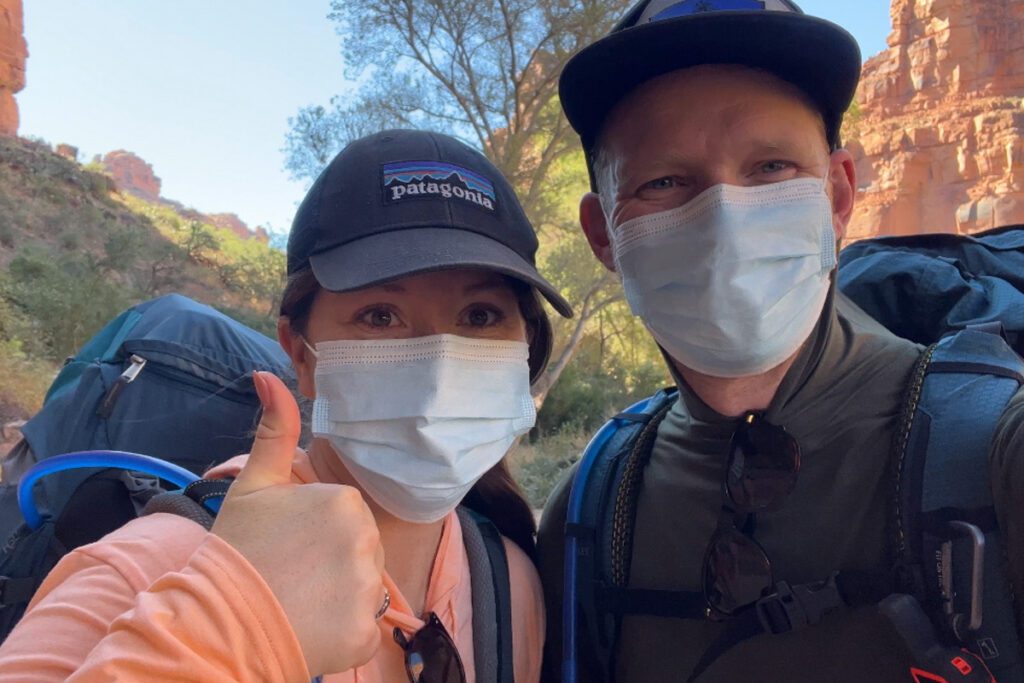
When we hiked in mid-October of 2023, it was required that hikers wear a mask within the Supai village limits and at the check-in counter. There are signs that will tell you where you are required to wear a mask.
We’re not sure when this will be lifted, as there is still “COVID protocol” information on the official Havasupai website, saying failure to comply could result in removal from the reservation. It’s best to be prepared and bring a mask (as they don’t take up much space).
More bucket list hikes around the world
If you’re a hiking enthusiast like us, here are some more trails around the world to add to your hiking bucket list!
And the good news is we’ve got guides to all of them!
- Kalalau Trail (Hawaii)
- Kumano Kodo (Japan)
- The Enchantments (Washington State)
- Inca Trail (Peru)
- Everest Base Camp (Nepal)
- Tongariro Crossing (New Zealand)
- Fimmvörðuháls Trail (Iceland)
- Path of the Gods (Italy)
- Old Man of Storr (Scotland)
- Ijen Crater (Java, Indonesia)
- Mount Storm King (Olympic National Park)
- South Sister (Oregon)
- Broken Top (Oregon)
- Sierra Norte (Oaxaca, Mexico)
- Cracker Lake (Glacier National Park)
- Mohare Danda (Nepal)
- Volcan Acatenango (Guatemala)
Are you planning a trip to the American Southwest?
We have lots of resources on travel in the Southwestern United States. Start by reading these guides to help you plan your dream trip:
- Guide to Utah’s ‘Mighty 5’ National Parks
- Fun Things to Do in Tucson, Arizona
- Hiking Las Vegas: The Best Trails Near Sin City
- Las Vegas on a Budget: Money-Saving Tips + Cheap Things to Do
Don’t forget to download our complete packing list for hiking Havasupai! It’s packed with good suggestions and insider tips to help plan your Havasu Falls hike. And it’s completely FREE, so why not!?

Save this guide on Pinterest for later!
Be sure to pin this article so you don’t lose it! It’s packed full of things that will be handy on your hike, so you don’t want to waste time searching.
We want to hear from you!
We hope this mega guide to Havasupai helped you a ton! If you are planning a trip to visit Havasu Falls Arizona and still have questions, leave us a comment below and we’ll do our best to get back to you!

What an amazing resource for planning a trip to Havasu Falls! 🌊🏞️ Guides like this are invaluable for adventurers looking to make the most of their journey. Encouraging readers to leave questions is such a thoughtful touch—it shows how dedicated you are to helping others experience this stunning destination. 🌟 Safe travels to all who visit! ✈️