If you’re looking for a hike that is off the beaten path in Nepal, the Mohare Danda Trek is a great option. This 5-day trek through the Annapurna Region brings you through picturesque villages, fruit orchards, and remote farms. We put together an information-packed guide to help you plan an epic Himalayan adventure on the Mohare Danda Trek.
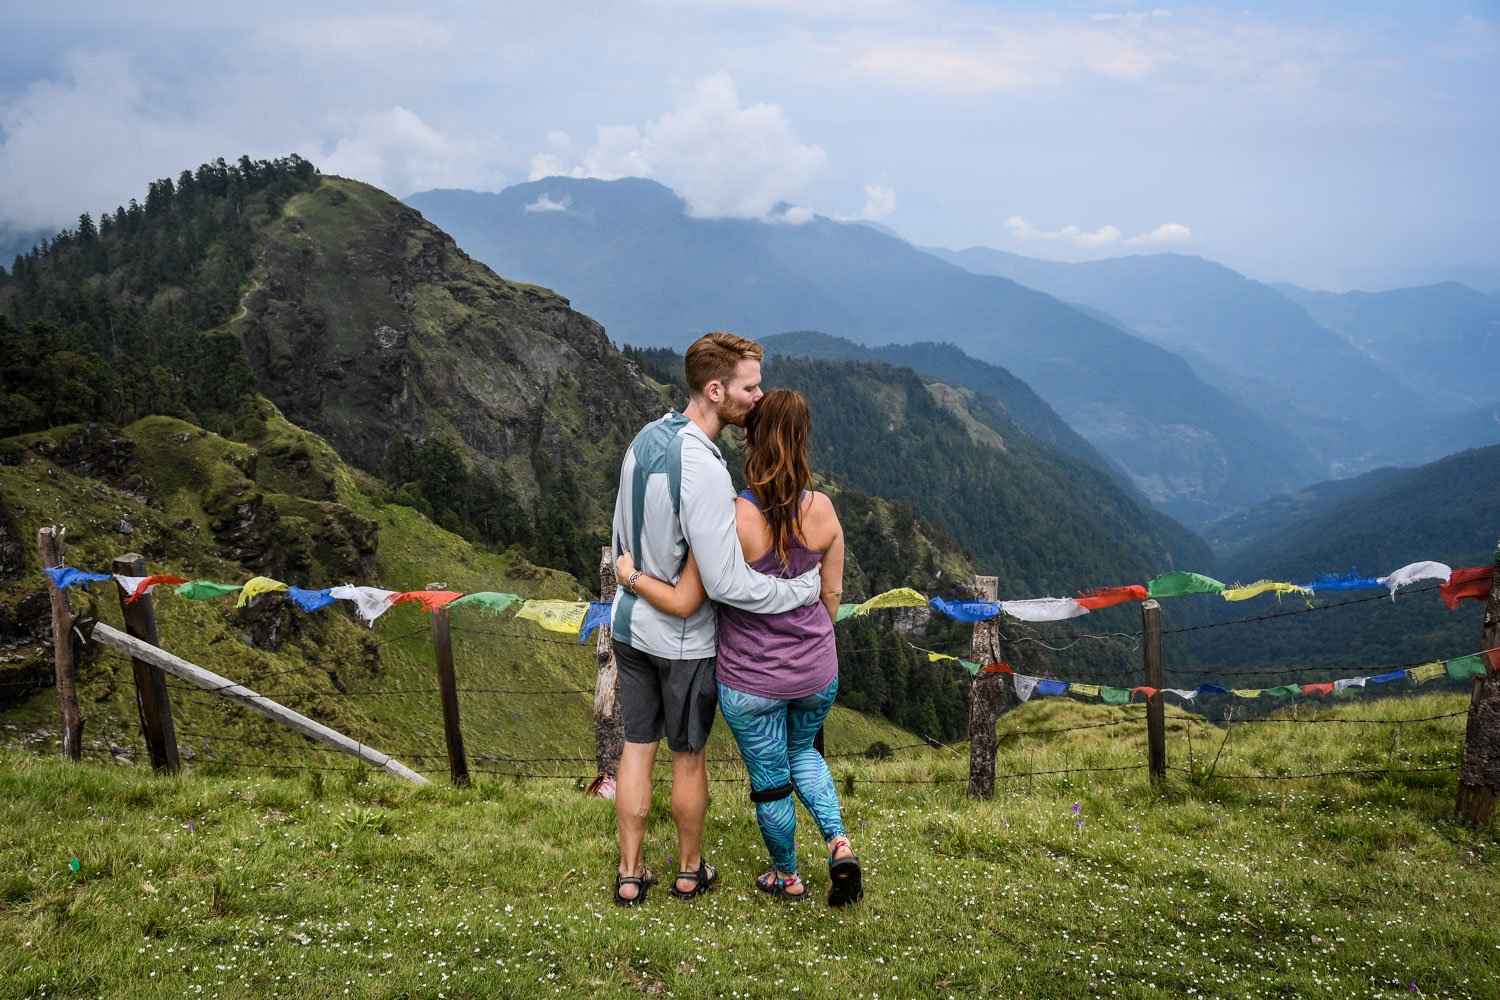
Nepal is known as one of the top hiking destinations in the world, and its popularity amongst nature-lovers means that some trails are quite crowded.
A few years ago, we did the trek to Everest Base Camp. And we had an absolutely fantastic time. But we did need to share the trail with many others.
If you like hiking but hate crowds, we have a suggestion for you: The Mohare Danda Trek.
Located in Nepal’s Annapurna region, this trail is so new it’s not even on Google Maps (yet!). And when we did this hike in May 2019, we didn’t come across a single other trekking group during our 5-day adventure.
Do we have your attention now?
Good, because we think the Mohare Danda trek is one of the best things to do in Nepal for anyone looking to get off the beaten path and hike through picturesque villages in the countryside.
Also, being that this is only a 5-day hike, it is possible to fit this trek into your Nepal trip even if you are limited on time.
Where is the Mohare Danda Trek?
The Mohare Danda trek is located just southwest of the Annapurna Conservation Area starting from the town of Galeshwor on the Kali Gandaki River. In order to get to the trailhead, it takes about 4-5 hours by van from Pokhara.
What you’ll see on Mohare Danda Trek…
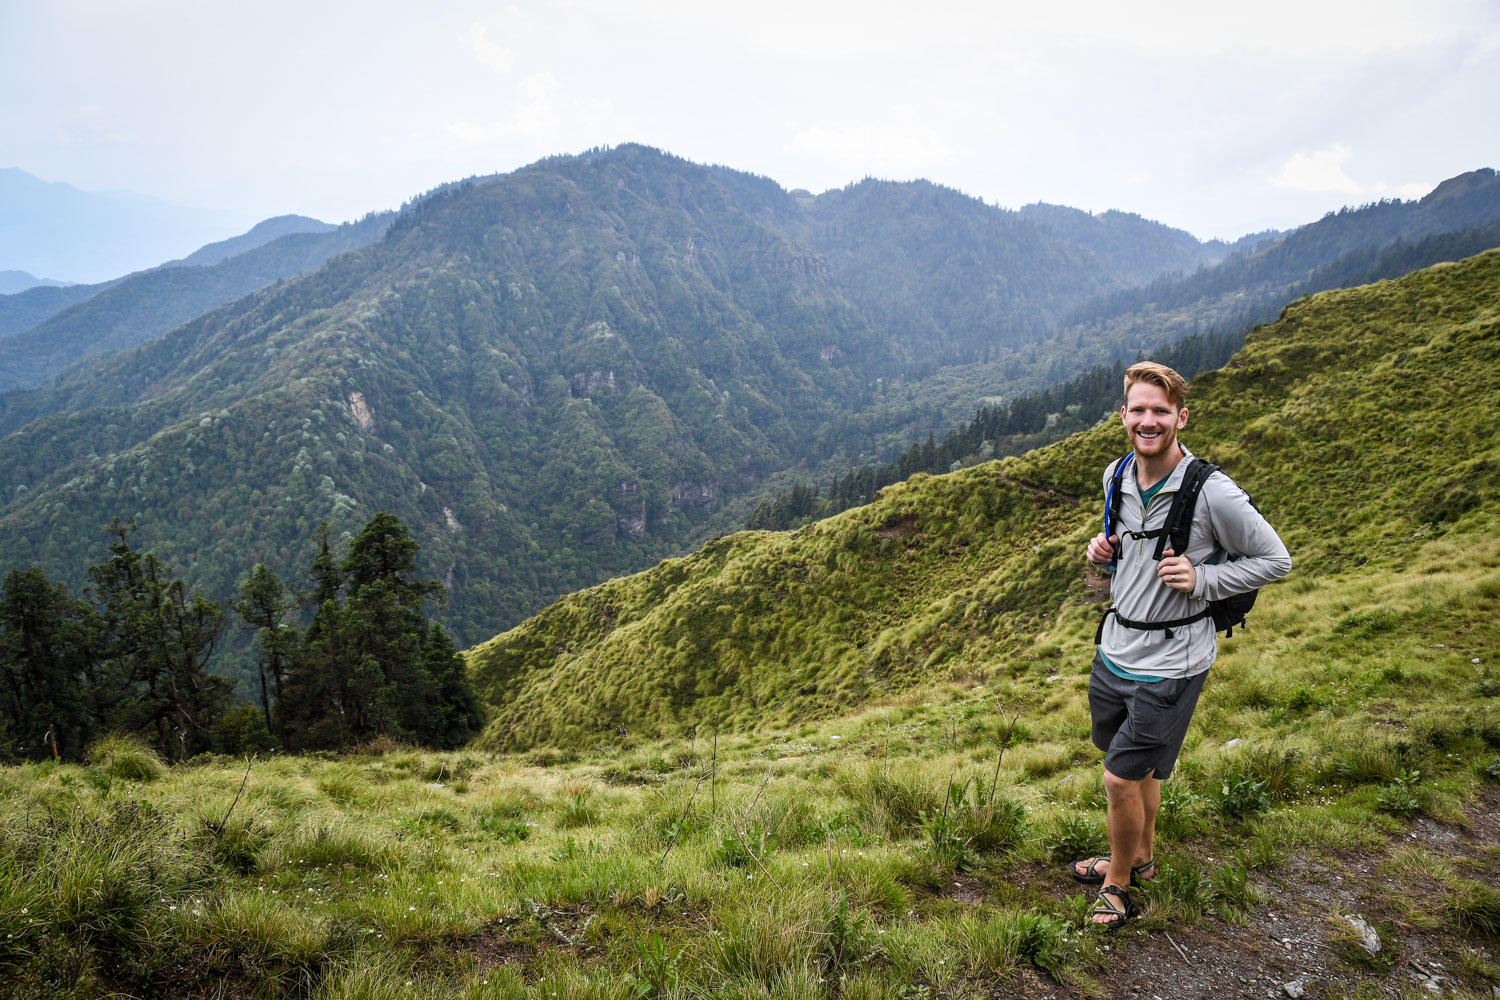
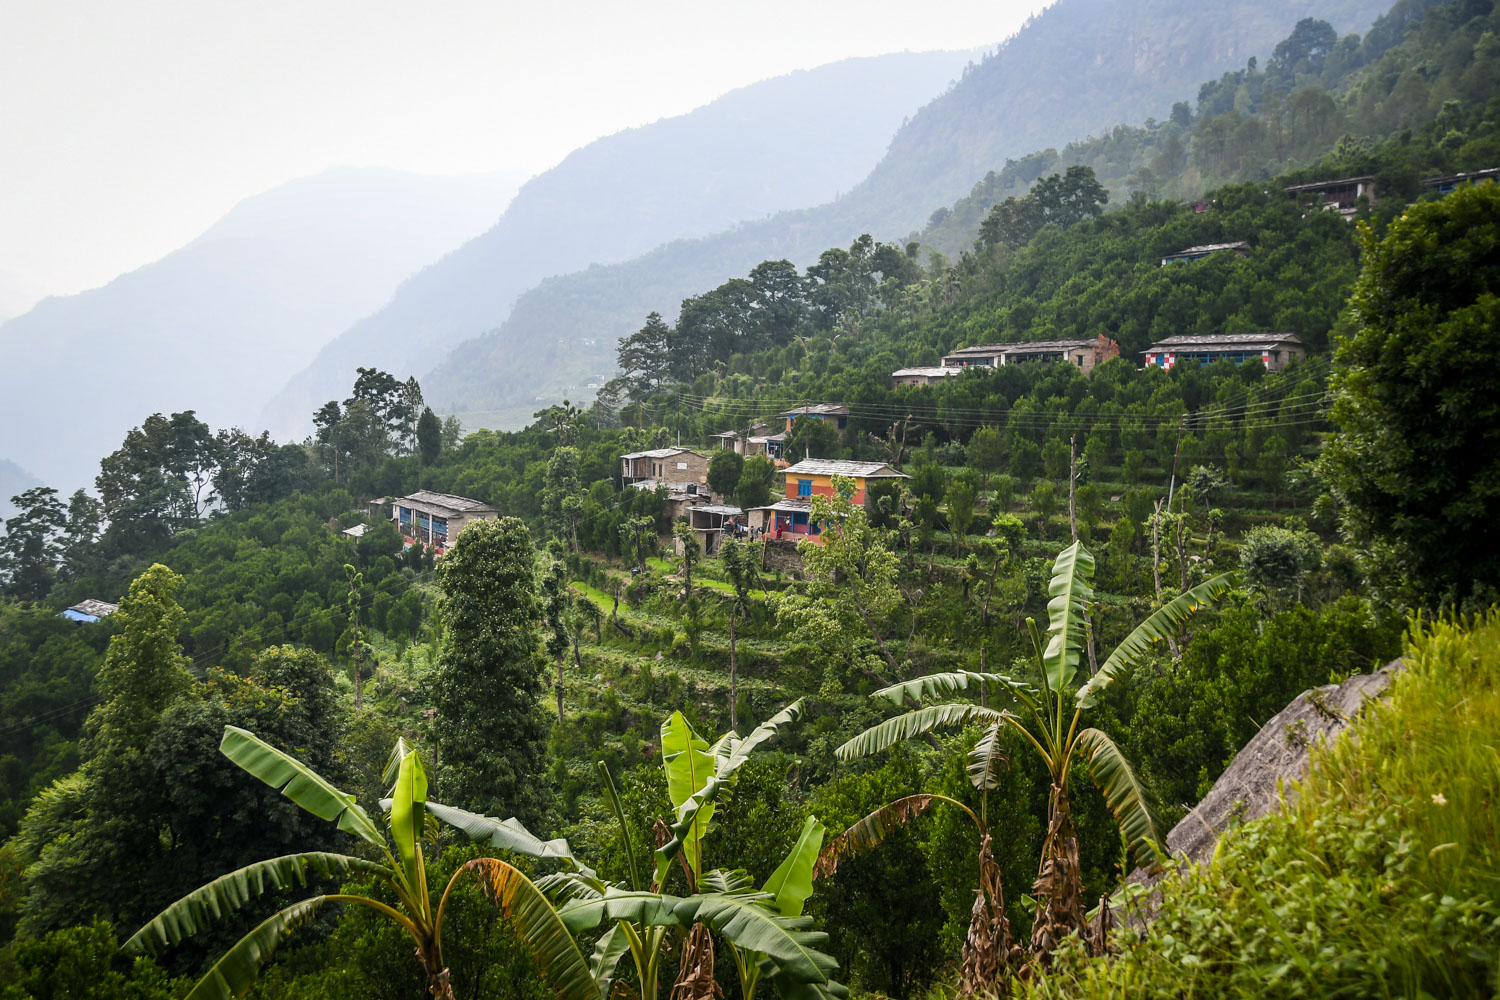
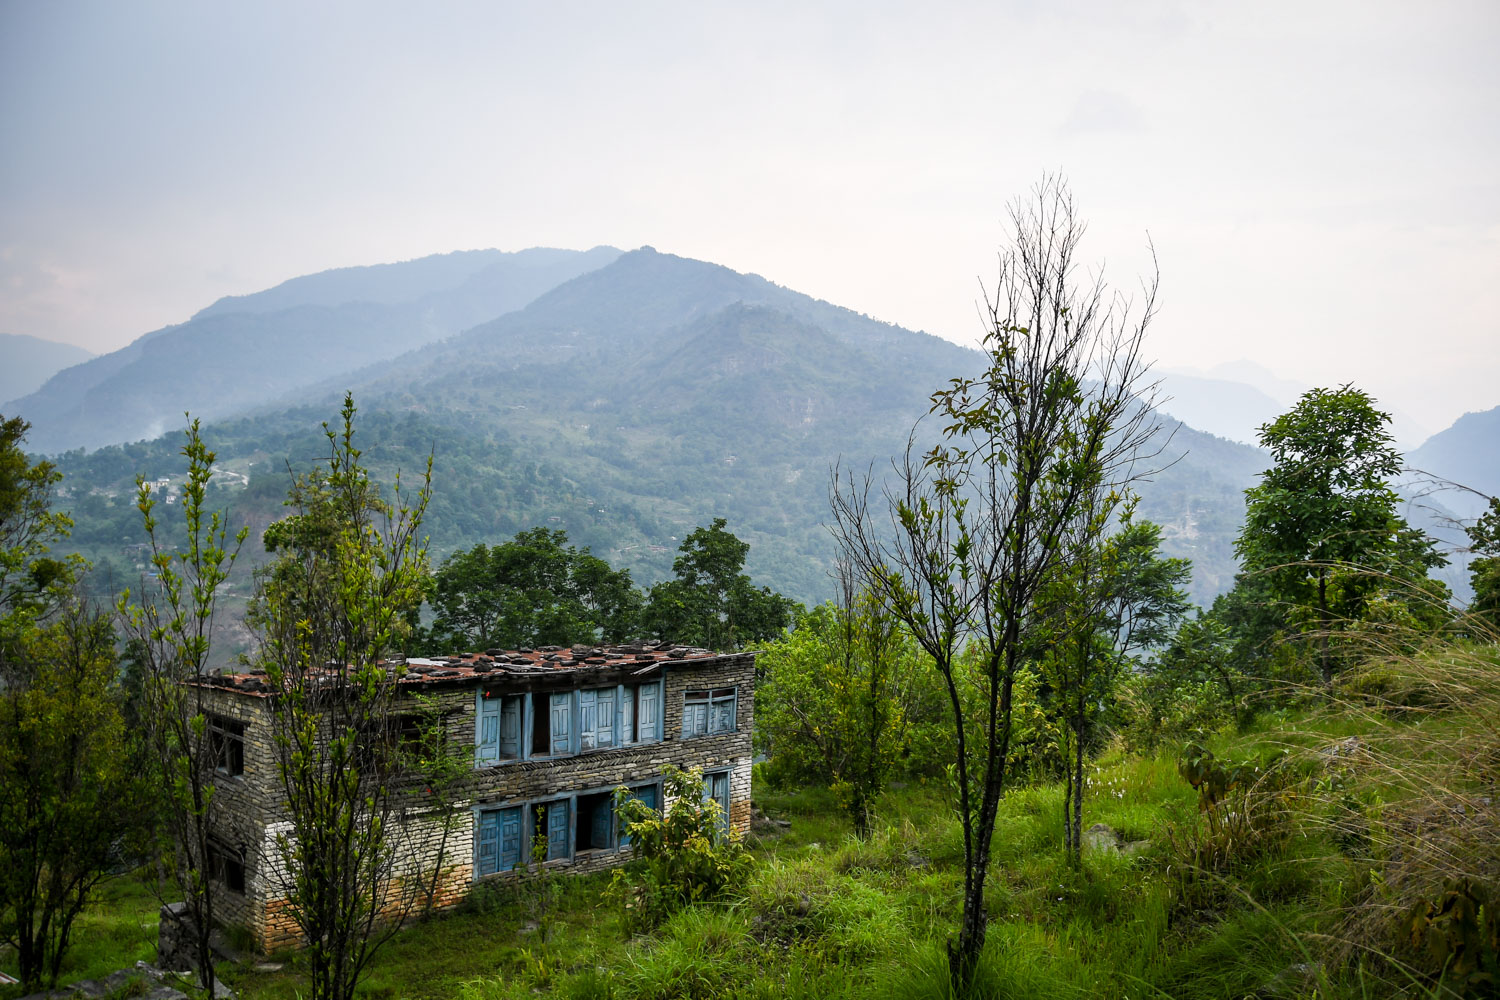
The trail will bring you through remote villages filled with orange trees, bamboo, and rice terraces. You’ll pass by yak herders, baby goats, and hopefully our friendly trail dog, Sete.
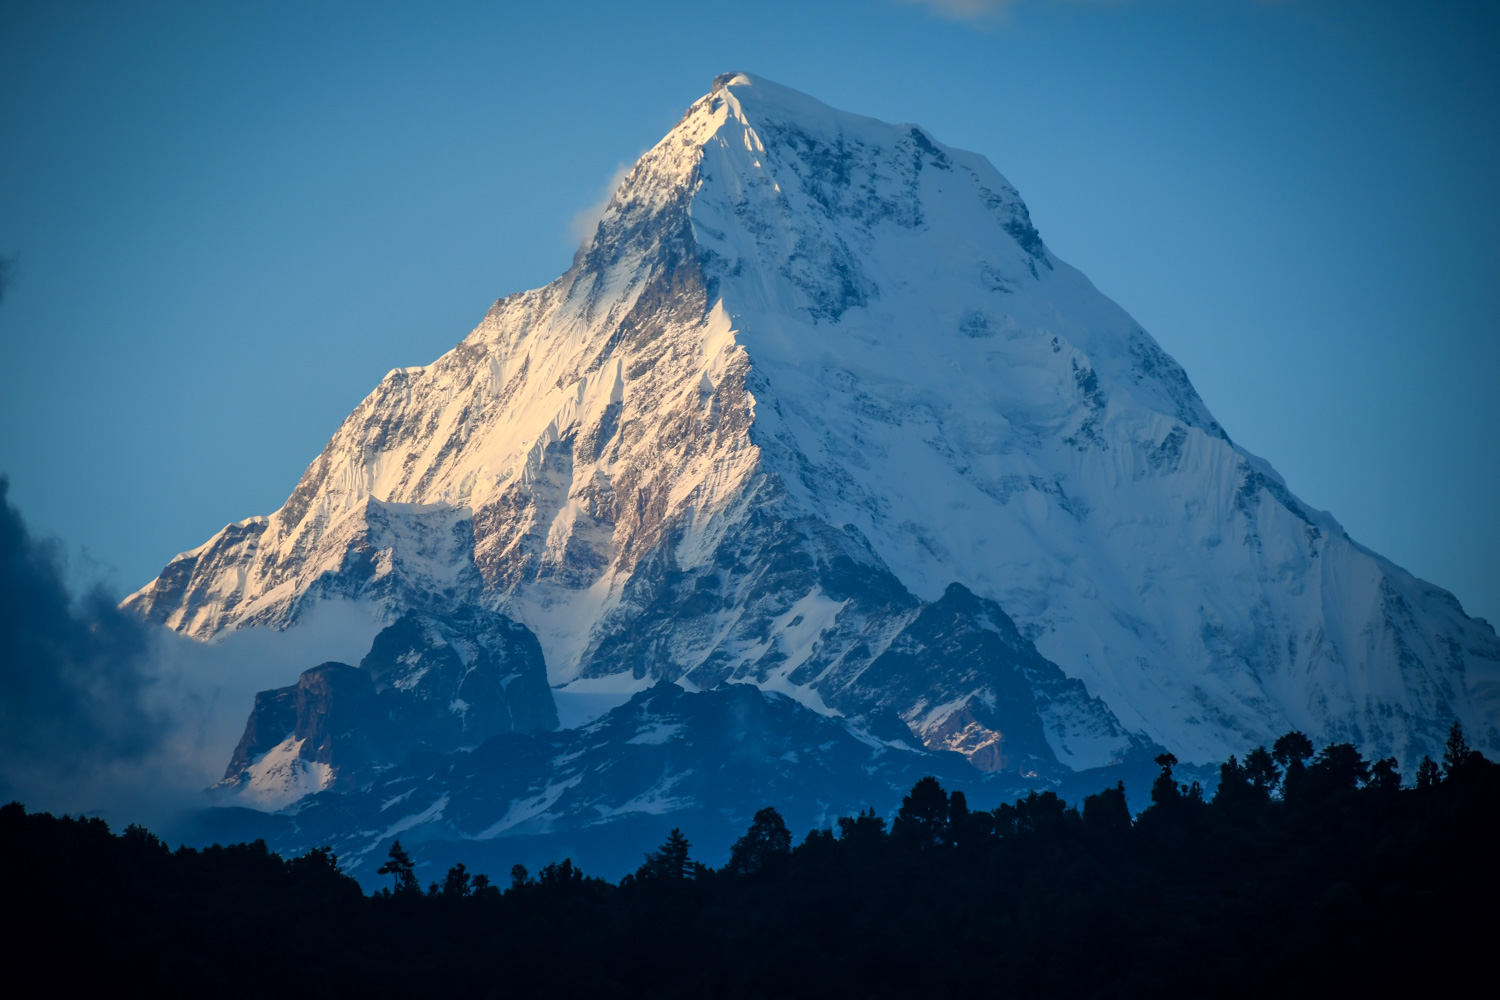
You’ll journey through rhododendron forests and open alpine prairies. And each day, you’ll be spoiled with views of some of the tallest peaks in the world, like Dhaulagiri, the Annapurnas, and the sacred Fishtail Mountain.
Article Contents

This article breaks down everything you need to know about the Mohare Danda trek, including detailed trail descriptions, a packing list, and what to expect when it comes to accommodation along the trail.
-
Mohare Danda Trekking Itinerary: Read about what to expect on each day of the trek.
-
Difficulty Level: Honest breakdown of the difficulty level of this trek.
-
Accommodation: We describe what types of accommodation you’ll stay in.
-
Toilets & Showers on the Trek: We’re not holding back! Read up on what to expect when it comes to toilets and showers on the trek.
-
Food on the Trek: We’re listing the popular trekking foods you’ll be eating, plus we’re sharing useful info for vegetarians.
-
Packing List for Trekking in Nepal: We’ve got you covered with what to pack and what not to pack!
-
Best Time of Year for Trekking in Nepal: Plus, what season to avoid, if possible!
-
Trekking Cost: Total cost of this epic trip, plus how much money to set aside for tipping your guides and porters.
-
Travel Insurance for Trekking in Nepal: We explain something important to consider about travel insurance in Nepal.
-
Book your Mohare Danda Trek: Now that you have all the info you need, we’re showing you how to book your own trek!
Related Reading: We have everything you need to know about planning your trip to Nepal right here!
Mohare Danda Trekking Itinerary


Before committing to a long hike, we like having an idea of what to expect: Like how many hours will we be trekking, how high will we climb, and what will the toilet situation be like?
We’re describing each day of the Mohare Danda Trek so you know what you’re getting into.
Here are the days at a glance:
-
Day 1: Drive from Pokhara to the starting point of the trail, and hike uphill (lots of stairs!) for 3 hours before reaching your first teahouse.
-
Day 2: 3 hours of uphill trekking until lunchtime. After a scenic meal, the trail flattens out a bit as you walk through small villages.
-
Day 3: You’ll gain 1,000 meters, but the trail is a mix of uphill and flat sections until you reach the Mohare Danda viewpoint. At 3,300 meters, it is the highest point of the trek.
-
Day 4: Trek through a beautiful rhododendron forest to the stunning mountain village of Tikot, where you spend the night in a homestay.
-
Day 5: A challenging 3 hours of downhill until you reach a road where you’ll be picked up and returned to Pokhara.
And below the descriptions, you’ll find a ton of practical info, like what to pack, what food you’ll eat along the way (the most important section!), how much money it costs, and how to book your very own trek.
Day 1: Pokhara – Galeshwor (Trailhead) – Banskharka




-
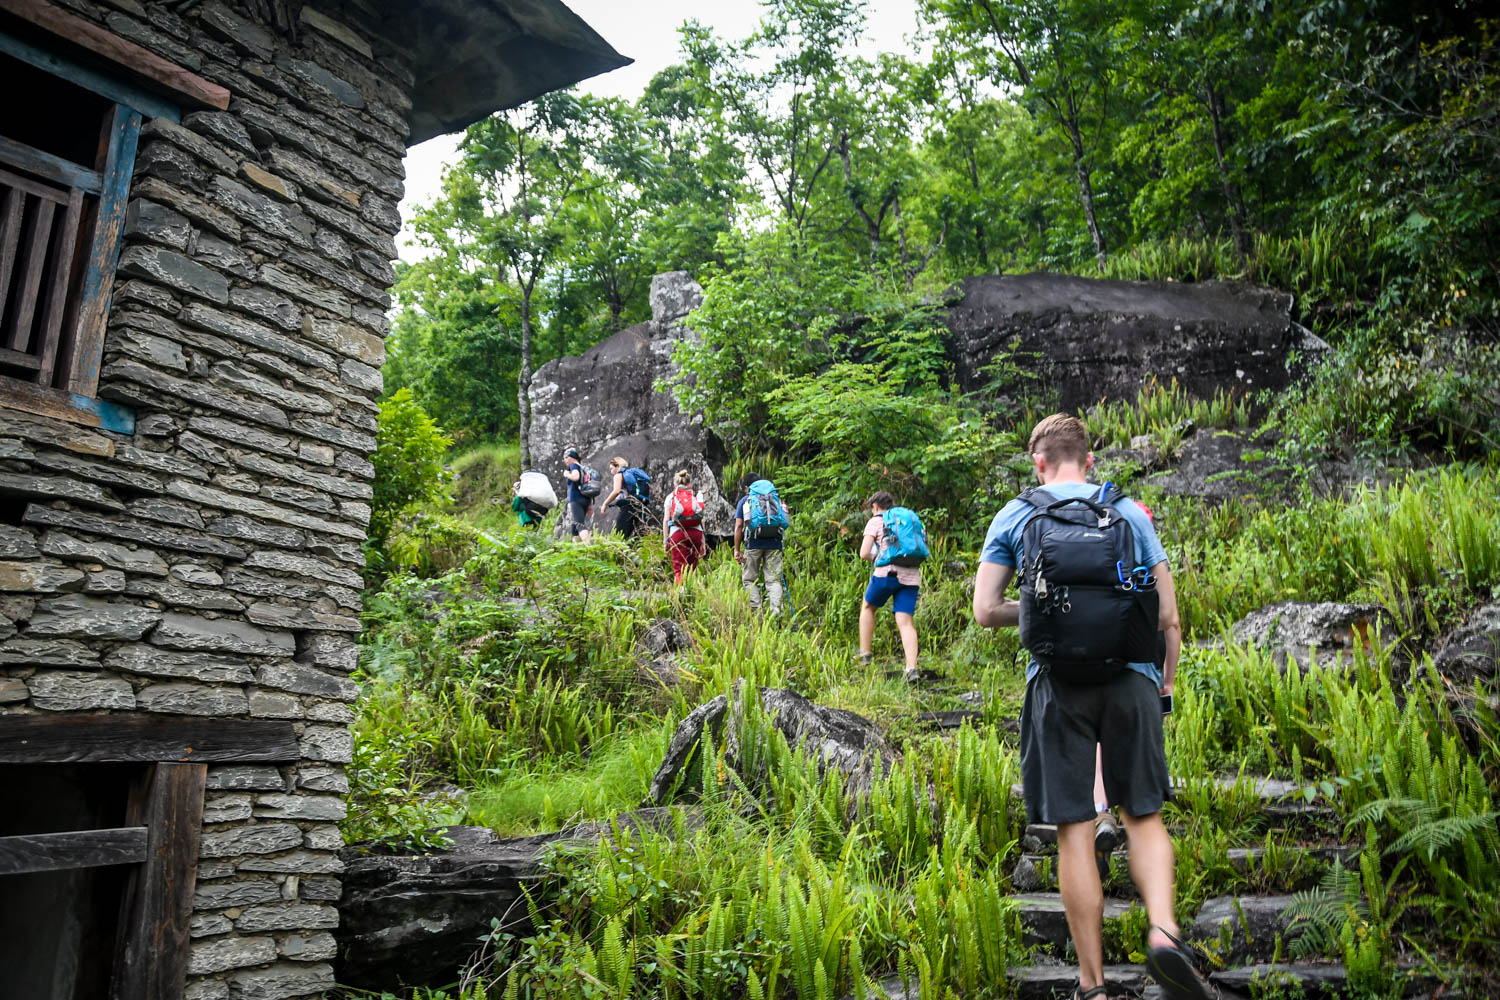
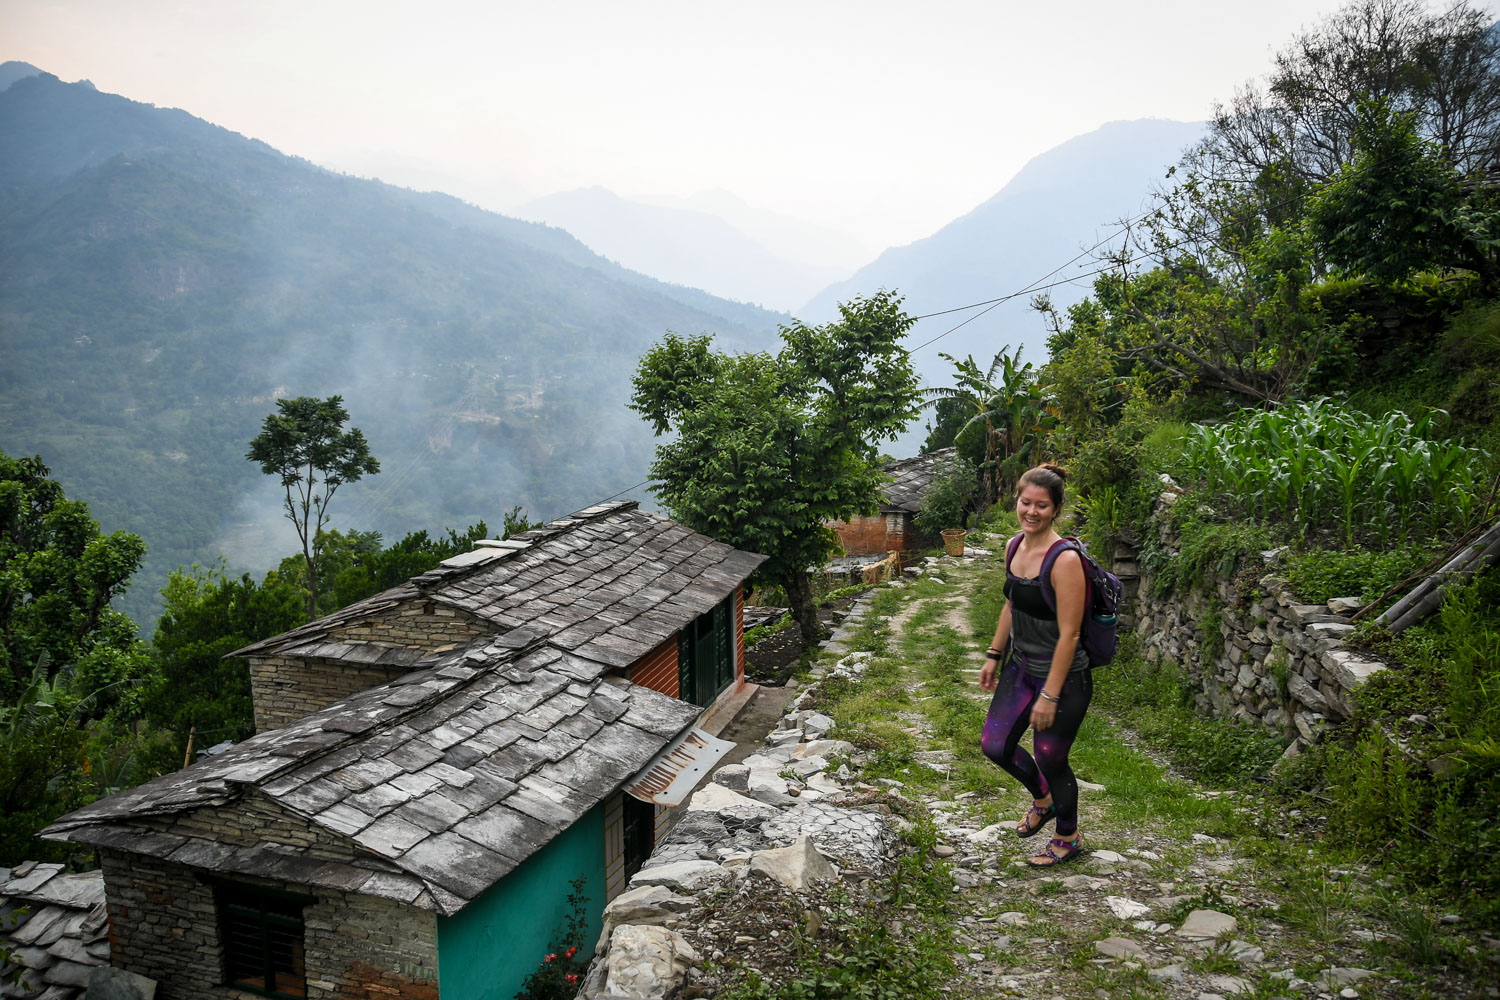
Description: Climb up 3 hours almost only on stairs. You’ll make your way past a couple small villages until you reach Baskharka Community Lodge.
-
Difficulty Level: Hard
-
Hours Hiked: 3 hours (after a 5-hour drive from Pokhara)
-
Elevation Gain: 350 meters
We started our day early from Pokhara in the morning because we knew we had a long 5-hour drive ahead of us to the trailhead. What we didn’t know was how bumpy the road would be for those 5 hours! Just try to think of it as a Nepalese massage.
We stopped in the small town of Nayapul for our first serving of dal bhat, but quickly got back on the road passing through corn fields and hydro-electric dams until the village of Galeshwor. We geared up at the Hotel Riverside and started the trek.
And then came the stairs. We walked through little farming communities who were growing oranges, lemons, corn, and plums. We stopped to catch our breathe many times during the nearly all vertical climb, and one time we looked up and the clouds parted enough for us to see Dhaulagiri, the 7th highest peak in the world.
After three hours of sweat and wobbly legs, we made it to Banskharka Community dining hall, where we would have dinner that night. We were lucky to watch the sunset over the vast valley below the dining hall. If you bought a SIM card in Pokhara, you can even get 3G data from this village.
We had dinner with our group (dal bhat and chow mein) as our guide told us more info about the local Nepalese people and what the plan was for tomorrow.
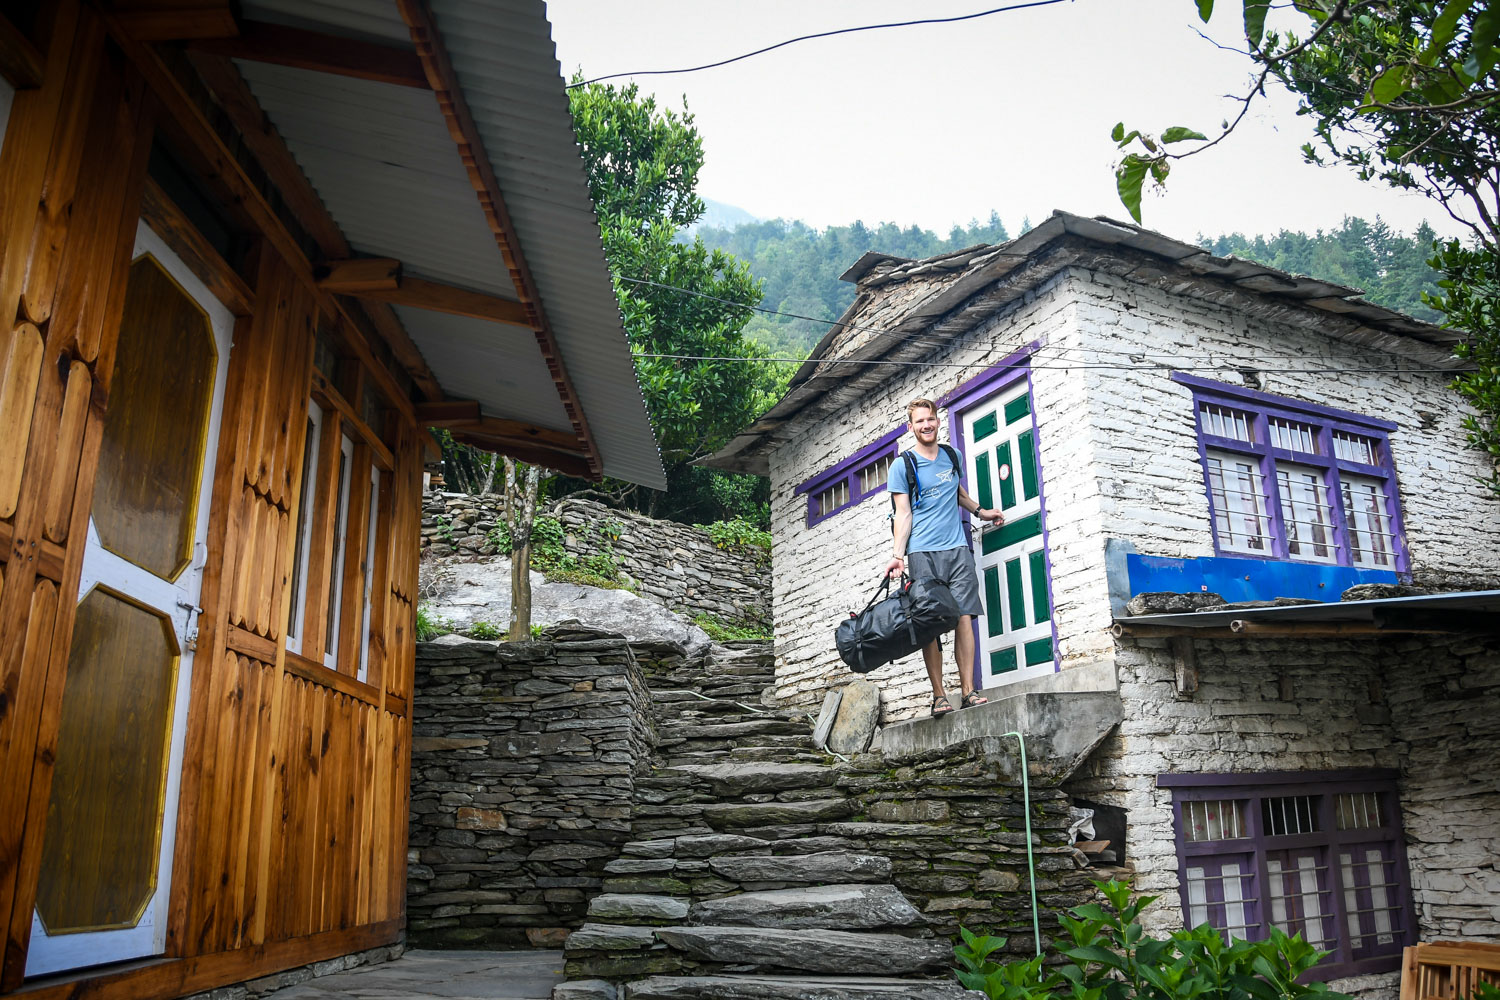


Accommodation: Banskharka Teahouse
Simple but nice private rooms, located a 5-minute uphill walk from the dining area. Bathroom is a rustic squat toilet, and they were in the middle of installing showers while we were there.
Day 2: Banskharka – Nangi Community Lodge









-
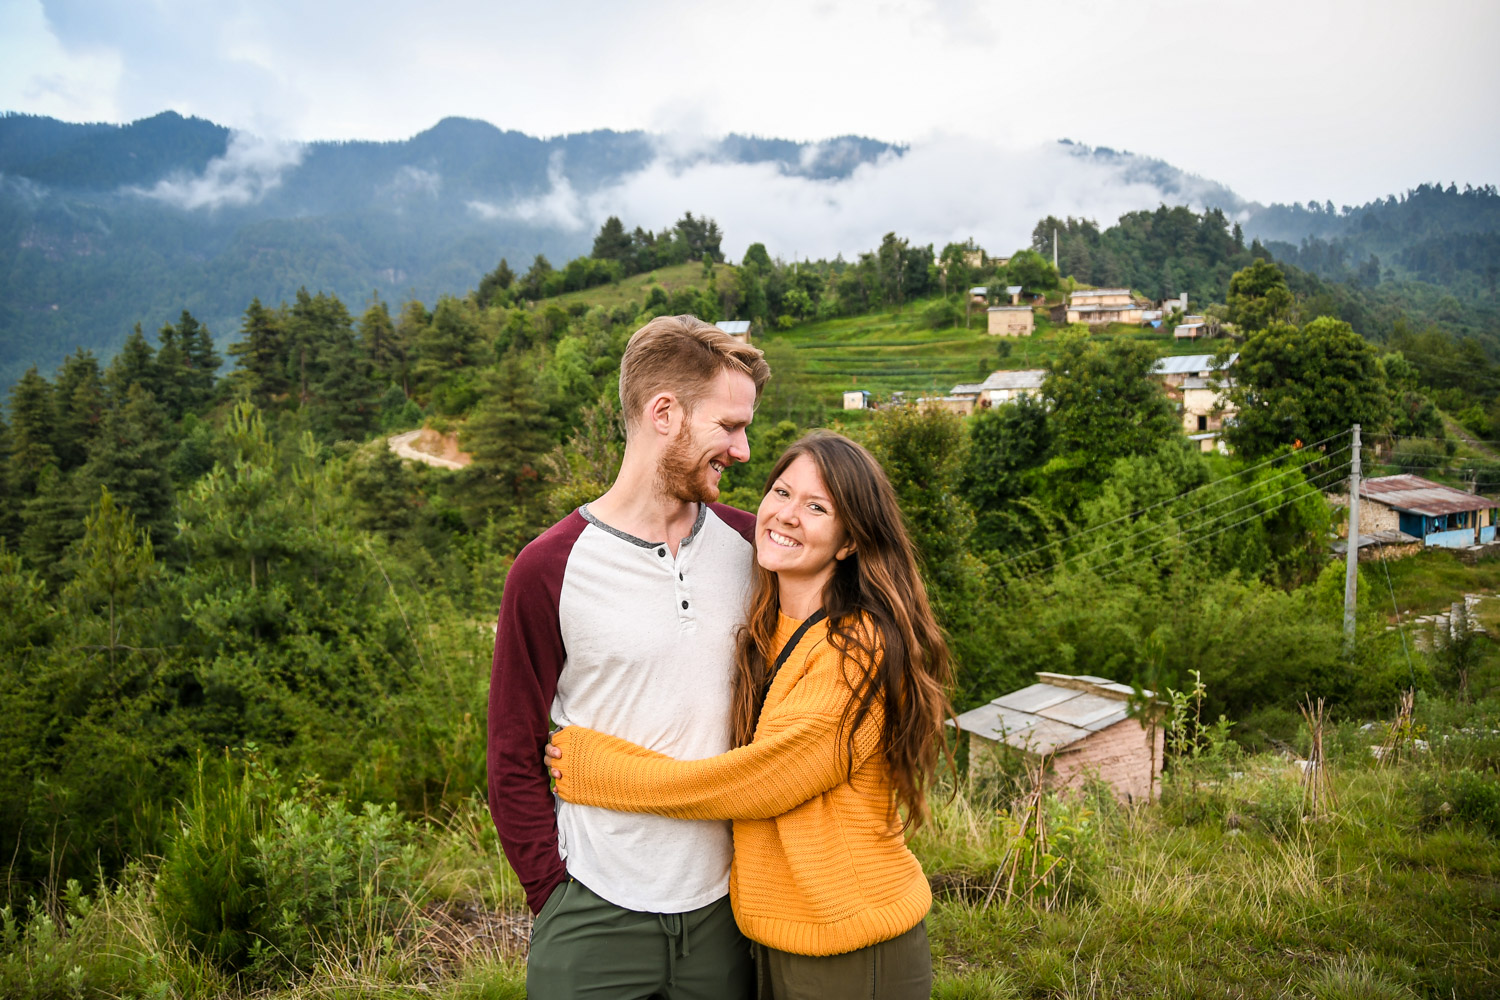
Description: The morning is another 3 hour climb up steps and passing through villages. But after lunch, the trail levels out a bit so you can enjoy the views more.
-
Difficulty Level: Hard in the morning, medium in the afternoon
-
Hours Hiked: 5 hours (3 in morning, 2 in the afternoon)
-
Elevation Gain: 775 meters
We started the day with a carb heavy pancake and omelet, but we’d recommend getting the set breakfast which came with an egg, potatoes, veggies, and roti. It looked yummy! After breakfast, we packed up our gear and were on the trial by 8:30 am.
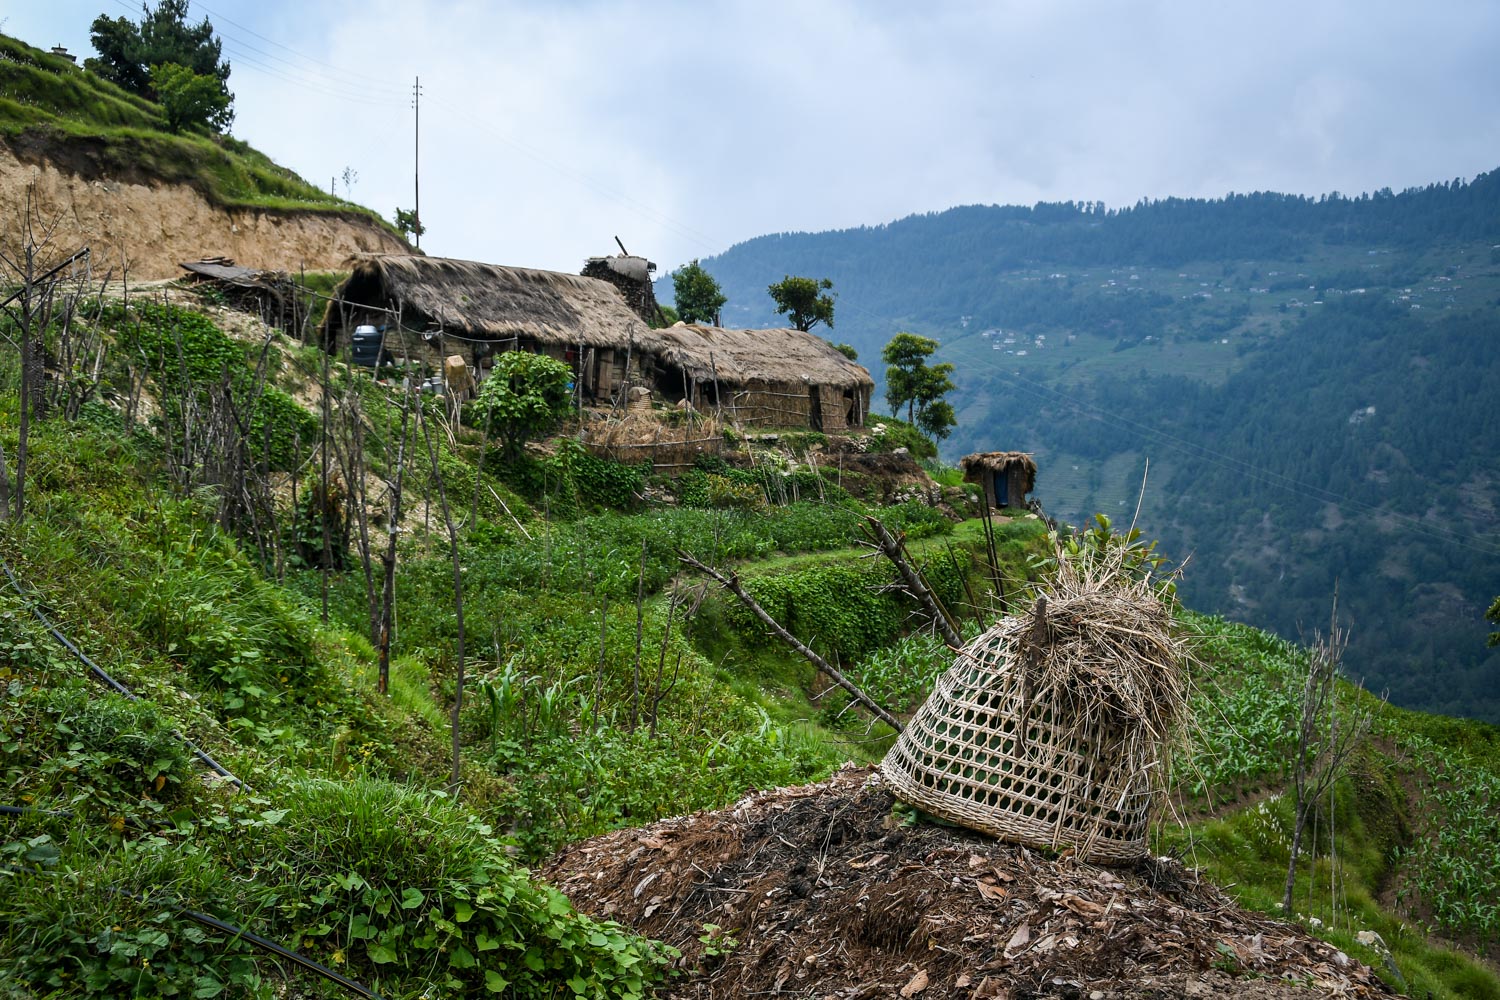
The next 3 hours were pretty tough trekking (similar to the day before) up the mountain past rice and corn fields, so we took plenty of rest stops along the way. Every time our guides would stop, they would say “sippy, sippy” and when it was time to go, they’d say “jam jam” which is “Let’s go” in Nepalese.
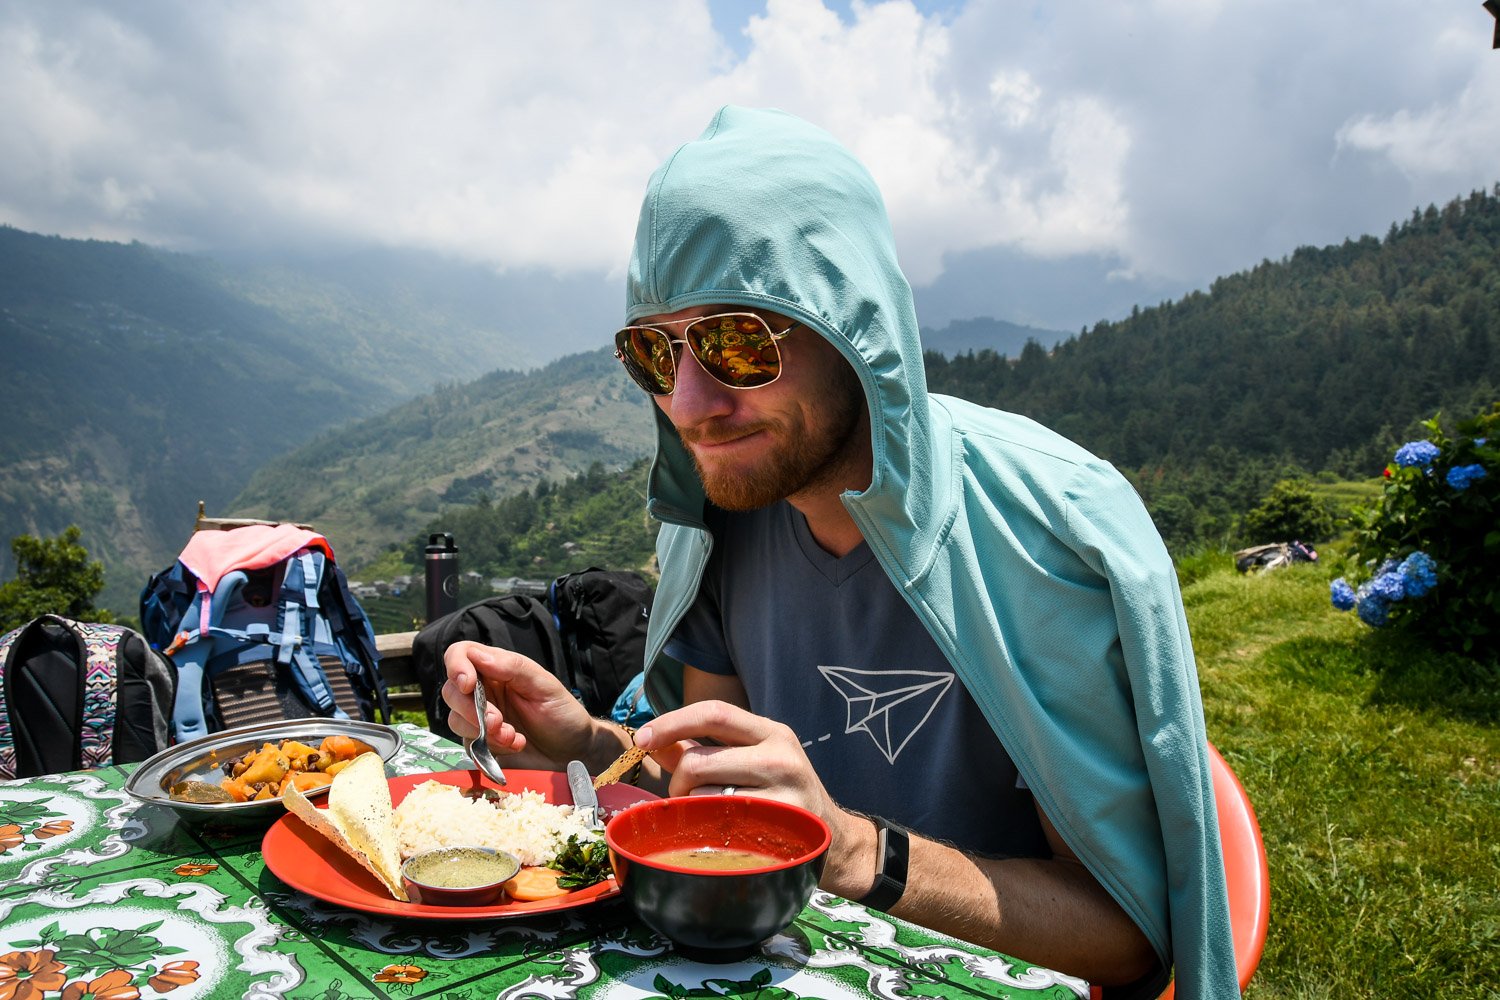
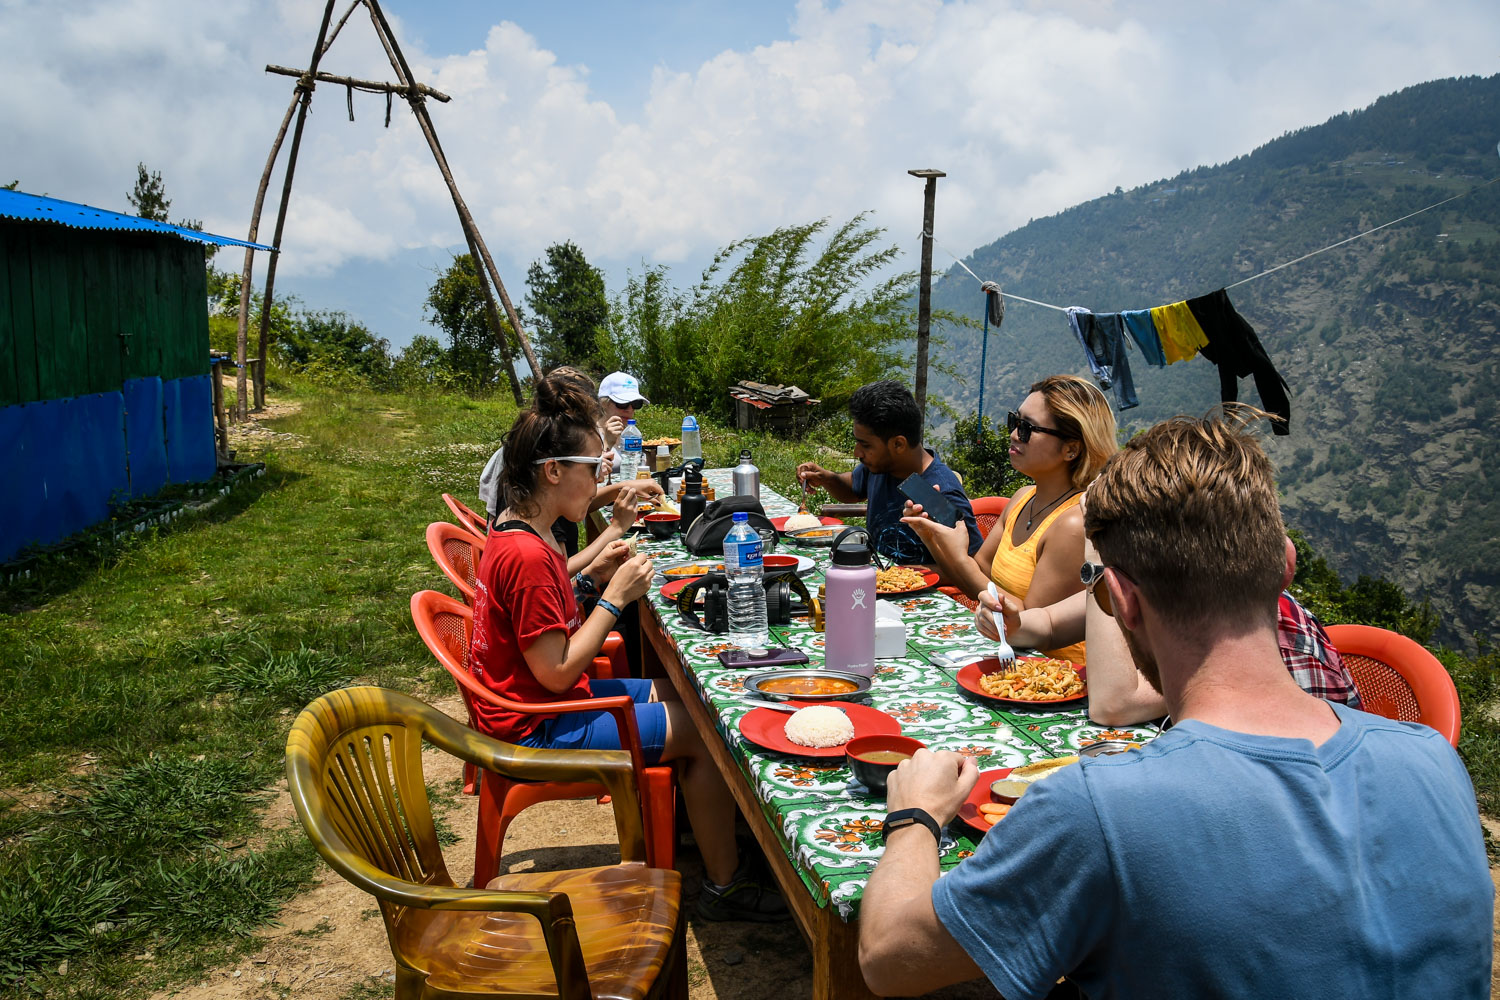
Around 11:45 am we stopped at a little spot for lunch and had the best dal bhat on the trek. I don’t know what made it so good, maybe the mix of spices, but I could go for that one again. Your porters and guides played a game called Carrom, which is kind of like billiards but with shuffleboard pucks you flick with your finger. Ben tried playing and got whooped!
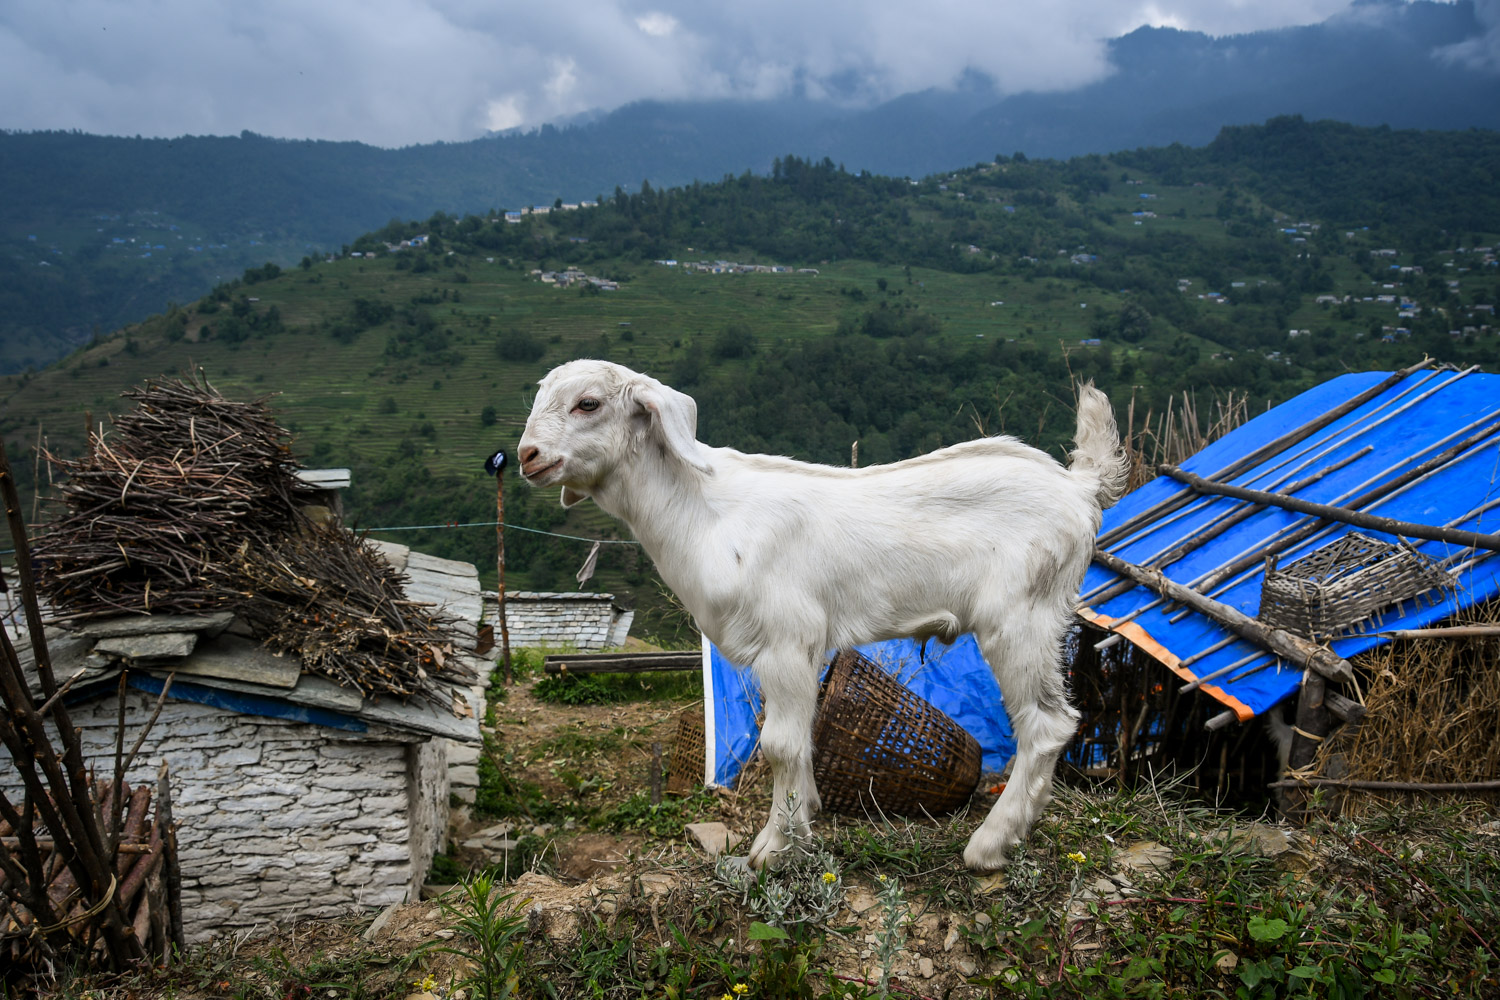
After lunch, the hike was much easier as the trail leveled off and we walked across a few race fields and through local communities where some even had baby goats (no kidding!).
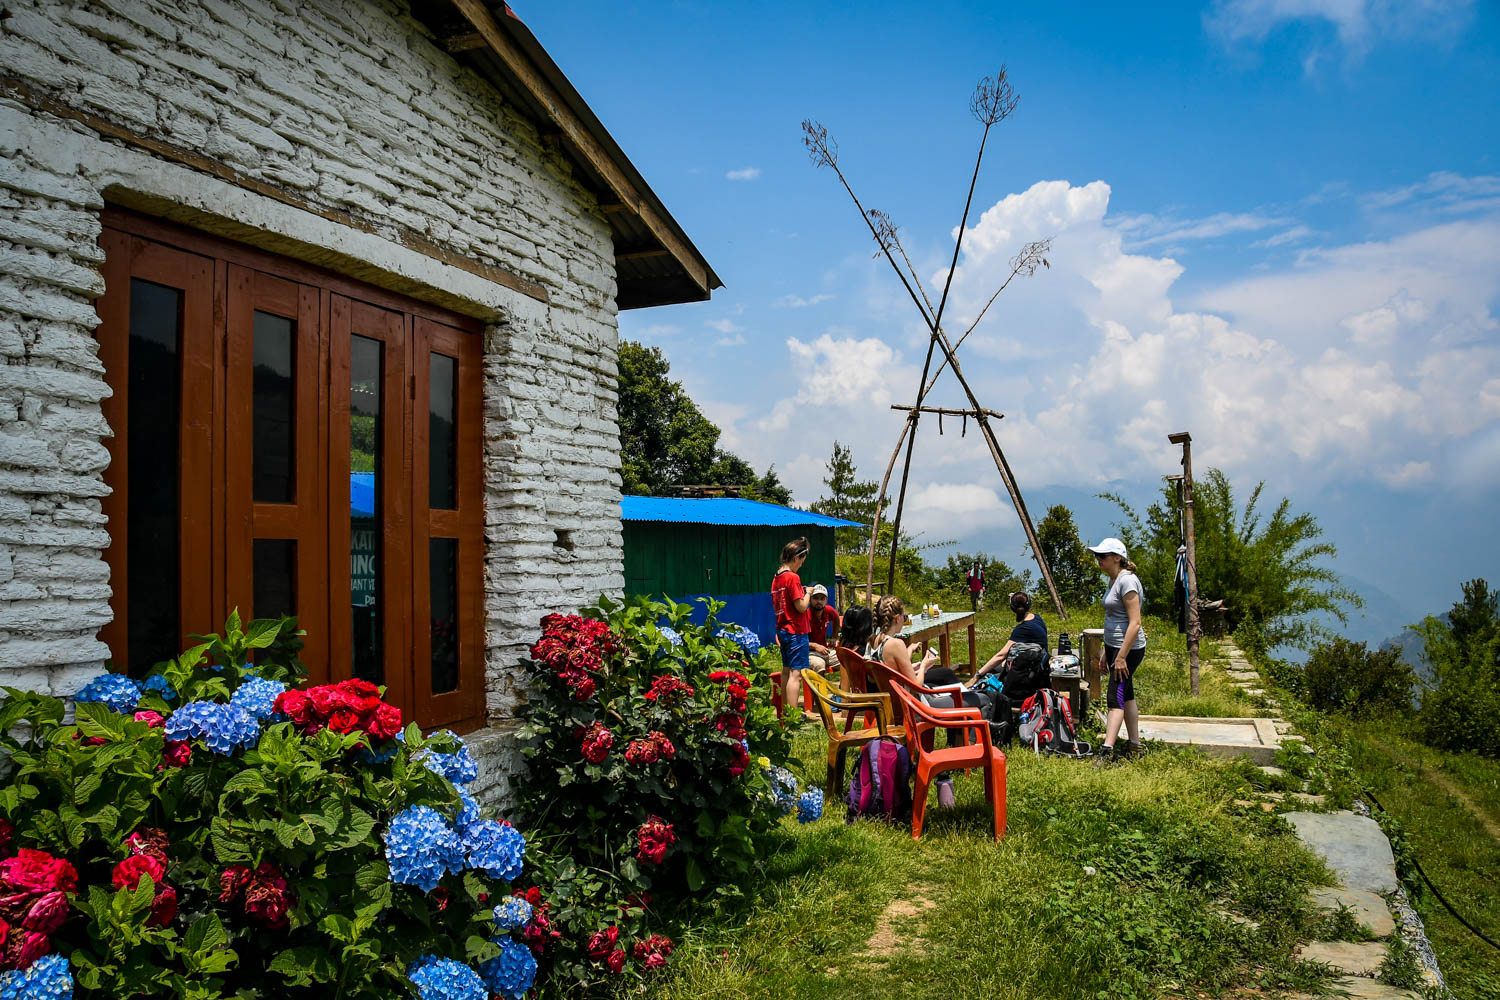
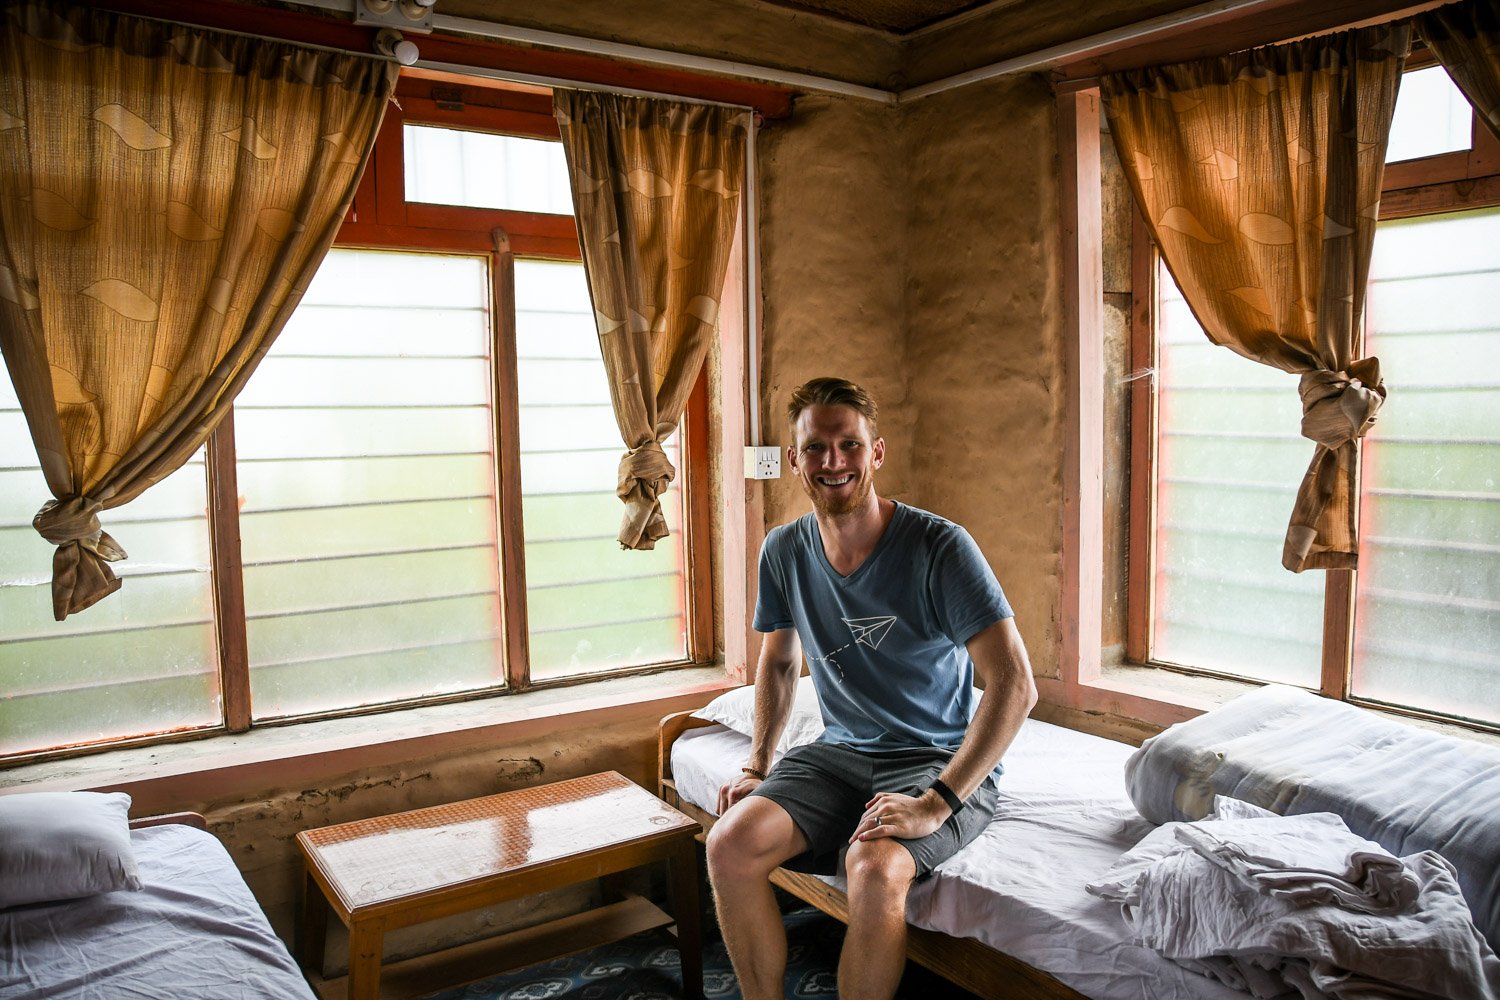
We arrived at the Nangi Community Lodge around 2:45 pm and were assigned to our double rooms. It was simple lodging with two beds and a table in each room. The bathrooms were on the end of the outdoor “hall”. Most of us took a hot showers (costs 150 NPR extra but worth it as it was our only hot shower on the trek), and we played cards to pass the afternoon by. There was no cell service in the lodge.
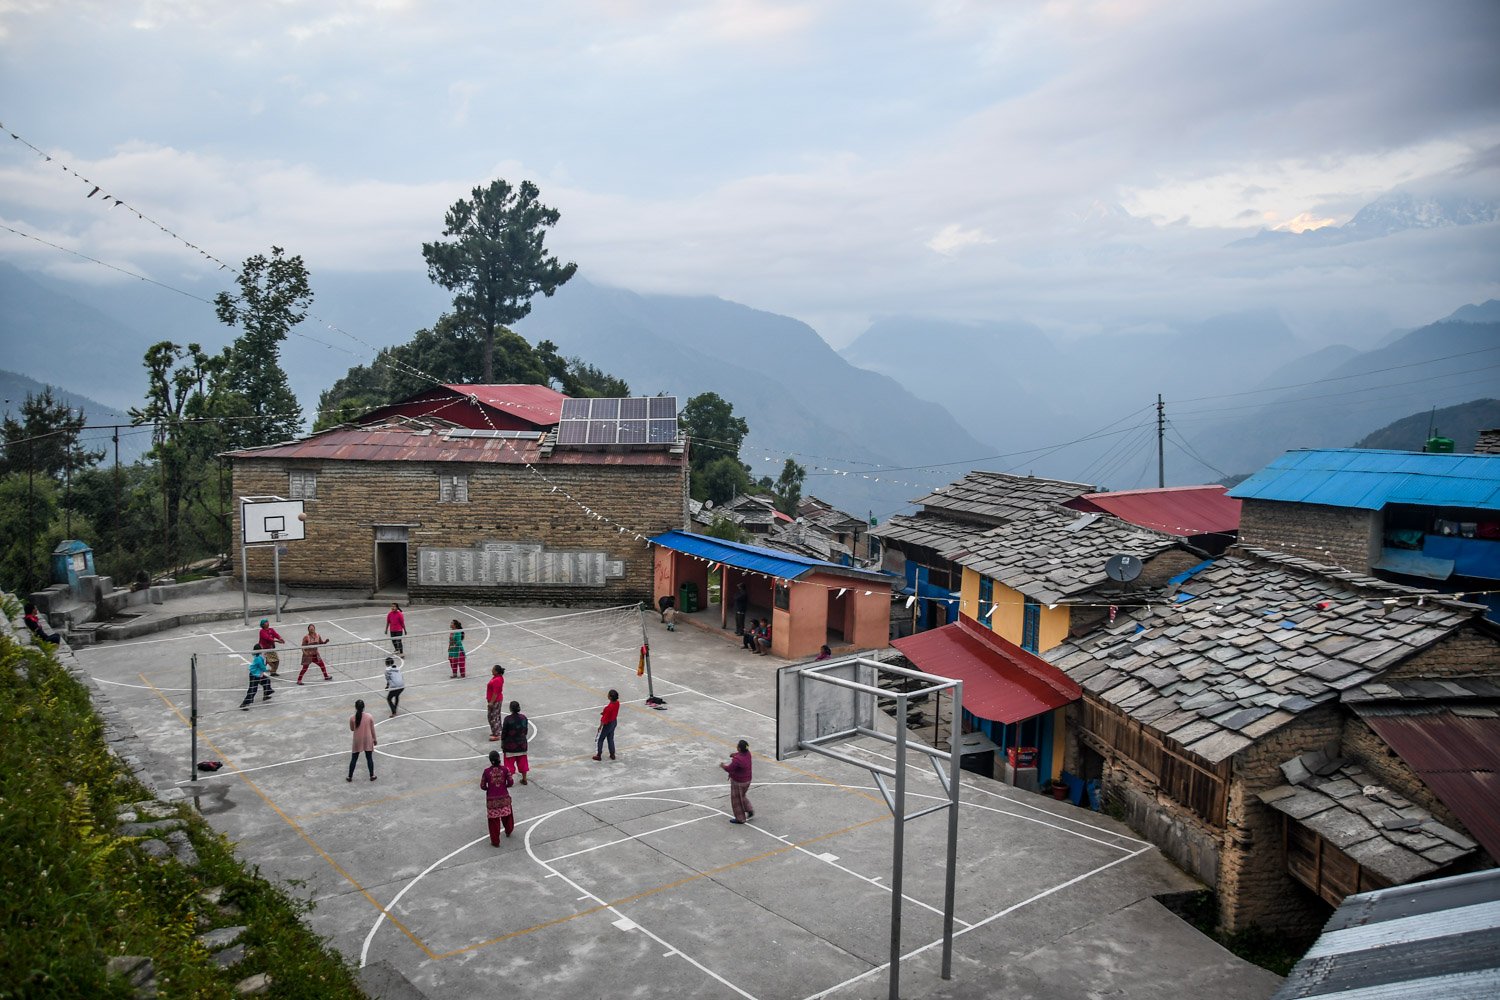
After awhile, our guide came and brought us on a 5-minute walk to the center of the Nangi community to watch the local boys play volleyball. There is a paper making factory in the village where the workers make paper out of locally grown plants. Unfortunately it was not open, but we were able to peek inside.
On our way back to the lodge, dusk was setting in and the clouds start to part revealing the peaks of Annapurna South and Dhaulagiri. It was amazing to see the sun shine pink and red on the snow-capped peaks just before sunset. We had a nice dal bhat and chow mein dinner and turned in for the night.


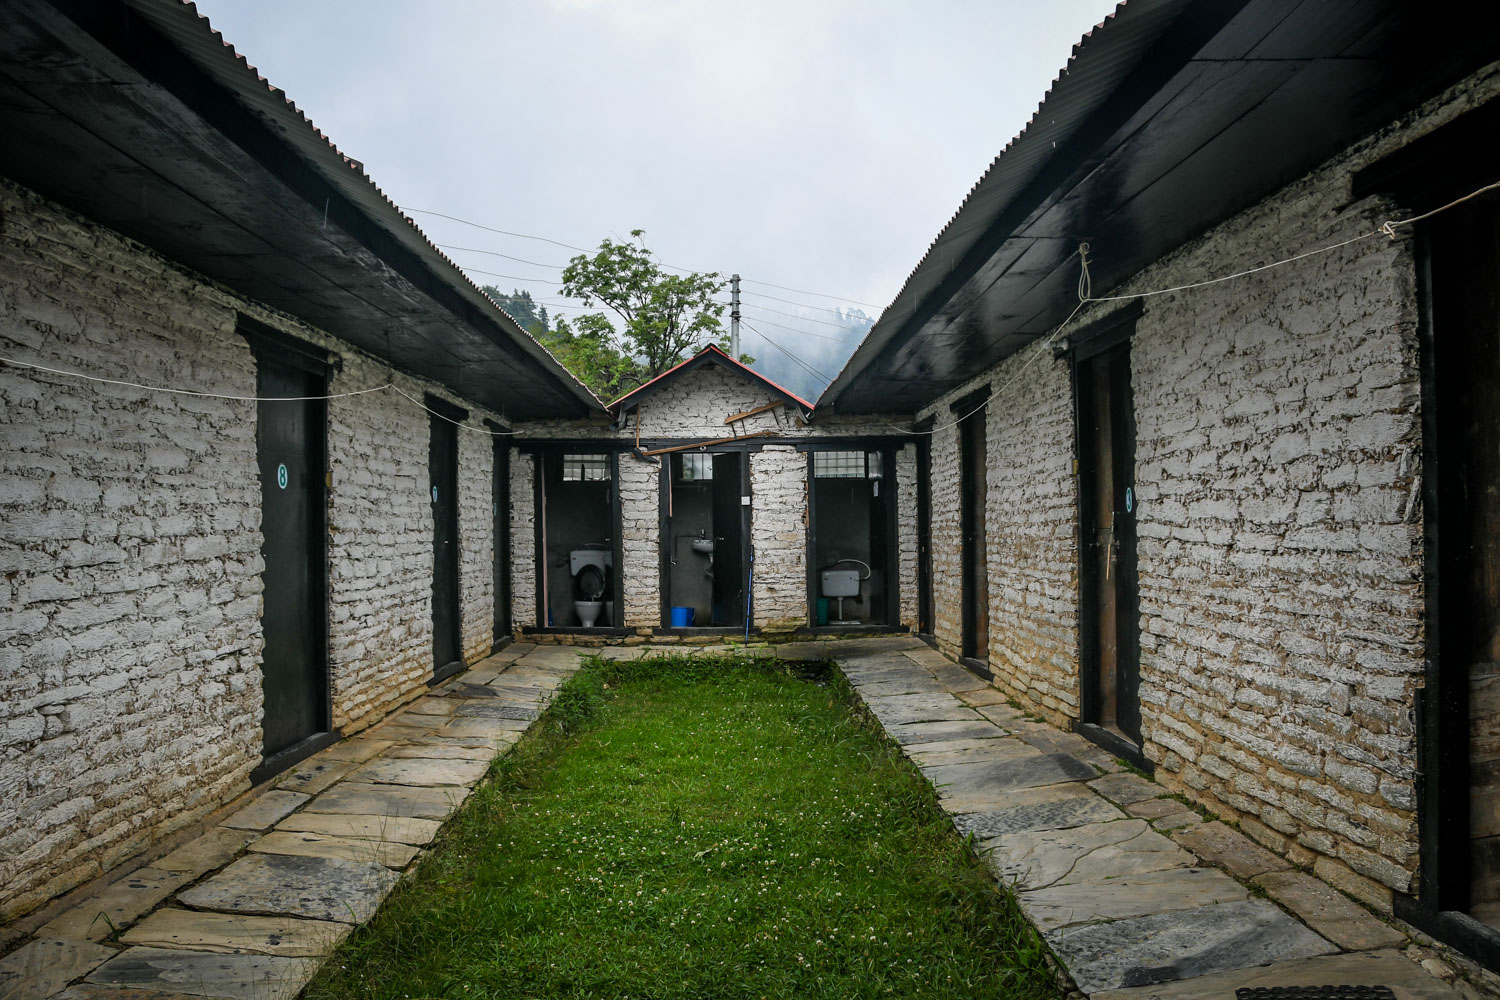


Accommodation: Nangi Community Lodge
This lodge has a large common area and simple double rooms all in a row in a separate building. This is the only accommodation on our trail that had hot showers for 150 NPR extra. The Nangi village and surrounding area has a population of about 1,500 people.
Day 3: Nangi – Mohare Danda







-
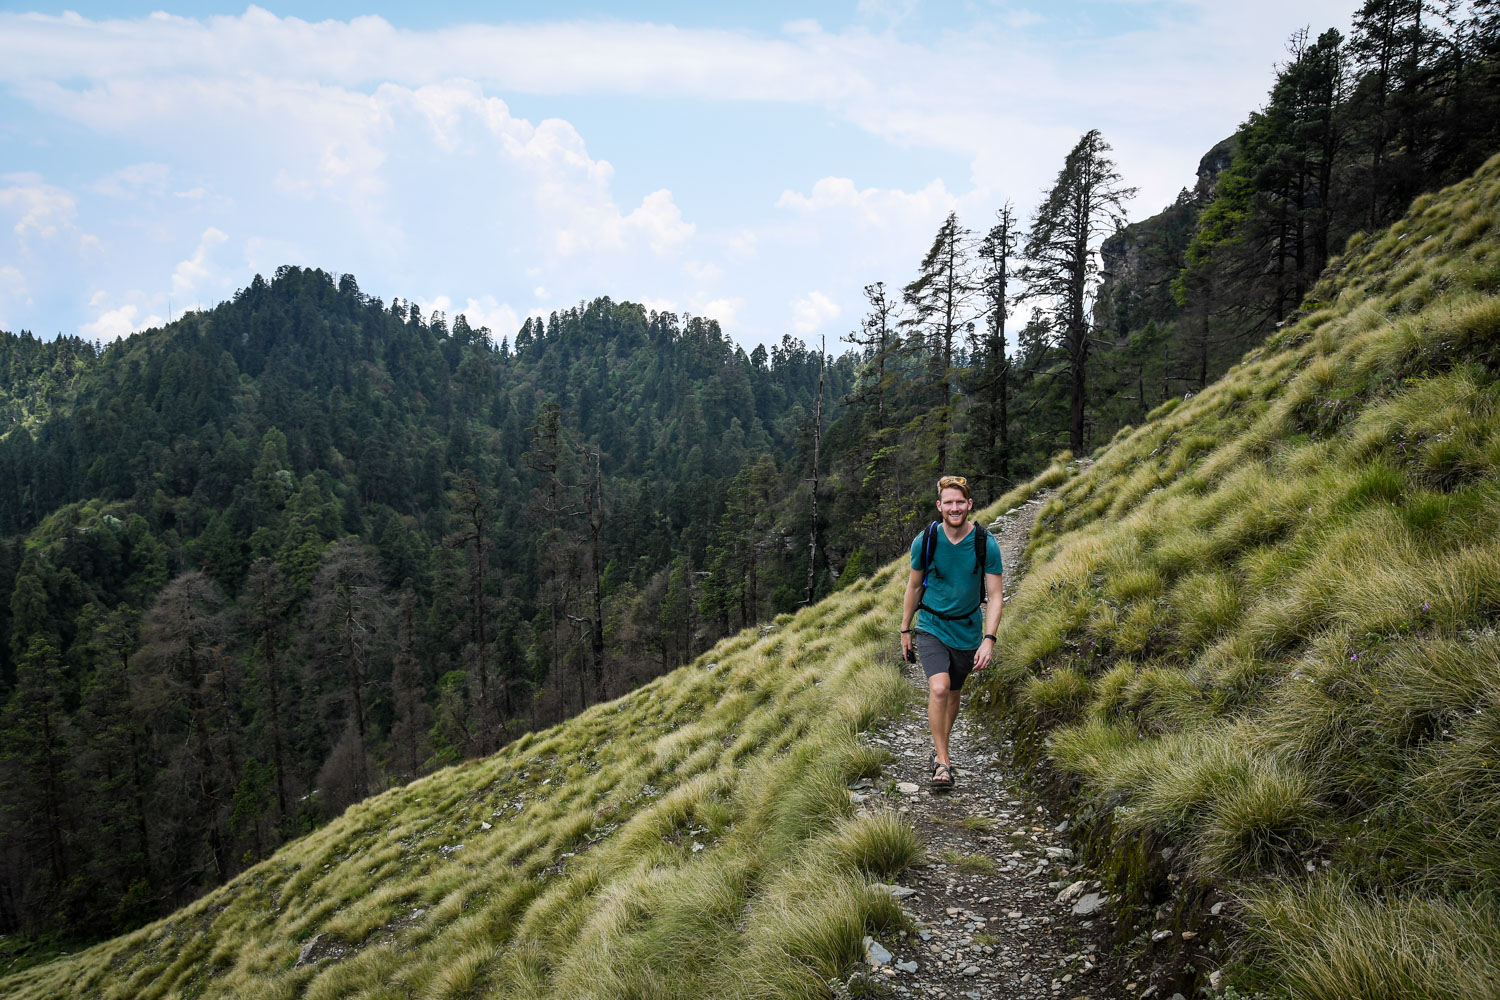
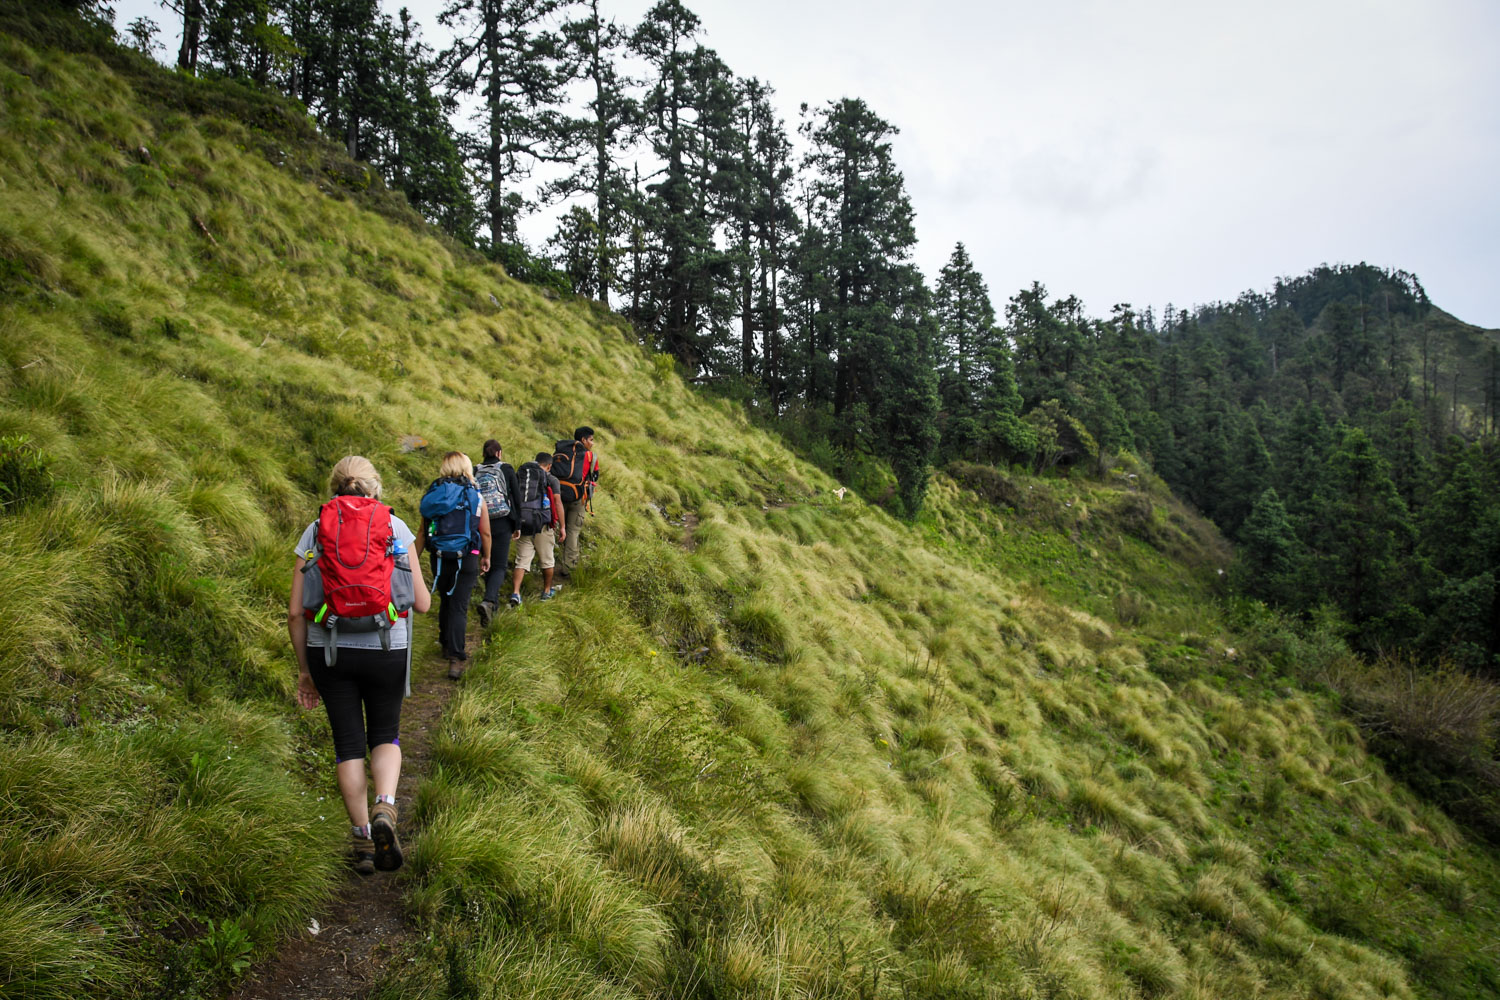
Description: Even though we gained 1,000 meters this day, it didn’t feel like it. The trail is mostly uphill, with intervals of flat trail in between the climbs. We passed through an evergreen forest and past the tree line with epic views of the valleys below. Also, we had to carry all the water we’d be needing with us, as there are no villages on this section of the trek.
-
Difficulty Level: Medium – Hard
-
Hours Hiked: 5.5 hours
-
Elevation Gain: 1,000 meters
We learned our lesson the first day and order the “set breakfast” today and it came with chapati, two eggs, veggies, and potatoes. We were not disappointed.
Our guide told us that at lunch we would not be able to buy more water, so we needed to stock up in Nangi. We were really kicking ourselves that our Steripen broke before the trip. It would have been very handy to sterilize the water from the tap, and not waste so much plastic.
We started out on the trail around 8:30 am and were hit with uphill right away. It tough but not as bad as the first two days. I’m not sure if our legs were just getting used to trekking or if going through the evergreen forest helped us with some shade, today’s hike was easier.
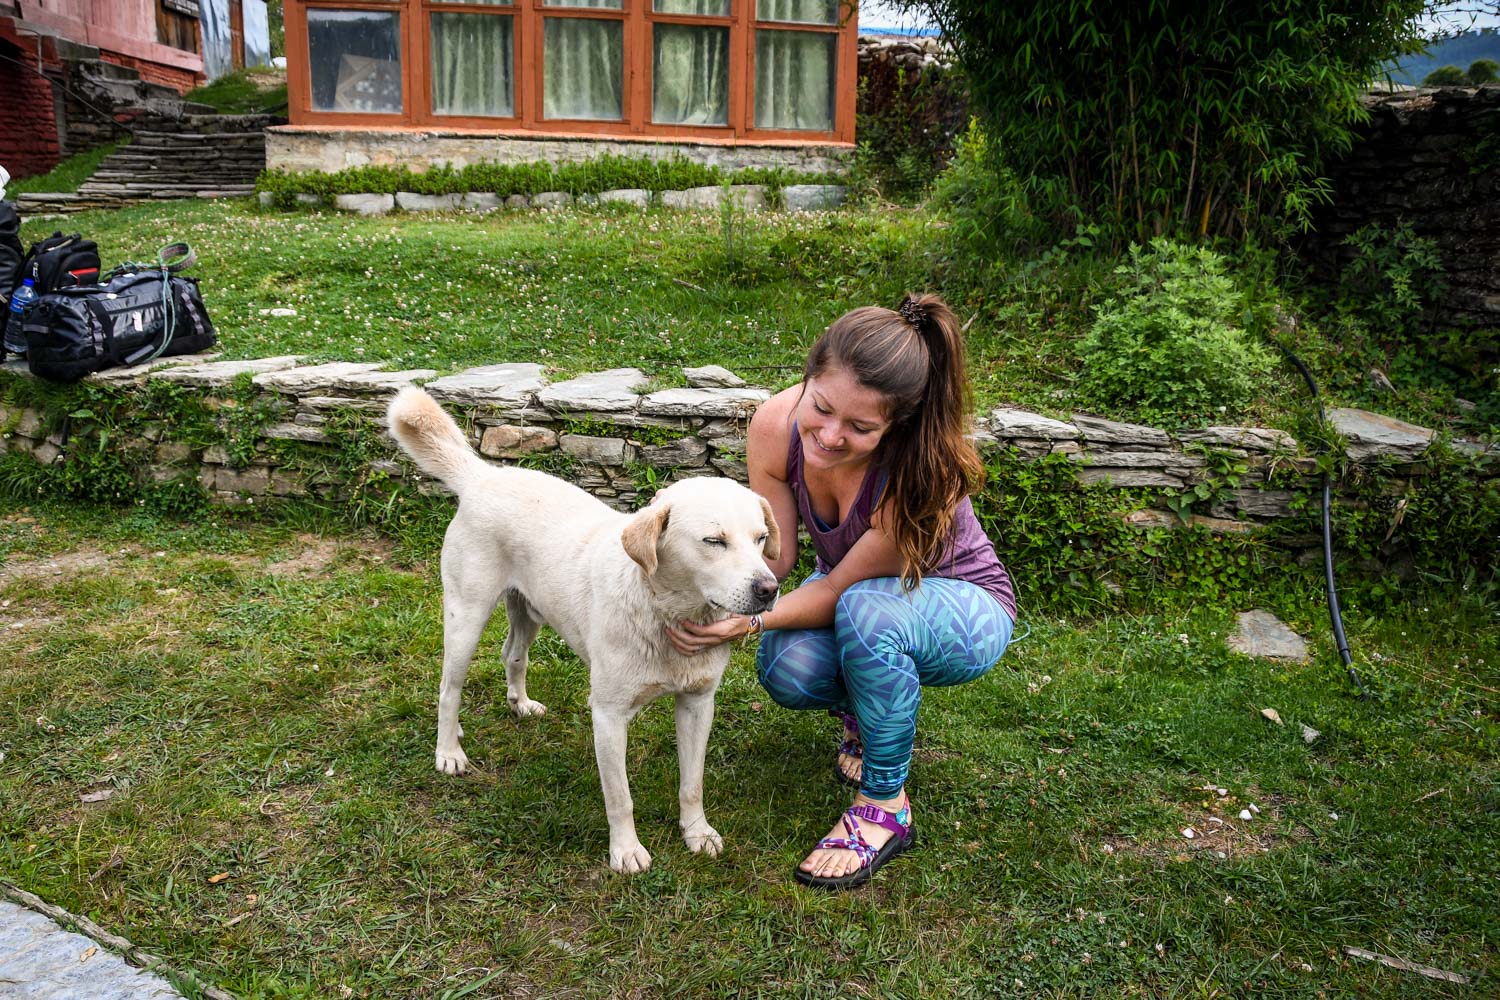
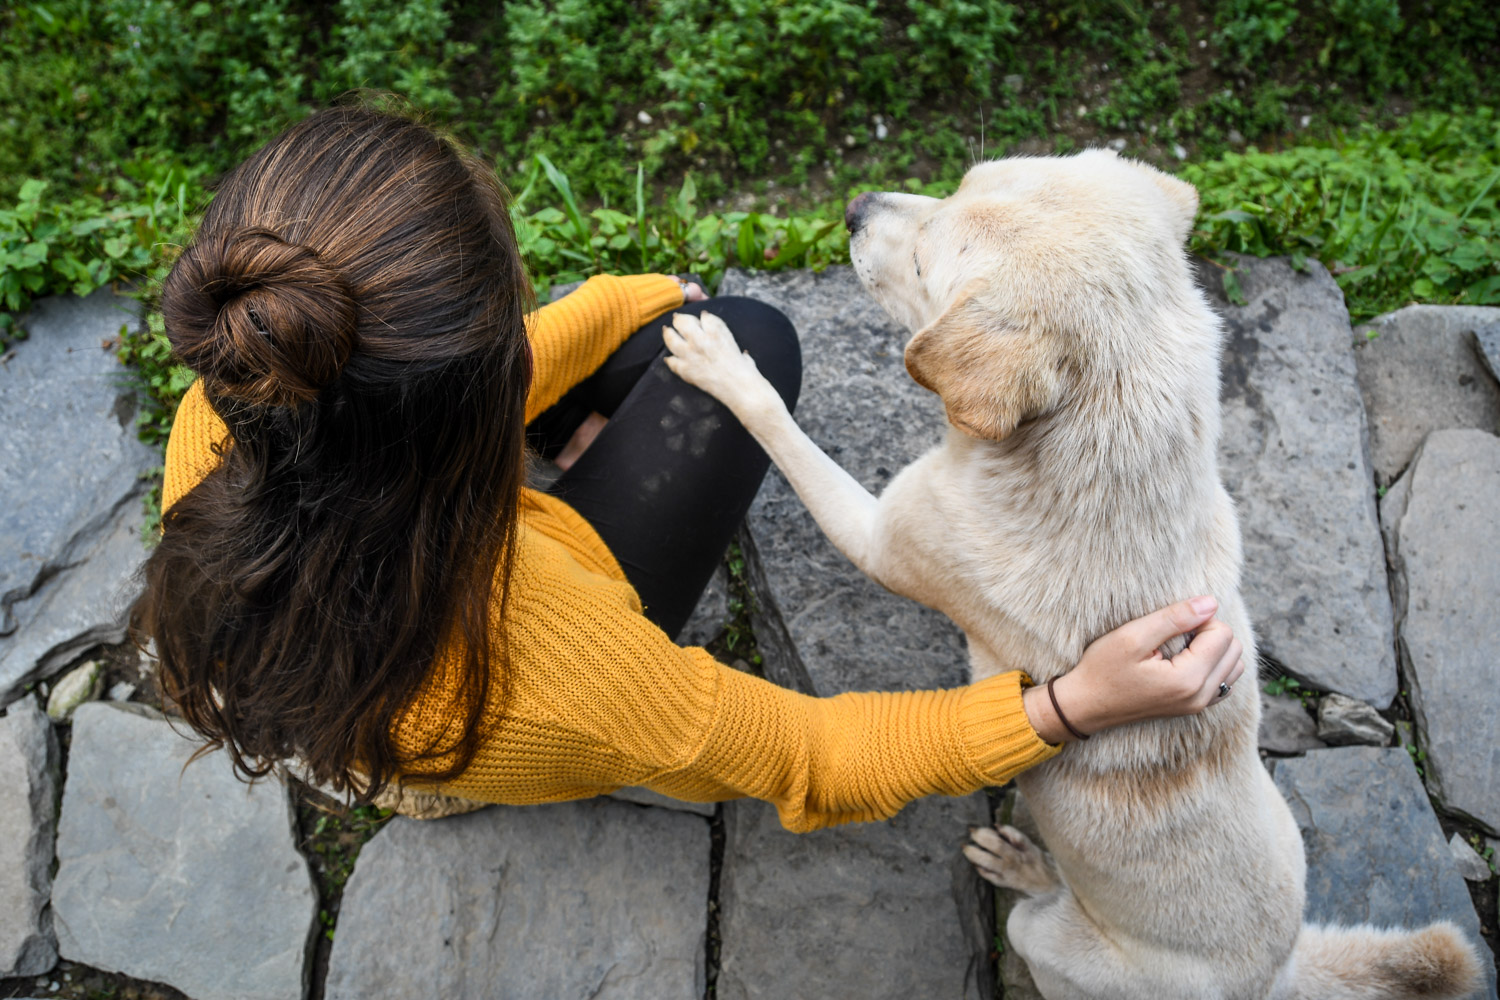
At the Nangi Community Lodge, we met a friendly dog that quickly became the mascot of our group. The porters called him Sete (which means white in Nepalese), a fitting name considering he’s a light haired lab. Little did we know at the time, Sete would keep us company for the rest of our trek!
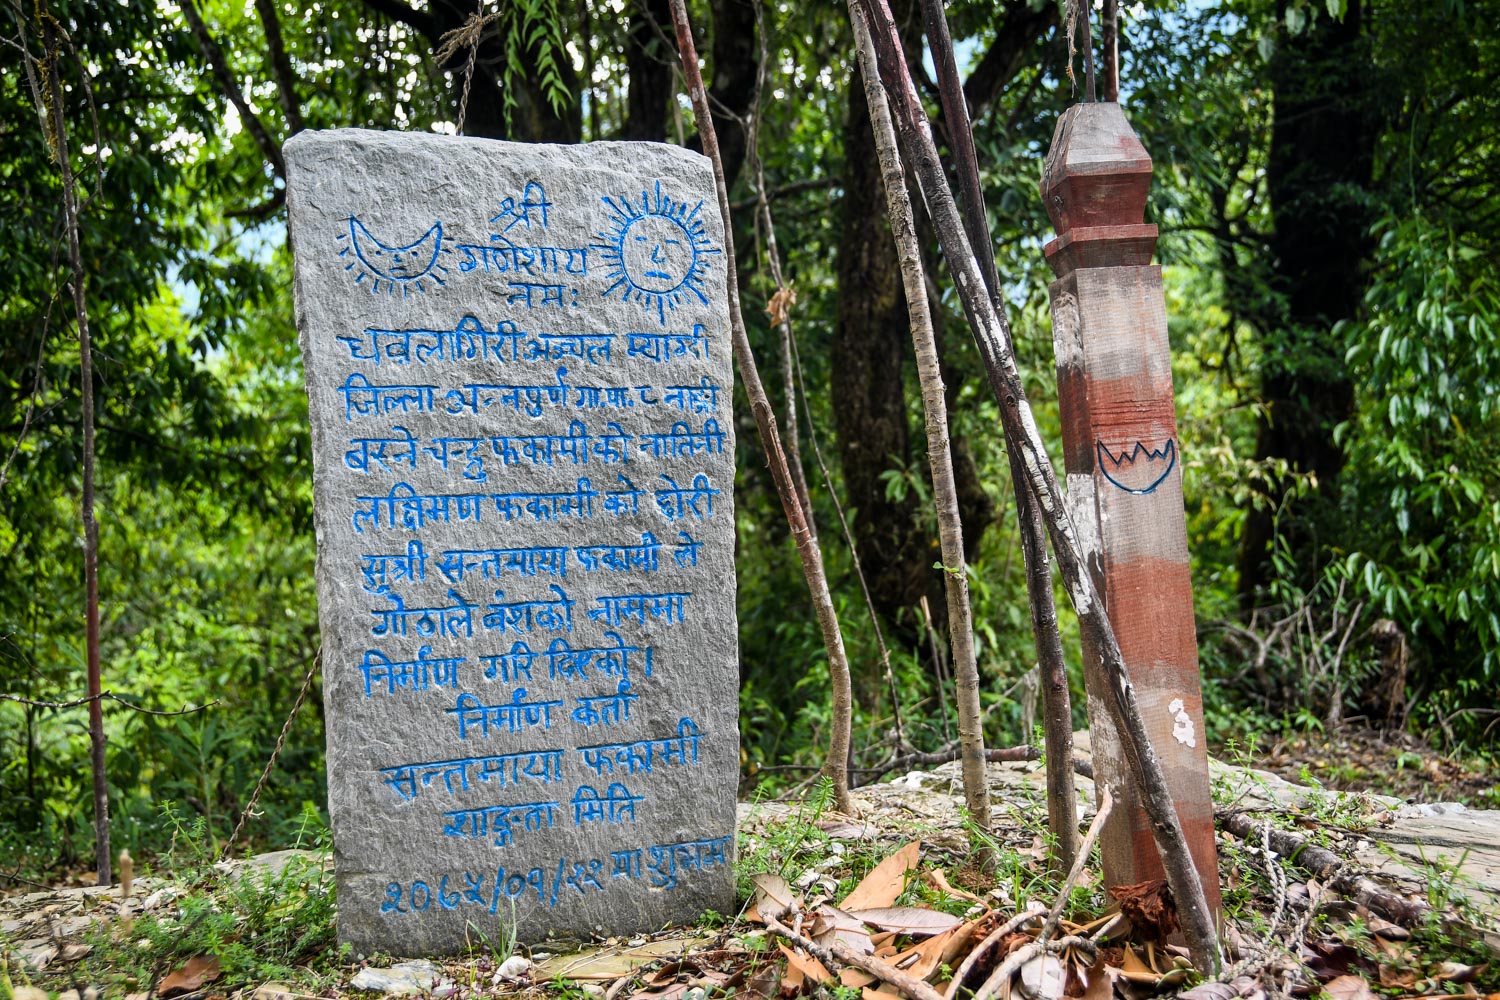
We would often take breaks and we would rest our bags on these rectangular stone structures with two orange trees growing out the top. Our guides explained that these were tombs or burials for people in the area who have passed away.
I looked closer at one of the tombstones and it read “Died: 2056”. What?!? Did somehow we time travel on the Mohare Danda?
Nepal actually runs on a different calendar, the Bikram Sambat Nepali calendar which is about 56 years and 8 months ahead of the Gregorian Calendar we use in the US and Europe.
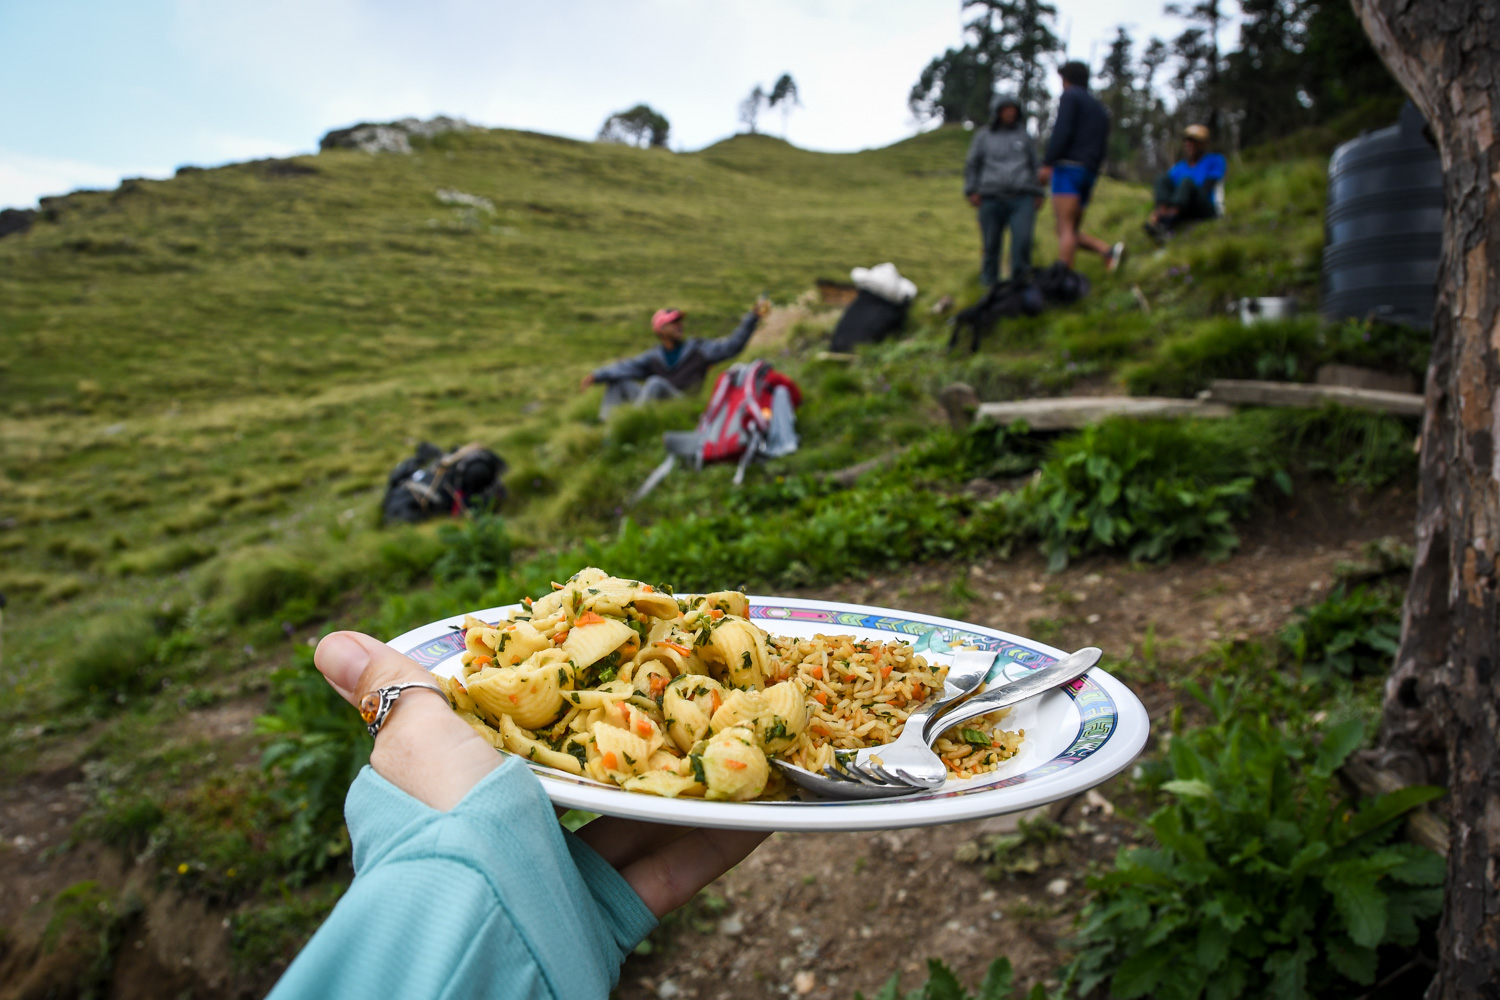
After the time travel scare, we continued uphill until we reached our lunch spot around 12 pm, which was a hut in the middle of the path. Convenient for us, but kind of a random spot. We filled our stomachs with pasta and fried rice with veggies and quickly gathered our things.
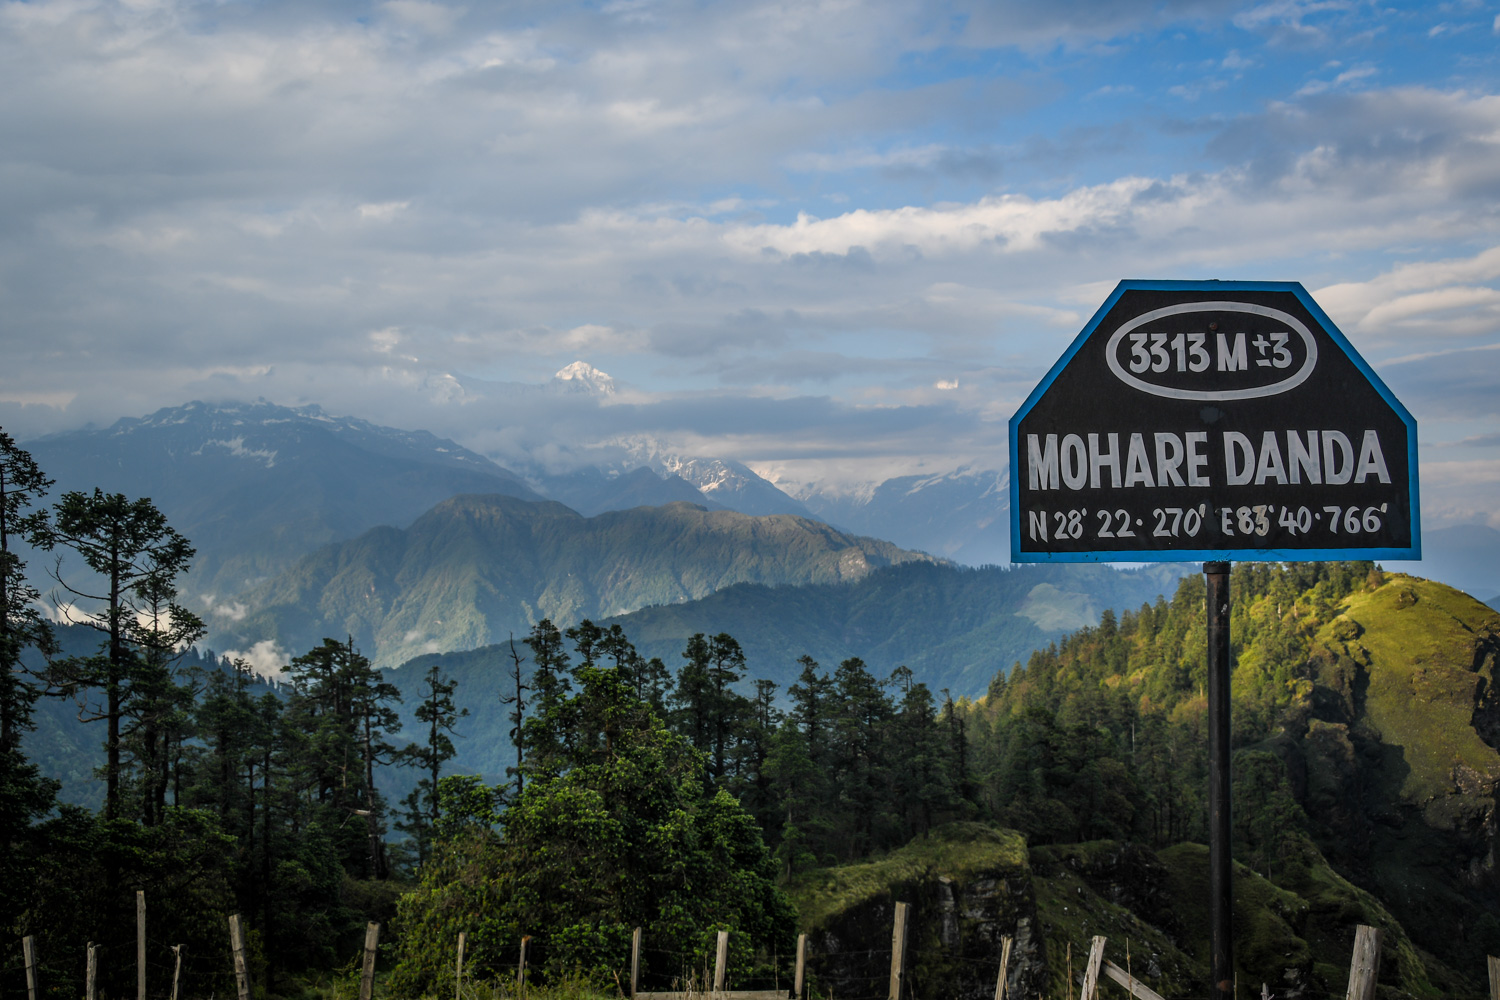
We continued another 2 hours on a Nepalese flat trail (up and down, up and down), until we reached the top at Mohare Danda Lodge! At 3,300 meters, this is the highest point of the trek.
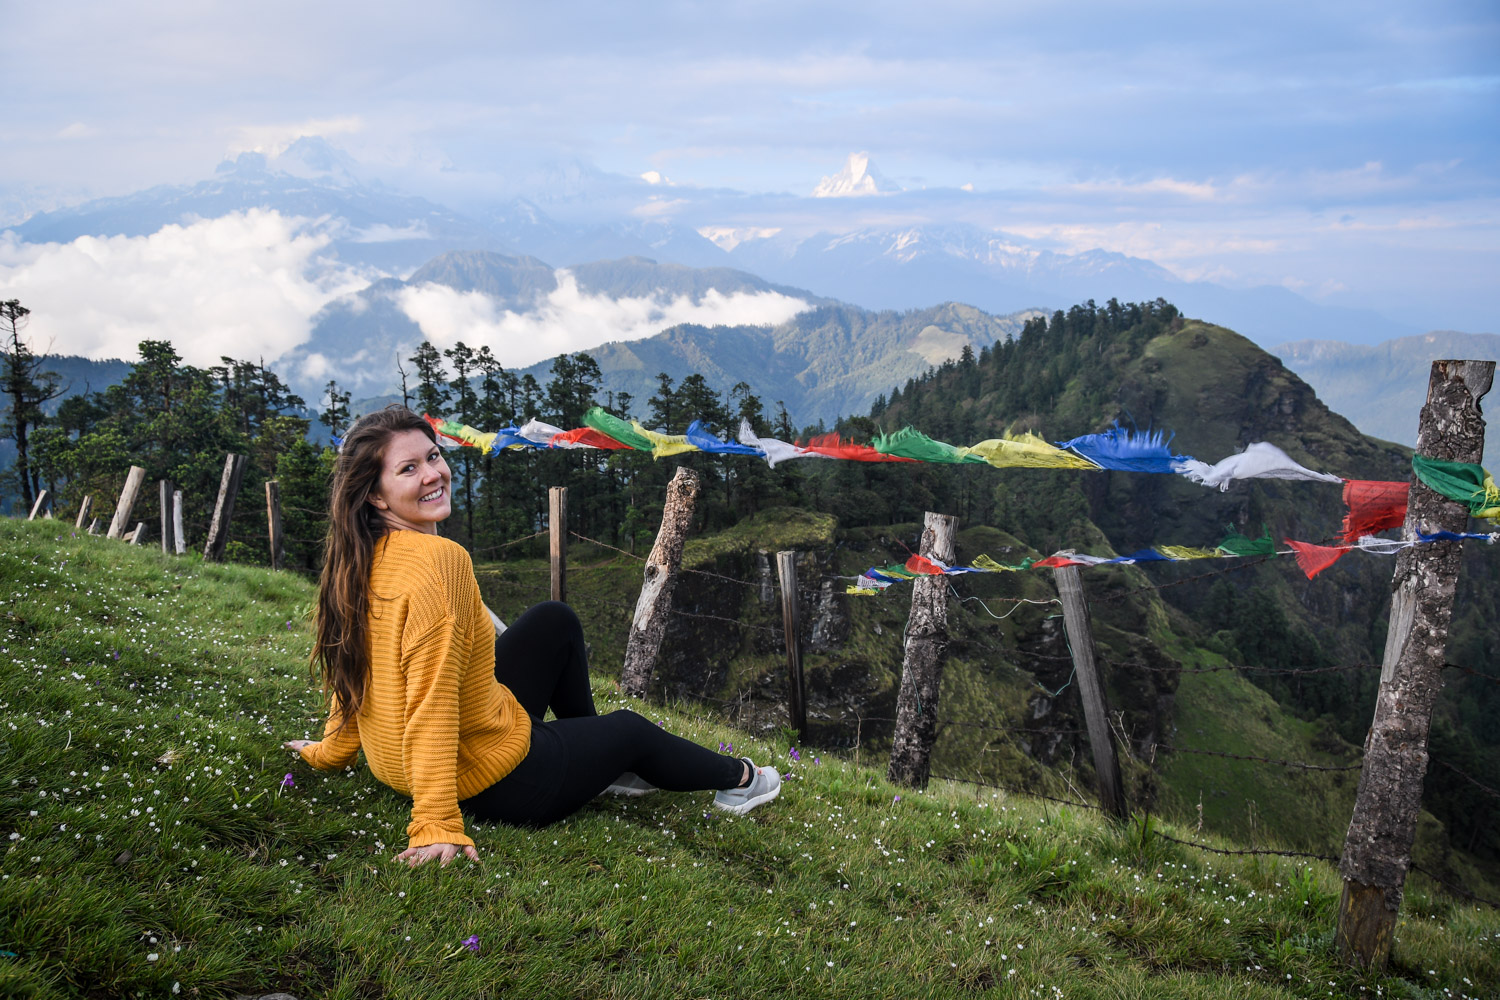
It was a little cloudy when we arrived, but on a clear day you can see the peaks of Dhaulagiri (8,172m), Nilgiri (7,061m), Annapurna 1 (8,091m), Annapurna South (7,219m), and Fish Tail Mountain (6,997m) which is sacred and no one is allowed to summit.
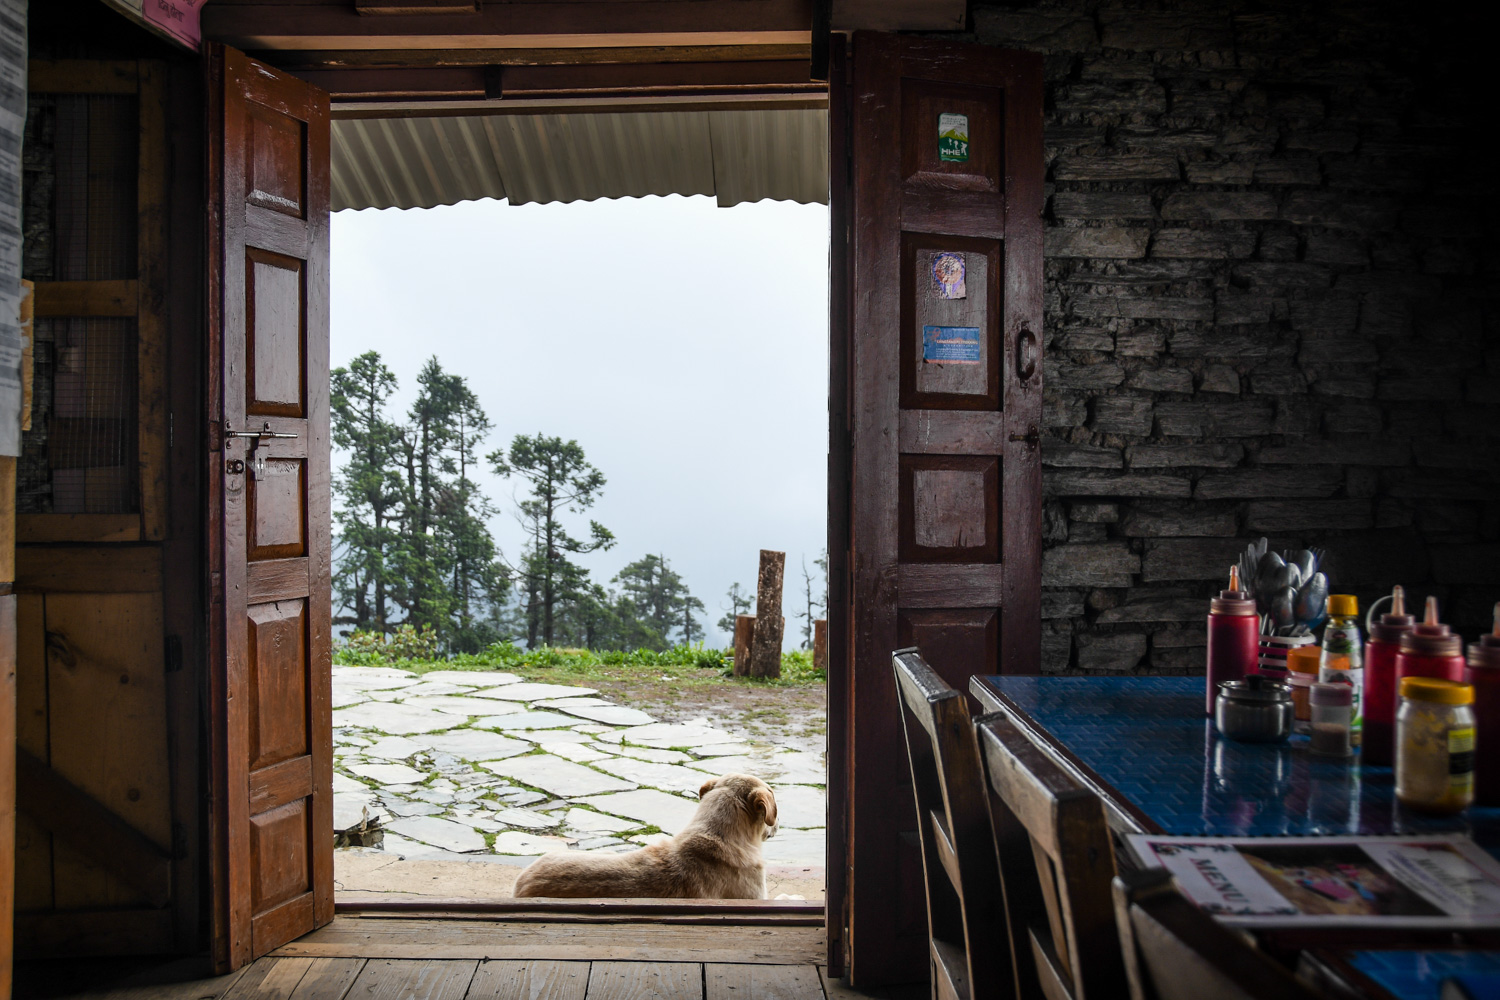
Inside the lodge we ordered mushroom soup because it was drizzling a bit and cooler outside. After we warmed up near the large wood-burning stove in the center of the lodge, we scurried down to our rooms to take a wet wipe “shower” and relax.
Fun Fact: Mohare Danda is the highest wireless internet relay station in Nepal, which allows the schools and hospitals in remote villages to connect to Kathmandu providing better healthcare to the region.
In the evening it started to rain so we all stayed inside the main lodge and had dal bhat and chow mein for dinner.




Accommodation: Mohare Danda Lodge
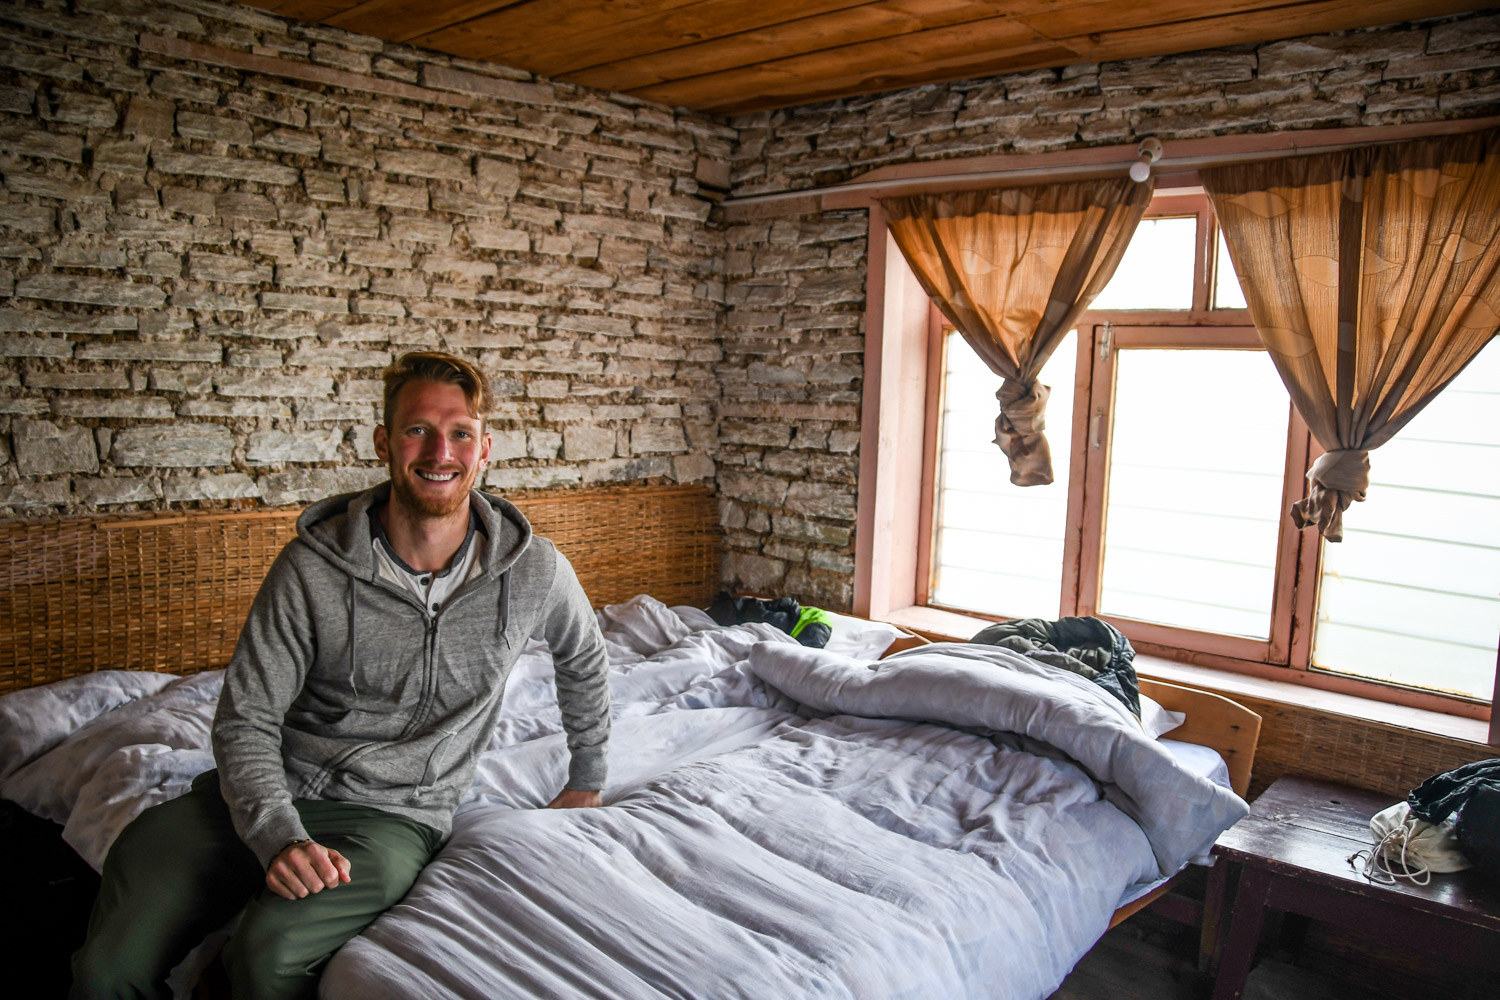
The rooms were in a very similar structure as the night before. Each room has two beds and a table and the bathrooms were down the outdoor hall. The main lodge was large with a big wood burning stove in the middle which we all cozied up to when the evening came.
Day 4: Mohare Danda – Tikot Village








-
Description: The rainy morning brought the leeches out as we walked down hill through a rhododendron forest and over streams.
-
Difficulty Level: Medium
-
Hours Hiked: 5.5 hours
-
Elevation Loss: 1000 meters
Throughout the night it rained, so we weren’t very hopeful when Ben woke up for sunrise (which is suppose to be Amazing!) and he came back soaked. We slept until breakfast at 7:15 and were planning to hit the trail by 8 am. But the rain didn’t let up until 9ish so we waited around until then.
On the way down it was drizzling a bit, but not bad enough to wear rain jackets. On the trail we could see the Poon Hill Lookout structure which looked like it was just the next set of hills over.
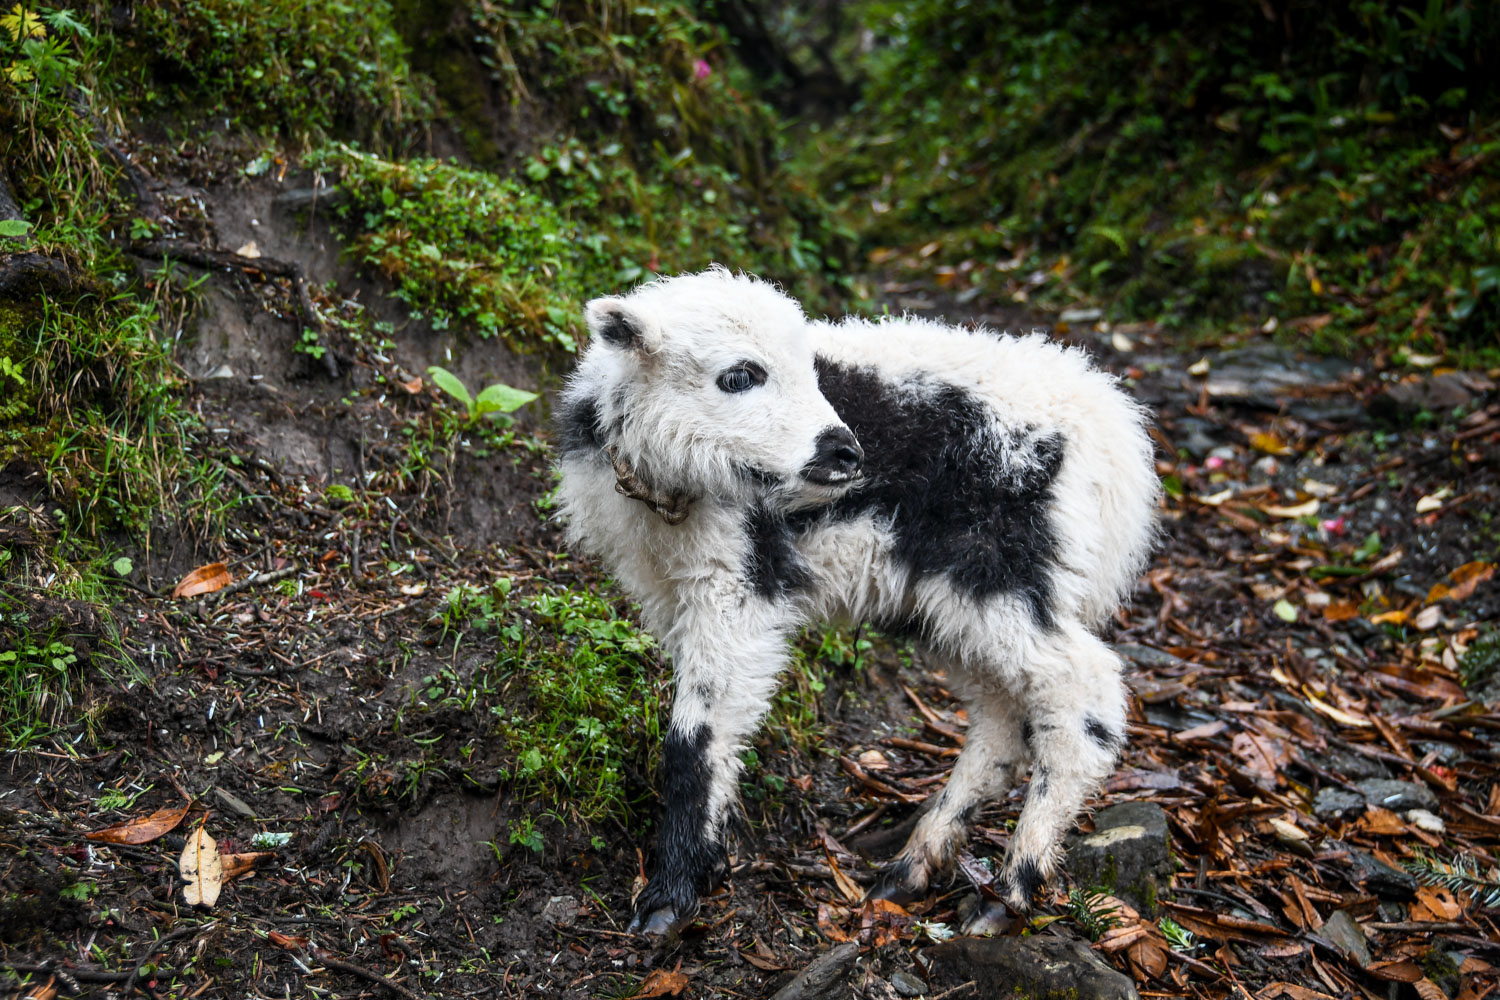
We passed by farmers bringing a herd of yaks uphill including a few baby yaks which were adorable.
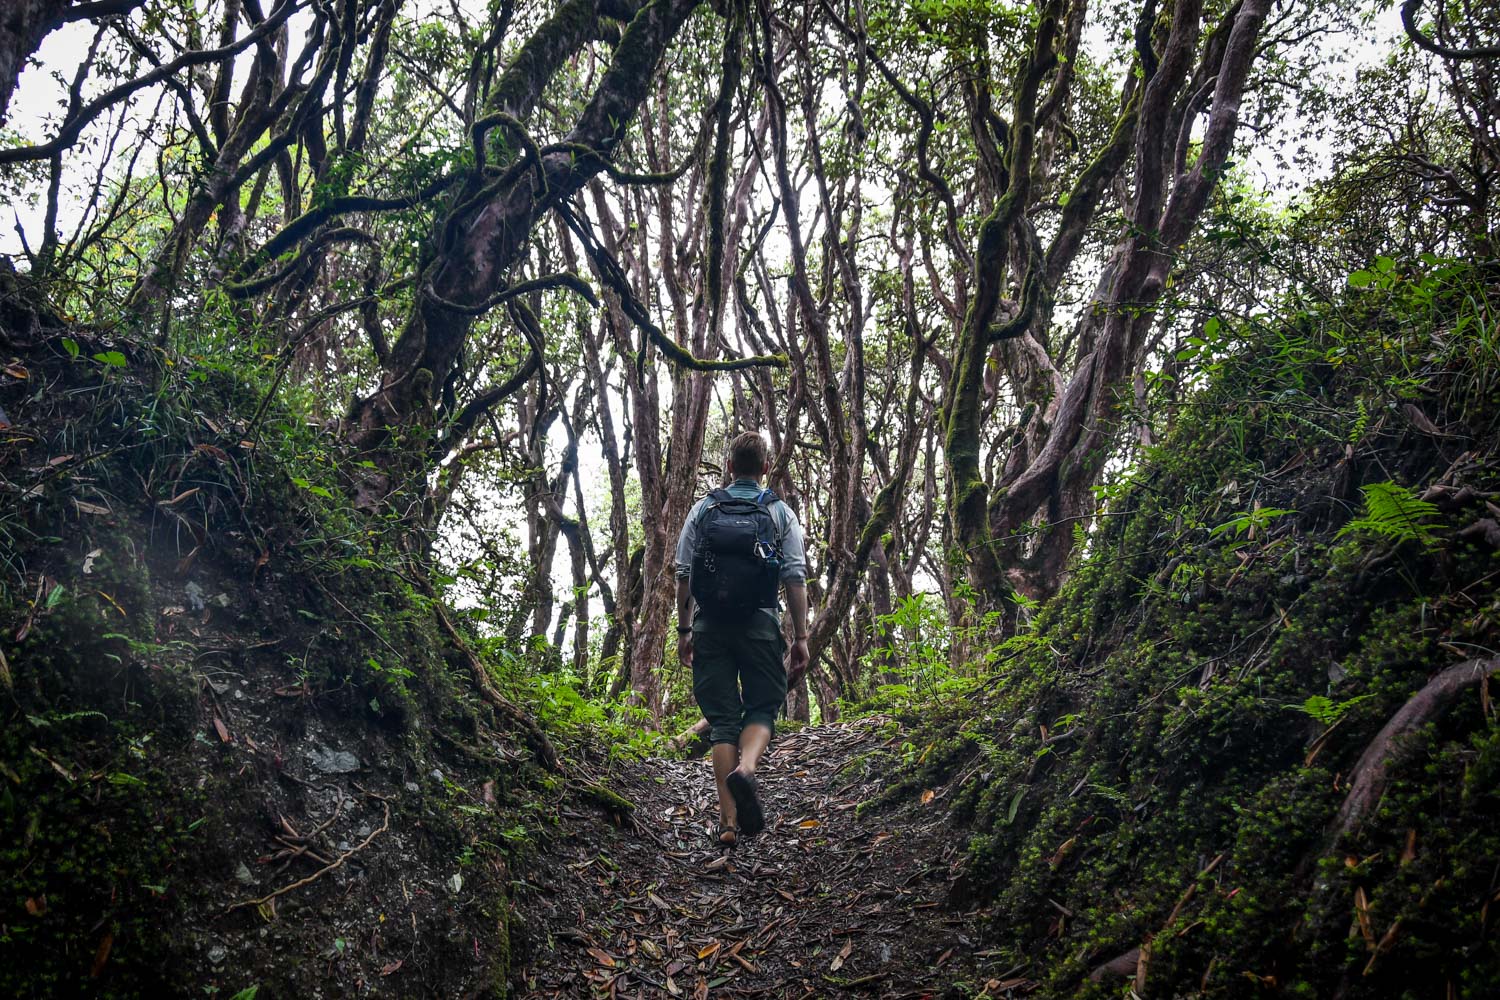
About an hour or so into the hike, we entered a rhododendron forest which felt like we stepped out of the wardrobe and into Narnia. Loads of colorful barked trees formed a thick overhead canopy lined our hiking trail which would be really nice on a dry day. But since it had rained the night before, and there was tons of leaves on the ground, there were leeches everywhere and trying to attach themselves to our shoes.
At first it wasn’t too bad, but the leeches got worse and worse the deeper we got into to the forest. Turns out the leech season just started in the region (only June and July) so we were the “lucky ones” (you might say, fresh blood).
To make matters worse, we both stepped in fresh yak poo while trying to avoid leeches. We both did it within 20 seconds of each other which was pretty hilarious!
The struggle with the leeches lasted for about two hours. We’d briskly walk through the leaves for a minute or two and then stop on a rock to check if any attached. Jump down to our Leeches section (can’t believe we have a leeches section) to learn more about how to remove them on the trail.
The trail eventually connected with a road which we traveled on until the village of Tikot. Once in the village we got a late lunch of (you guessed it) dal bhat and chow mein around 2:45 pm (would have been earlier if we didn’t wait for the rain to stop in the morning). We then were guided to our homestay for the night.
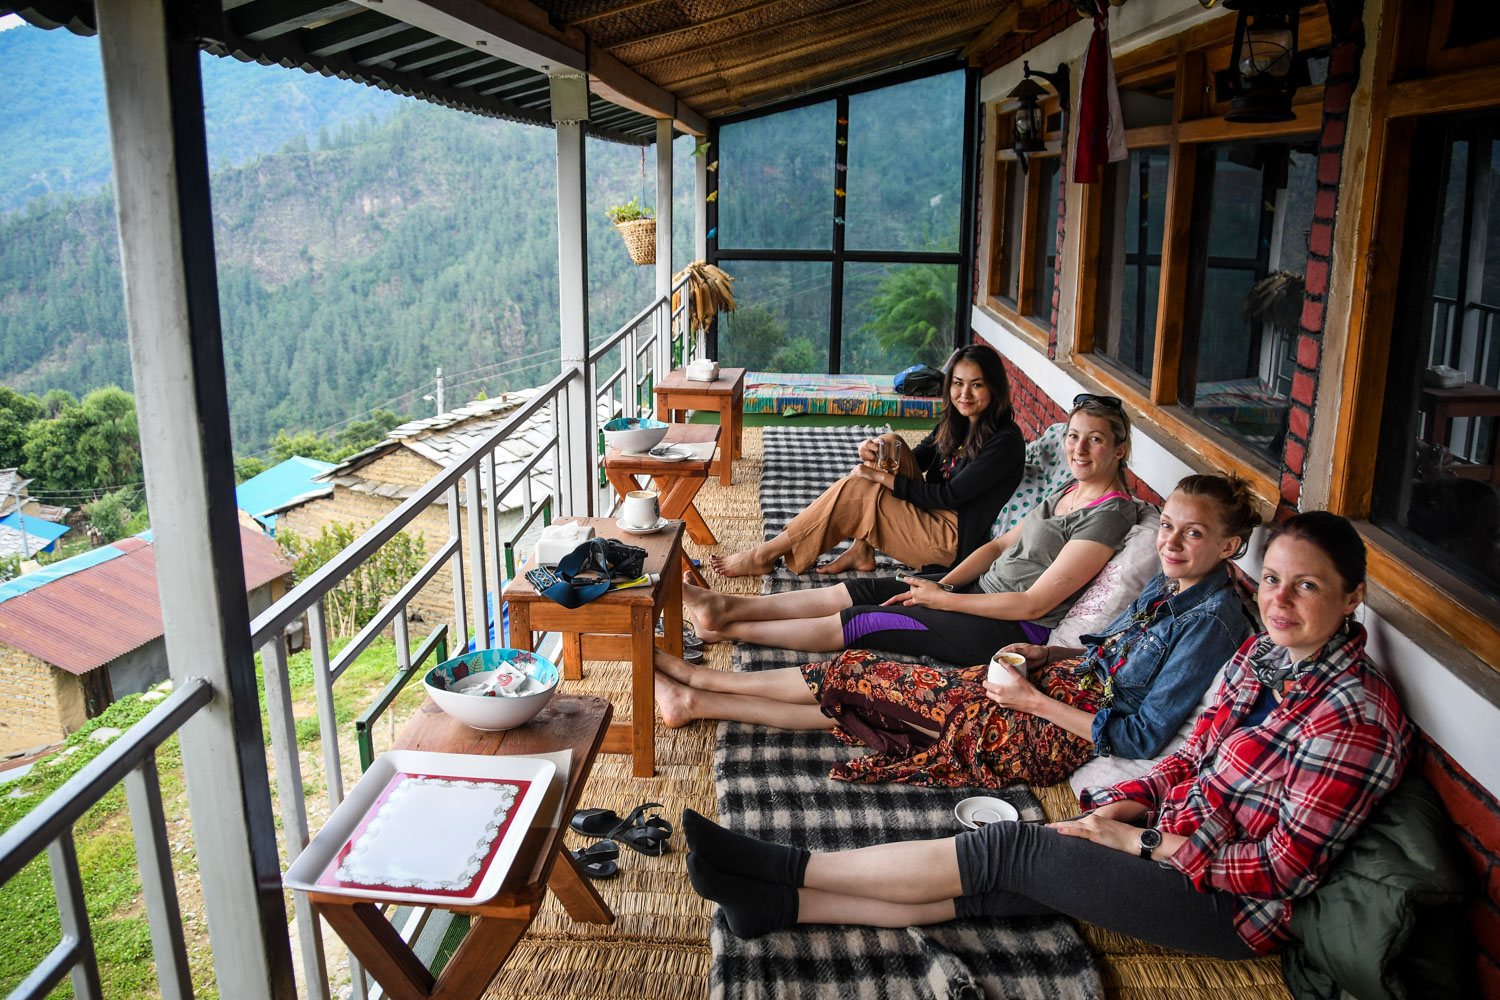
We had a wet wipe shower and headed to the Lantern House Cafe for an afternoon latte. We watched the clouds roll over the mountains while sitting in on the top porch of the cafe.
We met up with everyone in the Tikot Community Dining Hall for dinner, and went back to our homestays for the last night.




Accommodation: Homestay in Tikot
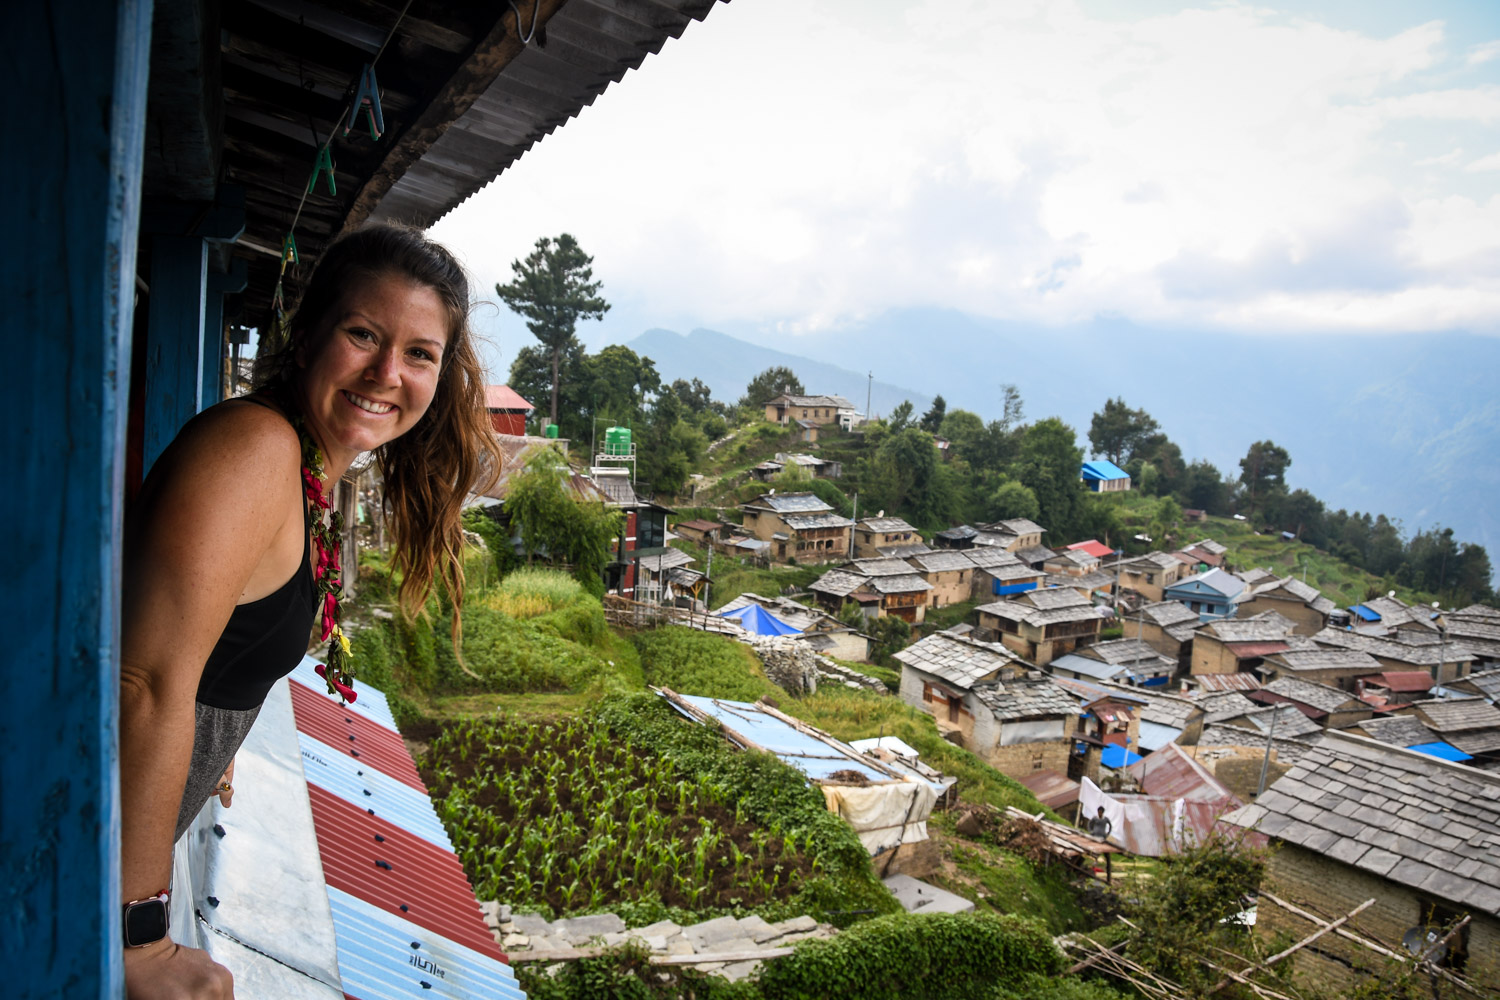
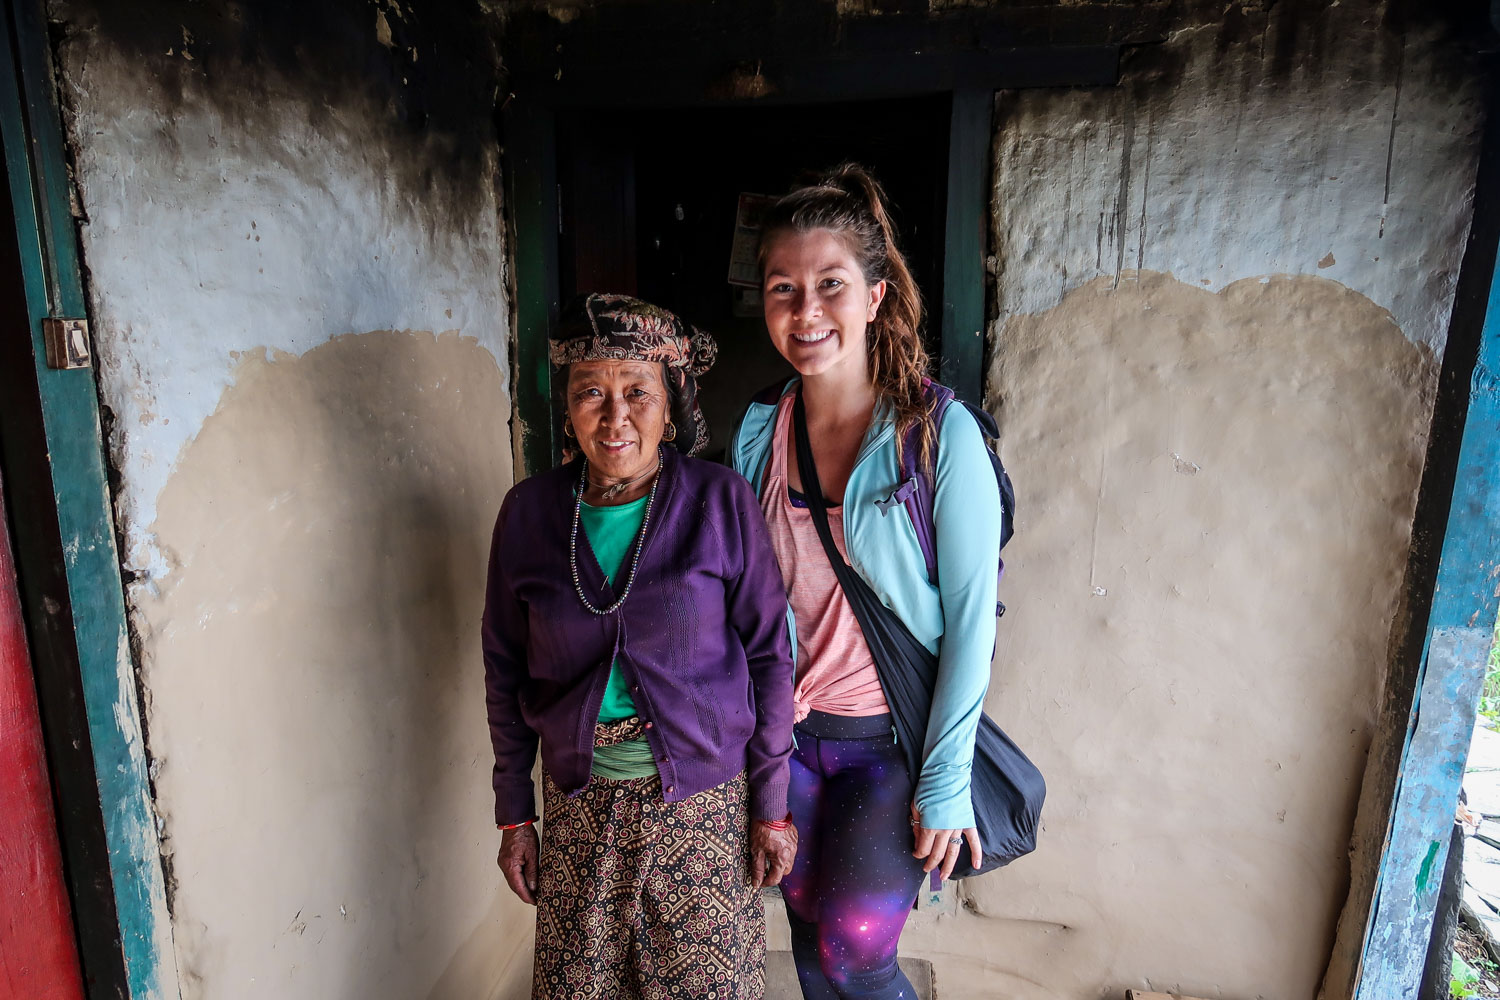
In Tikot, our group was separated into two’s and we each stayed in a homestay room. Our room was in the upstairs of a kind elderly couple’s home. It was simple, but the tricky thing was the bathroom was farther away than the other lodges. We have to go downstairs, past the goat pen, around the corner, and past the chicken coop. I was not fun doing that in the middle of the night.
We had a nice night sleep, and in the morning the homestay mother brought us tea to drink. It’s expected to tip at homestay about 200-300 rupees ($1.80-$2.70 USD) for the night per person.
Day 5: Tikot – Bashari – Pokhara






-
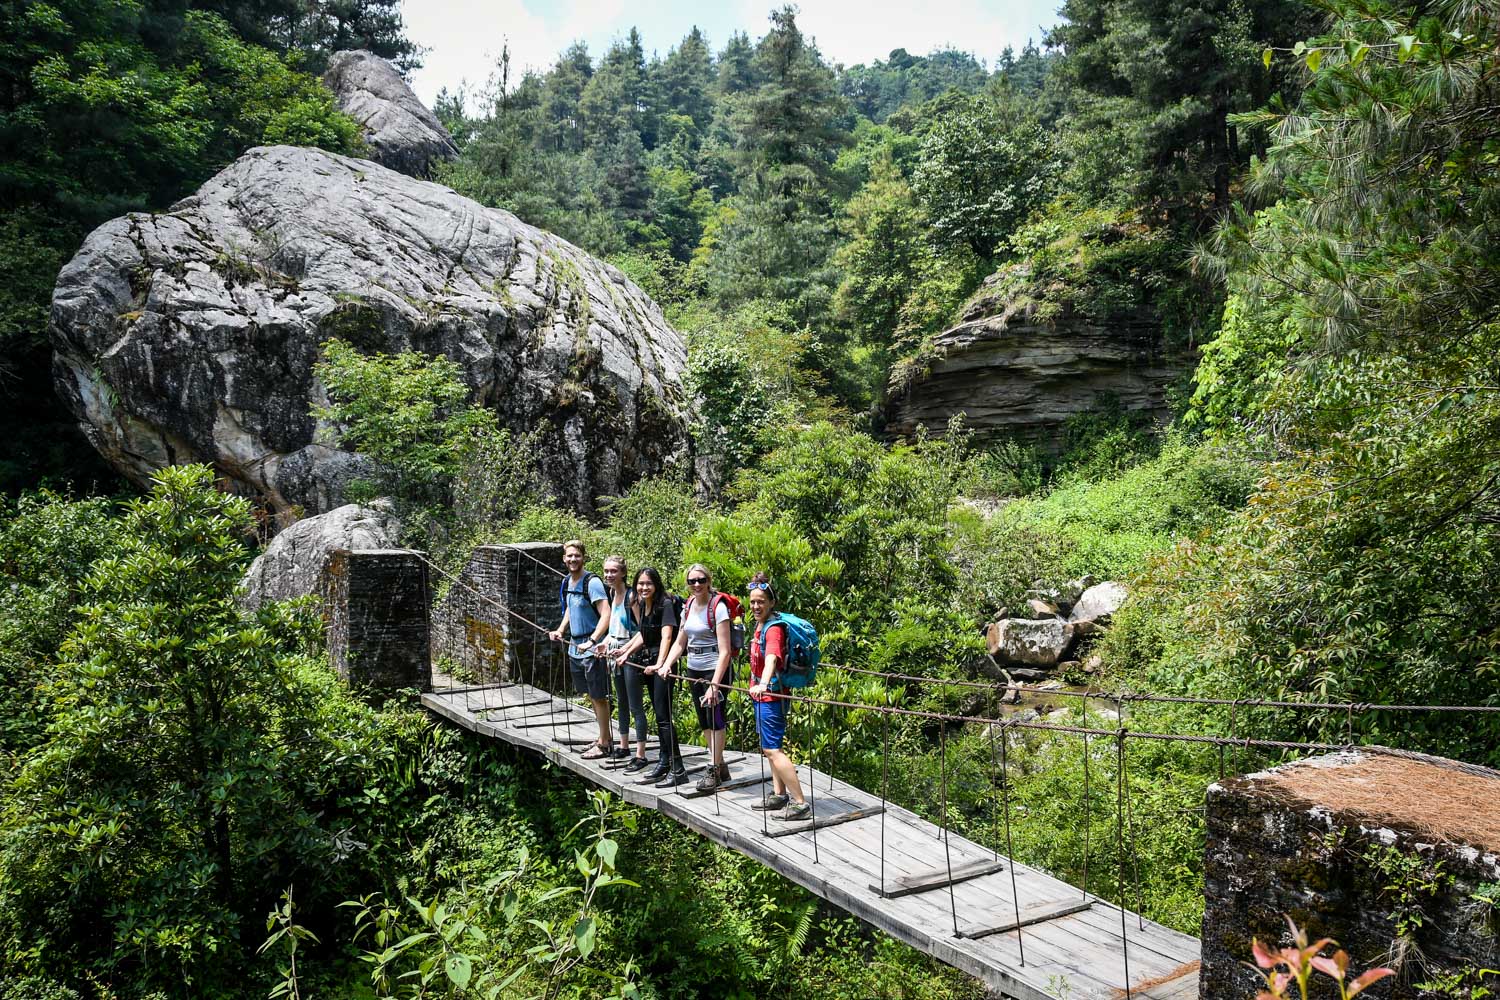
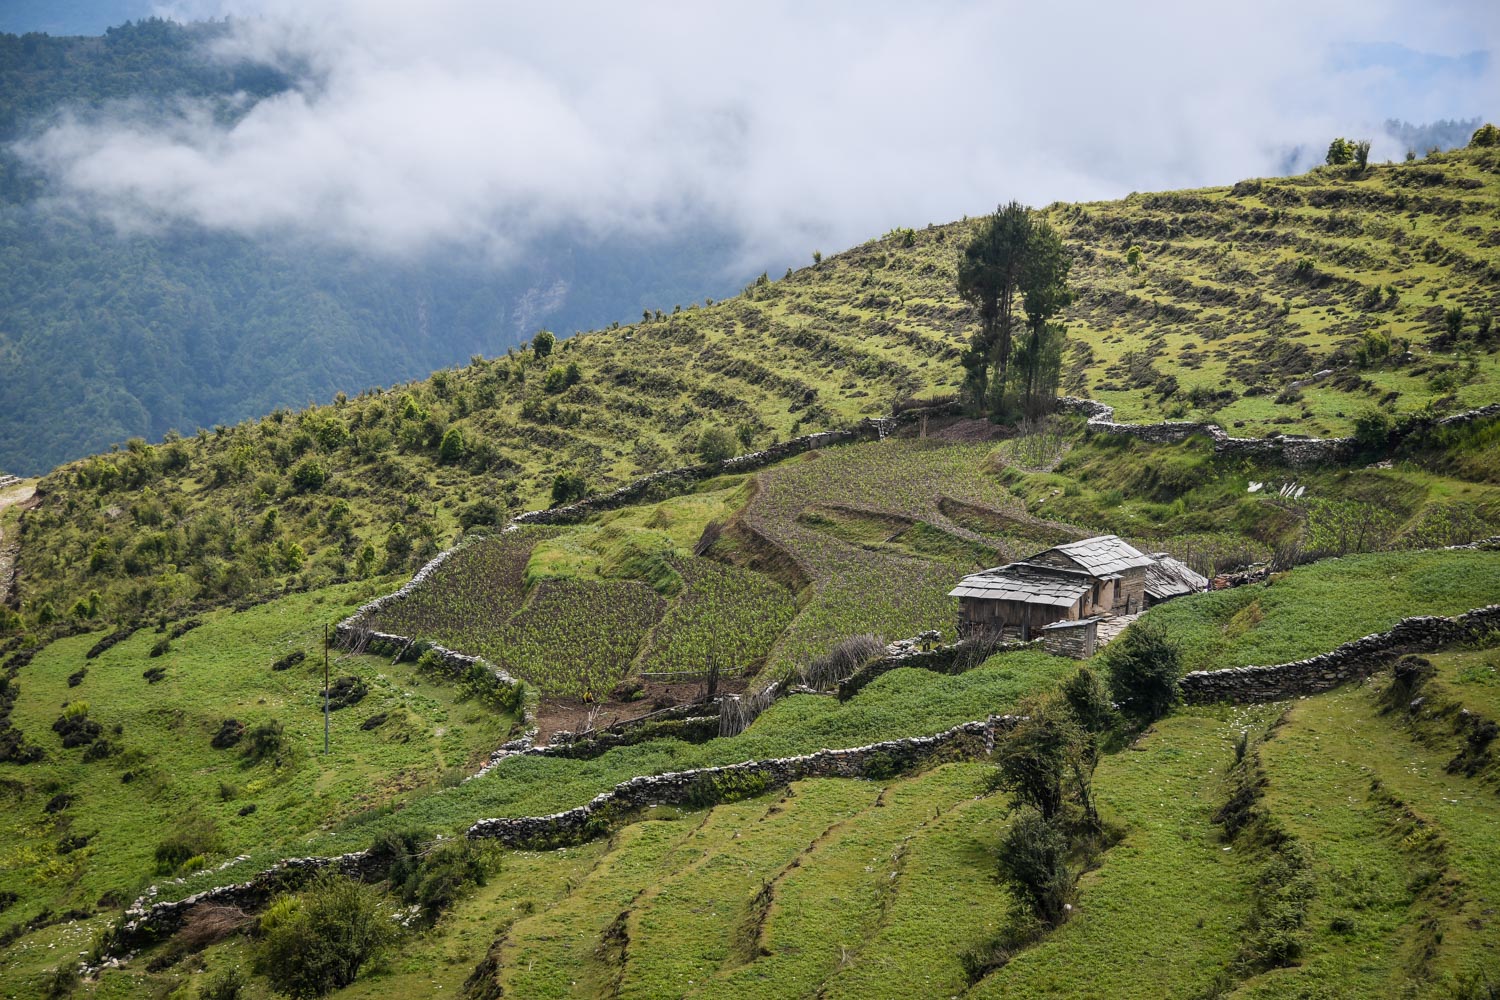
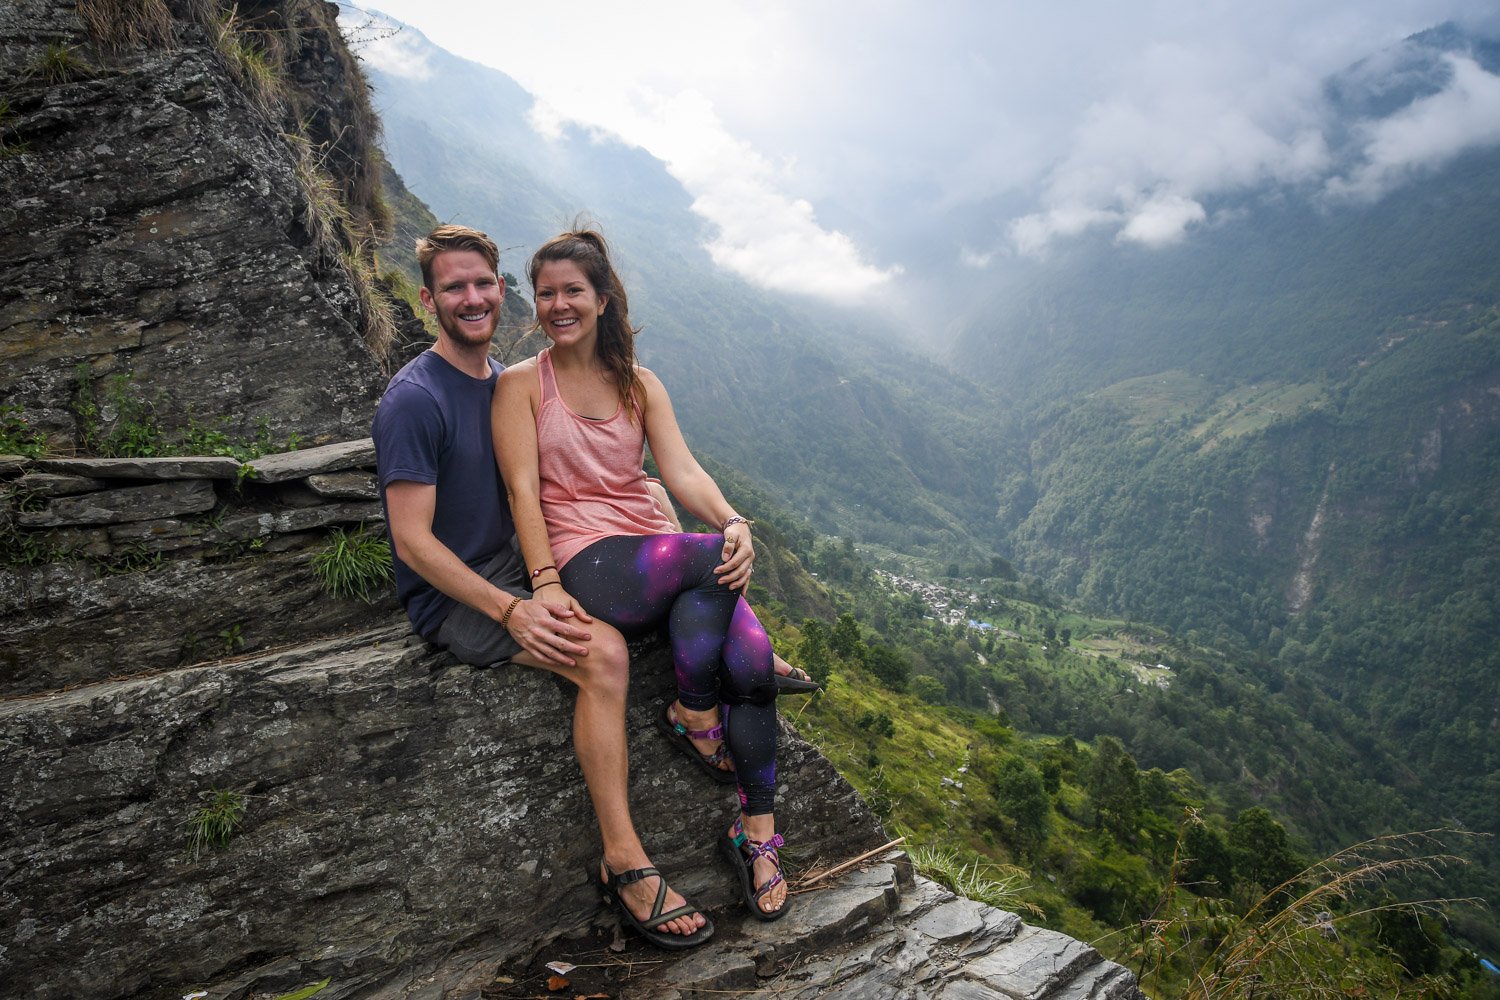
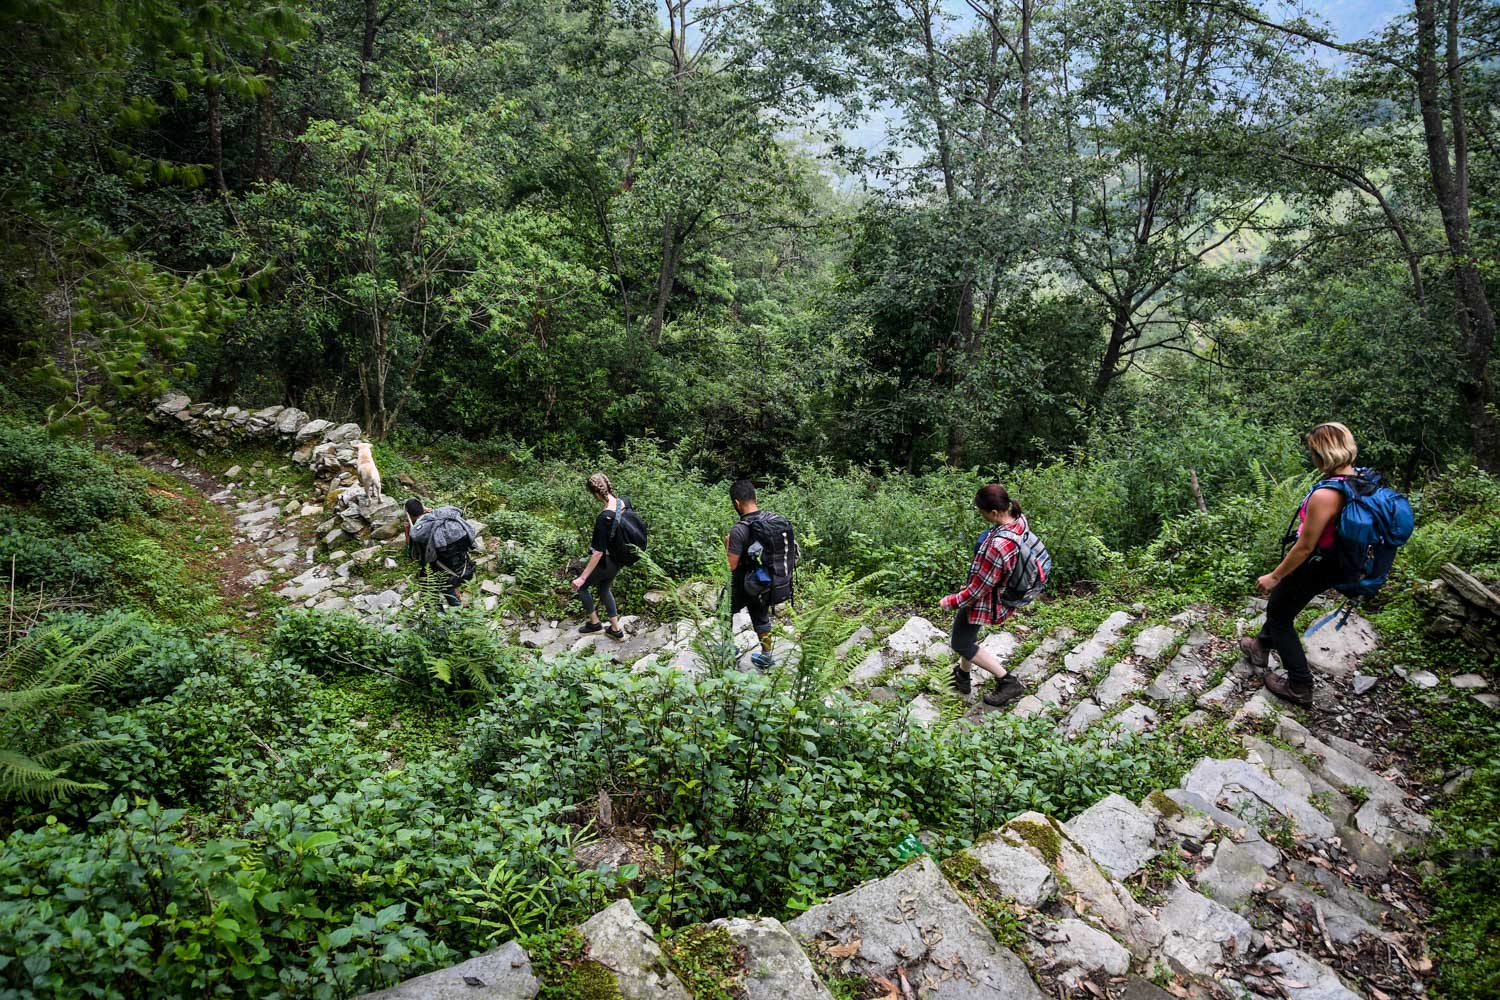
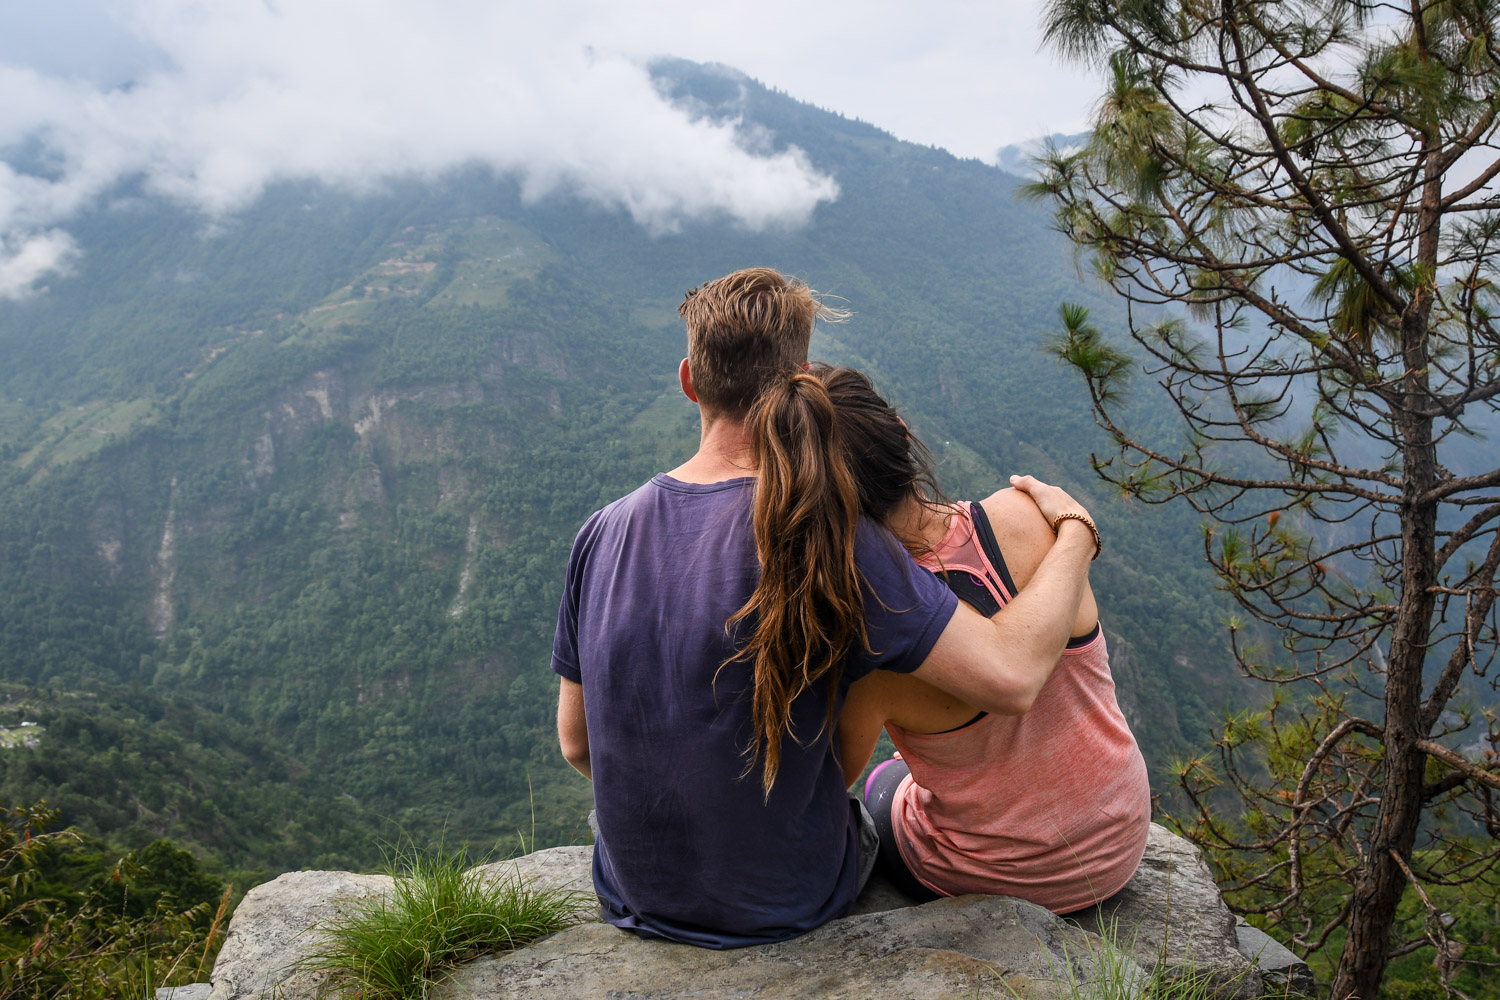
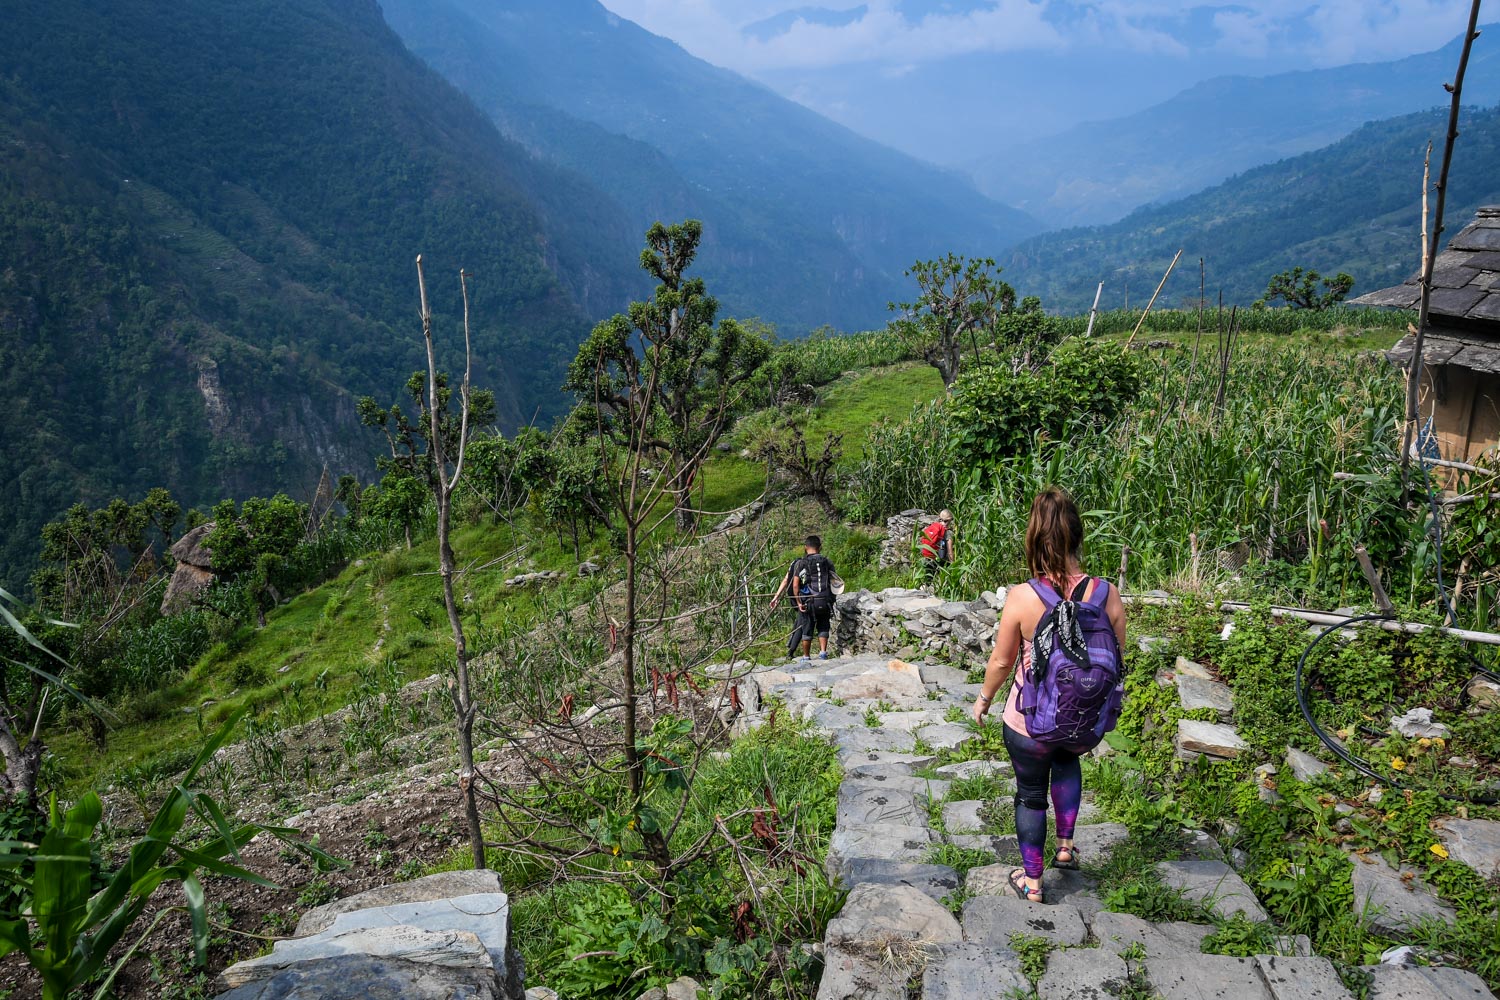
Description: All downhill today (which is actually one of the most difficult parts of hiking!). You’ll walk down steps through small villages and farm terraces as you zig-zag your way down to the Kali Gandaki River where the shuttle will be waiting to go back to Pokhara.
-
Difficulty Level: Hard, but short
-
Hours Hiked: 3 hours
-
Elevation Loss: 1,100 meters
We started hiking at 7:15 am, bright and early so we could make it back to Pokhara at a decent hour. The set breakfast was delicious and a great way to carb up for the hike. The first part of the day we walked on a road, cutting through shortcuts around turns and trying to avoid any residual leeches that were still out from yesterday.
We then found a trail that led its way alongside farms and terraces. We could see the river below in the vast valley, but knew we still had an hour or so of knee shaking downhill to go.
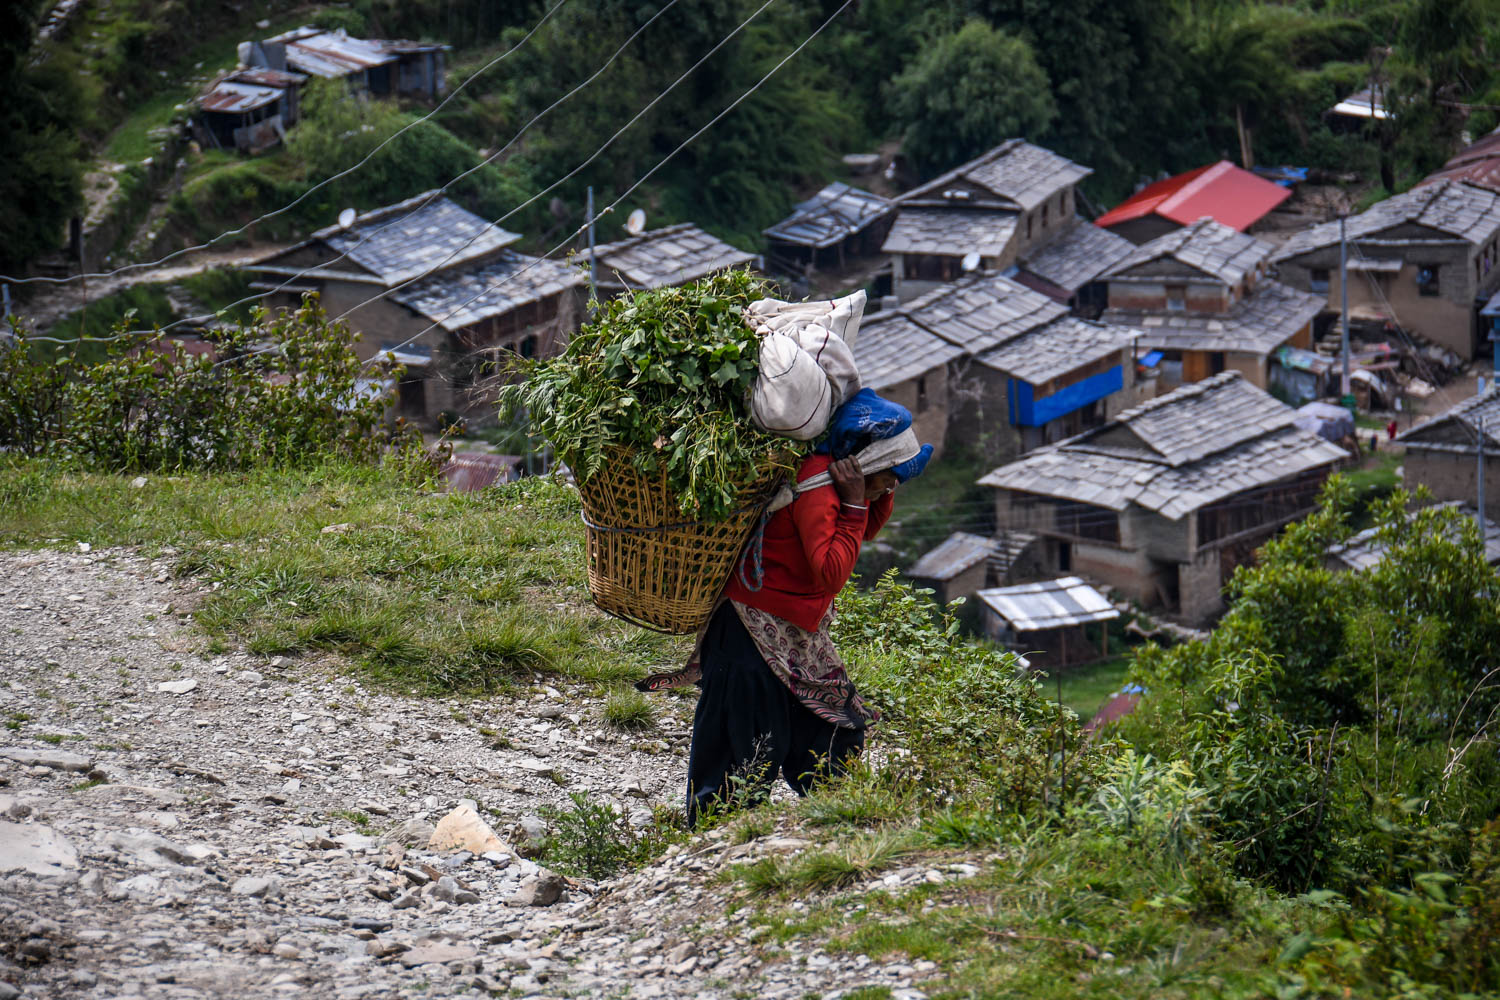
I thought about complaining, but then I saw an elderly man carrying a heavy stack of hay on his back coming up the mountain. I realized he has to do this walk everyday to tend to his field, and probably multiple times a day. I bit my tongue and kept walking.
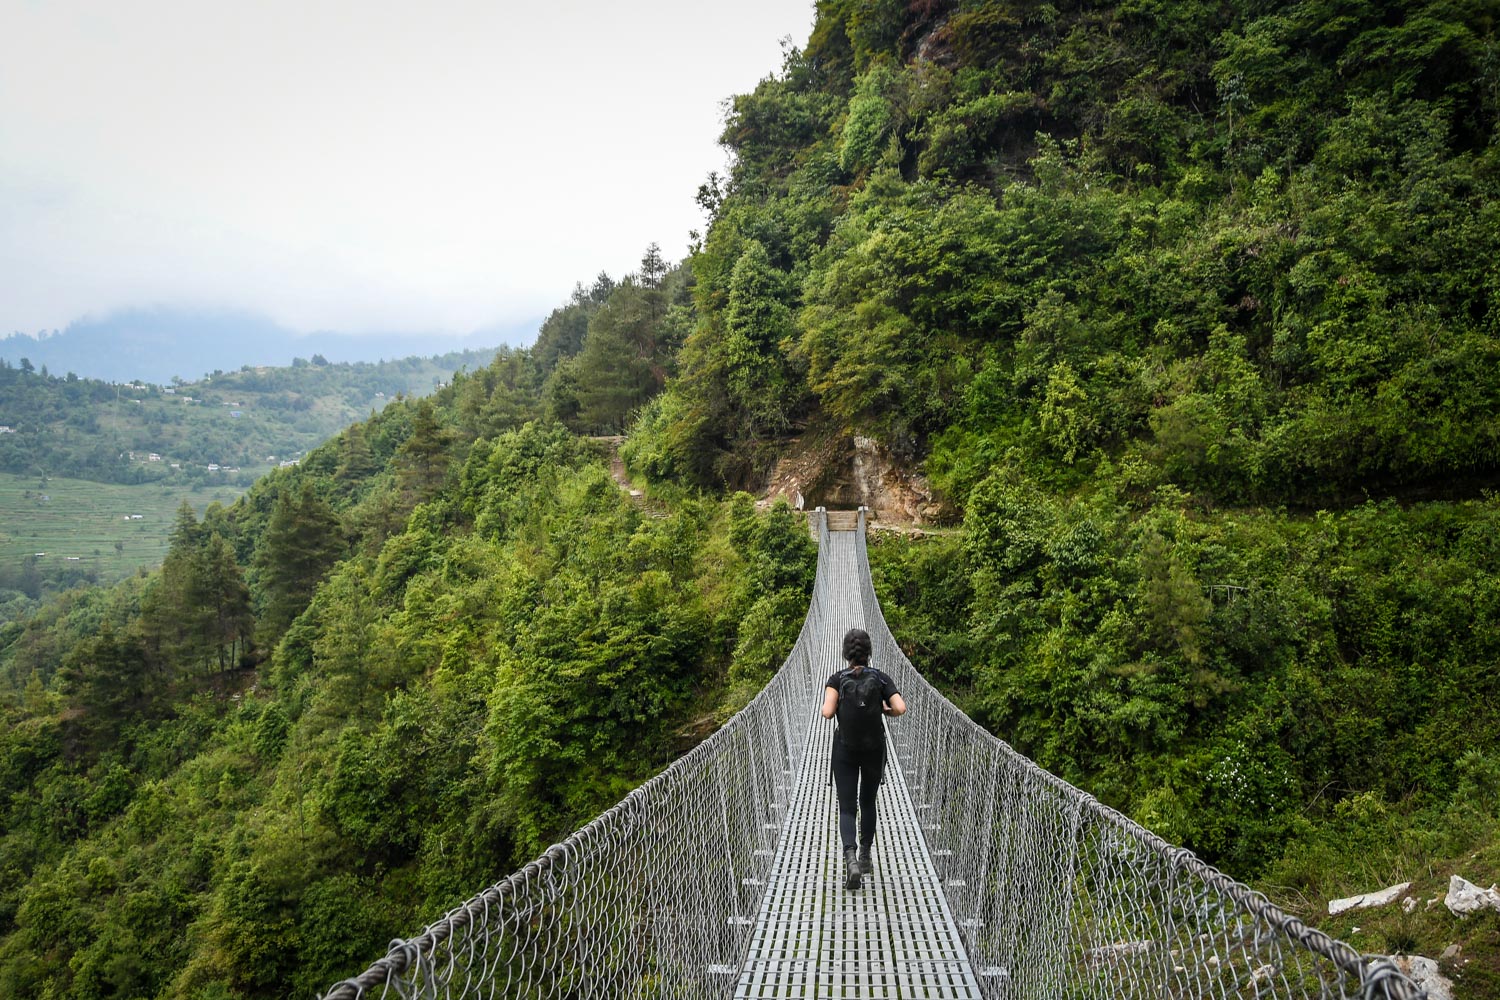
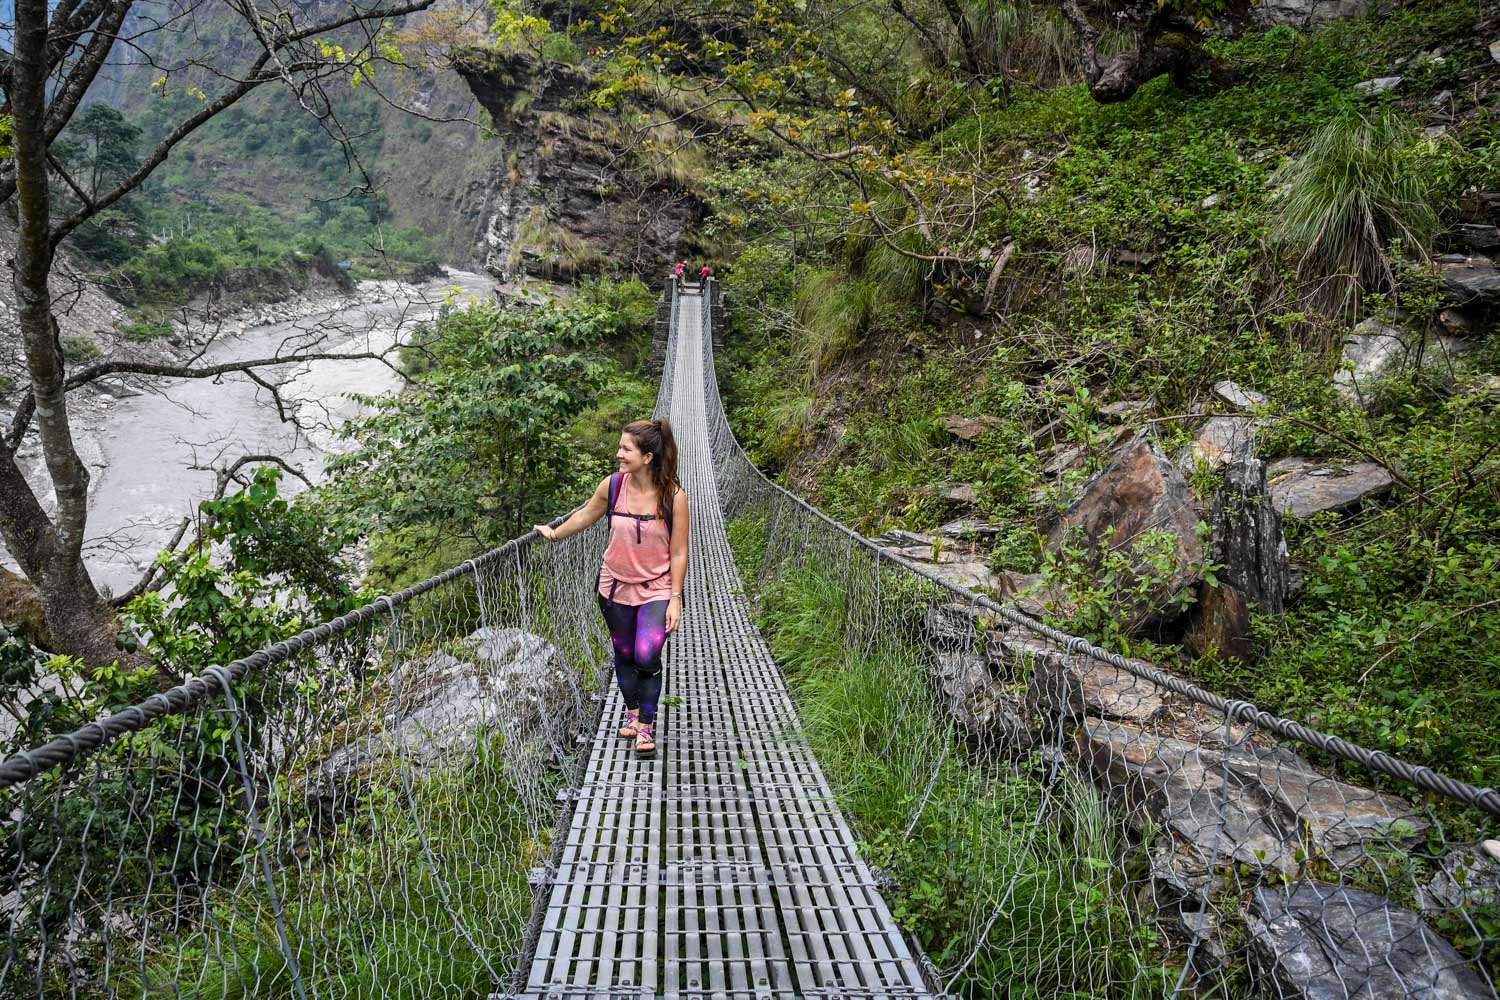
We make it to the river around 10 am so relieved all we had were two suspension bridges remaining to cross, but then something terrible happened.
Sete, our four legged companion, who was with us since the morning of Day 3, was terrified to walk on the suspension bridges. He tried to go down under the bridge and cross to the other side but the river was too strong for him to even attempt to cross. We tried to encourage him, and even tried to carry him, but he snap at us because he was not used to being held.
After a while we were forced to leave him there on that side of the bridge. It was tragic, but one of the porters said he’d go back and bring him back to his owner in one of the villages.
Today our group learned something beautiful: Nepalese people say that when a dog comes with you on a hike, it is the spirit of a monk bringing you good karma for your journey.
How difficult is the Mohare Danda Trek?


This is a subjective question, and everyone will have a different answer depending on their fitness level and past trekking experience.
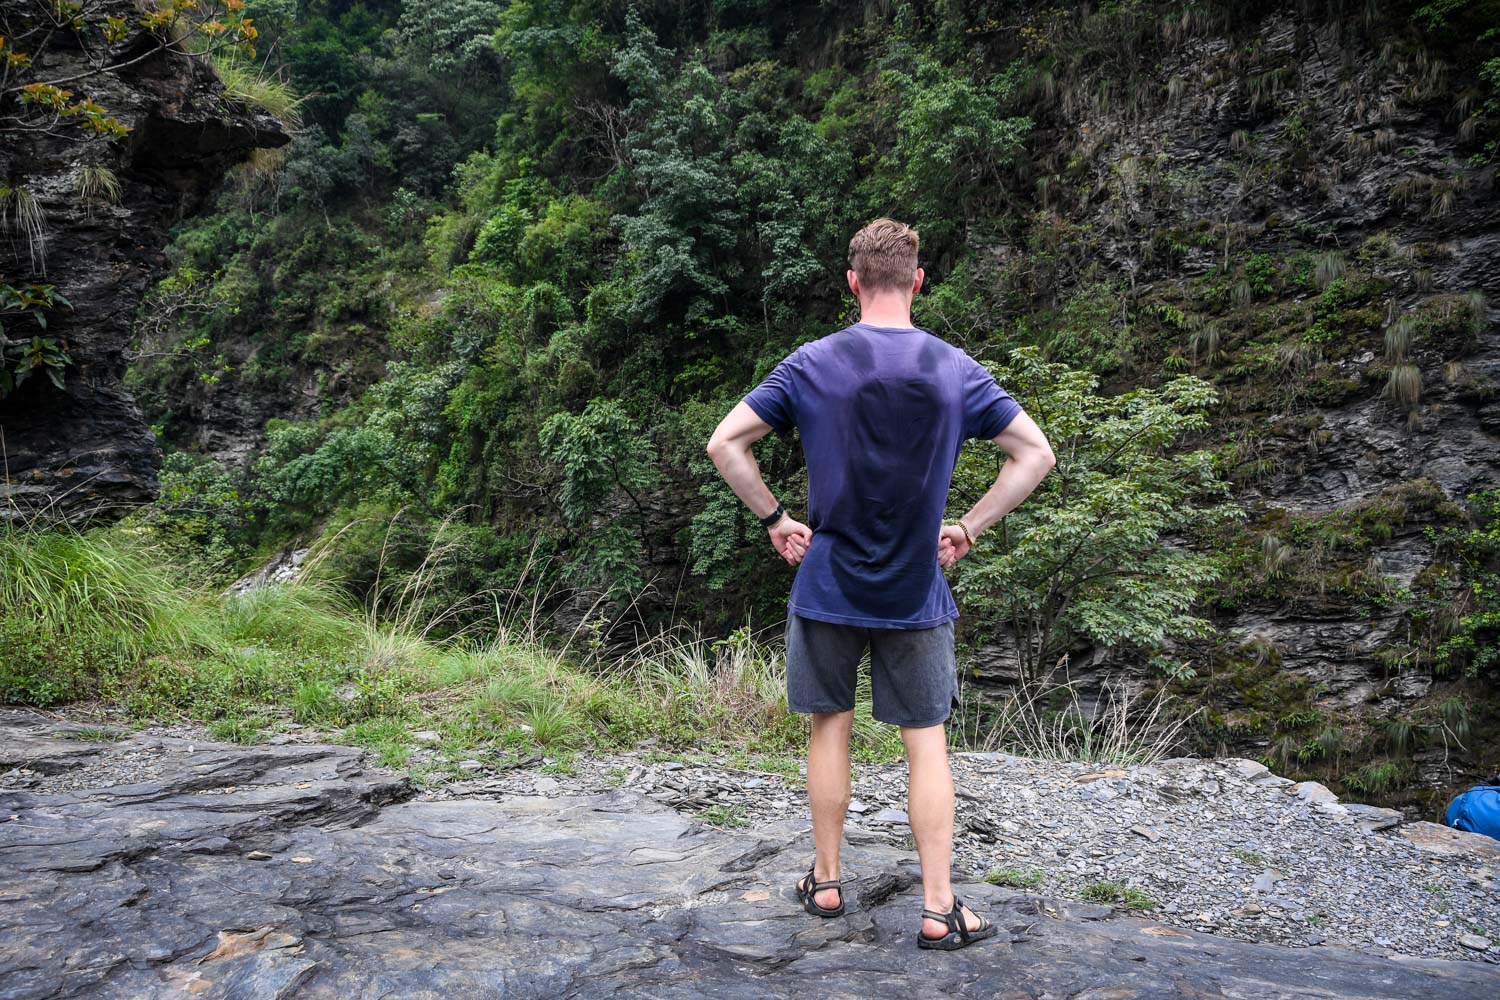
Personally, we didn’t think it was too bad overall. That’s not to say it wasn’t hard — there are certainly difficult sections. But as a whole, we think it has a good mix of easy, moderate, and hard.
But again, this comes down to our personal opinion. We have done a fair bit of trekking, and if we compare it to other treks we’ve done, I’d put it roughly in the middle (or high-middle) if we were to rank difficulty level. There were 2 people in our group that dropped out after the first day because they found it too difficult. But I think it came down to the fact that they just didn’t know what to expect.
Here’s the scoop: There are lots of stairs, and during the uphill it is steep. Other than the first day (which 3-hours uphill only), the rest of the days have a balance of uphill and flat sections of trail. Also, the last day has some painfully long downhill stretches, which is difficult (especially with weak knees!).
If you’re unsure whether this trek will be too difficult for you, read through our daily descriptions, which will hopefully give you a good idea of what to expect.
Altitude: One of the nice things about this trek is you won’t have to worry too much about altitude, as the highest you’ll get is 3,300 meters (aka 10,825 feet). At that level, you may experience some shortness of breath or a dull headache, but it is nothing compared to what you can experience on the higher elevation treks throughout Nepal.
Accommodation on the Mohare Danda Trek
During the trek, don’t expect luxury accommodation. You’ll be staying in remote rural villages where building materials must sometimes be carried in on foot.
Sleeping Arrangements: Your trekking group will likely be split into groups of two, and you will share a room with this person. Ben was stuck with me! If you are traveling alone and this makes you uncomfortable, you can request your own room.
Teahouses
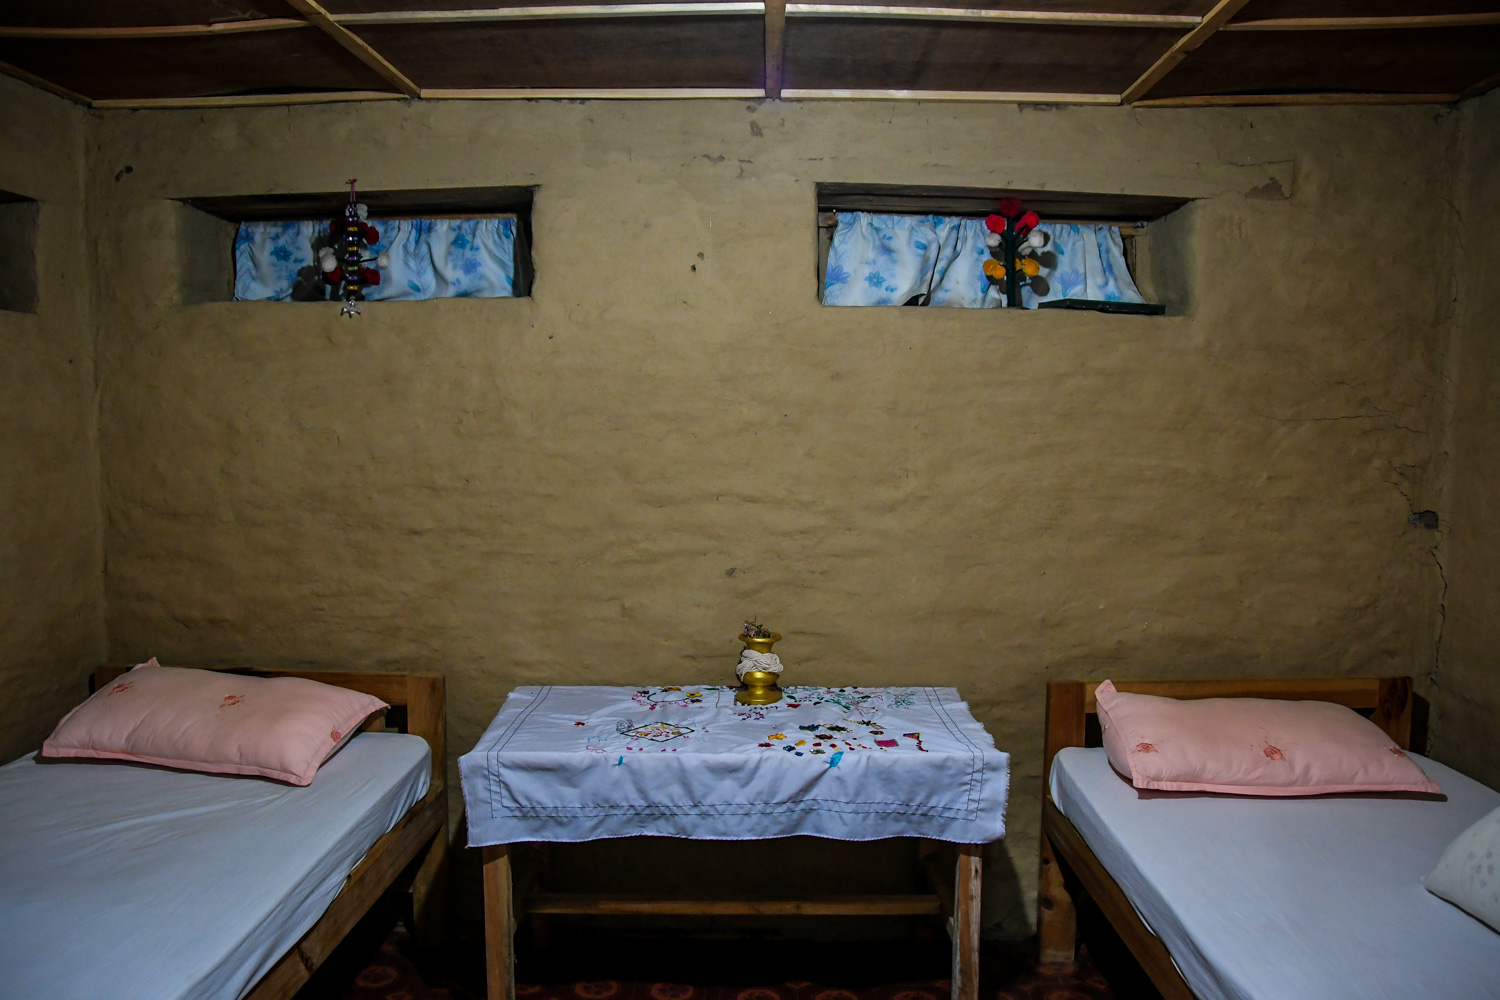


You’ll stay in teahouses for most of the trek, which are humble yet cozy.
The rooms are simple — usually just 2 single beds (we pushed them together when possible because cuddling keeps you warm!). There might be a small table or some hooks on the wall, from which you can hang your trekking clothes to air out (a real luxury!). But that’s about it!
Toilets are all shared and are outside the room. So yeah, if you wake up in the middle of the night, you’ll want to grab your headlamp because you’ll have to walk a ways to get there.
Homestay
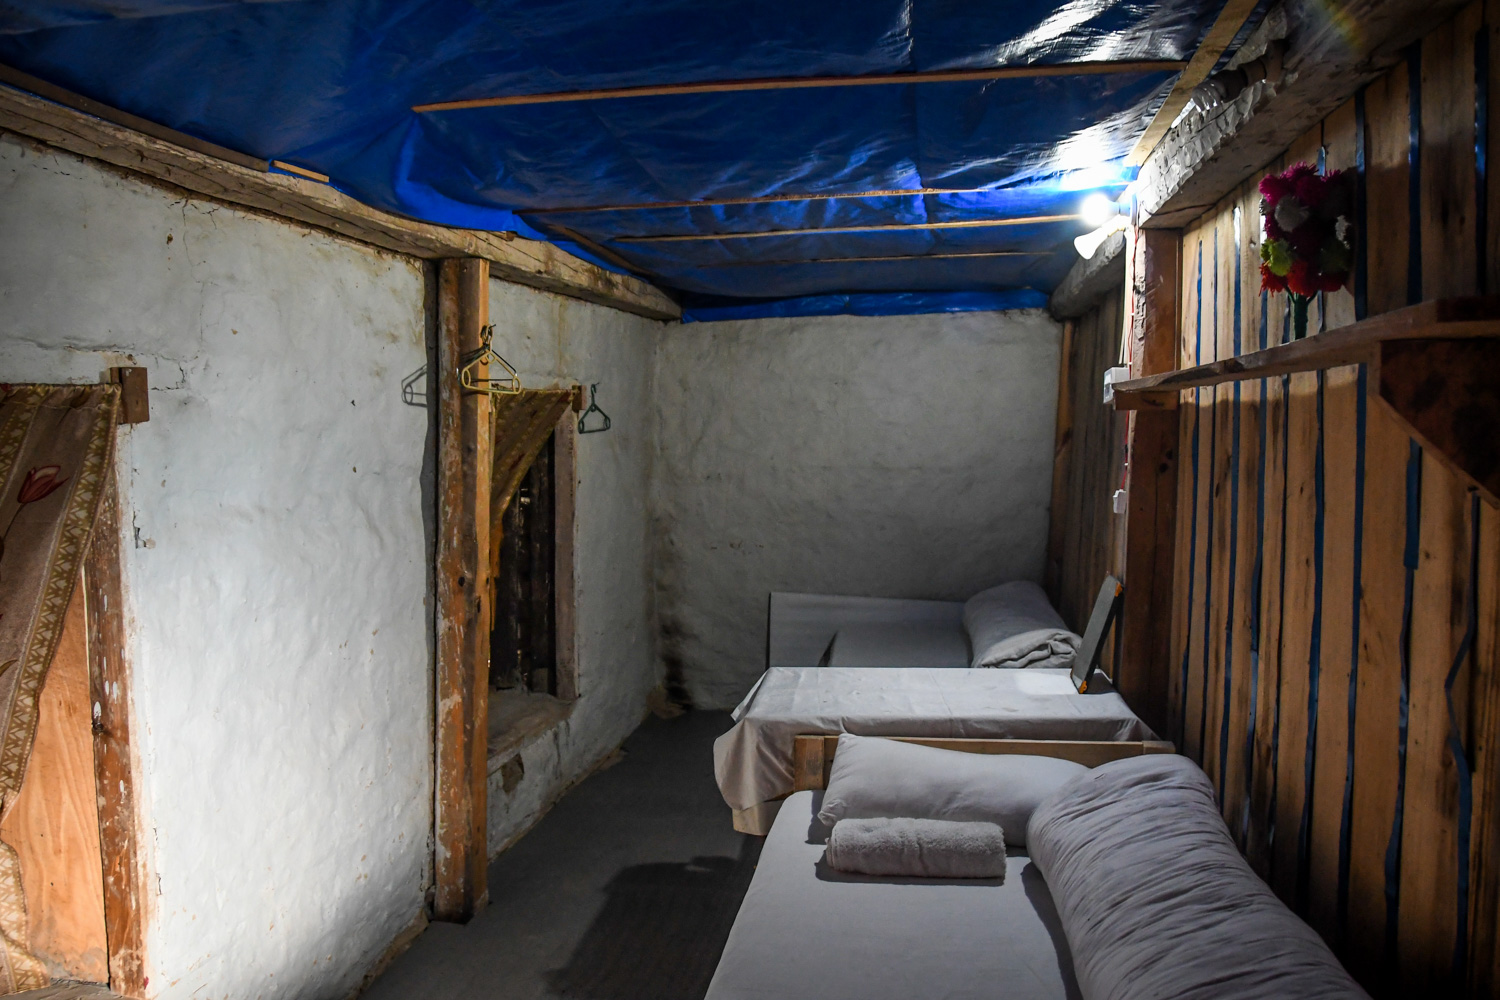


The last day, you might have the opportunity to spend the night in a homestay. Each duo in our trekking group stayed in a separate home, spread throughout the village. The room itself was similar to what we had in the teahouses — single beds and that’s about it. We had to walk a bit of a distance through the family garden and past a shed full of goats to get to the very rustic squat toilet.
Our “host mother” didn’t speak English, so we couldn’t communicate much with her, but she was kind and brought us tea in the morning, which we enjoyed with a view over the village. Overall, it’s a neat experience to stay in a local’s home, and it is an opportunity to support them in a meaningful way.
Good to know: We were told that it is nice and sometimes expected for you to tip at homestays. The suggested amount we were told is 200-300 rupees per person (per night). We gave our host 500 rupees ($4.50 USD), and she seemed shocked, but thankful.
Toilets & Showers on the Trek
I assume that if you’re considering trekking in Nepal, you already know that you shouldn’t expect luxury when it comes to accommodation. And that goes for the toilet and shower situation too.
But on the off chance that you don’t quite know what you’re getting yourself into, here’s what you should know: Toilets on the trek will be rustic. (That’s a nice way of phrasing it.) And showers (when they do exist) will be very basic.
Toilets
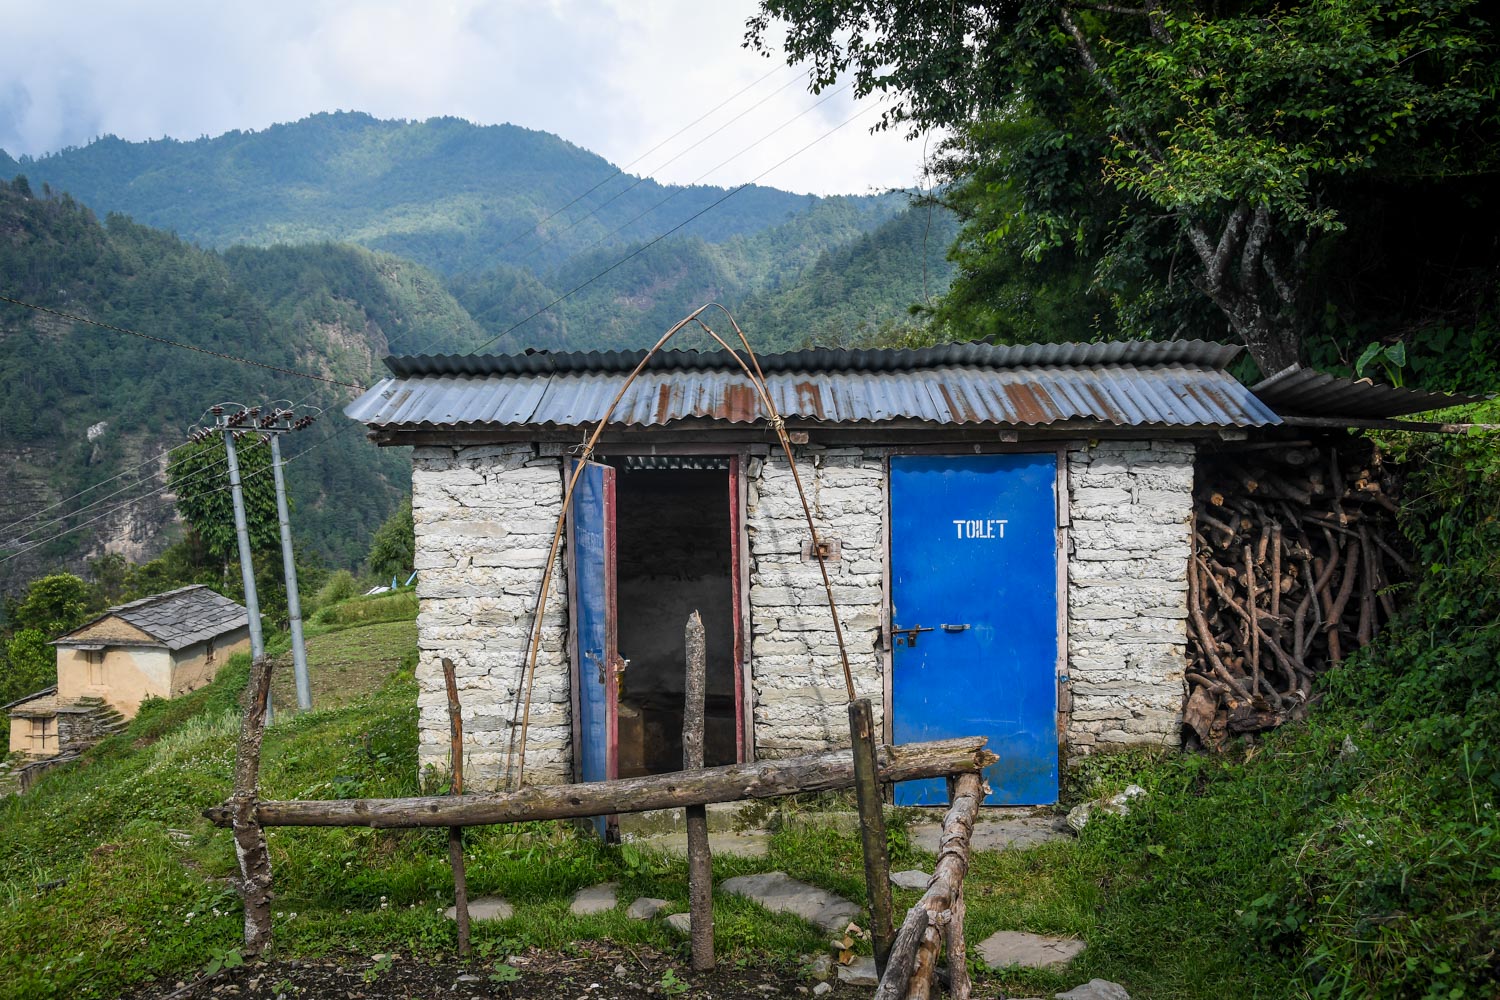


These differ from teahouse to teahouse. Some had “squattie potties”. Others had Western-style toilets that you needed to fill with a bucket (or 2!) of water to flush.
One thing they all had in common: No TP. That means you gotta BYOR (bring your own roll, baby!). So be prepared, or find yourself in a sh!tty situation (sorry, had to!).
What about if I need to use the toilet during the trek? Good question. You go in the woods! Most of the time, you’re trekking through forests, so you’ll just need to find a secluded spot where nobody can see you.
Showers
Some teahouses have showers, others don’t. We’d highly suggest packing wipes and not being too concerned with showering on your trek, because, well, you’re not always going to have the option.
Being dirty and sweaty is part of trekking. Embrace it! (Or at least try to!)
Food on the Trek
I’m gonna give it to you straight: Trekking food in Nepal is heavy. Heavy in carbs, that is. And that’s sometimes what you crave on the trail: Warm, hearty, heavy carbs. But it will get old. That doesn’t mean the food isn’t good. It’s just, well, repetitive.
Your meal options will basically consist of: rice, pasta, lentils, potatoes, rice, dumplings, and more rice.
As you can imagine, at high altitudes and in remote villages, they have to make the most of the ingredients they have easy access to. Ingredients that don’t grow in these regions must be trekked in. So it’s easy to understand why there isn’t a ton of variety.
We have good news for our vegetarian friends: Most food options on the trail are already veggie. It’s actually difficult to find anything that has meat in it. And if you’re vegan, you’ll be happy to know that there are lots of options for you too!
It’s not that the Nepali people are necessarily vegetarians themselves, but at high elevations in the mountains they eat meat very sparingly.
Just because it’s vegetarian doesn’t mean you’ll be eating lots of vegetables. When anything on the menu says it comes with vegetables, expect a small bit of shredded carrot, cabbage, and onion — not much more than that.
Hot Tip: After you finish your trek and you’re back in Pokhara, head to OR2K or AM/PM Cafe for a healthy meal with FRESH (gasp!) veggies! Thank us later.
Alright, let’s go over some of the common items you’ll see on menus in the teahouses.
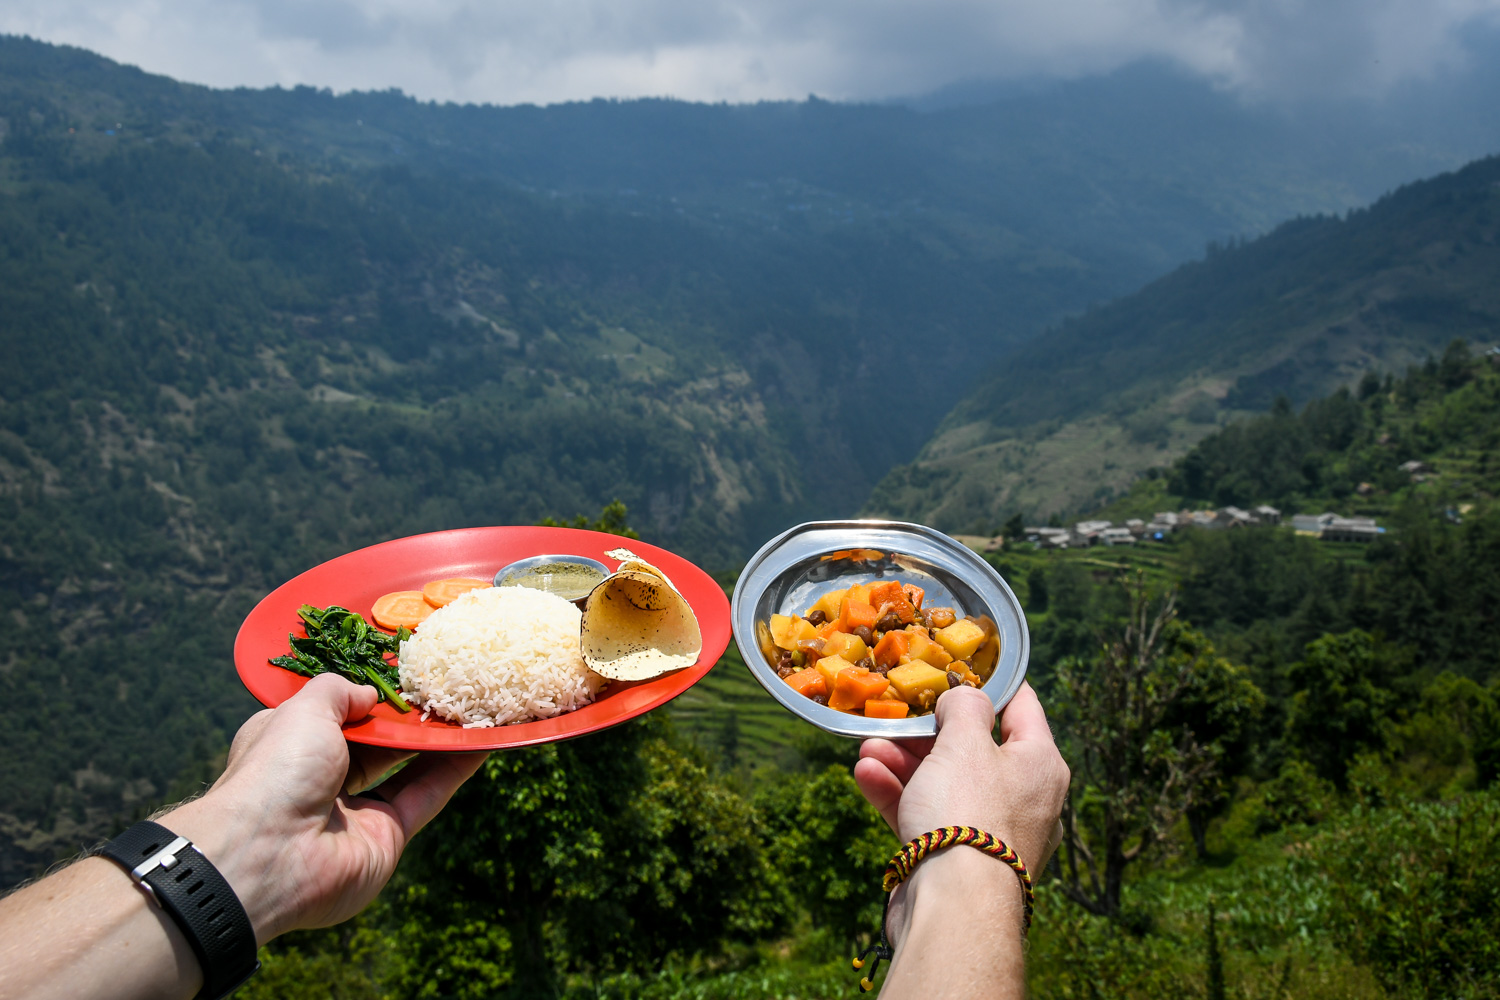



-
Dal Bhat: Nepal’s “national dish” of rice, lentils, curried veggies, pickled greens, and papadam (crispy Indian-style cracker). The saying goes: “Dal Bhat power, 24 hour” because you get unlimited refills of this dish. So if you’re really hungry, dal bhat is the way to go. The guides and porters ordered this dish exclusively! I don’t think they ate anything else the entire trek.
-
Chow Mein: This dish of fried noodles and thinly sliced veggies originally came from Chinese influence, but was adapted to accommodate the local flavors and produce. Depending on where you order Chow Mein, the dish can vary a bit. We ordered some that was tasty and filling and hit the spot. And other times, it was just meh…
-
Fried Rice: Just what it sounds like.
-
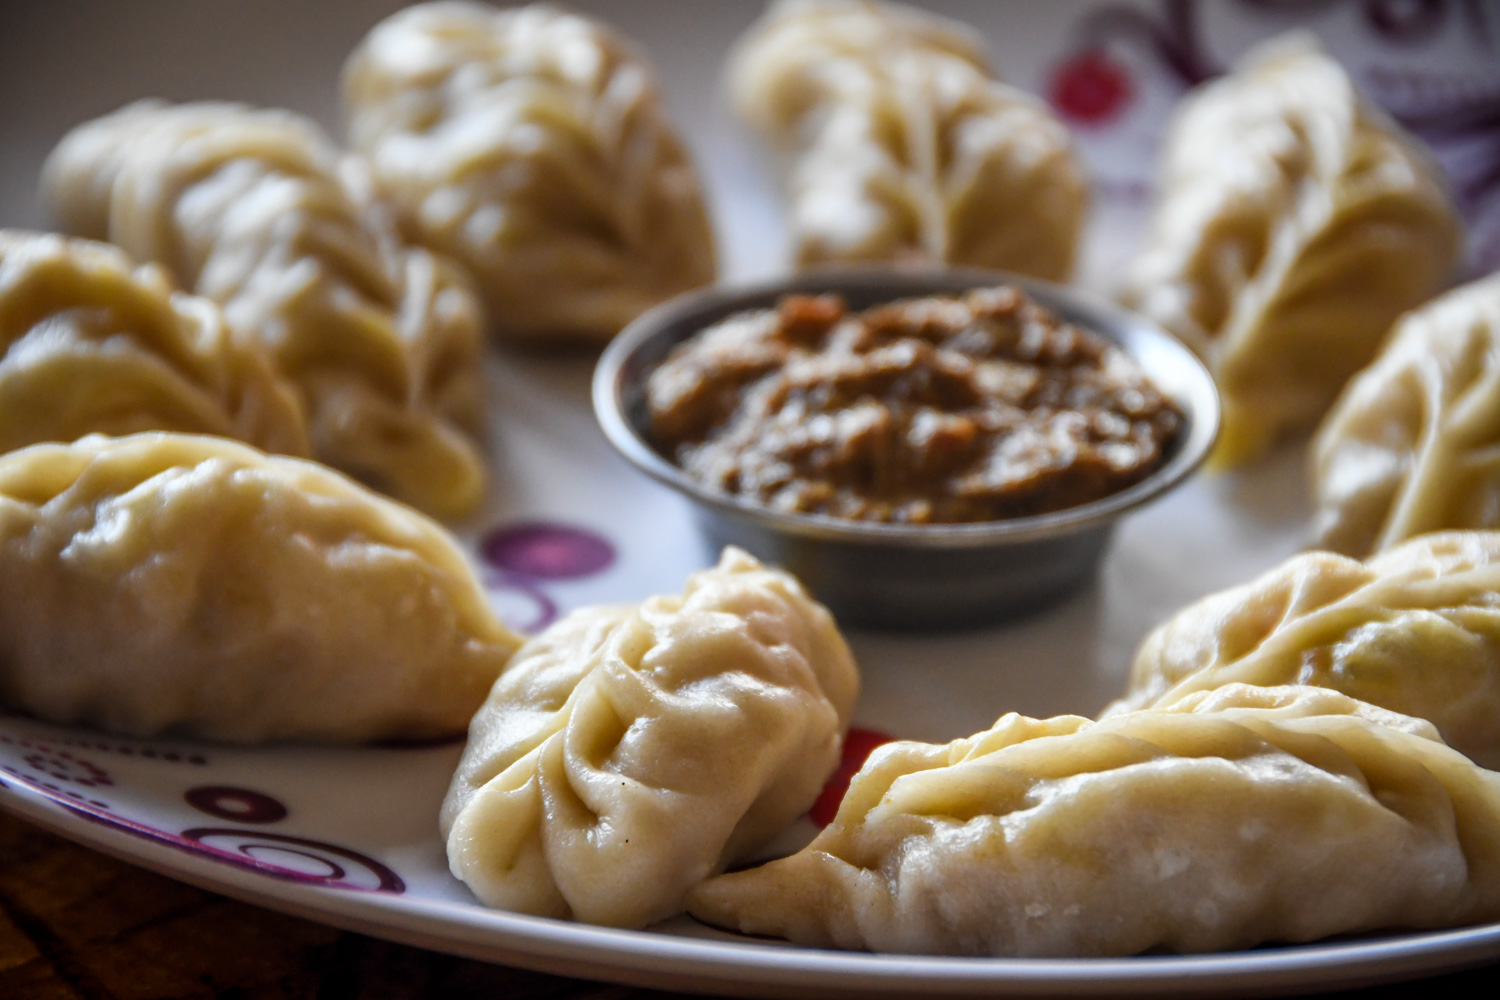
Momos: Steamed dumplings filled with veggies (on the trek it’s rare to find the meat kind).
-
Rösti: Okay, this isn’t exactly a Nepalese dish per say, but you’ll find it on the menu of some teahouses, and I enjoy the Nepali take on this Swiss dish. Basically, it is fried potatoes and onions. There are usually options to have it served with fried eggs and/or yak cheese on top, making it a good option for both breakfast and dinner!
-
Soups: Some of the teahouses had soup on the menu, and it sounded so good in the chilly temps after a long day of hiking, so we ordered soups a couple times (which we paid for separately because they we in addition to our main meal). We got a mushroom soup at one teahouse that was great! But when we ordered the same kind of soup the next night at a different teahouse, it tasted like a powdered mix. You win some, you lose some!
-
Ginger Tea: This is a nice treat in the evenings. Usually it’s made with pieces of fresh ginger, and is served with honey on the side. Mmmm…. (There are other types of tea available too, like mint — sometimes they have fresh leaves! — and black tea bags.)
What about breakfast?
-
Set Breakfast: This is a good option if you’re hungry: Fried eggs, spiced potatoes with onions and peppers, and chapati. Oh, yes!
-
Masala Omelet: Basically just an omelet with some small pieces of vegetables and some seasoning.
-
Pancakes: The pancakes in Nepal are a bit different than what you’re probably used to. Instead of being light and fluffy, they are quite dense and have almost a rubbery texture. I know I’m not selling them that well, but they’re actually really nice if you want a sweet breakfast. I’ve always liked the apple pancakes best, and they are usually served with honey on the side.
-
Tibetan Bread: Doughy and fried, this is almost like an unsweetened doughnut (when it’s cooked well). We’ve had them where they are delicious, and other times where they are overcooked or cold, so it’s a gamble. They’re good with peanut butter and jam or honey.
-
Masala Milk Tea or Milk Coffee: These are usually the options for drinks with breakfast. You can also ask for tea or coffee without milk.
What meals are included on the trek?
As part of the cost of our trek, we could order any meal off the menus for breakfast, lunch and dinner; and at breakfast we got one hot beverage (tea or coffee). If we wanted additional snacks or drinks, like a bowl of soup or a tea at night, we had to pay for it ourselves.
We also had to purchase our own water throughout the trek. It was typically around 100 rupees ($.90 USD) give or take a bit. That’s why packing a Steripen is a fantastic idea — you can fill up at the taps, and you won’t have to buy any water or waste unnecessary plastic!
Typically, you pay your tab at the teahouse (using the honor code) just before departing in the morning. This will include any additional food you ordered, water, and showers.
Mohare Danda Packing List
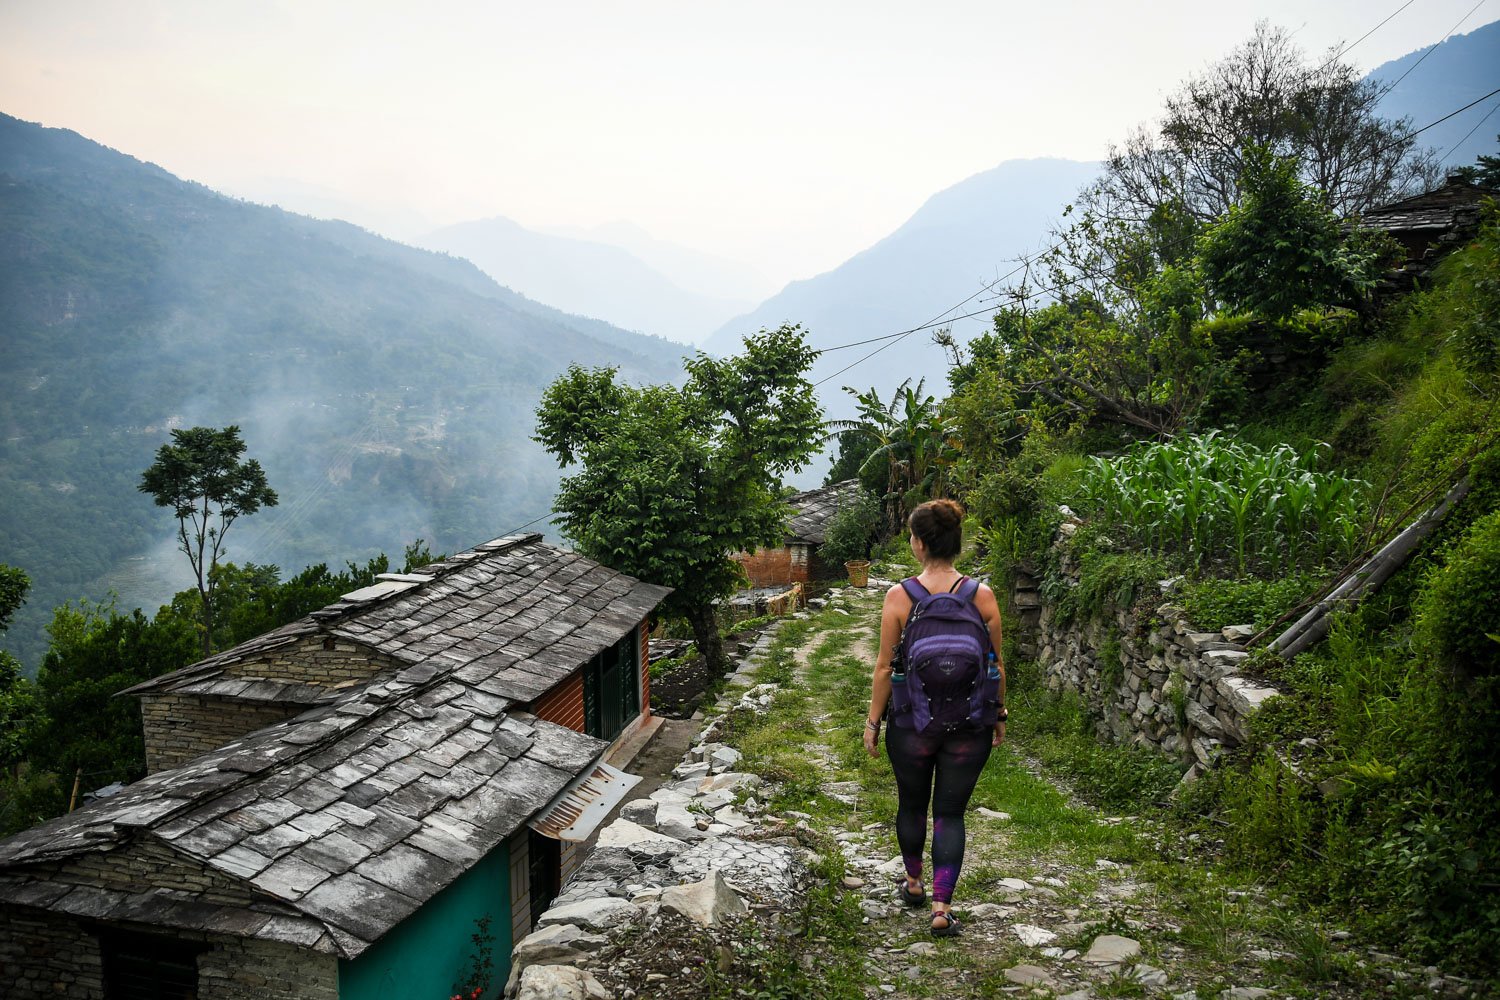


It can be overwhelming trying to pack for a trekking trip. We’ve been there — we know the struggle!
You want to be prepared for a lot of different situations, but you don’t want to be carrying a lot of dead weight from things you won’t be using.
We’ve broken down a list of items we always pack on treks — from gear to clothing — and we hope this helps you as you start planning. There might even be some things on this list you’ve never heard of!
But first, here are some important things you need to know when it comes to packing:
Weight Allotment: Each person gets an allotment of 7 kilograms (aka 15 pounds) that they can give to a porter to carry. Don’t feel like you need to pack a whole 7 kgs though — that’s just the limit. Each porter will be carrying 2 people’s belongings (which they carry from a strap on their head), so be mindful and considerate as you pack.
How you’ll pack
You will divide your belongings into 2 bags for the trek: a duffel bag and a daypack. Anything you will not be bringing on the trek can be left at your hotel in Pokhara.
-
Duffel Bag (provided by the trekking company): Our trekking company had us partner up with another person in the group (hey, Ben, wanna be my partner?!) and they gave each pair a duffel bag in which to pack their belongings for the trek. The stuff you pack into this bag will not be accessible during the day since the porters may not always be near you.
-
Packing Tip: When packing your duffel bag, it’s helpful to have a way of organizing your stuff, especially since you’ll be sharing with another person. We love packing cubes since they keep things organized and compressed.
-
-
Daypack: This is where you will pack anything you want access to during the day since you will carry this bag.
Note: There are affiliate links in this section, which means we get a small commission if you purchase an item we recommend. This costs you nothing, and it helps us continue to run this site and create super helpful content!
Trekking Gear
-
Daypack: Your normal daypack will be fine, however, choosing one that’s meant for hiking will be more comfortable than regular daypack. The straps are made to distribute the weight, and ventilate so your back doesn’t get super sweaty.
-
Packing Cubes: Keep everything organized and compressed in your backpack.
-
Steripen: sterilizes a liter of water in 90 seconds. Saves money and plastic.
-
Water bottle: You’ll want to have bottles with at least 2 liters of water on your during the trek, as there are some days where you will not have the opportunity to buy any water until the nighttime.
-
You can purchase plastic water bottles from the teahouses, but we prefer to bring our own bottles and fill up from the tap, or pour the bottled water inside, as it keeps it cold. We’re obsessed with Hydro Flask bottles, and have been using them since 2010.
-
-
Camelback (optional): This is totally optional, but we like having a Camelback when we’re trekking, as we don’t have to stop in order to sip. Keeps us super hydrated.
-
Headlamp: We love our Black Diamond headlamp because it is rechargeable and uses a USB port.
-
Sleeping bag: You can rent this in Kathmandu or Pokhara if you don’t have your own.
-
This one is super compact and affordable if you want to invest in your own sleeping bag.
-
-
Trekking poles (optional): Personally, we did not use trekking poles on the Mohare Danda Hike, and we didn’t feel we needed them. However, this is a very personal thing, and if you have weak knees, you might want to bring a pole (or 2), as they will help your knees especially on the downhill sections.
-
You can rent trekking poles or buy them in Pokhara or Thamel.
-
-
Cash: You’ll need cash to pay for extra food and beverages, water, and showers along the way. You’ll also need to budget for tips for your guides and porters as well. Since there are no ATMs along the way, we’d suggest to be over-prepared so you don’t run out of money (and have to embarrass yourself by asking to borrow some).
-
How much cash should you bring? We each brought 10,000 rupees (around $90 USD) and had a little left over after tipping our guides.
-
Toiletries & Health
-
Wipes: these will be your “shower” on nights when you don’t have access to a real one!
-
Soap & shampoo for showering
-
Dry shampoo: If you’re concerned about the lack of showers, you can pack a little dry shampoo to keep your hair from getting greasy. It’ll help you feel clean!
-
Cheap Hack: I use flour as dry shampoo.
-
-
Roll of Toilet paper (maybe 2 rolls!)
-
Menstrual Cup: Ladies, this is a good way to cut down on waste, and means you don’t have to pack a bunch of tampons or pads.
-
Electrolytes: Stay hydrated on your trek and replenish your body.
-
Note: We bought some packets in Pokhara that were cheap, but they tasted HORRIBLE. Another person on our trek had some they packed from home (Nuun brand) and they tasted great!
-
-
Vitamin C packets: Keep your immune system boosted. Emergen-C even has a vitamin C + electrolyte pack, so you can get 2-in-1!
-
Charcoal Pills and/or stoppers & goers (for tummy issues)
-
Peppermint oil and/or Tiger Balm: headaches, sore muscles, upset stomach, big bite relief, etc.
-
Note: White Tiger Balm is cooling (good for headaches, upset stomach and bug bites), and red is warming (aka good for sore muscles).
-
-
Anti-Bug Balm: Yes, you will encounter some bugs on this hike. They didn’t bother us too much though.
Electronics


-
Portable Battery Pack: keep you phone and camera charged
-
Kindle Paperwhite: much lighter than carrying actual books
-
Camera, extra batteries and SD cards
-
Fitbit: Nice way to track your steps and how high you climb
-
Phone & charger: You will actually have intermittent service during this trek, and you’ll reach the highest cell tower in Nepal on day 3!
-
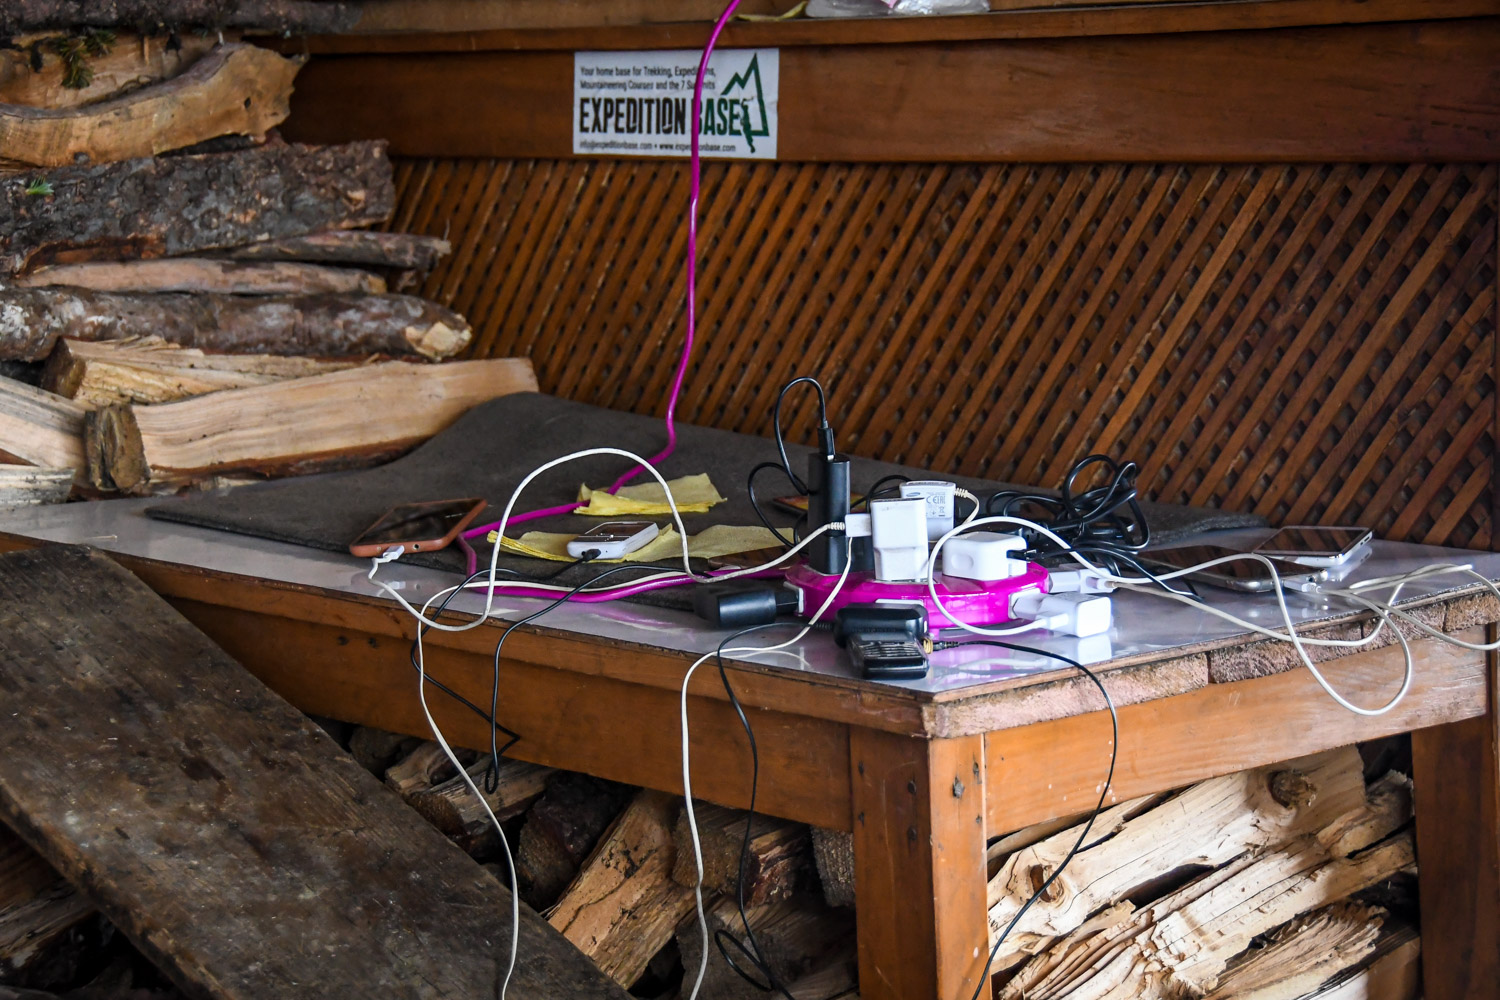
USB charging station: This handy little device is totally optional, but it’s really nice if you want to charge multiple things at once. The chargers at teahouses get filled up fast, so make friends by letting other people share the charge with you!
Extras
Here are some totally optional things that you might want to consider bringing along on the trek.
-
Tote bag: I liked having a bag with so I could easily carry my camera and water bottle around the teahouses without having to lug my daypack everywhere.
-
Deck of cards
-
Motion Sickness bands: If you get carsick easily, these pressure point bands will bring you relief on the bumpy roads in Nepal
-
Sleeping bag liner and/or pillow case: It’s nice having your own sleeping bag liner if you’re using a rental sleeping bag. Also, the linens at teahouses aren’t always washed very often, so a pillowcase isn’t a bad idea.
-
Eye mask and ear plugs: Can be useful at some teahouses or if you have a roommate who snores.
-
Sarong: multi-purpose cover up, blanket, scarf, picnic blanket, towel, etc.
-
Dry Bag: If you don’t have a good rain-fly on your daypack and you’re carrying expensive electronics, you might want to consider bringing a dry bag. Especially if you’re trekking during rainy season.
-
Alternative: you could bring some plastic bags that fit your electronics in case of emergency.
-
-
Protein Bars & Nuts: You can find some in Thamel (Kathmandu) and Pokhara, but if you bring them from home you’ll have more variety to choose from.
-
Bottle of alcohol: This is a totally personal decision, but if you haven’t reached your weight allotment (7 kg) and you think you’d like to drink on the trail, you might want to pack a bottle of alcohol. We were too tired at night to do much (aka any!) drinking, but it could be fun for card games and socializing. Teahouses sometimes sell beer, but liquor will be hard to find on the trail.
What to wear while trekking in Nepal
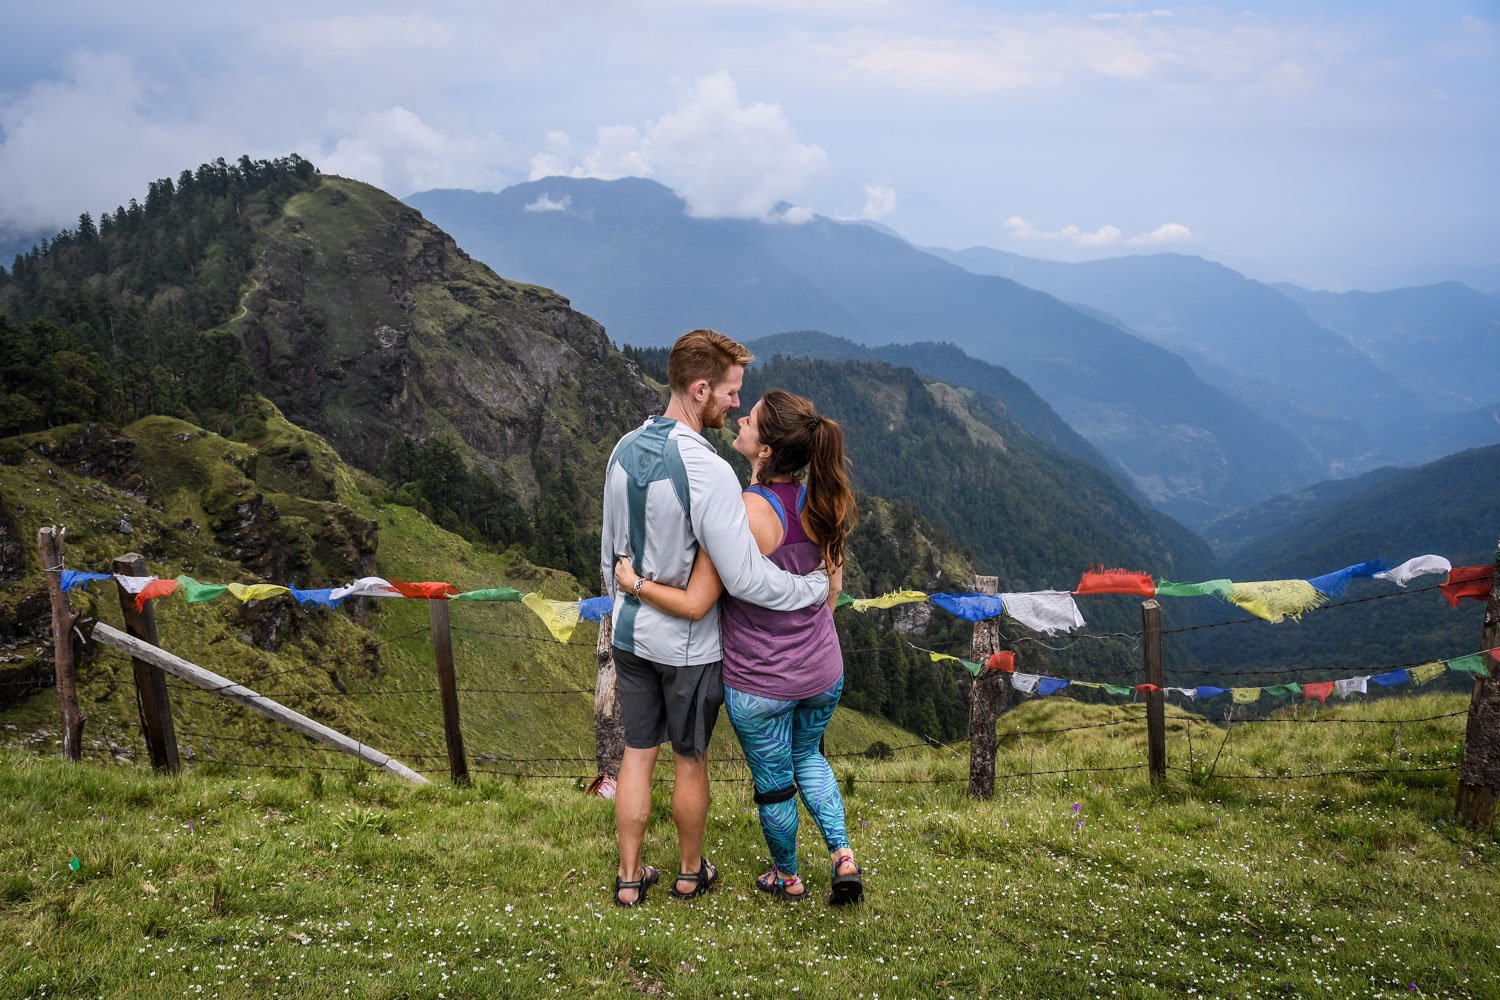


Personally, we like to pack a couple hiking outfits that we wear over again during the days. Hey, they’re just going to get sweaty anyway!
We also pack 1 or 2 outfits for the evenings at tea houses that are warm and feel nice to change into after spending the day in sweaty athletic clothes. Alternatively, you could change into clean clothes at night, then wear them trekking the next day.
The amount of layers you need will depend on the time of year you go trekking. We did the Mohare Danda trek in late May, and only had one night that we really needed warm layers (it got down to 45°F/ 7°C). Be sure to research the time of year you’re going to be sure you have appropriate layers.
Good to Know: The highest elevation you’ll reach on this trek is 3,300 meters. This means you won’t have to worry as much about cold temperatures as you would on many other (higher elevation) treks.
-
Quick-dry layers: mix of t-shirts & tanks, long sleeves & zip-ups
-
Trekking pants/leggings
-
Hiking socks: a light wool-blend sock keeps your feet dry and blister-free
-
These socks from Smartwool are super lightweight (good for warmer temps), but wick away moisture.
-
-
Thicker layers & comfortable clothes to wear in the evening at teahouses
-
Down jacket: Choose one that packs up small
-
When we did the Mohare Danda hike (in late May), a down jacket was not necessary. There was one evening that we would have worn it, but we were fine without. However, if you are hiking during a cooler time of the year, a down jacket might be nice.
-
Here’s a super compact men’s down jacket, and a compact women’s jacket. You can rent this in Kathmandu or Pokhara if you don’t have your own.
-
-
Rain jacket: This can be used as a wind barrier too.
-
Buff: This multi-purpose piece of fabric can be used to keep your neck warm on cold days or your hair back while trekking. You can also use this as an eye mask when you want to sleep. Ben is obsessed with his Buff and brings it along on every trip!
-
Chacos or Hiking Boots: This is personal preference, but we love hiking in Chacos when the temperatures are warm enough. We did the whole Mohare Danda trek in Chacos and they worked great (they have amazing grip!). If you prefer your toes to be covered, you’ll want to wear
-
Shoes for at night: You’ll wanna take off your hiking shoes as soon as you reach the teahouse each evening. Trust us. Pack another pair of shoes for this purpose. Personally, we trek in hiking sandals and wear comfy sneakers at night.
-
Oh, and don’t forget a clean pair of socks that you can change into at night.
-
What NOT to pack
-
Too many clothes: Trust us, you just won’t need them! Less is more when you’re trekking.
-
Jeans: Choose flexible and quick-dry fabrics instead. Hiking pants and leggings will be much more comfortable than jeans.
-
Drone: Unless you acquire a permit before your trip, you are not allowed to fly drones in Nepal.
Best time of the year for trekking in Nepal
The best times of the year for trekking in Nepal are in the spring and the fall. These times of year have comfortable temperatures, clear skies, and less chance of rain.
-
Springtime: March – mid-May
-
Autumn: September – November
If you hike during the winter months, be prepared with warmer layers. And if you hike during the summer (monsoon) months, be sure you have waterproof layers.
We know that it’s not always possible to trek within this timeframe. In fact, we did our Mohare Danda trek at the end of May / beginning of June, which is the start of monsoon season. We were told that the rains had come earlier than usual, and had to deal with a bit of wetness. But there was something worse than the rain…
LEECHES! Gross, huh?!
This brings me to our next point…
Be aware of “Leech Season”
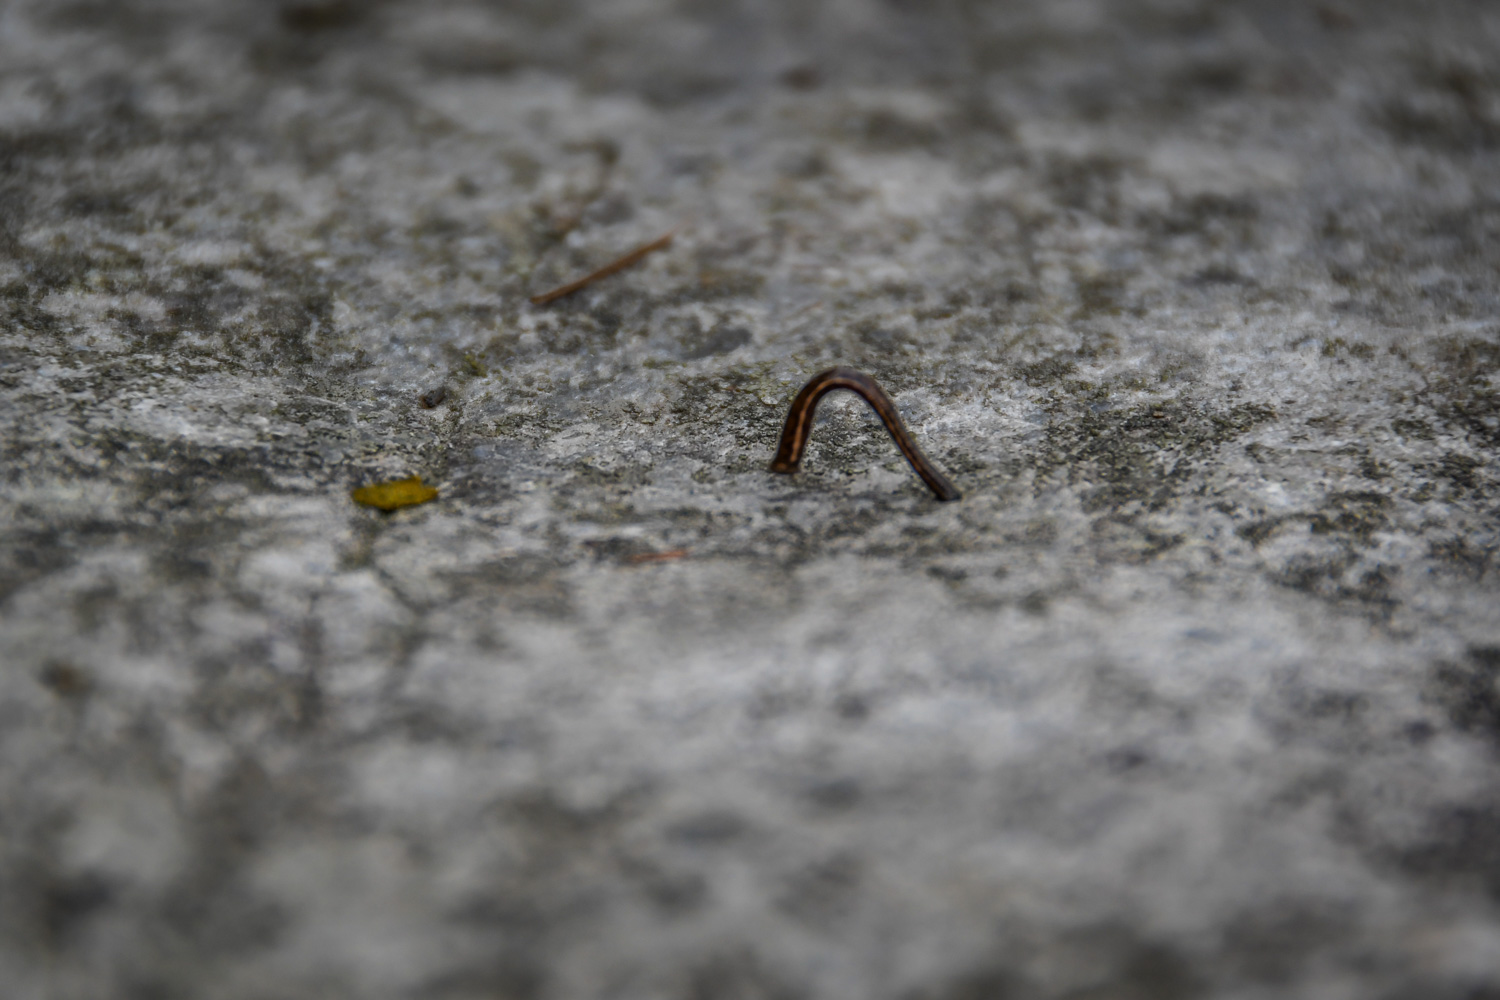


During monsoon season (the months of June and July) leeches can be found on many trails.
Wait, hold up!!! You thought leeches only lived in lakes and rivers?!
That was our reaction too. But it’s true – there are land leeches that seek uncovered ankles. Yikes!
So how bad are they? Umm, they can get pretty bad, actually. During our 5-day trek there was only 1 day that we really noticed the leeches, but that day was really, REALLY bad.
Imagine a group of us basically running downhill, trying not letting our feet hit the ground for more than a quick second. That’s how bad they were.
Ben and I were hiking in Chacos (aka hiking sandals), and our ankles and toes were exposed for all those blood-sucking leeches to grasp at. But despite our assumptions, it seems that leeches like a challenge, or rather, they like to burrow into cozy places. Ben and I only had a few that actually stuck to us. And unlike everybody else with socks, we spotted them right away and could pluck them off instead of finding them an hour later… Gross, I know.
I’m not necessarily suggesting you wear sandals during leech season, but I’m just saying that covering up isn’t necessarily going to protect you either.
How can you avoid leeches?
Don’t trek during leech season. That’s the easiest way to avoid them, duh. But if you can’t avoid leech season (we’re raising our hand with you!), here are some other tips:
-
Leech Socks: Apparently there is such a thing as “leech socks”, which supposedly creates an impenetrable barrier. Do they work? Well, we didn’t find out about these magical socks until Day 3 of the trek when it was too late to find them, so I don’t really know, but I found them on Amazon here. They don’t look all that comfortable though…
-
Salt: You probably already know that salt can help remove leeches once they’ve latched on, but I didn’t realize that it can also prevent them. Our guide had a ball of salt. Essentially a bunch of salt wrapped in cheesecloth, and he wetted it before rubbing it on our shoes. You could also just take a small handful of salt, add a little water and create a “paste” to rub on your shoes.
-
Tiger Balm: We heard that eucalyptus oil can help prevent these blood-suckers, but since nobody on our trek had pure oil, we resorted to Tiger Balm, which has it as an ingredient. It seemed to work at least to slow them down.
How much does the Mohare Danda Trek cost?
The total cost to book the same trek we did starts at $565 USD per person for 10 days/9 nights.
This includes:
-
Transportation from Kathmandu to Pokhara and back
-
Transportation from Pokhara to the trailhead and back
-
4 nights of accommodation in teahouses and homestays (other nights are also included in Kathmandu and Pokhara
-
All meals on the trek, as well as to and from Pokhara
-
Professional Guide
-
Porters to carry 7kgs of your belongings
This does not include:
-
Drinking water
-
Meals in Kathmandu and Pokhara (talk to your guide)
-
Alcoholic beverages
-
Snacks
-
Souvenirs
-
Tips for guides and porters
-
Travel Insurance
Tipping your Guide and Porters
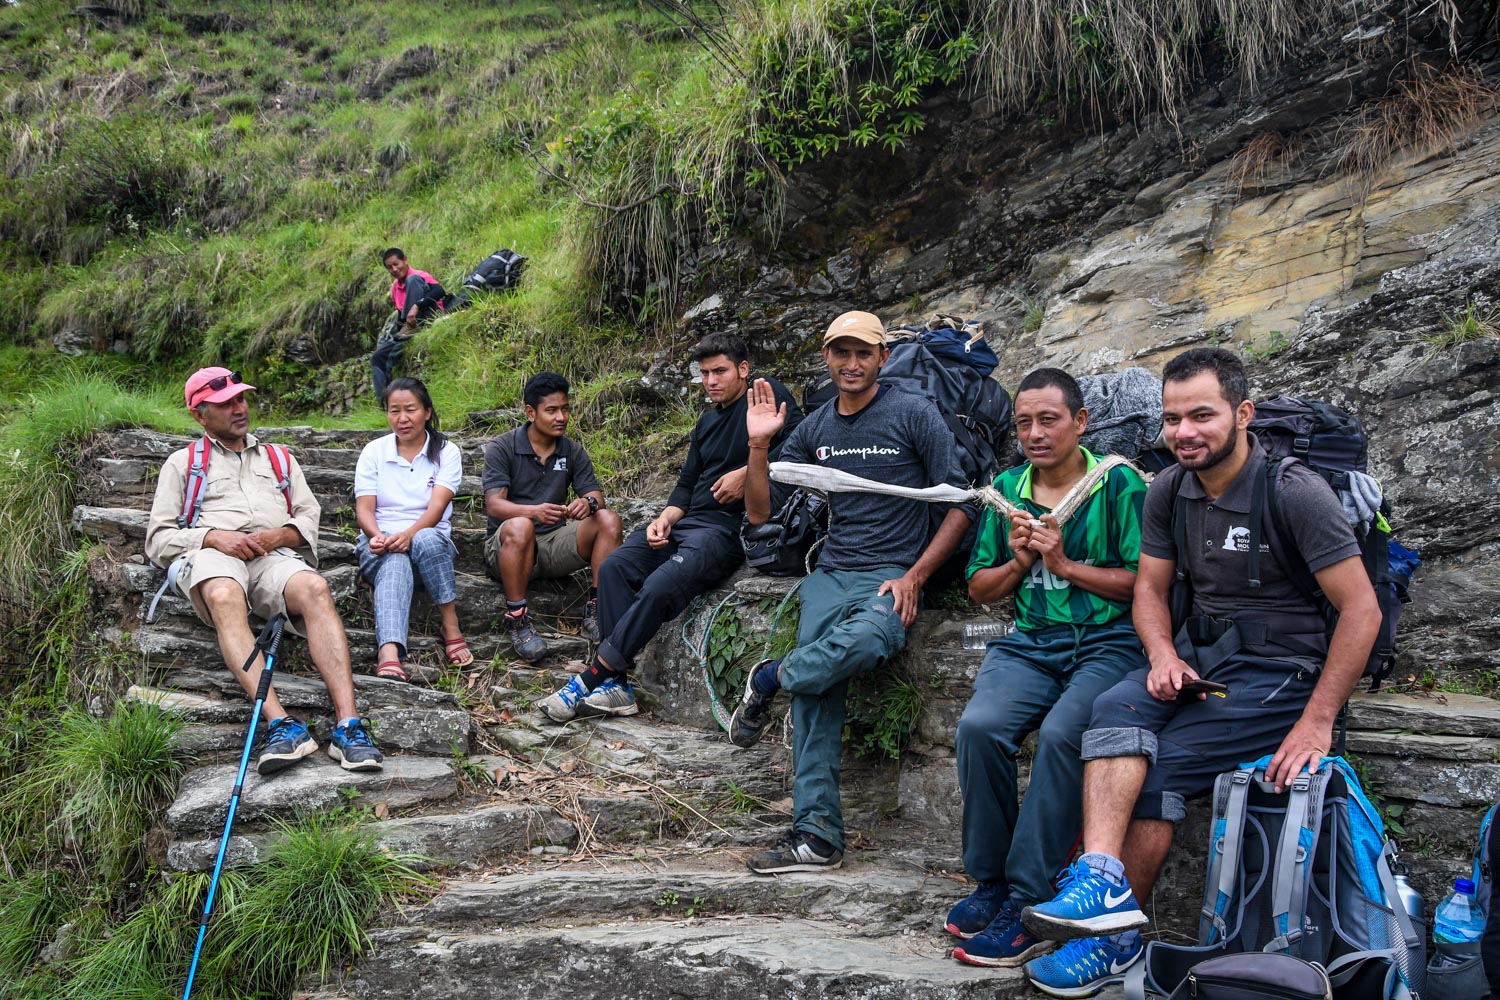


It’s never fun realizing at the end of a trip that you need to pay a lot more money than you were expecting. So we want to emphasize is that on any trek in Nepal, you should budget money for tips ahead of time.
Tipping is expected, and many guides and porters reply on tips to make a sustainable living.
We’ve broken down the basics of tipping in Nepal, but here’s a general rundown:
How much should you tip on a trek in Nepal?
-
Guide: $5 USD per day per person
-
Assistant Guide: $3-5 USD per day per person
-
Porters: $3-5 USD per day per person (this is then divided between all the porters)
As an example, we had 1 head guide, 1 assistant guide, and 5 porters on our trek. We used the suggestions from above to calculate our tips, and each of us contributed 7,000 rupees ($63 USD) in total between our guides and porters or our 5-day trek. (The total for the 2 of us was $126 USD in tips.)
Everyone in our group put money into an envelope, which was then given to the guides and porters.
While this isn’t all that much money in the scheme of things, and we were happy to contribute to the people who made our trip amazing, we weren’t quite aware of how much money was expected before the trip (our bad for not doing our research!). So it came as a bit of a surprise. Trust me when I say you’ll want to tip after seeing how hard the guides and porters work, so just be prepared for this expense!
Travel Insurance for Trekking in Nepal
While you never want to think about the “what if’s”, it is important to be prepared in case something does go wrong on the trek.
What if you twist your ankle on the trek? What if you get sick? Or my personal nightmare: What if you have an appendix attack in a remote village…
I’m not trying to scare you… Only trying to make sure you’re prepared!
We never travel without insurance, but our regular policy (from Allianz Travel) only covers us to an altitude of 5,000 ft. Since the Mohare Danda highest point is 3,300 meters (10,000+ feet) we had to get another policy.
We didn’t want to risk it, so we purchased a short-term plan through World Nomads that ensured we’d be covered in case of an accident or emergency.
Book your Mohare Danda Trek
Has this article made you excited for trekking in Nepal? We sure hope so! If you’re ready to book your Mohare Danda Trek, click on over to Lokal Travel who thoroughly vets sustainable travel experiences around the world. You can book your trek through them.
They have basically our exact same route we took and it’s partnered with Royal Mountain Travel, so you might even get our same guides! If so, say tell Gopal Katie & Ben say “Hi”!
Getting There
If you plan to do the Mohare Danda Trek, you’ll need to first get to Pokhara. This is where your guides will meet you. You can leave your luggage that you aren’t bringing on the trek in your hotel so you don’t have to carry the extra weight.
Good to know: From Pokhara, it is a 5-hour (bumpy!) van ride to the starting point of this trek. If you get motion sick easily, be prepared. I like to wear pressure point bands like these and I suck on a ginger lozenge to prevent motion sickness.
What is there to do in Pokhara? A ton of things! Plan on spending at least a couple days there before or after your trek. And check out our list of things to do in Pokhara to give you some ideas. It’s also a great place to just chill and hang out in cute restaurants and coffee shops.
More Nepal Travel Resources


What else is there to do and see in Nepal?
So, SO much! We have a ton of content about Nepal that we think will be super helpful as you plan your trip. Check out ourNepal Homepage for all the important travel information, or read some of our favorite articles below.
-
Check out our Ultimate Nepal Travel Guide to see the top places to visit in Nepal, the best foods to try, how much money to budget, and literally everything else you’d want to know!
-
And when you’re done with that, head over to our list Top Things to do in Nepal. There’s something on there for everyone.
-
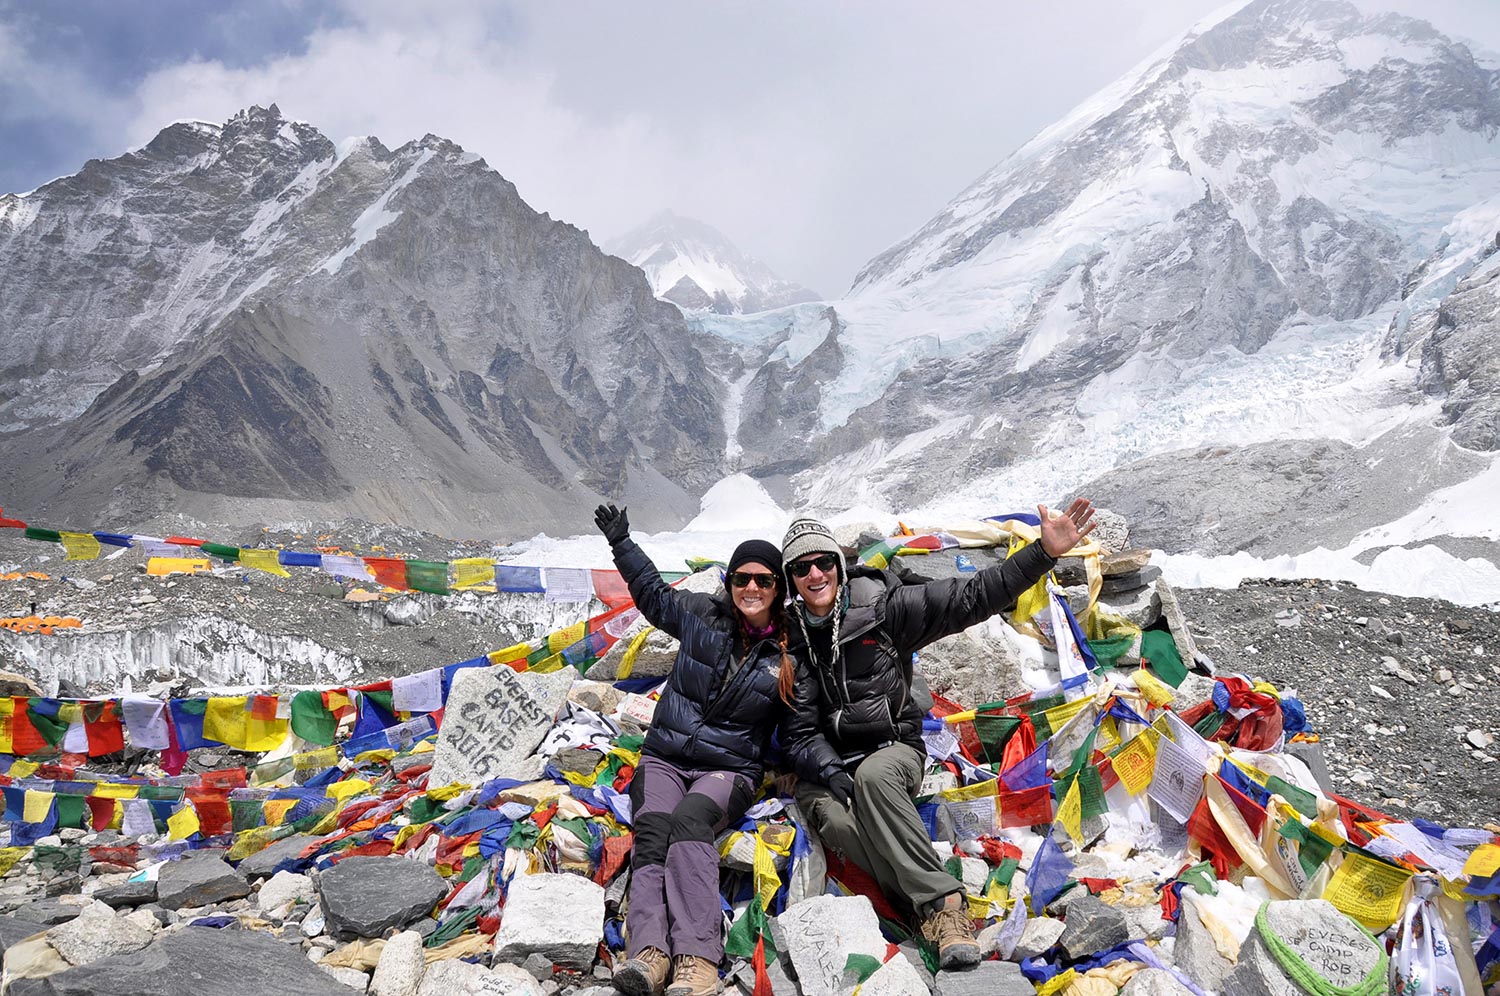
If you’re a real adventure-seeker and you’re intrigued at the prospect of hiking to Everest Base Camp, we gotchu covered! We made a huge guide with everything from an itinerary, a budget, and a packing list (oh, and some funny video diaries we think you’ll love!). We planned your bucket list adventure for you. You’re welcome!
Save this article on Pinterest for later!




Are you planning on Trekking in Nepal?
What questions do you still have? Comment below and check back because we always do our best to reply!

Great guide to the Mohare Danda Trek! The detailed itinerary and tips make it easy to see why this trek is a fantastic off-the-beaten-path option in Nepal. Thanks for the insights on packing, food, and accommodation!
This Mohare Danda trekking guide is fantastic! It covers everything from detailed daily itineraries to the stunning views you’ll encounter. I love the focus on local culture and the beautiful descriptions of the landscapes. For even more help, maybe add some tips on gear and weather conditions. Overall, a great resource for planning an unforgettable trek! 🌄🏞️
Really Informative Post for Moahre Danda Trek
Thank you So much for your Informative post, You write full trekking information about who is planning to visit Himalayan Nepal, Thank you again for visiting Nepal, and happy to read your post.
This is the real and ultimate Mohare Danda Trekking Guide.
Thanks! We had such an amazing time and can’t wait to return to Nepal for more hiking someday!
Thank you so much for your information. This is helpful for all travelers how to get in Nepal. I think would more easy with local travel company if they wants to go Everest trek. I saw you mention some of local travel company. Its very helpful to get business to them from your blogs. Thanks for sharing with us. If any one wants to know more about visiting in Nepal, they can contact to us as well. visit in here for details. https://acevisiontreks.com/